Are you tired of your old toggle light switch and want a sleek, modern look? Changing your toggle switch to a rocker switch can instantly update your room’s style and improve how you control your lights.
You might think it’s complicated, but with the right steps, you can do it yourself quickly and safely. In this guide, you’ll discover exactly how to make the switch, saving you time and money. Keep reading, and you’ll have that smooth, easy-to-use rocker switch installed before you know it!
Credit: www.reddit.com
Tools And Materials Needed
Changing a toggle light switch to a rocker switch is a simple home upgrade. Having the right tools and materials makes the job easier and safer. Prepare everything before starting to avoid interruptions.
Basic Tools
Gather a screwdriver set with flathead and Phillips tips. A voltage tester is essential to check power is off. Needle-nose pliers help with wire handling. Wire strippers are needed to trim and prepare wires. A flashlight can improve visibility inside the switch box.
Materials Required
Buy a rocker switch that fits your electrical box and matches your home’s style. Purchase wire nuts to secure wire connections. Use electrical tape for extra safety around wire nuts. Have a wall plate that fits the rocker switch for a neat finish.
Safety Gear
Wear insulated gloves to protect against electric shock. Use safety glasses to shield your eyes from dust or sparks. A dust mask can help if your work creates debris. Work in a well-lit area to avoid mistakes.
Safety Precautions
Changing a toggle light switch to a rocker switch involves working with electricity. Safety is the top priority. Taking the right safety steps helps avoid accidents and injuries. Follow these precautions carefully before starting the project.
Turn Off The Power
Switch off the power at the circuit breaker. Do not rely on just the wall switch. Use a voltage tester to make sure no electricity flows to the switch. This step protects you from electric shocks.
Use Proper Tools
Choose tools with insulated handles. This reduces the risk of electric shock. Use a screwdriver, wire stripper, and voltage tester made for electrical work. Avoid using worn or damaged tools.
Wear Safety Gear
Wear safety gloves to protect your hands. Use safety glasses to shield your eyes from debris. Proper gear keeps you safe from cuts and sparks.
Check For Damaged Wires
Inspect wires for cracks or damage. Replace any damaged wires before installing the new switch. Damaged wiring can cause fires or shocks.
Follow Manufacturer Instructions
Read the rocker switch instructions carefully. Follow each step as described. Proper installation ensures the switch works safely and correctly.
Turn Off Power Supply
Turning off the power supply is the first and most important step. It keeps you safe from electric shocks while working on the switch. Always treat electrical work with care.
Before touching any wires, make sure the electricity is off. This step protects you and prevents damage to your home’s wiring.
Locate The Circuit Breaker
Find the circuit breaker box in your home. It is usually in the basement, garage, or a utility room. Look for the main panel that controls your home’s electricity.
Switch Off The Correct Breaker
Identify the breaker for the room with the light switch. Flip the switch to the “off” position. This stops power from flowing to the switch.
Test The Switch For Power
Use a voltage tester or a simple light tester. Touch the tester to the wires or terminals of the switch. No light or sound means the power is off.
Double Check For Safety
Try turning the light switch on. If the light does not come on, you are safe to proceed. Never skip this step for your safety.
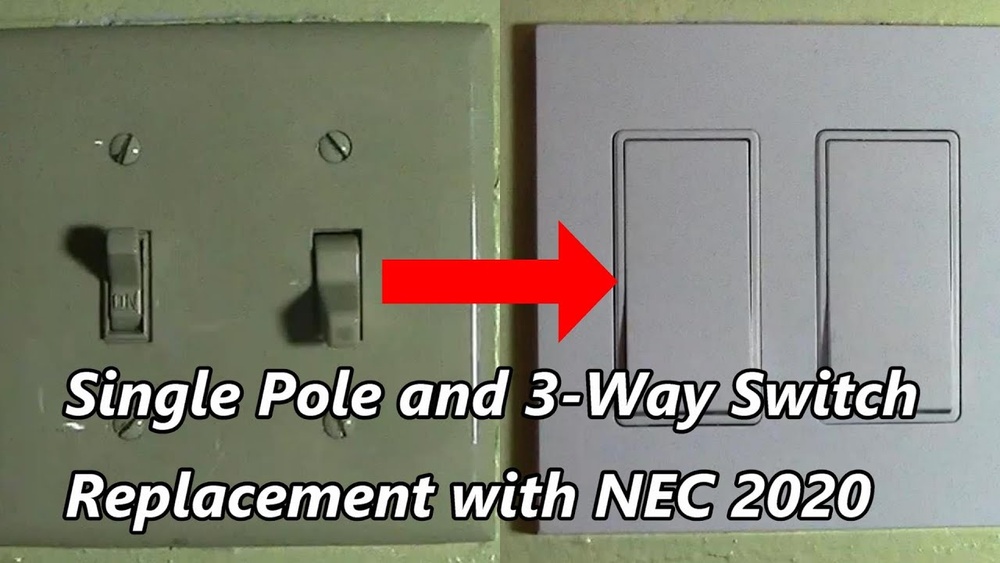
Remove Existing Toggle Switch
Removing the old toggle switch is the first step in installing a rocker switch. This process ensures safety and prepares the wiring for the new switch. Follow each step carefully to avoid damage or injury.
Unscrew The Faceplate
Start by turning off the power at the circuit breaker. This stops electricity from flowing to the switch. Use a screwdriver to remove the screws holding the faceplate. Keep the screws safe for later use. Gently pull off the faceplate to expose the toggle switch.
Disconnect Wires
Next, unscrew the terminals holding the wires on the toggle switch. Note the position of each wire for correct reconnection. Carefully pull the wires free from the switch. Avoid pulling on the wires themselves; pull on the terminal screws. Set the old toggle switch aside once all wires are disconnected.
Prepare The Rocker Switch
Start by turning off the power at the circuit breaker. Remove the old toggle switch carefully to avoid damage. Check the wiring to ensure it matches the rocker switch connections.
Identify Terminal Types
Before installing the rocker switch, check its terminals. Terminals are the metal parts where wires connect. Most rocker switches have three types: line, load, and ground. The line terminal connects to the power source. The load terminal links to the light or device. The ground terminal is for safety, usually green or marked with a symbol. Identify each terminal on your rocker switch carefully. This step helps avoid wiring mistakes and ensures safe operation.
Match Wiring Configuration
Compare the rocker switch terminals with your old toggle switch wires. Note how wires connect to the toggle switch. The rocker switch wiring should match the same pattern. Usually, the black wire connects to the line terminal. The red or another color wire connects to the load terminal. The green or bare copper wire goes to the ground terminal. Make sure wire colors and terminal types align. Correct matching prevents electrical faults and switch failure.
Connect Wires To Rocker Switch
Connecting wires to a rocker switch is a key step in changing your toggle switch. This process ensures the new switch works correctly and safely. It needs care and attention.
Before starting, make sure the power is off. Safety is very important when working with electrical wiring.
Identify The Wires On The Old Switch
Look at the wires connected to your old toggle switch. Usually, there are two or three wires: live, load, and sometimes ground. Note their positions and colors. This helps you connect them properly to the rocker switch.
Prepare The Wires For Connection
Strip about half an inch of insulation from each wire end. Use a wire stripper for clean, precise removal. Twisting the copper strands tightly prevents loose connections. Clean wires make the switch work better and safer.
Attach Wires To The Rocker Switch Terminals
Match each wire to the correct terminal on the rocker switch. Usually, live wires go to brass or labeled terminals, and ground wires to green terminals. Tighten screws firmly but do not over-tighten. A secure connection ensures stable switch operation.
Check The Wire Connections
After attaching, gently tug each wire. They should not move. Loose wires can cause sparks or switch failure. Double-check the wire colors and terminal labels to avoid mistakes. Proper connections make your switch safe and reliable.
Install The Rocker Switch
Installing the rocker switch is the final step to upgrade your light switch. It involves placing the switch into the wall box and securing it properly. Then, you attach the faceplate to finish the look. Follow these simple steps to complete the installation safely and neatly.
Secure The Switch In The Wall Box
Hold the rocker switch carefully and align its screw holes with the wall box. Use a screwdriver to tighten the screws. Make sure the switch sits flush with the wall. Do not overtighten the screws to avoid cracking the switch. The switch should feel firm and not move when pressed.
Attach The Faceplate
Place the faceplate over the rocker switch, aligning the screw holes. Insert the screws and tighten them gently. The faceplate should be straight and sit evenly against the wall. Avoid using too much force to prevent damage. Your new rocker switch now looks clean and professional.

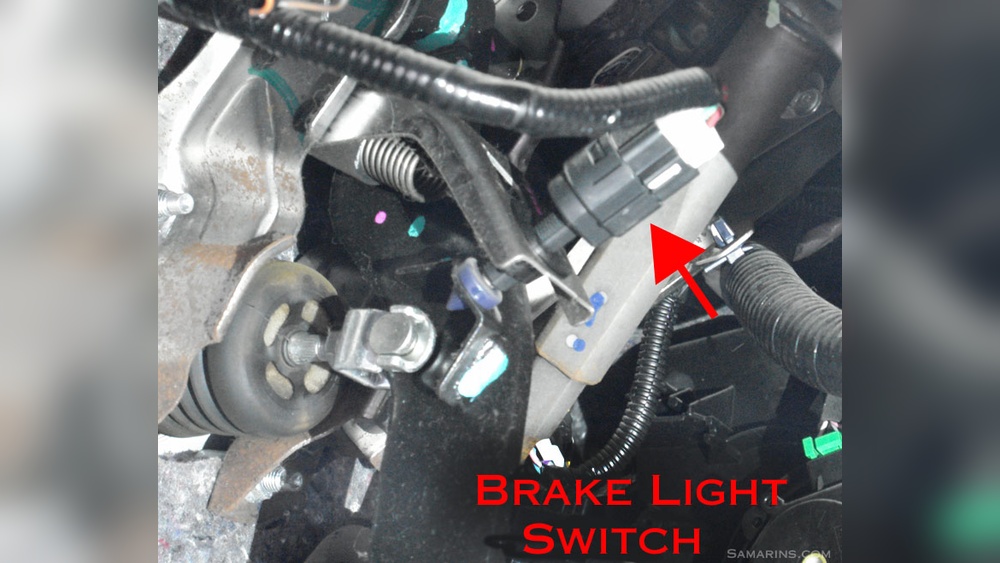
Credit: www.youtube.com
Restore Power And Test
Restoring power and testing your new rocker switch is the final step in this project. It ensures the switch works properly and your lights respond as expected. This step confirms the success of the installation.
Be careful during this process to avoid any electrical hazards. Double-check your work before turning the power back on. Proper testing saves time and prevents damage.
Turn On The Circuit Breaker
Find the circuit breaker panel. Flip the switch that controls the light back to the ON position. This restores electricity to the room where you installed the rocker switch. Make sure the breaker is fully on.
Test The Rocker Switch
Press the rocker switch up and down. Check if the light turns on and off smoothly. The switch should click softly without any flicker or delay. Confirm the light reacts correctly.
Observe For Any Issues
Watch the light for a few minutes. Look for flickering or dimming. Listen for any buzzing sounds from the switch. If you notice problems, turn off the breaker and inspect the wiring again.
Troubleshooting Tips
Troubleshooting is key when changing a toggle switch to a rocker switch. Problems can happen even with careful work. This section guides you through common issues and how to fix them quickly. Follow these tips to ensure a smooth switch change.
Check Power Before Starting
Always turn off the power at the circuit breaker. Use a voltage tester to confirm no electricity flows to the switch. This step prevents shocks and damage. Safety first.
Inspect Wiring Connections
Loose or wrong wiring causes the switch to fail. Match the wires from the wall to the new switch terminals. Tighten screws firmly but do not over-tighten. Correct wiring ensures the switch works properly.
Test Switch Functionality
After wiring, test the switch before closing the wall box. Flip the rocker switch on and off. Check if the light turns on and off smoothly. If not, re-check the wiring or try a different switch.
Use The Correct Switch Type
Not all rocker switches fit all circuits. Use a switch rated for your home’s voltage and current. Using the wrong switch can cause malfunction or damage.
Replace Faulty Components
If the light still does not work, check the bulb and fixture. Replace any broken parts. The problem may not be the switch itself.
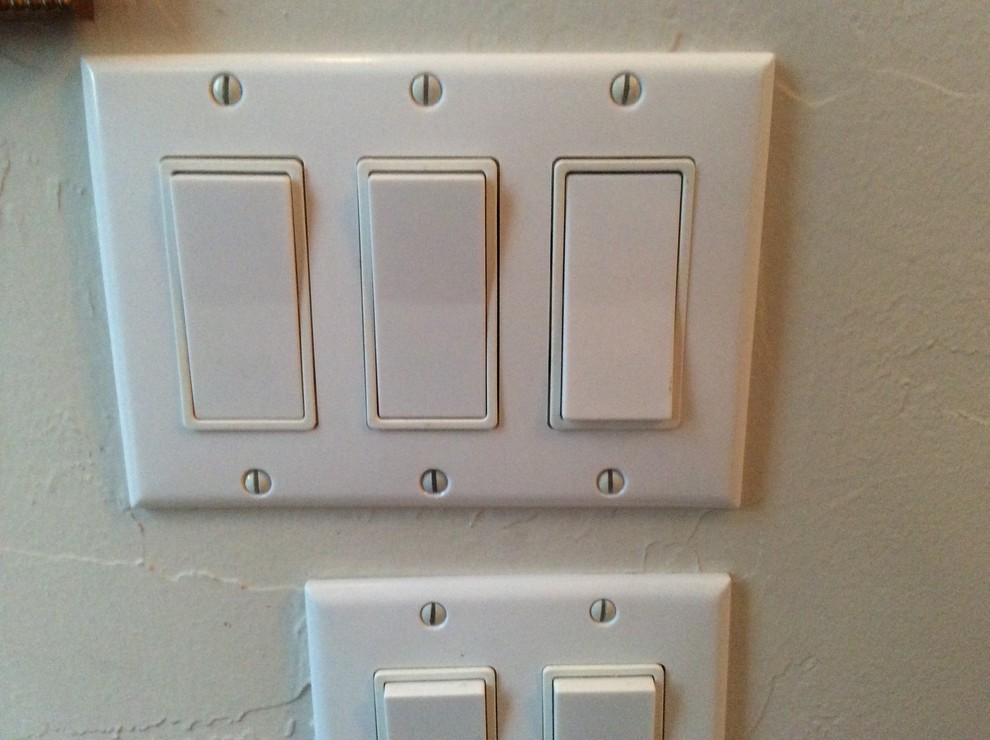
Credit: www.mrhandyman.com
Frequently Asked Questions
What Tools Are Needed To Change Toggle To Rocker Switch?
You need a screwdriver, voltage tester, wire stripper, and the rocker switch. Ensure power is off before starting. These tools help safely remove the old switch and install the new one.
How To Safely Turn Off Power Before Switch Replacement?
Turn off the circuit breaker controlling the switch. Use a voltage tester to confirm no power flows. This prevents electrical shocks during the replacement process.
Can I Use A Rocker Switch In Place Of Toggle Switch?
Yes, rocker switches can replace toggle switches if the wiring matches. Ensure the new switch fits the wall box and meets electrical standards for safety.
How Long Does It Take To Replace A Toggle Switch?
Replacing a toggle switch with a rocker switch typically takes 15 to 30 minutes. Time varies based on experience and wiring complexity.
Conclusion
Changing a toggle light switch to a rocker switch is simple and safe. Turn off the power before you start. Follow each step carefully, and take your time. A rocker switch offers a modern look and easy use. This small change can improve your room’s style.
Keep tools and instructions close during the work. Soon, you will enjoy a fresh, neat switch. Try this project yourself for a quick upgrade. It’s a smart way to update your home lighting.