Are you dealing with a faulty double light switch and wondering how to fix it yourself? Replacing a double light switch might seem tricky, but with the right steps, you can do it safely and quickly.
Imagine saving money on an electrician and gaining confidence in handling simple home repairs. In this guide, you’ll find easy-to-follow instructions that will help you replace your double light switch without stress. Keep reading, and you’ll have your lights working perfectly again in no time!

Credit: www.youtube.com
Tools And Materials Needed
Replacing a double light switch requires specific tools and materials. Using the right items ensures the job is safe and efficient. Preparing everything before starting saves time and avoids frustration.
Essential Tools
- Flathead screwdriver to remove switch cover plates
- Phillips screwdriver for screws holding the switch
- Voltage tester to check for electrical current
- Wire stripper to remove insulation from wires
- Needle-nose pliers for bending and holding wires
- Electrical tape to secure wire connections
- Flashlight or headlamp for better visibility in dark areas
Required Materials
- New double light switch matching the circuit type
- Wire nuts to connect wires safely
- Replacement screws if original ones are worn or missing
- Electrical box if the old one is damaged
Safety Gear
- Insulated gloves to protect from electric shock
- Safety glasses to guard eyes from debris
- Rubber-soled shoes to reduce risk of shock
- Mask to avoid inhaling dust or particles
Safety Precautions
Replacing a double light switch involves working with electricity. Safety must be the first step. Taking the right precautions protects you from electric shocks and accidents. Follow these safety steps carefully before starting your work.
Turn Off Power
Find your home’s main electrical panel. Switch off the circuit breaker that controls the switch. This stops electricity from flowing to the switch. Never skip this step. It keeps you safe while working.
Test For Live Wires
Use a voltage tester to check the wires. Touch the tester to each wire connected to the switch. If the tester lights up or beeps, power is still on. Make sure no wires carry electricity before you touch them.
Use Insulated Tools
Choose tools with insulated handles. These handles protect you from electric shocks. Avoid using metal tools without insulation. Insulated tools keep your hands safe during the replacement process.
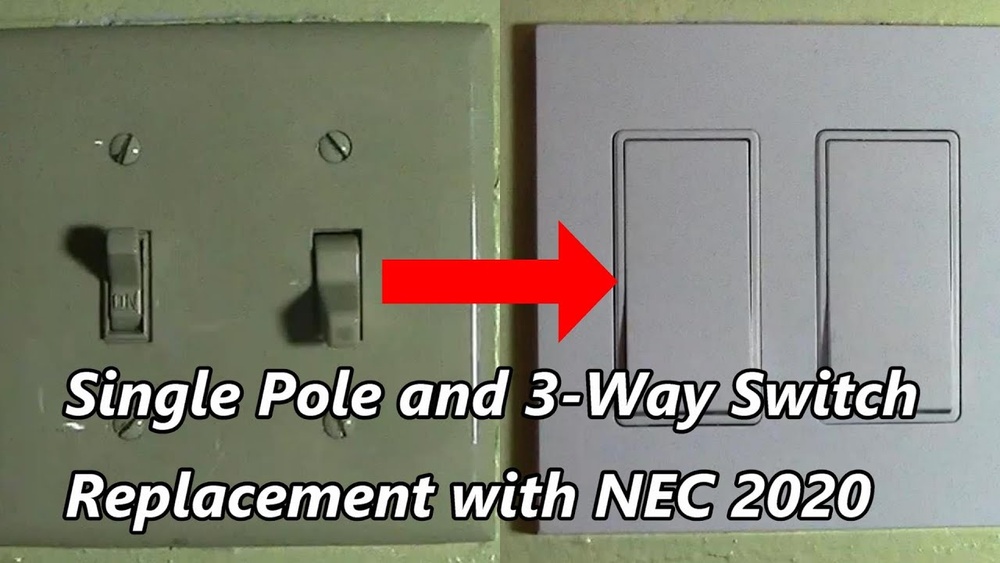
Removing The Old Double Light Switch
Removing the old double light switch is the first step in replacing it safely. Take your time and follow each step carefully to avoid any problems. Make sure the power is off before starting. Safety is very important when working with electrical parts.
Unscrew The Switch Plate
Start by removing the screws holding the switch plate. Use a screwdriver that fits the screws well. Keep the screws in a safe place for later use. Take off the switch plate gently to avoid breaking it.
Disconnect Wiring
Look at the wires attached to the switch. Unscrew the terminal screws or release the wires from push-in connectors. Remember the wire positions or take a photo for reference. Carefully pull the wires out to free the switch.
Inspect Wiring Condition
Check the wires for any damage or wear. Look for frayed insulation or exposed copper wire. If wires look damaged, they need repair or replacement. Clean any dust or debris inside the box for a better connection.
Credit: www.doityourself.com
Installing The New Double Light Switch
Installing the new double light switch requires careful steps to ensure safety and functionality. This part is crucial for your lighting system to work properly. Follow clear instructions and take your time.
Connect Wires Correctly
Start by matching each wire to the correct terminal on the switch. Usually, black or red wires connect to brass screws. White wires go to silver screws, and green or bare wires attach to the ground screw. Tighten screws firmly but avoid over-tightening. Double-check each connection for a secure fit.
Secure The Switch To Wall Box
Push the connected switch gently into the wall box. Make sure wires are neatly tucked inside without pinching. Use the mounting screws to fasten the switch to the box. Tighten screws evenly to keep the switch stable and flush with the wall.
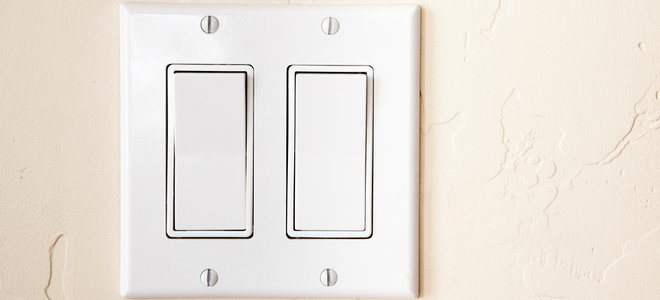
Attach The Switch Plate
Place the switch plate over the installed switch. Align the screw holes and insert the screws. Tighten screws until the plate is snug but not cracked. Clean the area to remove dust and fingerprints. Your double light switch is ready for testing.
Testing The New Switch
Testing the new double light switch is a key step after installation. It confirms the switch works well and keeps you safe. Follow simple checks to avoid electrical issues and ensure proper function.
Restore Power
Turn the main power back on at the circuit breaker. Wait a few seconds for the electricity to stabilize. Avoid touching wires or terminals during this step to stay safe.
Check Switch Functionality
Flip each switch on and off slowly. Watch the connected lights carefully. Both lights should turn on and off without flickering. Test multiple times for consistent results.
Troubleshooting Tips
If lights don’t respond, turn off the power again. Double-check all wire connections for tightness and correct placement. Look for any loose or damaged wires. Replace the switch if necessary and repeat testing.
Common Mistakes To Avoid
Replacing a double light switch can save money and time. But many make simple errors that cause problems. Avoid these mistakes to keep the process safe and smooth. Understanding common pitfalls helps you finish the job correctly.
Ignoring Power Off
Always turn off the power at the breaker box before starting. Forgetting this step risks electric shock. Use a voltage tester to confirm the power is off. Safety must come first during any electrical work.
Incorrect Wiring
Connecting wires to the wrong terminals causes the switch to fail. Check the wiring diagram before you begin. Match wire colors and positions carefully. Mistakes here can damage your electrical system or cause shorts.
Overtightening Screws
Do not overtighten the screws holding wires or the switch. Too much force can strip the screws or break the switch. Tighten screws just enough to hold wires firmly without damage.
When To Call A Professional
Replacing a double light switch can be simple for many people. Yet, some problems need a professional’s skill. Knowing when to call an expert keeps you safe and saves time. Electrical work can be risky without the right knowledge.
Complex Wiring Issues
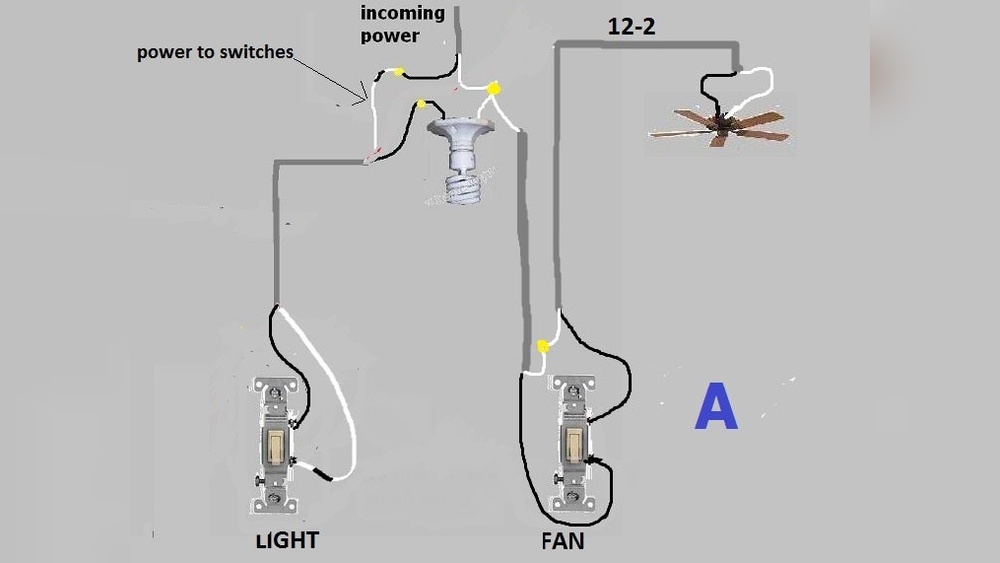
Wiring in homes can be complicated. Sometimes wires are old or mixed up. A double switch might control different lights or fans. This makes the wiring more complex. A professional knows how to read wiring diagrams and handle tricky setups safely.
Electrical Code Concerns
Electricity rules protect homes from fires and shocks. These rules change by location and time. A professional electrician knows current codes. They ensure the switch replacement follows all safety laws. This avoids problems during home inspections or insurance checks.
Persistent Switch Problems
Sometimes a new switch does not fix the issue. Flickering lights or switches that feel hot are warning signs. These problems may show deeper electrical faults. A professional can find and fix hidden problems. This keeps your home safe and your lights working well.

Credit: community.smartthings.com
Frequently Asked Questions
How Do I Turn Off Power Before Replacing A Double Light Switch?
Always switch off the circuit breaker controlling the switch. Use a voltage tester to confirm no power is present before starting work.
What Tools Are Needed To Replace A Double Light Switch?
You need a screwdriver, voltage tester, wire stripper, and replacement switch. These tools ensure safe and effective replacement.
Can I Replace A Double Light Switch Myself Safely?
Yes, with proper precautions and tools, DIY replacement is safe. Always turn off power and follow step-by-step instructions carefully.
How Do I Identify Wires On A Double Light Switch?
Label wires before removal. Typically, black is live, white is neutral, and green or bare is ground. Confirm with a tester.
Conclusion
Replacing a double light switch can be safe and simple. Always turn off power before starting. Follow each step carefully to avoid mistakes. Use the right tools and check your work twice. Taking your time helps ensure a good result.
Now, your new switch should work perfectly. Enjoy the improved control over your lighting. Small tasks like this build your confidence. Keep learning and stay safe with electrical work.