Are you tired of struggling with weak wall anchors that just won’t hold your shelves or decorations? Installing a spiral wall anchor might be the simple fix you need.
It’s a reliable way to secure heavy items to drywall without damage or extra tools. In this guide, you’ll learn exactly how to install a spiral wall anchor step-by-step, so your projects stay strong and safe. Keep reading, and you’ll gain the confidence to tackle your next wall mounting job like a pro.
.jpg?v=c5e0e952)
Credit: www.twistfix.co.uk
Tools And Materials Needed
Installing a spiral wall anchor requires the right tools and materials. Preparing these items before starting saves time and effort. Knowing what to use ensures a smooth installation process. This section covers the types of spiral wall anchors and the essential tools needed for the job.
Types Of Spiral Wall Anchors
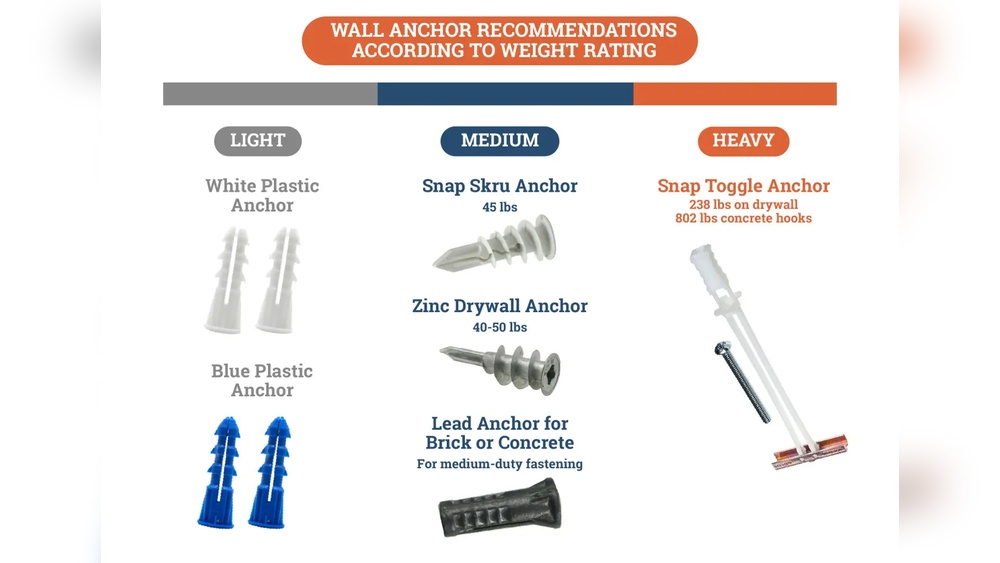
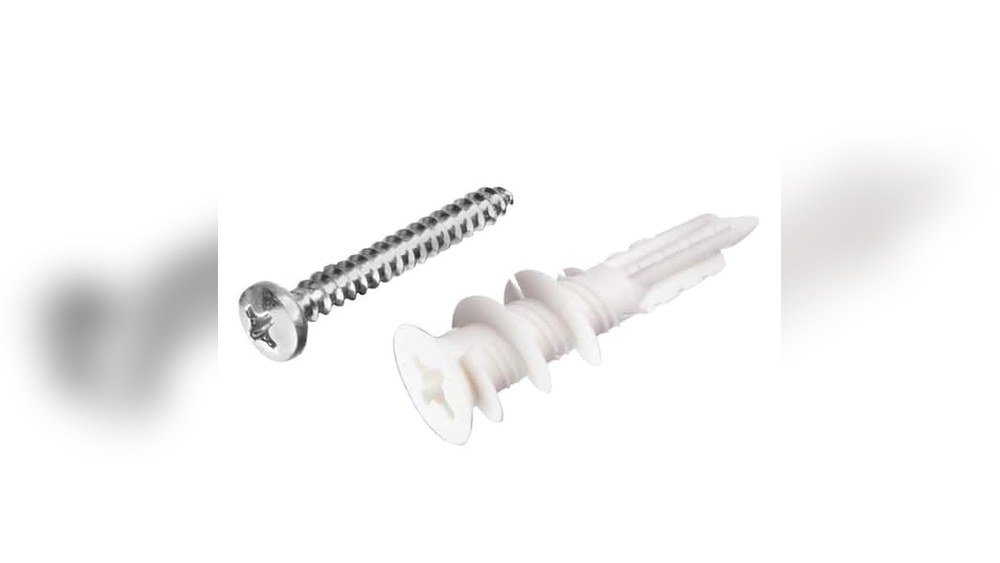
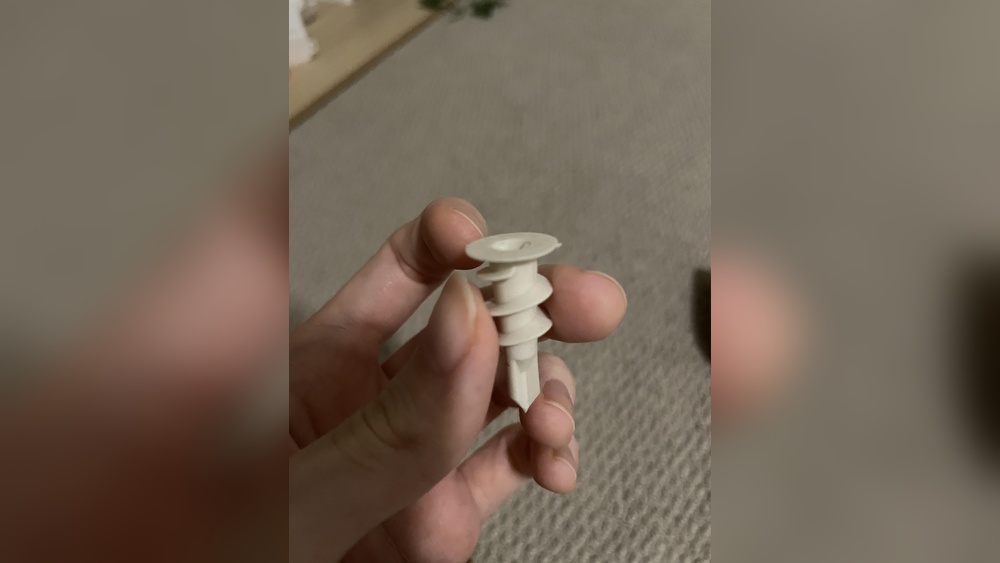
Spiral wall anchors come in different types for various wall materials. Plastic spiral anchors work well for drywall and plaster. Metal spiral anchors offer stronger support and suit heavier loads. Some anchors include a screw, while others require separate screws. Choose the type that fits your wall and project needs.
Essential Tools For Installation
Basic tools make installing spiral wall anchors easier and safer. A drill with the correct drill bit size is crucial. Use a screwdriver to insert screws into the anchors. A hammer may be needed to tap the anchor into the wall gently. A level helps ensure the anchor is straight. Finally, a pencil marks the exact spot for drilling.
Choosing The Right Anchor
Choosing the right anchor is key for a safe and strong hold. Different walls need different anchors. Picking the wrong one can cause damage or weak support. Take time to understand the wall and the weight you want to hold.
Assessing Wall Material
Know the type of wall before buying anchors. Drywall, plaster, concrete, and brick all need different anchors. Spiral wall anchors work best in drywall and plaster. Hard materials like concrete need special anchors. Check if the wall is solid or hollow. This step helps you pick the correct anchor for a firm grip.
Matching Anchor Size To Load
Match the anchor size to the item’s weight. Heavy objects need larger, stronger anchors. Small anchors can hold only light items. Check the packaging for weight limits. Use anchors that can support more than your item’s weight. This stops the anchor from pulling out or breaking.
Preparing The Wall
Preparing the wall is the first step to install a spiral wall anchor properly. It helps make sure the anchor fits tightly and holds well. Taking time to prepare the wall prevents damage and keeps your item secure.
Marking The Drill Spot
Start by deciding where the anchor should go. Use a pencil to mark the exact spot on the wall. Check the mark twice to avoid mistakes. The spot must be free from wires or pipes. Use a stud finder if needed. A clear mark guides the drill and keeps the hole straight.
Drilling The Pilot Hole
Choose a drill bit that matches the anchor’s size. Hold the drill steady and drill slowly into the marked spot. Drill just deep enough for the anchor to fit. Avoid making the hole too big or too small. Clean out dust from the hole with a brush or blower. A clean hole helps the anchor grip the wall tightly.
Installing The Spiral Wall Anchor
Installing a spiral wall anchor is a simple process that helps secure items to drywall or plaster walls. These anchors provide strong support for shelves, frames, and other wall-mounted objects. Follow these steps to install the anchor correctly and ensure a firm hold.
Inserting The Anchor
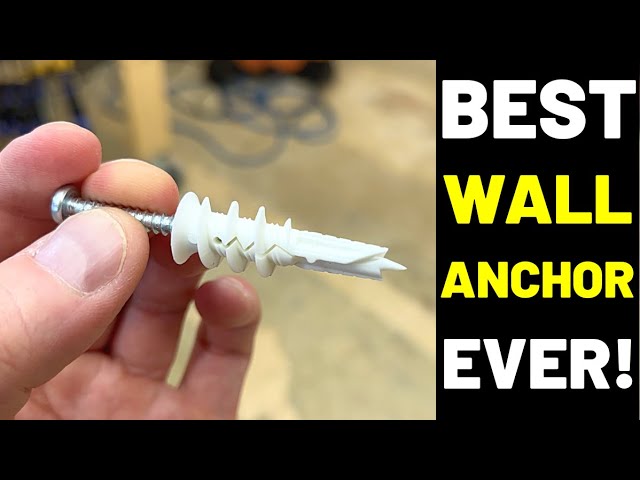
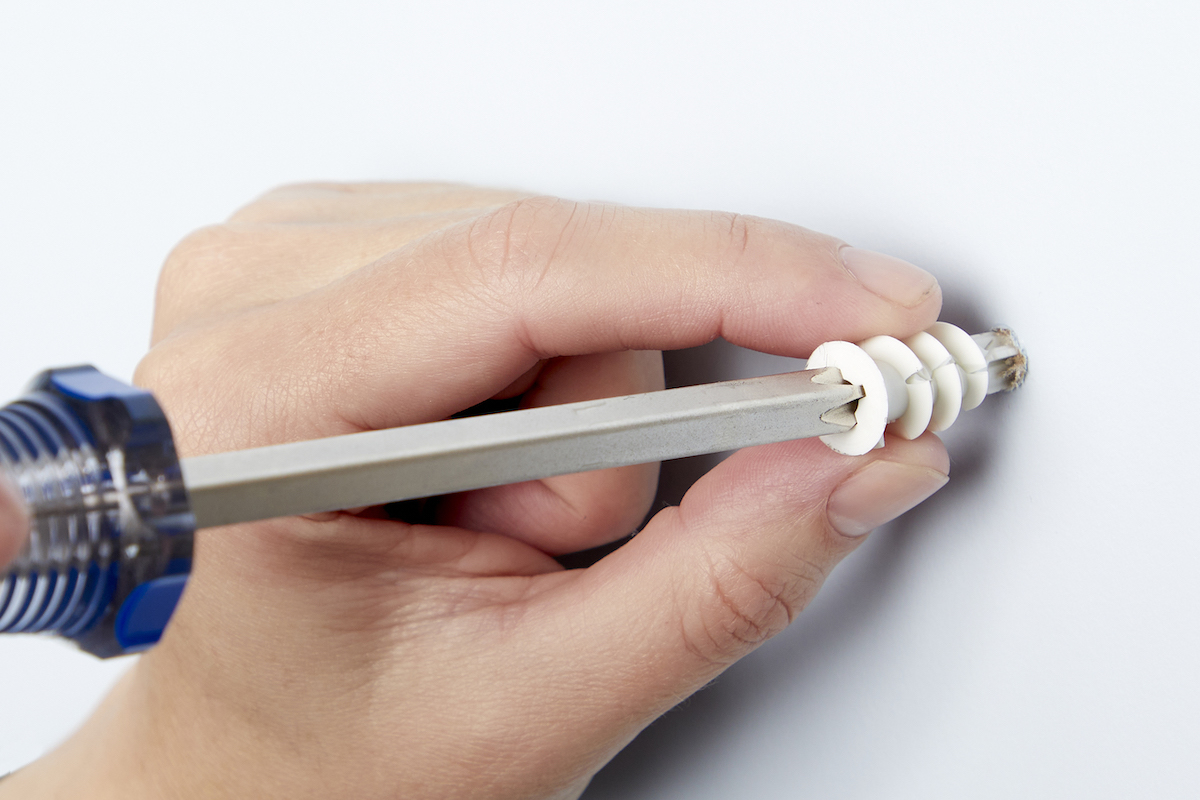
Start by choosing the right spot on the wall. Place the tip of the spiral anchor against the wall surface. Press gently to hold it steady. Begin twisting the anchor into the wall by hand. The sharp threads will cut into the drywall. Continue turning until the anchor is flush with the wall. Avoid pushing too hard to prevent damage.
Turning The Anchor Correctly
Use a screwdriver or a drill with a low torque setting. Turn the anchor slowly and steadily. Keep the anchor straight to avoid bending. Stop turning once the anchor sits flush with the wall surface. Over-tightening can strip the wall or damage the anchor. Proper turning ensures a secure and stable hold.
Securing The Fixture
Securing the fixture properly ensures a strong hold and safety. The spiral wall anchor must hold steady before tightening the screw. This step keeps the fixture from moving or falling. Follow the correct process for best results.
Aligning The Fixture
Place the fixture close to the wall where the anchor is installed. Match the holes on the fixture with the anchor’s opening. Hold the fixture steady against the wall. Check that it sits flat and does not tilt. Proper alignment helps the screw fit correctly.
Tightening The Screw
Insert the screw into the anchor through the fixture’s hole. Turn the screw slowly using a screwdriver. Tighten it until the fixture feels secure but not too tight. Over-tightening may damage the wall or the anchor. Stop as soon as the fixture holds firmly in place.
Testing The Support Strength
Testing the support strength of a spiral wall anchor is a crucial step. It ensures the anchor holds firmly in the wall. This step helps avoid damage or accidents later. Proper testing confirms the anchor is ready to bear weight safely.
Checking Stability
Start by gently pulling the object attached to the anchor. Use slow, steady pressure to check for any movement. If the anchor stays in place, it means good stability. Slight wiggling may be normal but should not loosen the anchor. Repeat this test a few times for confidence.
Troubleshooting Common Issues
If the anchor moves or feels loose, stop immediately. Check if the hole is the right size for the anchor. Too large a hole can reduce support strength. Try reinserting the anchor or using a larger size if needed. For weak walls, use anchors designed for drywall or hollow walls. Replace damaged anchors to ensure safety.
Safety Tips For Installation
Installing spiral wall anchors requires care to keep you and your walls safe. Following safety tips reduces risks during the process. Taking simple steps protects both your hands and the wall surface.
Protective Gear Recommendations
Wear safety goggles to shield your eyes from dust and debris. Gloves protect your hands from sharp tools and rough materials. Closed-toe shoes prevent injuries from dropped tools. Use a dust mask if drilling creates fine particles. These items keep you safe throughout the job.
Avoiding Wall Damage
Choose the right anchor size for your wall type. Mark the drill spot clearly to avoid mistakes. Drill slowly to prevent cracks or holes. Avoid over-tightening anchors to stop wall damage. Check for wires or pipes behind the wall before drilling. Careful steps protect your wall’s strength and appearance.
Credit: www.youtube.com
Credit: www.bobvila.com
Frequently Asked Questions
What Tools Are Needed To Install A Spiral Wall Anchor?
You need a drill, screwdriver, hammer, and the spiral wall anchor itself. A drill bit matching the anchor size is essential for proper installation.
How Do You Prepare The Wall For A Spiral Anchor?
Clean the wall surface and mark the drilling spot. Drill a pilot hole slightly smaller than the anchor diameter for a secure fit.
Can Spiral Wall Anchors Support Heavy Loads?
Yes, spiral wall anchors provide strong support for medium to heavy loads. They are ideal for drywall or plaster walls when installed correctly.
How Deep Should I Drill For A Spiral Wall Anchor?
Drill a hole as deep as the anchor length to ensure full engagement. This depth allows the anchor to grip securely within the wall.
Conclusion
Spiral wall anchors provide strong support for hanging items. Installing them is quick and simple with the right steps. Always check the wall type before starting your project. Use a drill to make a hole, then twist the anchor inside.
Tighten the screw to secure your item firmly. This method keeps your walls safe and your items stable. Practice patience for the best results. Now, you can hang shelves, pictures, or mirrors with confidence.