Are you struggling to hang something sturdy on your wall without it falling down? Knowing how to screw in a wall anchor correctly can make all the difference.
Whether you’re mounting shelves, pictures, or hooks, a properly installed wall anchor keeps your items secure and your walls damage-free. In this guide, you’ll learn simple, step-by-step tips that anyone can follow—even if you’ve never done it before. Keep reading to discover how easy it is to get a strong hold every time.
Credit: www.youtube.com
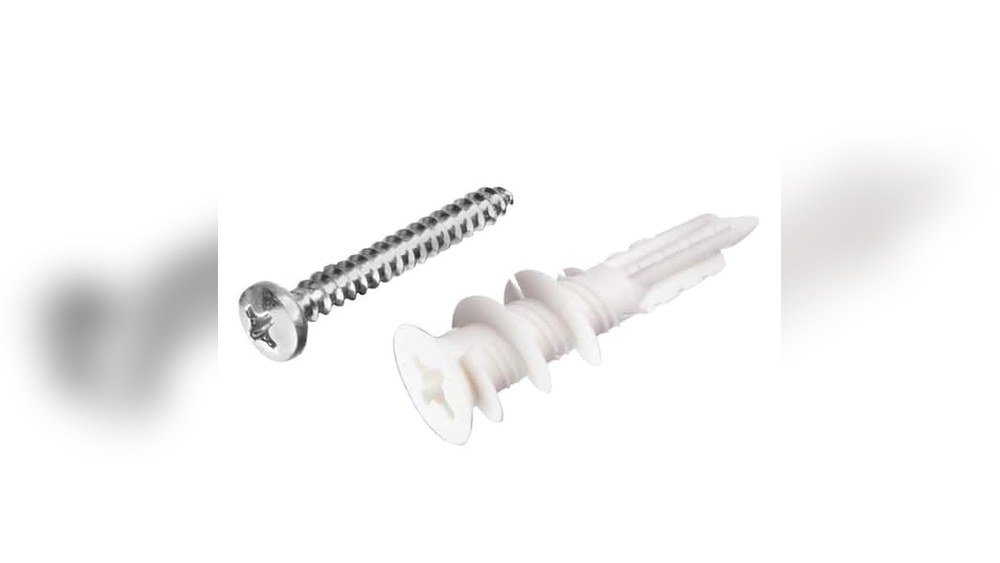
Choosing The Right Wall Anchor
Choosing the right wall anchor is key to a strong and safe installation. The right anchor holds your items firmly and prevents damage to the wall. Different anchors fit different walls and weights. Knowing how to pick the best one makes your project easier and more secure.
Types Of Wall Anchors
There are several types of wall anchors. Plastic expansion anchors are common for light items. They spread out inside the wall to hold tight. Toggle bolts work well for heavy objects. They have wings that open behind the wall. Molly bolts expand inside hollow walls for a strong grip. Each type fits different uses and walls.
Matching Anchors To Wall Material
Wall materials vary: drywall, plaster, brick, or concrete. Plastic anchors suit drywall but not brick. Toggle bolts fit hollow walls like drywall or plaster. Masonry anchors are best for brick or concrete. Using the wrong anchor can cause the item to fall or damage the wall. Always choose an anchor designed for your wall type.
Weight Capacity Considerations
Check the weight of the item you want to hang. Anchors have weight limits listed on the package. Choose an anchor that holds more than the item’s weight. Heavy mirrors or shelves need stronger anchors like toggle bolts or molly bolts. Using a weak anchor risks falling and damage. Safety and durability depend on weight capacity.
Tools And Materials Needed
Before you start screwing in a wall anchor, gather all necessary tools and materials. Having the right items makes the job easier and safer. It also ensures the anchor holds strong and stays in place.
Essential Tools
Begin with a drill or screwdriver to drive the anchor into the wall. A drill with a bit matching the anchor size works best. A hammer may be needed to tap the anchor gently into the hole. A tape measure helps mark the exact spot on the wall. A pencil is useful for marking where to drill.
Safety Gear
Wear safety glasses to protect your eyes from dust and debris. Gloves keep your hands safe from sharp edges and rough surfaces. A dust mask can prevent inhaling wall dust, especially when drilling into drywall or plaster.
Additional Supplies
Wall anchors of the right size and type for your wall material are crucial. Screws that match the anchor size come next. A level helps check that your installation is straight. A small container to hold screws and anchors keeps everything organized.
Preparing The Wall
Preparing the wall is an important step before screwing in a wall anchor. It ensures the anchor holds tight and supports the weight. Careful preparation saves time and prevents damage to the wall. Follow these simple steps to get ready for the installation.
Locating Studs And Marking Spots
Find the studs inside the wall using a stud finder. Studs give extra support for heavy objects. Mark the spots where you want to place the anchors. Use a pencil to make small marks on the wall. Make sure the spots are level and spaced correctly.
Drilling Pilot Holes
Choose a drill bit that matches the size of the wall anchor. Drill small pilot holes at the marked spots. Drill slowly and straight to avoid cracking the wall. The holes should be just deep enough for the anchor to fit. This step helps the anchor go in smoothly.
Cleaning The Hole
Remove dust and debris from the drilled holes. Use a small brush or a vacuum cleaner. Clean holes allow the anchor to grip the wall better. This also helps prevent the anchor from slipping out. Take a moment to ensure the holes are clear.
:max_bytes(150000):strip_icc()/how-to-use-and-discard-anchor-screws-1822671-Final-ec8091ccf65241b1b1f888549f25003a.jpg)
Credit: www.thespruce.com
Inserting The Wall Anchor
Inserting a wall anchor correctly is key to a strong hold. It supports screws in drywall or plaster. Proper insertion stops damage and keeps items secure. This section explains how to place anchors firmly and safely.
Types Of Insertion Methods
There are several ways to insert wall anchors. Some push straight into the wall. Others require a small pilot hole first. Expansion anchors spread inside the wall when the screw goes in. Toggle anchors need a larger hole and flip behind the wall. Choose the method that fits your anchor type and wall material.
Proper Placement Techniques
Mark the spot clearly before drilling. Use a level or measuring tape for accuracy. Drill a hole that matches the anchor size. Insert the anchor gently and avoid forcing it. Tap lightly with a hammer if needed. The anchor should sit flush with the wall surface.
Checking Anchor Stability
Push the anchor slightly after insertion. It should not wiggle or move easily. Screw in a test screw to check grip. The anchor must hold tight without slipping. If loose, remove and try a bigger anchor or different spot. Stability ensures your item stays safe on the wall.
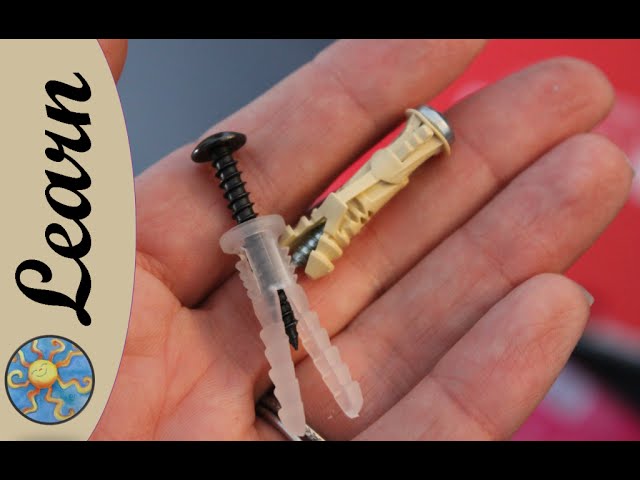
Screwing In The Anchor
Screwing in the wall anchor is a key step to secure items on your wall. It helps hold the anchor tightly in place. This step requires care and the right tools. Follow simple steps to do it right and avoid damage.
Selecting The Right Screw
Choose a screw that fits the anchor size. It must be long enough to go through the anchor and wall. The screw should match the weight of the item you hang. Use screws that are not too thick or thin. The wrong screw can cause the anchor to fail.
Driving The Screw Correctly
Place the screw into the anchor slowly. Use a screwdriver or drill with low speed. Turn the screw straight into the anchor to avoid bending. Stop when the screw feels tight but do not over-tighten. Over-tightening can break the anchor or wall.
Avoiding Common Mistakes
Do not force the screw if it feels stuck. Remove it and check the anchor placement. Avoid using a screw that is too large or too small. Do not use power drills on high speed. Always check the wall type before screwing in. Proper care prevents wall damage and keeps anchors strong.

Credit: www.youtube.com
Testing The Support Strength
Testing the support strength of a wall anchor is essential for safety. It ensures the anchor can hold the weight without slipping or breaking. This step prevents damage to walls and accidents from falling objects. Checking support strength is simple but important.
Applying Load Safely
Start by adding weight slowly to the anchor. Use a light object first to avoid sudden pressure. Hold the weight near the wall to limit stress. Watch how the anchor reacts under pressure. Stop if you see any movement or hear cracking sounds.
Signs Of Secure Installation
A secure anchor feels firm and stays still. The wall around the anchor shows no cracks or holes. The screw does not wiggle when you move it gently. You can add more weight step-by-step without problems. These signs mean the anchor is holding well.
Troubleshooting Loose Anchors
If the anchor feels loose, do not add weight. Check if the screw is tight inside the anchor. Remove and reinsert the anchor in a new spot if needed. Choose a larger or stronger anchor for heavy items. Fixing loose anchors early prevents wall damage and accidents.
Tips For Long-lasting Support
Ensuring your wall anchors provide long-lasting support requires care and attention. Small steps can make a big difference in how well your anchors hold up over time. Proper maintenance, timely replacement, and careful installation help keep walls safe and sturdy.
Maintenance Advice
Check anchors regularly for any signs of loosening or damage. Tighten screws gently if they feel loose. Avoid over-tightening as it can damage the anchor or wall. Dust and clean around anchors to stop dirt buildup. Keep weight on anchors within their recommended limits.
When To Replace Anchors
Replace anchors if they show cracks or bending. If an anchor wiggles or feels unstable, swap it out. After heavy use or hanging heavy items, inspect anchors for wear. Old anchors may fail, so do not delay replacing them. Use the correct size and type for each replacement.
Preventing Wall Damage
Choose the right wall anchor for your wall type. Drill holes carefully to avoid making them too big. Insert anchors straight to reduce stress on the wall. Do not hang items heavier than the anchor’s rating. Use wall anchors that match the weight and wall material.
Frequently Asked Questions
What Tools Do I Need To Screw In A Wall Anchor?
You need a drill, screwdriver, wall anchors, screws, and a hammer. These tools help secure the anchor firmly in the wall.
How Do I Choose The Right Wall Anchor Type?
Select anchors based on wall material and weight load. Plastic anchors suit drywall, metal anchors work for heavier items.
Can I Reuse A Wall Anchor After Removal?
No, wall anchors lose grip once removed. Always use a new anchor for secure installation.
How Deep Should I Drill For A Wall Anchor?
Drill a hole slightly deeper than the anchor length. This ensures the anchor fits snugly and holds well.
Conclusion
Screwing in a wall anchor is simple with the right steps. Start by choosing the correct anchor for your wall type. Drill a hole that fits the anchor snugly. Push the anchor in and screw it slowly to secure it.
Take your time to avoid damaging the wall. This method ensures your items hold strong and stay safe. Practice a few times to build confidence. Now, you can hang shelves, pictures, or decorations with ease. A small effort leads to a sturdy and reliable hold every time.
