Looking to add a fun and functional touch to your walls? Making animal wall hooks is easier than you think—and it can instantly brighten up any room.
Imagine having a unique hook shaped like your favorite animal, ready to hold your keys, bags, or coats. In this guide, you’ll discover simple steps to create these charming hooks yourself, even if you’ve never tried a DIY project before.
Keep reading to unlock the secret to turning plain walls into playful, organized spaces you’ll love.

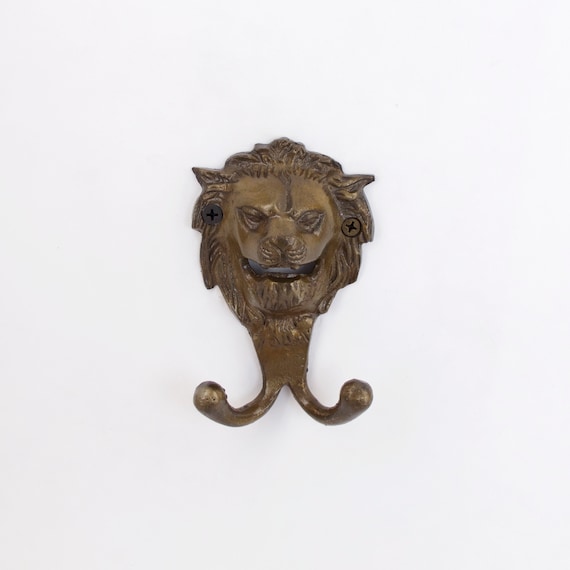
Credit: jamirayvintage.com
Materials Needed
Starting a project to make animal wall hooks needs the right materials. Good choices make your work easier and the final product stronger. Gather these key items before you begin. It helps to plan well and have everything on hand.
Choosing The Right Wood
Pick wood that is light and easy to cut. Pine or poplar works well. They have smooth surfaces and few knots. These woods are safe for painting and shaping. Avoid hard woods that are tough to carve. Soft wood makes your animal shapes look neat and clean.
Selecting Paint And Finishes
Use water-based paints for bright colors and easy cleanup. Acrylic paint dries fast and stays vibrant. Choose non-toxic paint to keep your space safe. A clear finish protects the wood and paint. Matte or satin finishes give a natural look. Glossy finishes add shine but may show fingerprints.
Hook Types And Attachments
Metal hooks are strong and hold weight well. Choose hooks with a smooth curve for safety. Screw-in hooks offer firm attachment to wood. D-ring hangers work for wall mounting. Make sure hooks fit the size of items you want to hang. Use strong glue or screws to secure hooks tightly.
Basic Tools Required
Creating animal wall hooks requires some basic tools. These tools help you cut, shape, smooth, and mount the wood pieces perfectly. Using the right tools makes your project easier and the final product stronger. Below are the key tools you need to get started.
Cutting And Shaping Tools
Start with a saw to cut the wood into the animal shape. A jigsaw or coping saw works well for curved cuts. Use a utility knife for small details and trimming. These tools help you shape the wood carefully and accurately.
Sanding And Smoothing
Sanding removes rough edges and splinters. Use sandpaper or a sanding block for smooth surfaces. Start with coarse grit and finish with fine grit paper. Smooth wood looks better and is safe to touch.
Drilling And Mounting Equipment
Drill holes to attach hooks and mounting hardware. A cordless drill with various drill bits is best. Use screws or wall anchors to fix the hooks on the wall. Proper mounting keeps the hooks stable and strong.
Simple Animal Designs
Simple animal designs make wall hooks charming and easy to create. These designs focus on clear shapes and few details. They fit well in many rooms and styles. Simple designs also save time and materials. Anyone can try making them at home.
Choosing the right design is important. It should be easy to cut and paint. Simple animal shapes look neat and hold well on the wall. Let’s explore some ways to create these designs.
Silhouette Shapes
Silhouette shapes show the animal’s outline only. They are easy to draw and cut. Use basic shapes like circles and ovals to form the body. Sharp edges or curves create the animal’s head and legs. These shapes give a clear animal form without details.
Silhouettes work well for animals like cats, birds, or elephants. They look bold on walls and catch the eye. You can paint them in solid colors for a strong effect.
Minimalist Features
Minimalist features mean using very few lines or marks. Focus on the animal’s key parts like ears, eyes, or tails. Draw simple lines to show these details. Avoid complex patterns or textures.
This style keeps the animal look clean and modern. It also makes the hook easy to make. Use thin brushes or markers to add these small features after cutting the shape.
Using Stencils
Stencils help copy animal shapes quickly and accurately. You can buy stencils or make your own from paper or plastic. Place the stencil on wood or metal before cutting.
Trace the shape carefully with a pencil. Then cut along the lines for a smooth edge. Stencils make it easier to repeat the same design many times. This method saves effort and keeps the shapes consistent.
Step-by-step Assembly
Creating animal wall hooks is a fun and creative project. Follow these simple steps to assemble your hooks with ease. This guide breaks down the process into easy parts. Each step helps you build beautiful and functional wall hooks.
Cutting The Animal Shape
Start by choosing the animal design you want. Draw or print the shape on wood or thick board. Use a jigsaw or craft knife to cut along the outline carefully. Take your time to get smooth edges. Sand the edges lightly to remove rough spots. This makes the shape safe to handle and look clean.
Painting And Detailing
Pick bright colors for your animal shape. Use acrylic paint for good coverage and quick drying. Paint the whole shape and let it dry fully. Add details like eyes, nose, or patterns with a small brush. Use simple strokes for a neat finish. Seal the paint with clear varnish to protect it.
Attaching The Hooks
Choose sturdy hooks suitable for hanging items. Mark the spots on the animal shape where the hooks will go. Drill small holes if needed to fix the hooks securely. Screw the hooks into place, ensuring they are tight. Check that the hooks hold well and are spaced evenly. Your animal wall hook is ready to use!
Creative Decorating Tips
Creative decorating tips can make your animal wall hooks stand out. These ideas help bring life and charm to your space. Simple techniques can turn plain hooks into eye-catching pieces. Try these tips to add style and personality to your walls.
Adding Texture And Patterns
Texture makes your wall hooks feel more interesting. Use materials like burlap, felt, or rope on the hooks. Paint animal shapes with dots, stripes, or zigzags. Patterns create a playful or elegant look. These details make your hooks unique and fun to touch.
Mixing Colors For Impact
Choose colors that contrast well for a strong look. Bright colors catch the eye easily. Soft pastels add a calm, cozy vibe. Paint each animal a different color for variety. Color mixing adds energy and style to your decor.
Incorporating Natural Elements
Natural elements bring warmth to your wall hooks. Add small branches or leaves around the hooks. Use wood or stone textures to create a nature feel. These elements make your hooks blend with natural themes. They add a fresh and organic touch to your room.
Mounting And Placement Ideas
Mounting and placement play a big role in how your animal wall hooks look and work. Choosing the right spot and arranging hooks properly can make your space neat and fun. Think about the room’s style and how you want to use the hooks. Proper placement also keeps the hooks safe and strong.
Choosing Wall Spots
Pick walls that are easy to reach and see. Avoid places with too much moisture like bathrooms. Hallways, bedrooms, and entryways are good choices. Make sure the wall is clean and smooth for better grip. Check for studs inside the wall for stronger support.
Arranging Multiple Hooks
Space hooks evenly for a balanced look. Create patterns like rows or clusters for style. Match hook sizes with the items you want to hang. Mix animal shapes for a playful touch. Keep enough space between hooks to avoid clutter.
Safety And Weight Considerations
Use screws or anchors suitable for your wall type. Avoid nails for heavy items; they may not hold well. Check the weight limit of each hook before hanging. Place hooks higher for sharp or fragile items. Regularly test hooks to ensure they stay secure.
Customizing For Different Animals
Customizing animal wall hooks lets you match your space and style. You can create hooks that reflect your favorite animals or themes. This makes your wall hooks not just useful but also a fun part of your decor.
Pets And Wildlife Themes
Create hooks shaped like dogs, cats, or birds for pet lovers. Use colors and shapes that look like real animals. Wildlife themes like deer, foxes, or owls add a natural touch. These hooks fit well in living rooms or kids’ rooms.
Fantasy And Mythical Creatures
Design hooks inspired by dragons, unicorns, or fairies. These creatures add a magical feel to any space. Use bright colors or glitter for a fantasy look. Perfect for playrooms or creative spaces where imagination grows.
Seasonal Variations
Change your animal hooks to match seasons or holidays. Snowy owls or reindeer work well in winter. Bright butterflies or ladybugs fit spring and summer themes. Seasonal hooks keep your decor fresh and festive all year.
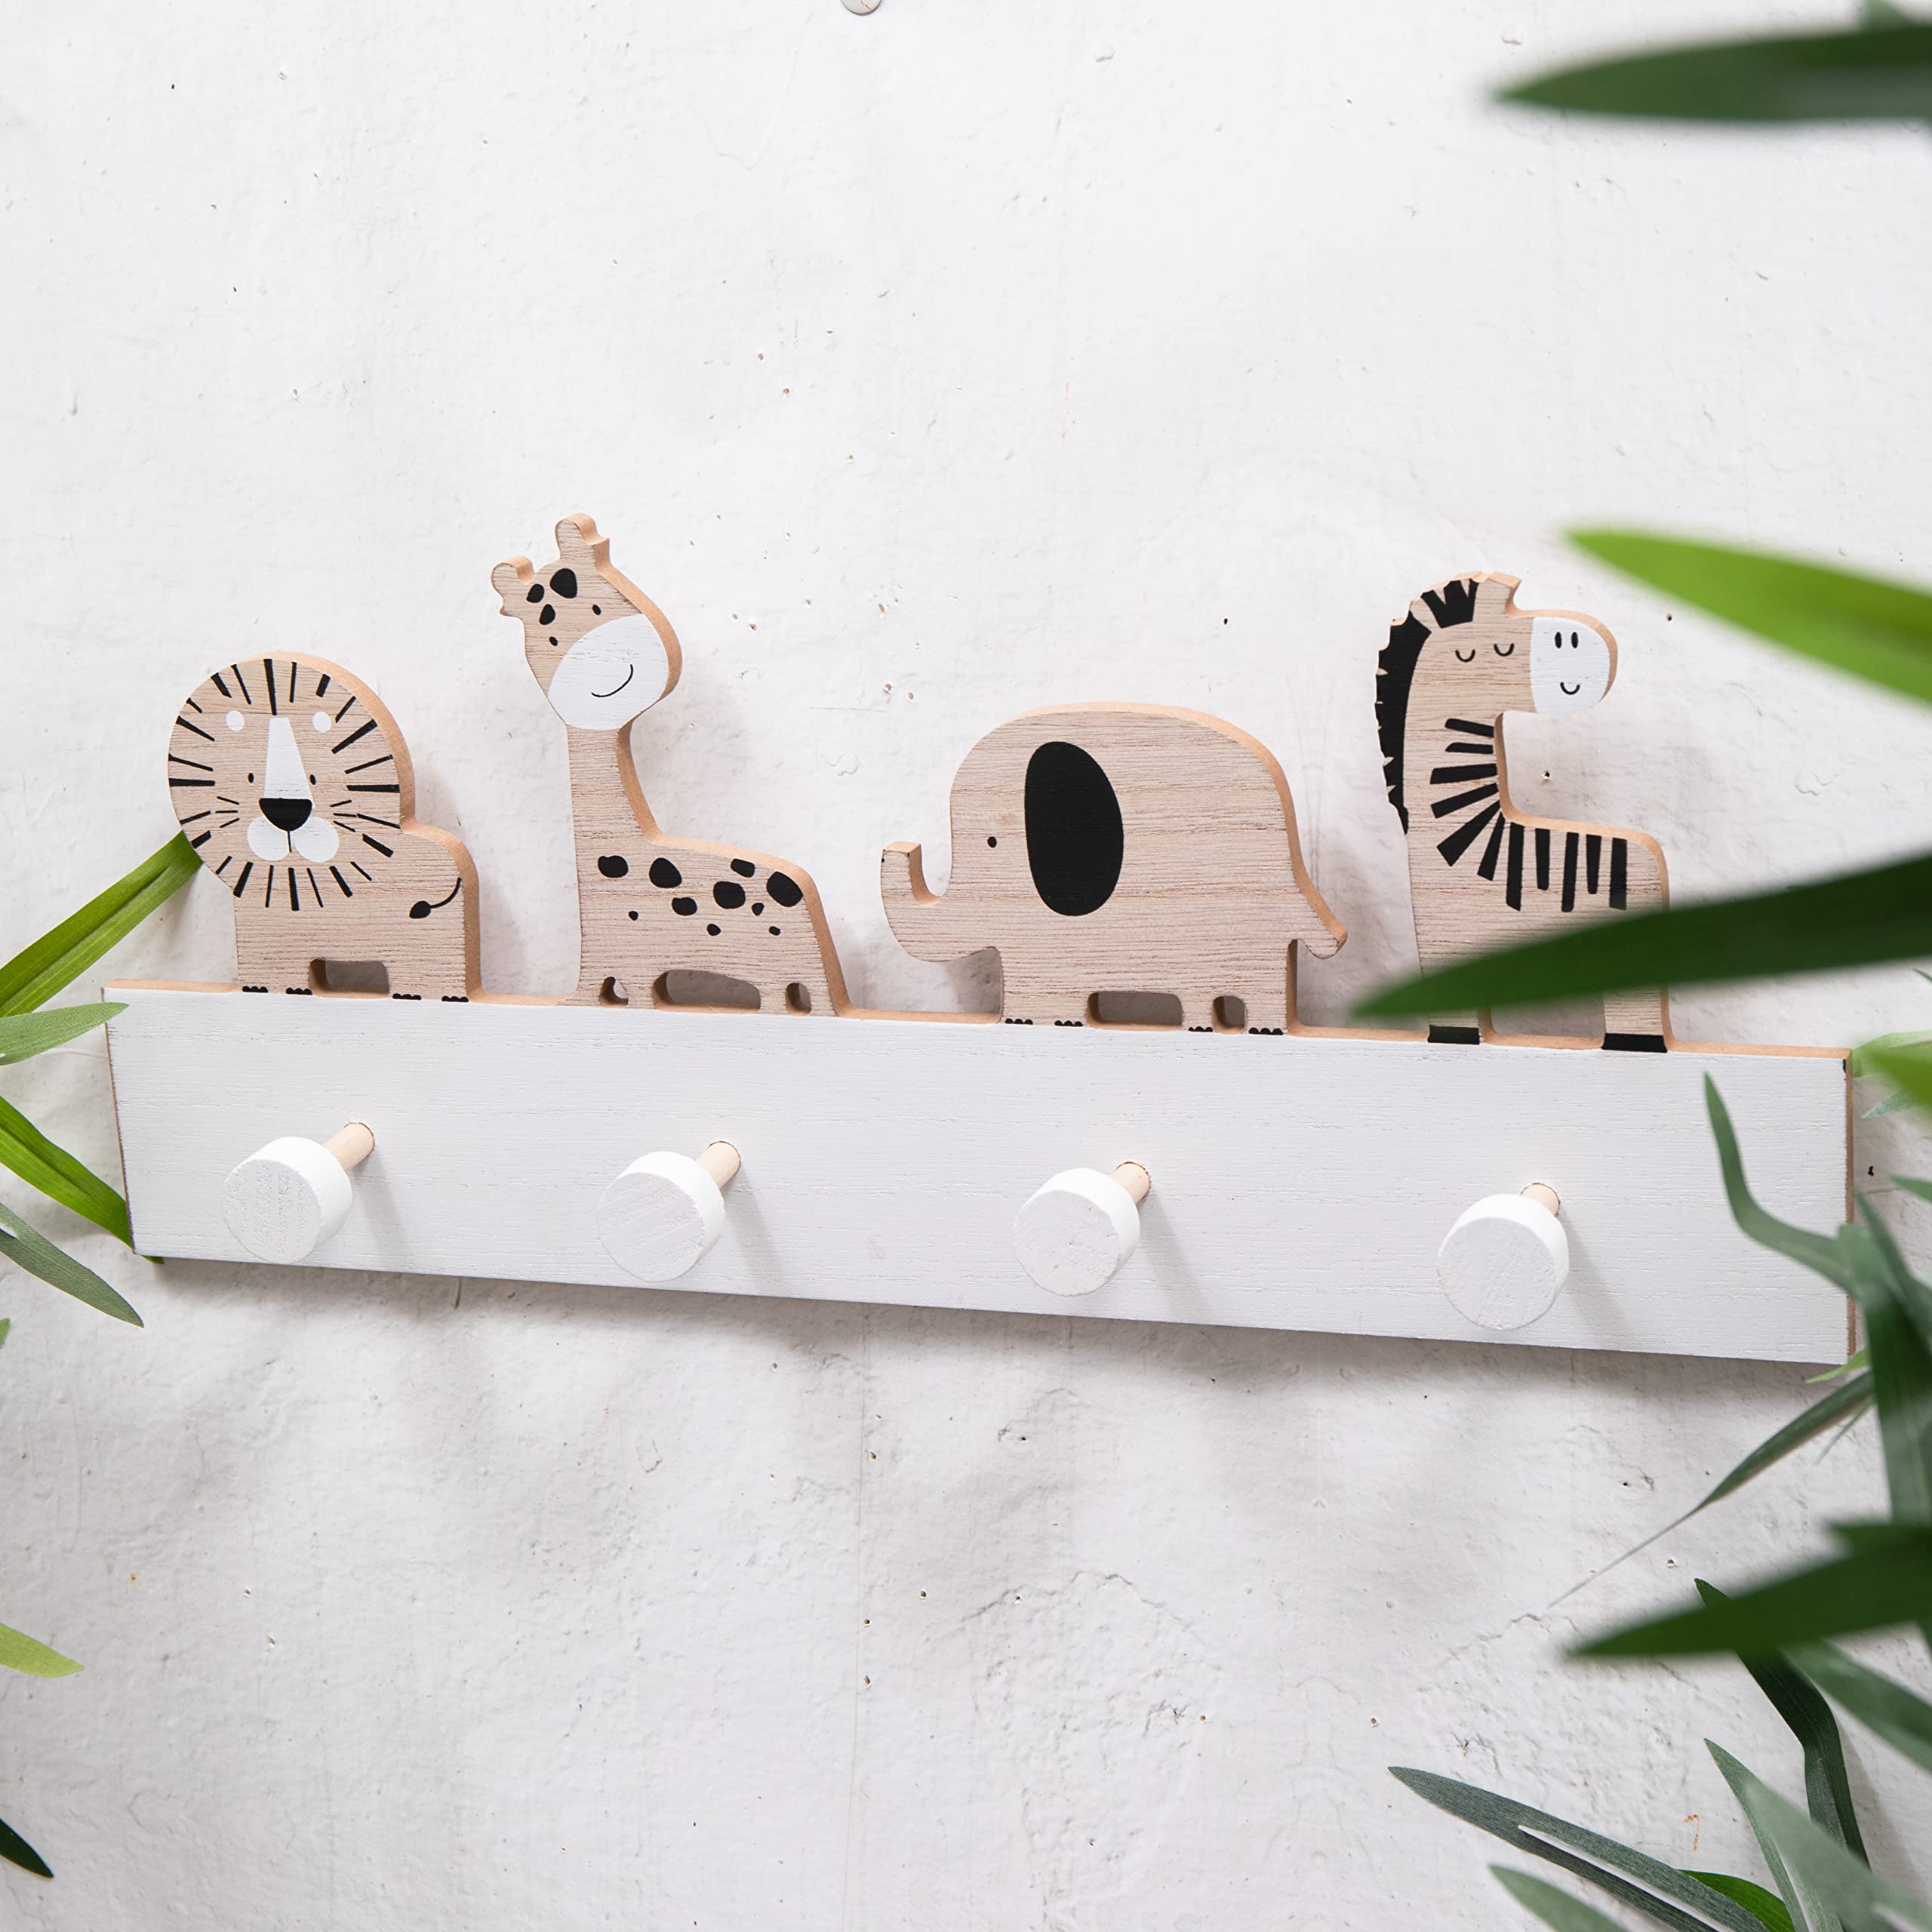
Credit: www.etsy.com
Troubleshooting Common Issues
Troubles can happen while making animal wall hooks. Small problems may stop your project or make it look less good. Fixing these issues fast keeps your work neat and strong. Here are easy ways to solve common troubles.
Fixing Paint Smudges
Paint smudges can spoil the look of your hooks. Use a small, wet brush to gently clean the area. Dab the smudge softly without spreading it. Let the paint dry fully before adding another layer. If needed, sand lightly with fine sandpaper. Repaint the spot carefully for a smooth finish.
Reinforcing Loose Hooks
Loose hooks can fall and cause damage. Tighten screws with a screwdriver to keep hooks steady. Add a small drop of wood glue inside the hole before placing the screw. Let the glue dry well. For extra strength, use longer screws or wall anchors. Check hooks often to ensure they stay firm.
Repairing Wood Imperfections
Wood may have cracks or holes that weaken the hook. Fill small cracks with wood filler or putty. Press the filler deep into the gap and smooth the surface. Let it dry completely. Sand the area gently to blend with the rest of the wood. Paint or stain the patch to match the hook color.
Credit: lepaystchad.com
Frequently Asked Questions
What Materials Are Needed For Animal Wall Hooks?
You need wooden hooks, animal-shaped cutouts, paint, brushes, screws, and a drill. Choose lightweight wood for easy handling.
How Do You Attach Animal Hooks To The Wall?
Locate studs or use wall anchors. Drill pilot holes, then screw hooks securely. Ensure hooks are level for proper use.
Can I Customize Animal Wall Hooks With Paint?
Yes, use acrylic or spray paint. Add details with fine brushes. Seal with clear varnish for durability.
Are Animal Wall Hooks Suitable For Kids’ Rooms?
Absolutely. They add fun and function. Choose non-toxic paints and smooth edges for safety.
Conclusion
Creating animal wall hooks brings charm and function to any room. You can use simple materials and tools to make them yourself. Personalize each hook with colors and shapes you love. They add a playful touch and help keep spaces tidy.
Try making a few for your home or as gifts. Enjoy the fun process and the unique results you create. Start crafting today and brighten your walls with animal hooks.