Looking to boost your home’s security without calling a locksmith? You’re in the right place.
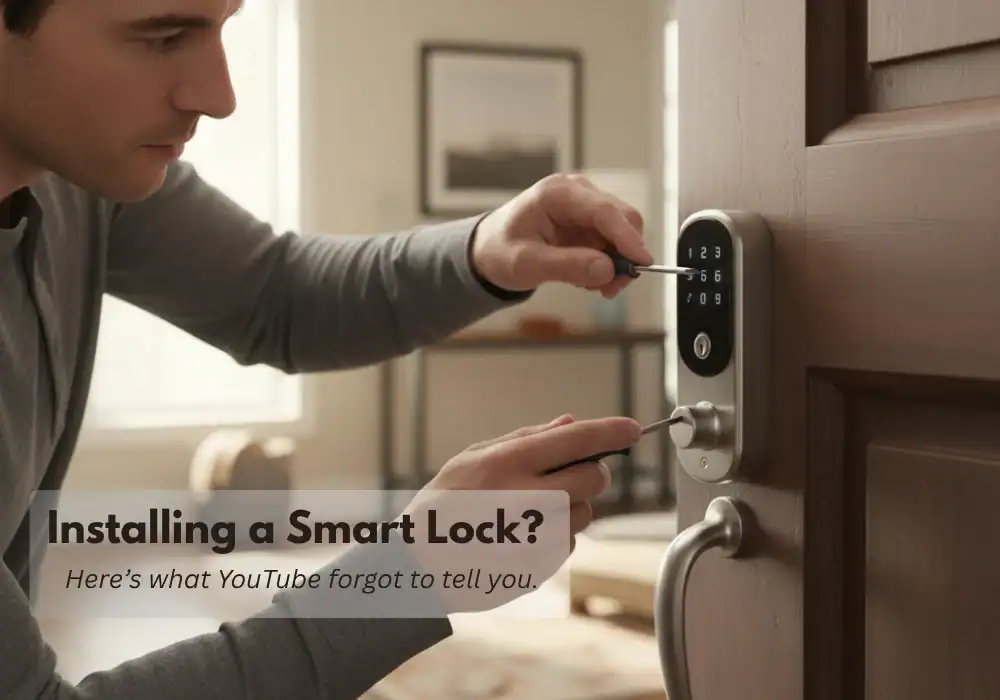
Installing a deadbolt lock yourself might seem tricky, but with the right guidance, it’s easier than you think. This step-by-step guide will walk you through the process, just like a clear YouTube tutorial, so you can feel confident and safe.
Keep reading, and you’ll learn exactly how to protect your home quickly and effectively.
Choosing The Right Deadbolt
Choosing the right deadbolt is key to securing your home. The right lock keeps intruders out and gives peace of mind. It matters to pick a lock that fits your door and needs. Consider types, materials, and security ratings before buying. This helps you choose a strong and reliable deadbolt.
Types Of Deadbolts
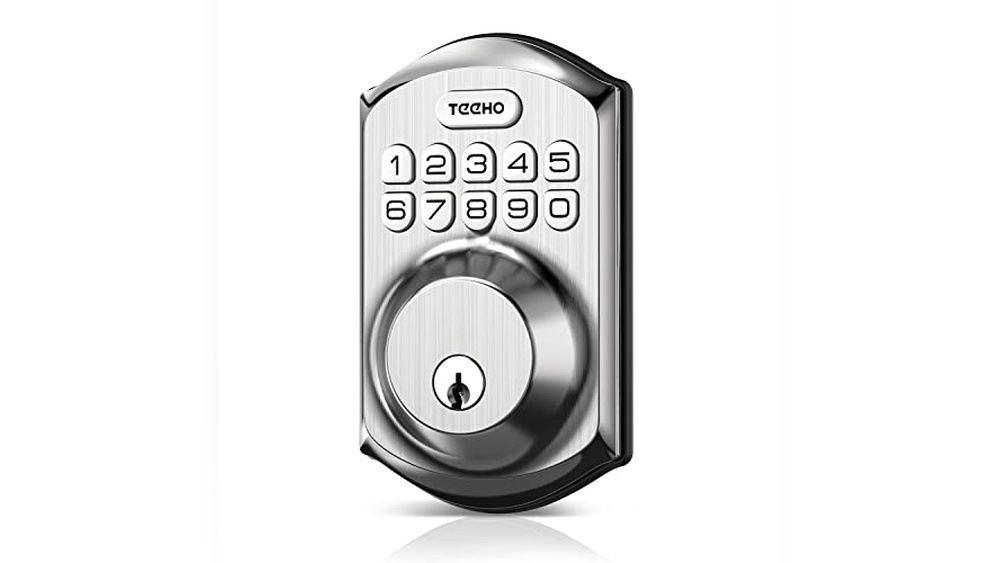
Single-cylinder deadbolts use a key outside and a thumb turn inside. They are common and easy to use. Double-cylinder deadbolts need a key on both sides. They add security but can be tricky in emergencies. There are also lockable thumb turn deadbolts. These offer extra protection by locking the thumb turn.
Materials And Durability
Deadbolts come in brass, steel, and bronze. Steel is strong and resists force well. Brass resists rust and lasts long. Bronze looks nice and resists corrosion. Choose a material that fits your climate and door type. Durable materials help the lock last many years.
Security Ratings
Check the lock’s security rating before buying. ANSI rates locks from Grade 1 to Grade 3. Grade 1 is the strongest and best for doors needing high security. Grade 2 is good for homes and offers solid protection. Grade 3 is basic and fits interior doors. Choose a grade that matches your safety needs.
Tools And Materials Needed
Installing a deadbolt lock is easier with the right tools and materials. Having everything ready saves time and avoids frustration. This section lists what you need for a smooth installation.
Essential Tools
- Drill – for making holes in the door
- Drill bits – different sizes for lock parts
- Screwdriver – to tighten screws
- Tape measure – to measure correct placement
- Pencil – to mark drill points
- Chisel – to make space for the lock faceplate
- Hammer – to use with the chisel
- Level – to ensure the lock is straight
Optional Accessories
- Wood filler – to fix any mistakes or holes
- Masking tape – to protect the door surface while drilling
- Safety glasses – to protect your eyes
- Work gloves – to protect your hands
- Step ladder – if your door is tall or hard to reach
Preparing The Door
Preparing the door is the first step to install a deadbolt lock. It ensures the lock fits well and works correctly. This step includes measuring, marking, and drilling holes on the door. Careful preparation makes the rest of the installation easier and safer.
Measuring And Marking
Begin by measuring the height for the deadbolt. Usually, it is 6 to 12 inches above the door handle. Use a tape measure for accuracy.
Mark the spot clearly with a pencil. Check the lock’s template if available. Mark the center for the lock cylinder and the latch.
Double-check your marks before drilling. Correct marks prevent mistakes and save time.
Drilling Holes
Use a drill with the correct bit size for the holes. Start with the hole for the lock cylinder on the door face.
Drill slowly and straight to avoid splintering the door. After that, drill the hole for the latch on the door edge.
Remove any wood debris from the holes. Test fit the lock parts to check hole size and placement.
Credit: locksmartliving.com
Installing The Deadbolt
Installing the deadbolt is a key step in securing your door. It adds strong protection and keeps your home safe. Follow each part carefully to fit the lock correctly.
This section breaks down the process into three main tasks. Each task ensures the lock works smoothly and fits tightly.
Fitting The Lock Cylinder
Start by placing the lock cylinder into the hole on the door. Make sure it fits flush with the surface. Align the cylinder so the keyhole faces outside. Use screws to fasten the cylinder tightly. Check if the key turns easily before moving on.
Securing The Deadbolt Mechanism
Slide the deadbolt mechanism inside the door edge. Match it with the cylinder inside. Screw the mechanism firmly to hold it in place. Test the bolt by turning the key. It should move in and out smoothly without sticking.
Attaching The Strike Plate
Position the strike plate on the door frame where the bolt extends. Mark the screw holes with a pencil. Drill pilot holes for easier screw insertion. Attach the strike plate with screws securely. Ensure the bolt fits well into the strike plate slot. This keeps the door locked tight and secure.
Testing The Lock
Testing the lock is a key step after installing your deadbolt. It ensures the lock works properly and keeps your door secure. Checking the lock now saves time and trouble later. Follow these steps carefully to confirm your deadbolt operates smoothly and aligns perfectly.
Checking Alignment
Start by closing the door slowly. Watch how the deadbolt fits into the strike plate. The bolt should slide in easily without forcing. If it sticks or misses the hole, the alignment is off. Adjust the strike plate or the lock position. Small changes make a big difference here.
Ensuring Smooth Operation
Turn the key or thumb turn several times. The deadbolt should move smoothly without resistance. Listen for any grinding or unusual sounds. If it feels rough, check the lock mechanism inside the door. Lubricate the lock with graphite powder if needed. Avoid oil-based lubricants as they attract dust.

Credit: nice-digi.com
Troubleshooting Tips
Troubleshooting is key when installing a deadbolt lock. Small issues can stop the lock from working right. Knowing how to fix these problems saves time and effort. Here are some common problems and easy fixes.
Fixing Misalignment
Misalignment happens when the deadbolt does not fit well into the strike plate. This can make locking or unlocking hard. First, check if the bolt and plate line up. If not, try loosening the screws on the strike plate. Move the plate slightly up, down, or sideways. Tighten the screws again and test the lock. Sometimes, you need to file the strike plate hole a bit. Use a metal file to widen or deepen it. This helps the bolt slide in smoothly.
Addressing Stiff Locks
Stiff locks are hard to turn. Dust and dirt inside the lock cause stiffness. Spray a small amount of lubricant into the keyhole. Use a graphite or silicone-based spray. Avoid oil-based sprays as they attract more dirt. Insert and turn the key several times to spread the lubricant inside. If the lock is still stiff, check for bent or damaged parts. Straighten bent pieces carefully or replace broken parts. This should make the lock work smoothly again.
Maintenance And Care
Proper maintenance keeps your deadbolt lock working well for years. Regular care prevents jams and wear. It saves you from costly repairs and replacements. Follow simple steps to keep your lock smooth and secure.
Lubrication Tips
Apply lubricant to the keyhole and moving parts every six months. Use graphite powder or silicone spray. Avoid oil-based lubricants as they attract dust. A small amount is enough. Insert and turn the key several times to spread the lubricant. This helps the lock move freely and prevents rust.
Regular Inspection
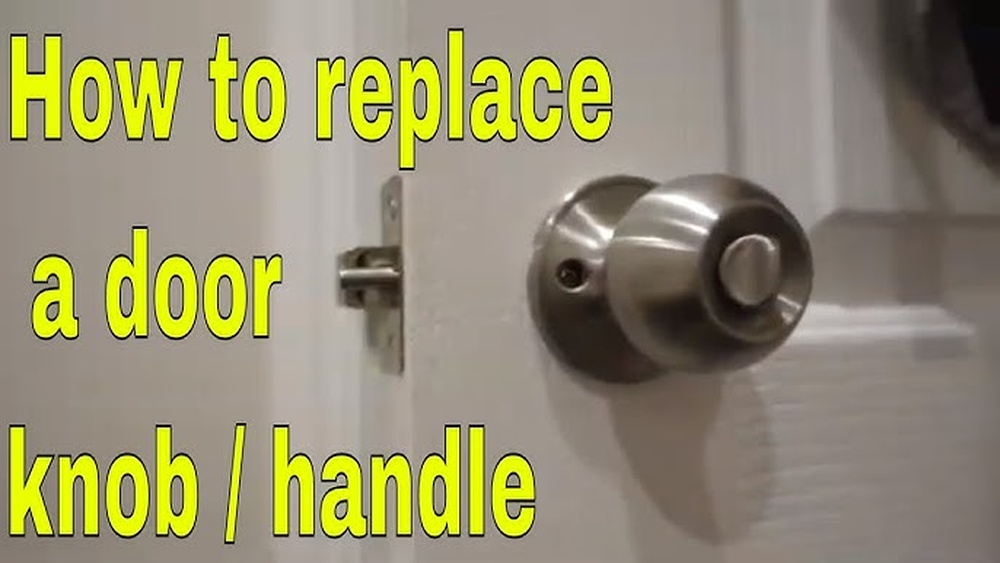
Check your deadbolt lock monthly for any signs of damage. Look for loose screws or parts that do not move smoothly. Tighten screws with a screwdriver if needed. Test the lock by turning the key and knob. Catch problems early to avoid bigger issues. Keep your door and frame clean to ensure proper alignment.

Credit: www.youtube.com
Frequently Asked Questions
How Do I Install A Deadbolt Lock Step-by-step?
To install a deadbolt lock, first measure and mark the door. Drill holes for the lock and strike plate. Insert the lock components, secure with screws, and test the deadbolt for smooth operation. Follow the specific instructions in the YouTube tutorial for best results.
What Tools Are Needed To Install A Deadbolt Lock?
You need a drill, drill bits, screwdriver, tape measure, pencil, chisel, and a hammer. These tools help create holes and secure the deadbolt. Having the right tools ensures a smooth, safe installation process and a properly functioning lock.
How Long Does It Take To Install A Deadbolt Lock?
Installing a deadbolt lock typically takes 30 to 60 minutes. Time varies by skill level and door type. Watching a YouTube tutorial can speed up the process by showing clear, step-by-step instructions for efficient installation.
Can I Install A Deadbolt Lock Without Professional Help?
Yes, many deadbolt locks are DIY-friendly with clear instructions. Watching a detailed YouTube video helps beginners install locks confidently. Ensure you have the right tools and follow safety tips for a secure and proper installation.
Conclusion
Installing a deadbolt lock is easier than you think. Follow each step carefully for best results. Use the right tools to avoid mistakes. Take your time to ensure everything fits well. This simple upgrade makes your home safer. You can watch the YouTube video again if needed.
Practice makes perfect, so don’t rush. Protecting your door with a deadbolt brings peace of mind. Now, you are ready to secure your home. Stay safe and confident with your new lock.