Are you struggling with a stubborn Gatehouse deadbolt that just won’t budge? Whether you’re upgrading your lock or need to fix a jammed mechanism, removing a deadbolt can feel tricky if you don’t know the right steps.
But don’t worry—this guide will walk you through the process in simple, clear steps that anyone can follow. By the end, you’ll have the confidence to remove your Gatehouse deadbolt quickly and safely, saving time and frustration. Keep reading to unlock the secrets to getting the job done right!

Credit: www.eelilock.com
Tools Needed
Removing a Gatehouse deadbolt requires the right tools. Having these tools ready makes the process smooth and fast. Without proper tools, you might damage the lock or door.
Some tools are essential for every deadbolt removal. Others help with locks that are old or stuck. Knowing which tools to use saves time and effort.
Essential Tools List
- Screwdriver (Phillips and flathead) for removing screws
- Allen wrench set for hex screws
- Pliers to grip and pull small parts
- Utility knife to cut any paint or sealant
- Flashlight to see inside dark spaces
Optional Tools For Stubborn Locks
- WD-40 or lubricant to loosen stuck parts
- Small hammer for gentle tapping
- Putty knife to pry off trim carefully
- Needle-nose pliers for tight spaces
- Magnet to retrieve dropped screws
Prepare The Area
Preparing the area is a key first step to remove a Gatehouse deadbolt safely and smoothly. You need space to work and safety measures in place. This helps avoid accidents and makes the task easier.
Take your time to get the area ready before starting. A clear, safe workspace helps you focus on the job without distractions or risks.
Clear The Work Space
Remove any objects near the door. Move furniture, rugs, and decorations away. This gives you room to work freely. A clear space prevents tripping or knocking things over. Keep tools nearby but organized. It saves time and effort during the job.
Ensure Safety Measures
Wear safety glasses to protect your eyes from dust or metal shards. Use gloves to avoid cuts from sharp edges. Check the door and lock for stability. Make sure the door won’t swing suddenly. Keep children and pets out of the area. Safety keeps the work smooth and injury-free.
Locate The Deadbolt Screws
Locating the deadbolt screws is the first step in removing a Gatehouse deadbolt. These screws hold the lock together and keep it attached to the door. Finding them helps you understand how to take the lock apart safely. Sometimes, screws are easy to see. Other times, they hide under small covers or plates. Knowing where to look saves time and prevents damage to the door or lock.
Identify Interior Screws
Start by opening the door and looking at the lock’s inside part. Most deadbolts have screws on the interior side. These screws hold the lock mechanism in place. Use a flashlight to see them clearly. They are often near the thumb turn or the inside knob. Check if they are visible or covered by a small plate. Use a screwdriver to remove these screws carefully.
Check For Hidden Fasteners
Some Gatehouse deadbolts have hidden screws or fasteners. Look for small caps or covers around the lock. These caps may hide the screws underneath. Gently pry off these covers with a flat tool. Watch for clips or tabs that hold the covers in place. Hidden fasteners secure the lock but keep it neat. Removing these reveals screws that you must unscrew to remove the deadbolt.
Remove The Interior Plate
The interior plate holds the deadbolt mechanism inside the door. Removing it is an important step to access the lock parts. Doing this carefully helps avoid damage to the door and lock.
Follow the steps below to remove the interior plate safely and easily.
Unscrew The Plate
Use a screwdriver that fits the screws well. Turn the screws counterclockwise to loosen them. Keep the screws in a safe place to avoid losing them. Remove all screws before trying to pull the plate off.
Handle The Plate Carefully
Once the screws are out, gently pull the plate away from the door. Avoid using force to prevent breaking the plate or door surface. Set the plate down on a soft surface to keep it safe. Check for any stuck parts and loosen them slowly.
Extract The Deadbolt Mechanism
Extracting the deadbolt mechanism is a key step in removing a Gatehouse deadbolt. This part controls the locking and unlocking action. Removing it carefully prevents damage to the door and lock parts.
Start by accessing the deadbolt inside the door edge. You will see the bolt extending into the door frame. Removing this bolt lets you take out the entire deadbolt mechanism.
Pull Out The Bolt
Locate the screws holding the faceplate on the door edge. Use a screwdriver to remove these screws. Gently pull the faceplate away from the door. The bolt should slide out smoothly.
If the bolt does not move easily, wiggle it slightly. Pulling straight out helps prevent jamming. Keep steady pressure until the bolt comes free.
Troubleshoot Stuck Mechanisms
Sometimes the bolt sticks due to dirt or rust. Spray a small amount of lubricant into the bolt hole. Let it sit for a few minutes.
Try pulling the bolt again. Use gentle tapping with a screwdriver handle if needed. Avoid using force that might break the lock.
If the bolt remains stuck, check inside the lock for broken parts. Removing the lock cylinder may help access jammed pieces. Patience is key to avoid damage.

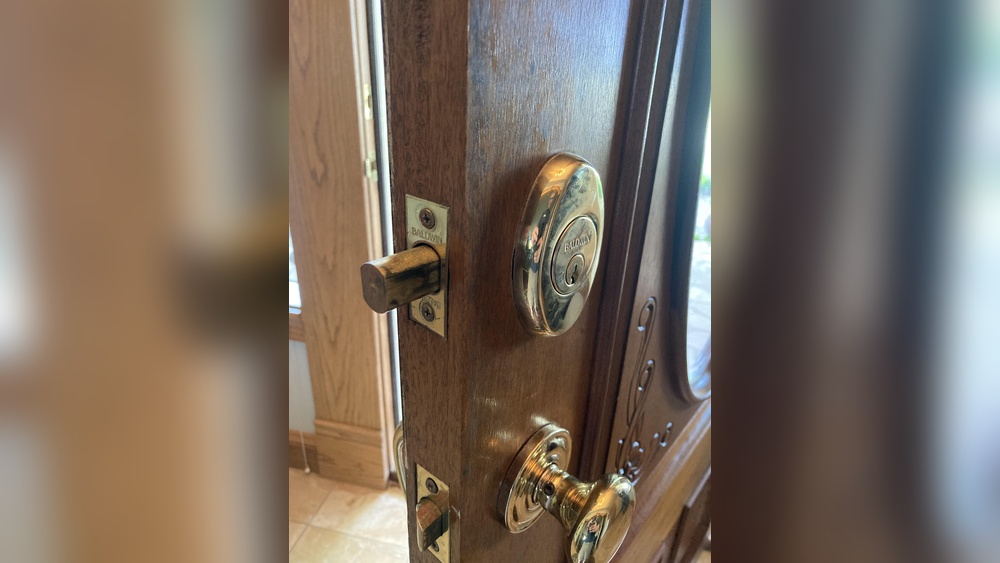
Credit: www.eelilock.com
Remove The Exterior Lock Cylinder
Removing the exterior lock cylinder is the key step in taking out a gatehouse deadbolt. This part holds the keyhole and the locking mechanism on the outside of the door. Taking it out allows you to replace or repair the lock easily.
Focus on careful handling to avoid damage. The process involves accessing the cylinder and detaching it safely. Follow these steps for a smooth removal.
Access The Cylinder
Start by opening the gatehouse door. Locate the screws on the interior side that hold the lock in place. Use a screwdriver to remove these screws. Keep them safe for later use.
Once the screws are out, gently pull the lock body away from the door. This reveals the exterior cylinder. Sometimes, the cylinder may stick. Wiggle it gently to loosen it.
Detach The Cylinder Safely
Look for the retaining clip or screw holding the cylinder. Remove it with a flathead screwdriver or pliers. Hold the cylinder firmly and pull it straight out from the door.
Do not force the cylinder. Pull slowly and evenly to avoid breaking parts. Once free, set the cylinder aside carefully. This completes the removal of the exterior lock cylinder.
Clean And Inspect The Door
Cleaning and inspecting the door is a crucial step when removing a Gatehouse deadbolt. This process helps ensure the door stays in good shape and works properly after the deadbolt is taken out. Dirt, old glue, and damage can cause problems if not dealt with early. Taking time to clean and check the door sets a strong foundation for any repairs or new hardware installation.
Remove Residue
Start by wiping off any dirt or dust around the deadbolt area. Use a soft cloth and mild cleaner to remove grease and grime. Old glue or paint may stick to the door after the deadbolt is removed. Gently scrape these residues with a plastic scraper to avoid scratching the door. Clean the surface until it is smooth and clear of debris.
Check For Damage
Look closely at the door’s surface and edges near the deadbolt hole. Check for cracks, splits, or loose wood that may weaken the door. Make sure the door frame is strong and not warped or broken. Damaged areas need fixing before adding new hardware. This step prevents future issues and keeps your door secure and stable.

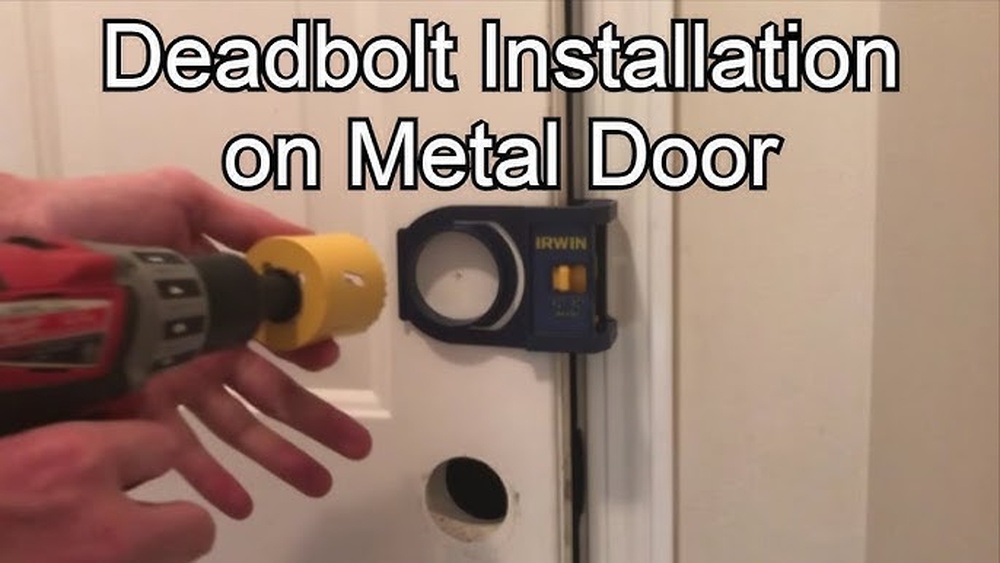
Credit: www.youtube.com
Replace Or Store The Deadbolt
After removing a Gatehouse deadbolt, decide whether to keep or replace it. This step matters for security and convenience. You can store the old deadbolt safely or install a new one right away.
Store For Future Use
Keep the deadbolt in a small box or bag. Label it with the date and door it came from. Store it in a dry place to avoid rust or damage. This way, you can reuse it later if needed. Having a spare lock saves time and money.
Install A New Lock If Needed
Choose a new deadbolt that fits your door’s size and style. Check the lock’s instructions carefully. Use the right tools for a secure fit. Tighten screws firmly but do not overdo it. Test the lock to ensure it works smoothly. A new deadbolt improves your door’s safety and look.
Final Tips
Removing a Gatehouse deadbolt can seem tricky at first. Small errors may cause damage or delay your work. Follow these final tips to keep the process smooth and safe. A careful approach saves time and effort.
Avoid Common Mistakes
Do not force parts that feel stuck. Gentle pressure works better. Use the right screwdriver size to prevent stripping screws. Keep track of small pieces to avoid losing them. Take your time to avoid errors. Rushing can lead to broken parts or scratched doors.
When To Call A Professional
Call a locksmith if the deadbolt won’t budge. Complex locks or broken parts need expert tools. Professionals can remove the deadbolt without damage. Seek help if you feel unsure or stuck. This saves money and prevents door damage.
Frequently Asked Questions
How Do I Remove A Gatehouse Deadbolt Lock?
First, unscrew the interior mounting screws using a screwdriver. Then, carefully pull both lock sides apart. Finally, remove the deadbolt from the door edge by sliding it out.
What Tools Are Needed To Remove A Gatehouse Deadbolt?
You will typically need a Phillips screwdriver and sometimes a flathead screwdriver. These tools help to unscrew the mounting screws and pry off the lock components.
Can I Remove A Gatehouse Deadbolt Without Damaging The Door?
Yes, by carefully unscrewing and pulling the lock apart, you avoid door damage. Avoid forcing parts to prevent scratches or dents.
How Long Does It Take To Remove A Gatehouse Deadbolt?
Removing a deadbolt usually takes 10 to 20 minutes. The process is straightforward with basic tools and no prior experience needed.
Conclusion
Removing a Gatehouse deadbolt can be simple with the right steps. Always keep safety in mind while working. Use the right tools and follow instructions closely. Taking your time helps avoid mistakes and damage. You can do this task yourself without extra help.
Now, your gate lock is ready for repair or replacement. Stay patient and careful, and the job will go well.