Looking to boost your home’s security quickly and easily? Installing a deadbolt lock is one of the best ways to protect your door from unwanted visitors.
But if you’ve never done it before, the process might seem tricky or overwhelming. That’s why this step-by-step video guide is perfect for you. It breaks down every move clearly, so you can follow along and finish the job with confidence.
Keep reading, and by the end, you’ll have a strong, reliable deadbolt lock guarding your home. Ready to take control of your safety? Let’s get started!
Choosing The Right Deadbolt
Picking the right deadbolt lock is important for your home’s safety. A good deadbolt stops intruders and protects your family. Not all deadbolts are the same. Choosing the right type and style can save time and money.
Think about your door type and how much security you need. Some deadbolts fit better on certain doors. Others offer extra features like pick resistance or keyless entry. Knowing what to look for helps you choose wisely.
Types Of Deadbolt Locks
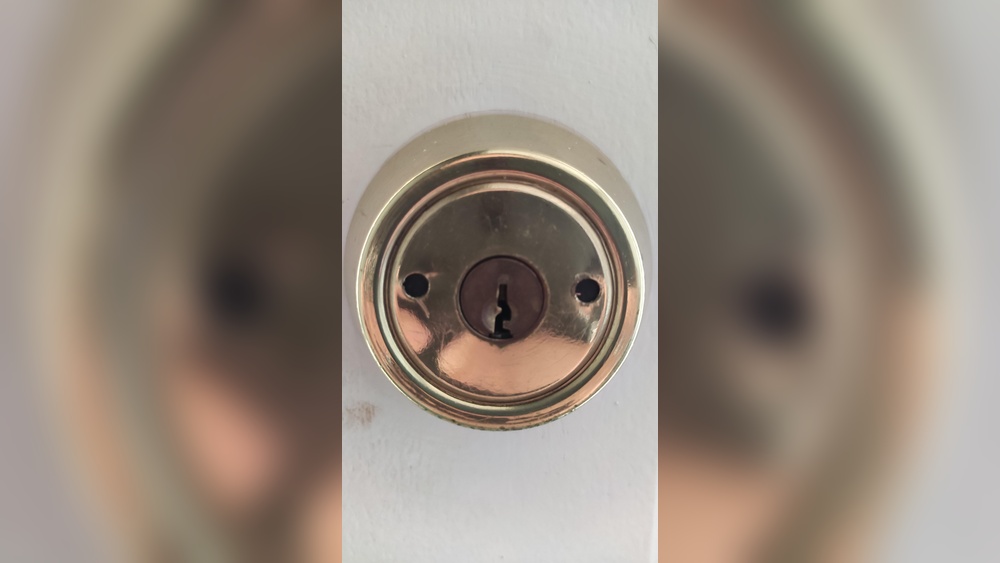
Single-cylinder deadbolts use a key outside and a thumb turn inside. They are common and easy to use. Double-cylinder deadbolts need a key on both sides. They add safety but can be tricky in emergencies.
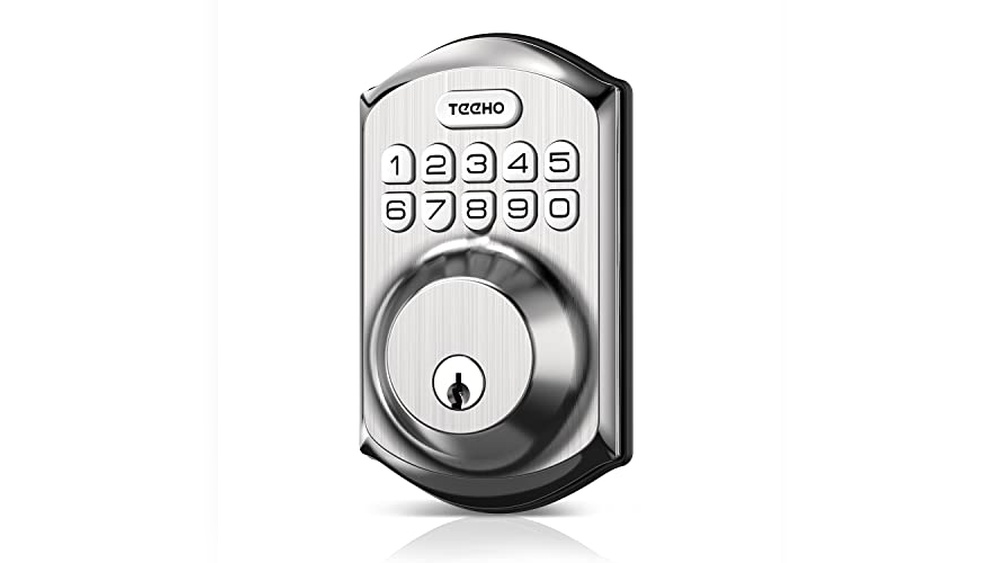
There are also electronic deadbolts. These allow keyless entry using codes or apps. They offer convenience but need batteries and setup. Choose a type that fits your door and lifestyle.
Factors To Consider
Check the lock’s durability and material. Steel or brass locks last longer. Also, measure your door thickness. Most deadbolts fit standard doors, but some need special sizes.
Think about security level. Some deadbolts have extra pins to stop lock picking. Others come with reinforced strike plates for stronger resistance. Consider ease of use and installation too.
Tools Needed
Installing a deadbolt requires basic tools. You need a drill, screwdriver, tape measure, and pencil. A chisel helps to fit the lock into the door frame. Also, have safety glasses to protect your eyes.
Prepare the tools before starting. This makes the installation smooth and quick. Using the right tools ensures the deadbolt fits tight and works well.

Credit: www.amazon.com
Preparing The Door
Preparing the door is the first important step to install a deadbolt lock. This step ensures the lock fits perfectly and works well. Taking time now saves problems later. Follow each task carefully for the best results.
Measuring And Marking
Measure the door’s thickness and edge carefully. Mark the spot for the deadbolt on the door face. Use a pencil and ruler for clear lines. Check measurements twice to avoid mistakes. Correct marks guide drilling and help the lock fit properly.
Drilling Holes
Choose the right drill bit size for the lock holes. Drill the hole on the door face first. Drill slowly to keep the hole clean and smooth. Drill a hole in the door edge for the latch. Take safety steps, like wearing goggles. Keep the drill straight for accurate holes.
Cleaning The Area
Remove wood dust and debris after drilling. Use a brush or cloth to clean holes. Clear edges for the lock parts to fit well. A clean surface helps the lock work smoothly. Check that no dust blocks the latch or screws.
Installing The Deadbolt
Installing a deadbolt is a key step to secure your door. This part involves placing and fixing the lock parts carefully. Follow each step to make sure your deadbolt works smoothly and safely.
Inserting The Deadbolt Mechanism
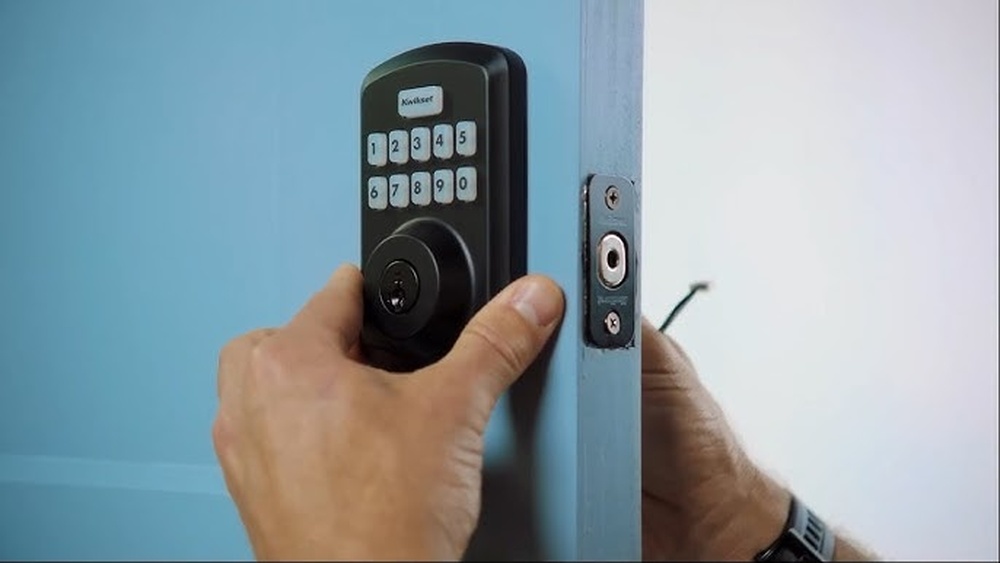
Start by sliding the deadbolt mechanism into the hole on the edge of the door. The bolt should face the door frame. Push it in until it fits snugly. Use screws to hold it in place tightly.
Attaching The Exterior Plate
Next, place the exterior plate on the outside of the door. Align it with the deadbolt mechanism inside. Make sure the keyhole or thumb turn is in the right position. Secure the plate with screws, but do not tighten fully yet.
Securing The Interior Plate
Now, attach the interior plate on the inside of the door. Align it with the exterior plate and deadbolt. Insert the connecting screws through both plates. Tighten the screws firmly to secure the lock parts together.
Testing And Adjustments
After installing your deadbolt lock, testing and adjustments are key. This step ensures your lock works properly and keeps your door secure. Small tweaks can prevent future problems and make your lock last longer.
Checking Lock Alignment
Start by closing the door slowly. Watch how the deadbolt slides into the strike plate. The bolt should fit smoothly without forcing. Misalignment can cause the lock to jam or not close fully. Check both sides of the door to see if the lock lines up evenly. Adjust the lock or door hinges if needed.
Adjusting Strike Plate
The strike plate must be secure and positioned correctly. If the bolt hits the plate edge, the lock won’t latch properly. Loosen the screws slightly and move the plate up, down, or sideways. Test the bolt after each move. Tighten the screws once the bolt fits snugly into the plate. A well-adjusted strike plate improves lock strength.
Ensuring Smooth Operation
Turn the key and thumb turn several times. The lock should turn without sticking or resistance. If it feels stiff, add a small amount of lubricant inside the lock cylinder. Avoid using too much oil, which attracts dirt. Smooth operation helps the lock last longer and prevents key damage. Always test the lock from both inside and outside.
Maintenance Tips
Proper maintenance keeps your deadbolt lock working smoothly for years. It prevents jams, rust, and other problems. Simple care steps can save you from costly repairs or replacements. Regular attention helps your lock stay secure and easy to use.
Lubricating The Lock
Apply a dry lubricant to the keyhole and bolt. Avoid oil-based lubricants; they attract dirt and dust. Spray a small amount inside the lock. Turn the key several times to spread the lubricant. This reduces friction and prevents sticking.
Regular Inspections
Check your deadbolt every few months. Look for signs of rust, dirt, or damage. Make sure the bolt moves smoothly without resistance. Tighten loose screws on the lock and door frame. Early detection stops small problems from growing.
Troubleshooting Common Issues
If the key sticks or won’t turn, clean the lock first. Remove dust and debris using compressed air. Test the lock after cleaning. If it still binds, relubricate the lock. For misaligned bolts, adjust the strike plate on the door frame. Persistent problems may need professional help.
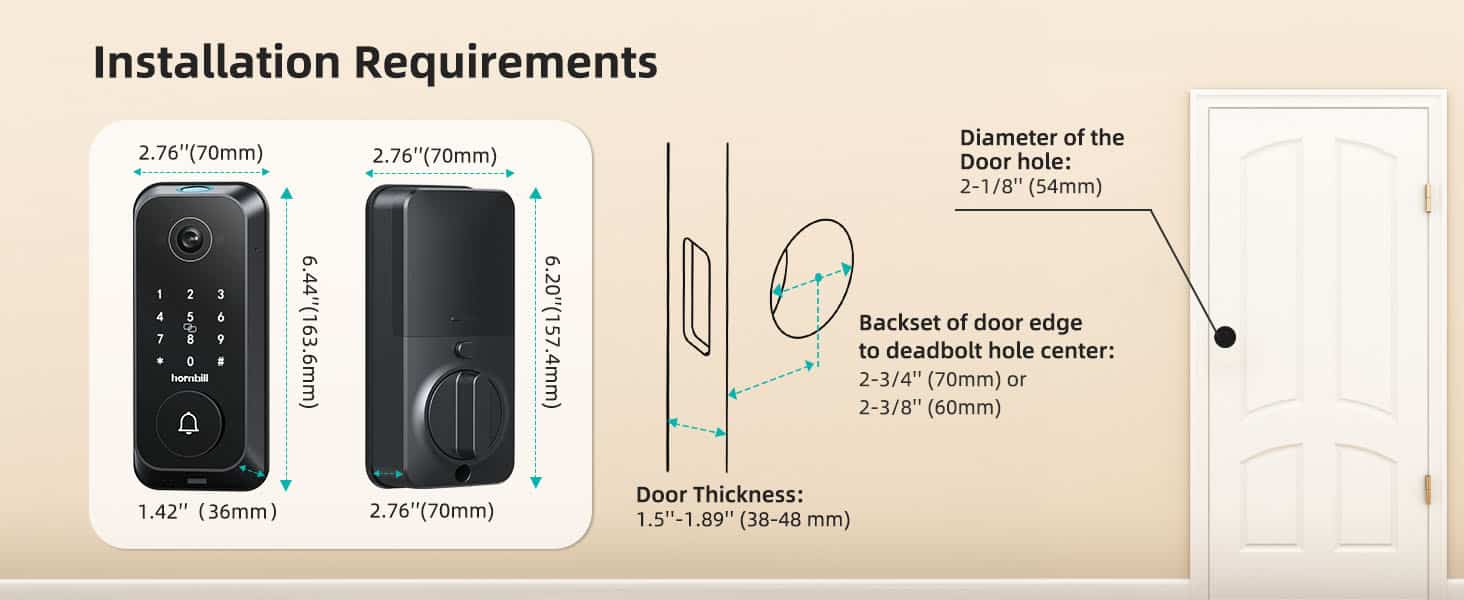
Credit: hornbilllock.com

Credit: www.amazon.com
Frequently Asked Questions
How Do I Install A Deadbolt Lock Step-by-step?
First, mark the door for drilling holes. Drill the holes carefully. Insert the lock components. Secure with screws. Test the lock to ensure it works properly.
What Tools Are Needed To Install A Deadbolt Lock?
You need a drill, screwdriver, measuring tape, pencil, and chisel. These tools help make precise holes and secure the lock efficiently.
How Long Does It Take To Install A Deadbolt Lock?
Installation usually takes about 30 to 60 minutes. Time depends on your experience and door type. Following the video guide speeds up the process.
Can I Install A Deadbolt Lock Without Drilling?
No, drilling is necessary to fit the lock components into the door. Proper holes ensure the lock functions securely and safely.
Conclusion
Installing a deadbolt lock is easier than it seems. Follow the steps carefully to secure your door. Take your time and double-check each part. A good lock helps keep your home safe. Practice makes perfect, so don’t rush. Now, you can protect your space with confidence.
Simple tools and clear instructions make a big difference. Try it yourself and feel proud of your work. Safety starts at the door.