Are you struggling with your Lockwood double cylinder deadbolt and don’t know how to remove it? Whether you’re upgrading your security or fixing a jammed lock, getting this done yourself can save you time and money.
In this guide, you’ll find simple, step-by-step instructions that anyone can follow—no special tools or skills needed. By the end, you’ll feel confident handling your lock like a pro. Keep reading to unlock the secrets to removing your Lockwood double cylinder deadbolt quickly and safely.

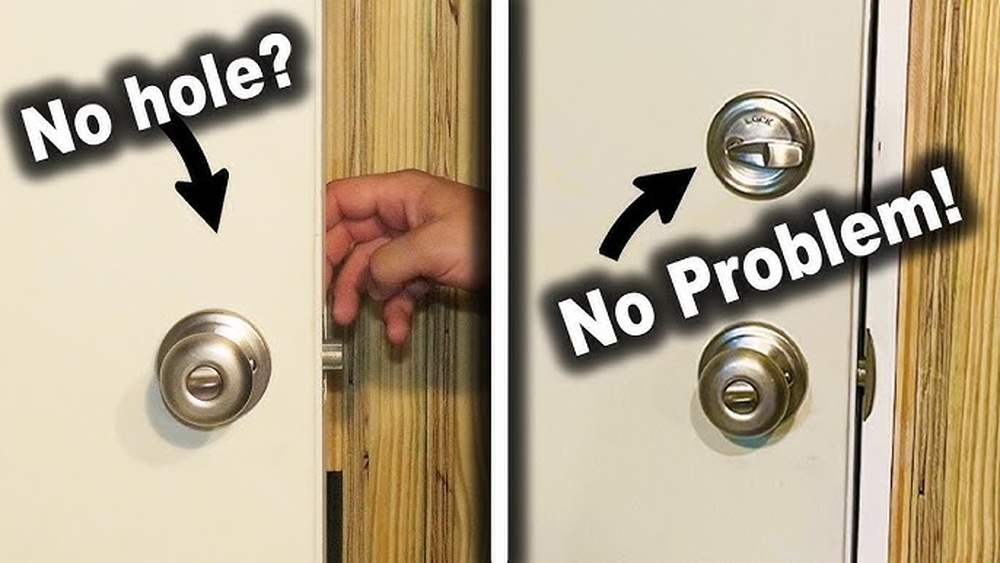
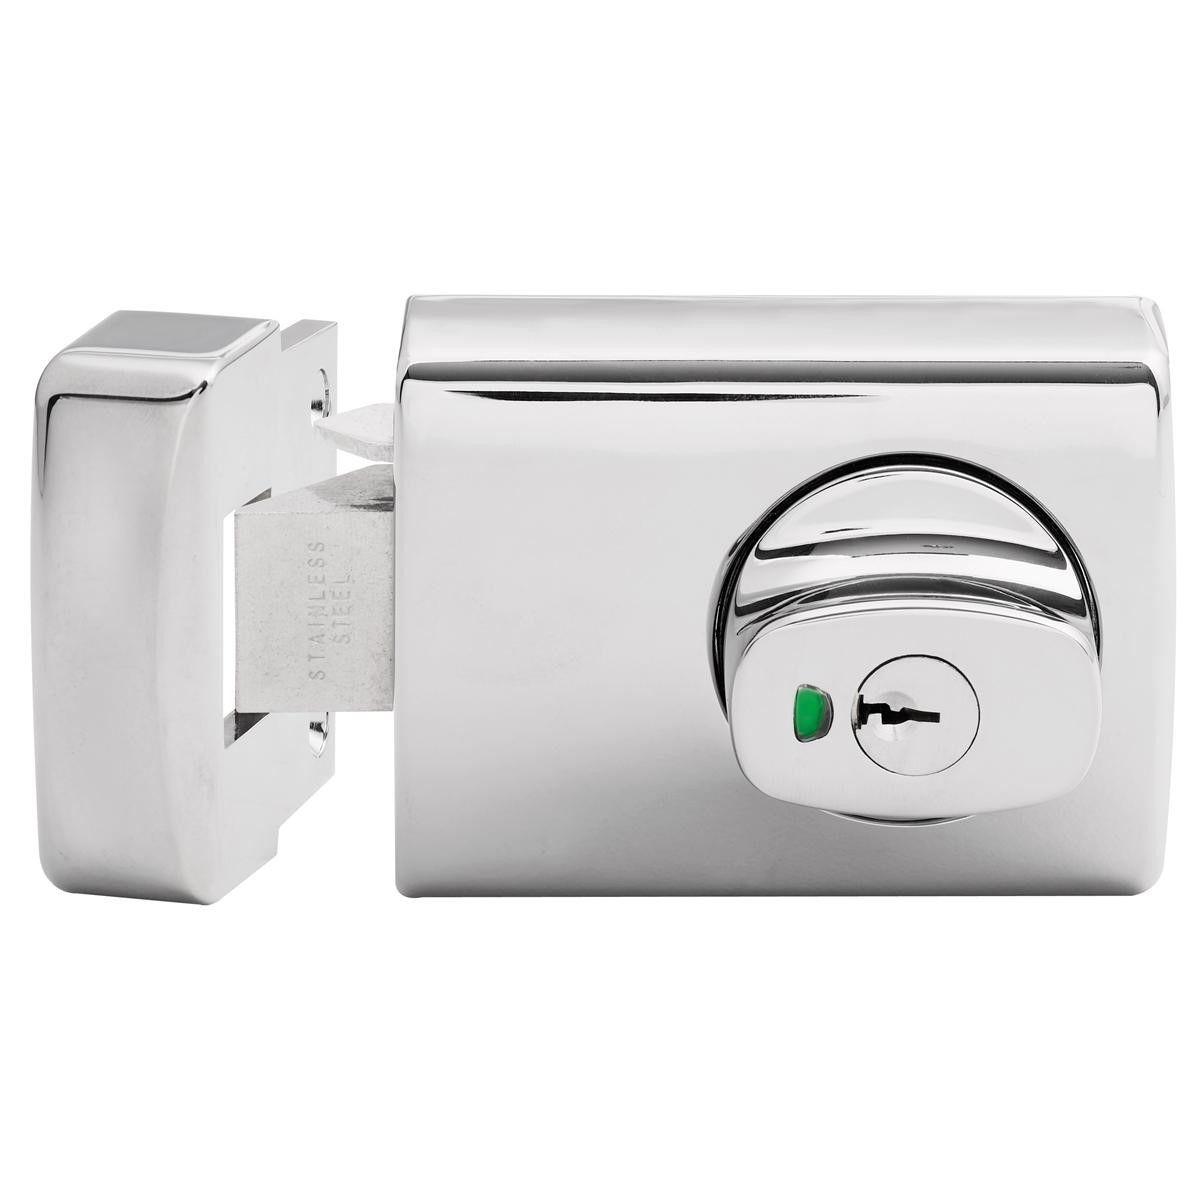
Credit: www.youtube.com
Tools Needed
Removing a Lockwood double cylinder deadbolt requires the right tools. Having them ready makes the job easier and faster. The tools help you work safely and avoid damage to the door or lock.
Prepare all tools before starting. This saves time and keeps the process smooth. Each tool has a specific role in removing the deadbolt effectively.
Screwdriver Set
A screwdriver set is essential. Most deadbolts use Phillips or flathead screws. Choose the correct screwdriver to avoid stripping the screws.
Allen Wrenches
Some Lockwood models use Allen screws. Allen wrenches fit into these screws to loosen or tighten them. A small set with different sizes is helpful.
Needle Nose Pliers
Needle nose pliers help grip small parts. They assist in pulling out pins or clips inside the lock. Their slim design reaches tight spaces easily.
Utility Knife
A utility knife removes paint or sealant around the lock. It helps expose screws or edges hidden under layers. Use it carefully to avoid damage.
Lubricant Spray
Lubricant spray loosens stuck screws or parts. It makes removing the deadbolt smoother. Spray on screws and wait a few minutes before unscrewing.
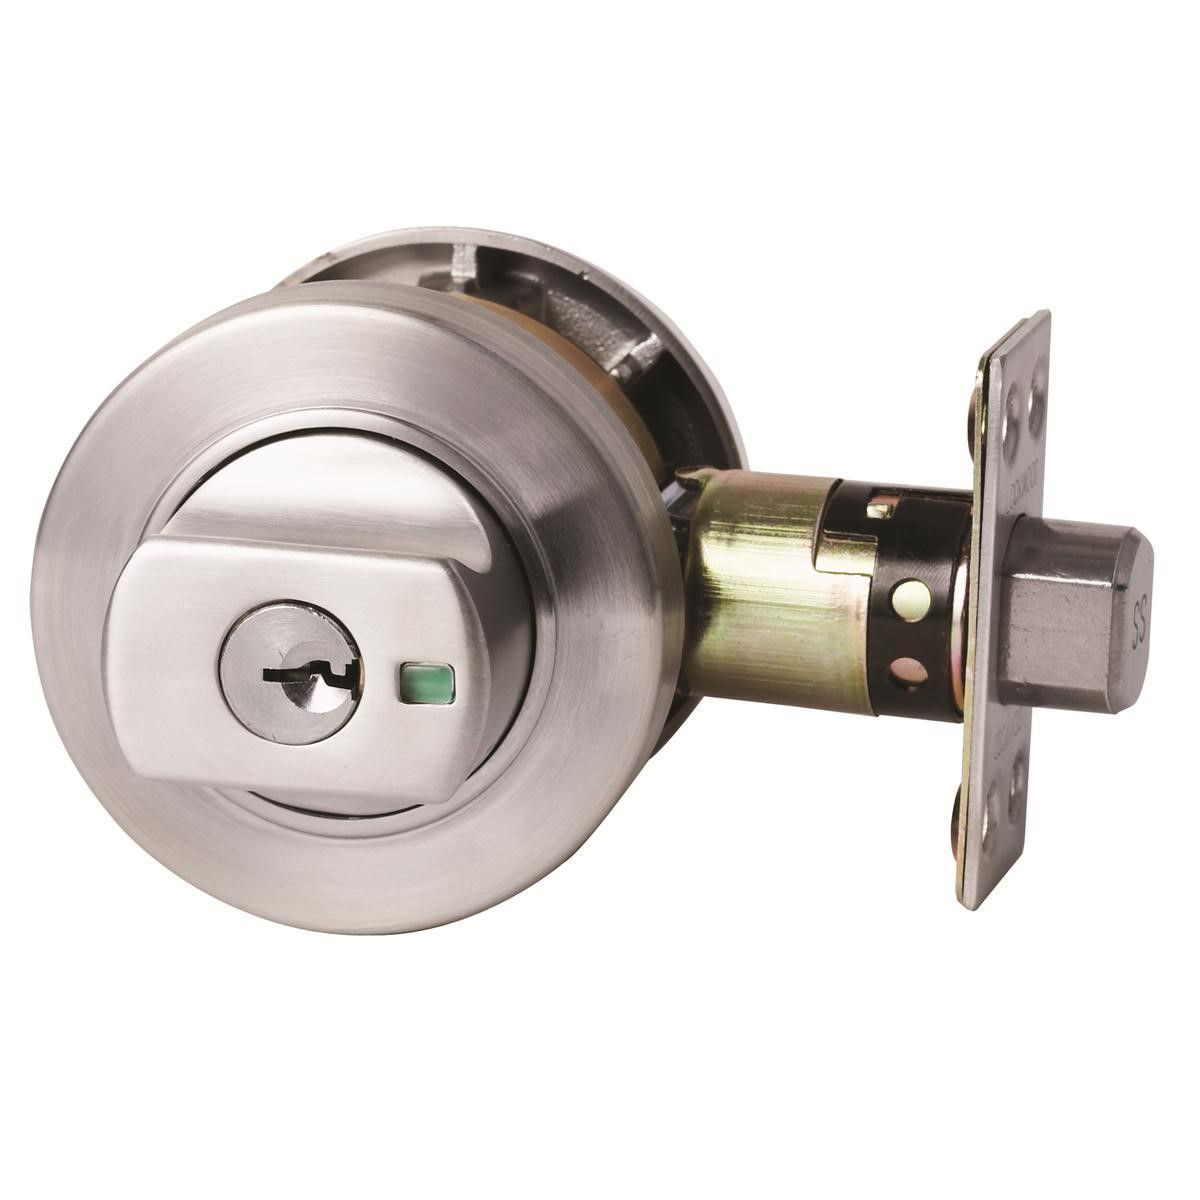
Credit: www.assaabloy.com
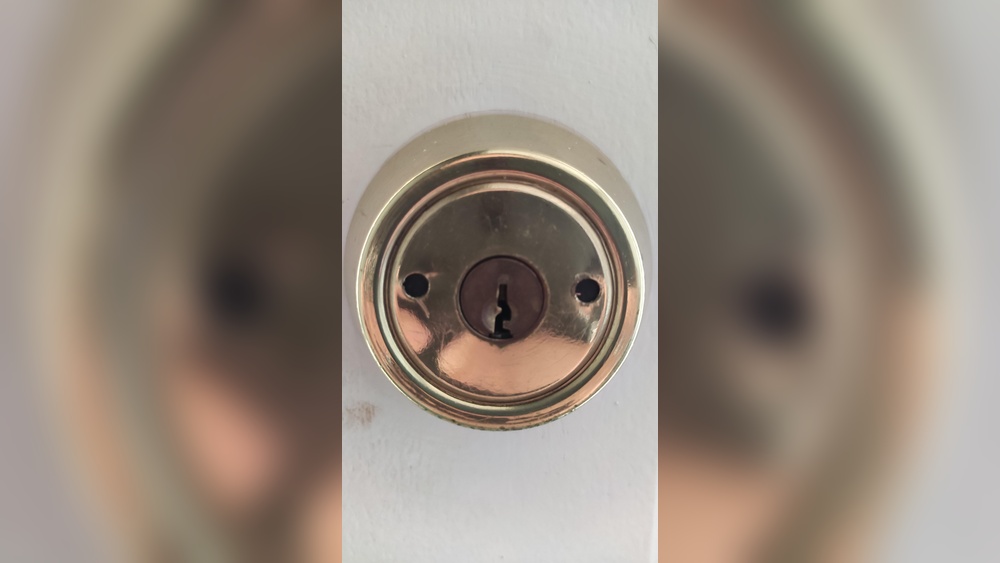
Identify The Deadbolt Type
Identifying the type of deadbolt is the first step in removing a Lockwood double cylinder deadbolt. This step helps you understand how the lock works and what tools you need. Double cylinder deadbolts have a keyhole on both sides. They offer extra security but require careful handling when removing.
Knowing the exact model and design prevents damage to the door or lock. It also saves time during removal. Take a close look at the deadbolt. Check its shape, size, and keyholes. This information guides the removal process.
Check For Keyholes On Both Sides
Lockwood double cylinder deadbolts have keyholes on the inside and outside. This feature sets them apart from single cylinder locks. Look closely at your door’s lock. If you see a keyhole on each side, it is a double cylinder deadbolt.
Identify The Lock Faceplate
The faceplate is the metal plate on the edge of the door. It covers the deadbolt mechanism. Lockwood deadbolts usually have a rectangular faceplate with visible screws. The shape and screw placement can help confirm the lock type.
Look For Lock Model Numbers
Model numbers often appear on the lock face or inside the lock. These numbers help you find the exact instructions for removal. Use a flashlight if needed. Write down the numbers before searching for guides or parts.
Observe The Bolt Mechanism
The bolt is the metal piece that extends into the door frame. Double cylinder deadbolts have a solid, rectangular bolt. It moves only when a key turns in either side. This feature is important to notice before starting removal.
Remove Exterior Cylinder
Removing the exterior cylinder is the first step in taking out a Lockwood double cylinder deadbolt. This part holds the keyhole and locks the door from the outside. Carefully removing it lets you access the internal parts for repair or replacement.
Follow the steps below to remove the exterior cylinder safely and easily. Keep your tools close and work patiently to avoid damage.
Locate Cylinder Retaining Screw
Look on the edge of the door near the lock. You will find a small screw holding the cylinder in place. This is called the cylinder retaining screw. It keeps the cylinder secure so it does not fall out.
Use a flashlight if needed. The screw is usually near the middle of the lock’s side. Identifying this screw is important before unscrewing anything.
Unscrew And Extract Cylinder
Use a screwdriver that fits the retaining screw. Turn the screw counterclockwise to loosen it. Do not remove the screw completely. Just loosen it enough to free the cylinder.
After loosening, gently pull the exterior cylinder out from the door. Pull it straight to avoid damaging the lock. If it feels stuck, double-check the screw is loose enough.
Set the cylinder aside safely. Now you can continue with internal lock removal or repair.
Remove Interior Thumb Turn
Removing the interior thumb turn is the first step to take off your Lockwood double cylinder deadbolt. This part allows you to lock or unlock the door from inside. Taking it out carefully helps you access the inner lock mechanism. Follow these simple steps to remove the thumb turn safely and easily.
Unscrew Interior Plate
Start by locating the screws on the interior plate around the thumb turn. Use a screwdriver that fits the screws well. Turn each screw counterclockwise to loosen and remove them. Keep the screws safe for reassembly. Once the screws are out, gently pull the interior plate away from the door.
Detach Thumb Turn
After removing the plate, the thumb turn will be visible. Pull the thumb turn straight out from the door. Sometimes it may feel tight; wiggle it slightly to loosen. Avoid using too much force to prevent damage. Once detached, set the thumb turn aside in a safe place.
Take Out Deadbolt Mechanism
Removing the deadbolt mechanism from a Lockwood double cylinder lock is simple. This step is key to fixing or replacing the lock. Follow these clear steps to take out the deadbolt safely and quickly.
Unscrew Faceplate
First, locate the screws on the faceplate of the deadbolt. Use a screwdriver to remove these screws carefully. Keep the screws safe for later use. Take off the faceplate gently to avoid damage. This exposes the deadbolt mechanism inside the door.
Slide Out Deadbolt
After removing the faceplate, hold the lock body firmly. Slide the deadbolt mechanism straight out from the door edge. Sometimes it may need a little wiggle to come free. Remove the deadbolt completely to access the internal parts. This step clears the way for repair or replacement.
Credit: www.assaabloy.com
Reassemble Or Replace Parts
After removing the Lockwood double cylinder deadbolt, focus on reassembling or replacing its parts. This step ensures your door stays secure and works smoothly. Check each component for damage or wear. Replace any broken or old parts to avoid future problems.
Keep all screws and small pieces organized. This makes reassembly easier and faster. Clean parts if needed before putting them back. Proper care helps the lock last longer and work better.
Install New Deadbolt
Place the new deadbolt into the door’s hole. Align it carefully with the existing holes and slots. Insert screws and tighten them firmly but not too tight. Make sure the deadbolt moves freely without sticking. Check that the lock cylinder fits correctly on both sides.
Test Lock Functionality
Turn the key on both sides to test the lock. Ensure the bolt extends and retracts smoothly. Lock and unlock the door several times. Confirm the keys work without force or jamming. If any part feels stuck, adjust or reinstall it carefully.
Troubleshooting Tips
Removing a Lockwood double cylinder deadbolt can sometimes be tricky. Problems may arise that slow down the process. Knowing how to solve these common issues helps finish the job smoothly.
Troubleshooting tips focus on two major problems: stuck screws and misalignment. These issues often block easy removal of the lock. Using the right methods clears these obstacles fast.
Handling Stuck Screws
Stuck screws are common when removing deadbolts. Rust or paint often causes screws to stick tightly. Use a screwdriver that fits well to avoid stripping the screw head. Apply a small amount of penetrating oil to loosen rusted screws. Let the oil sit for 10 minutes before trying again. Tap the screwdriver gently with a hammer to help break the rust bond. Turn screws slowly and steadily to prevent damage. If a screw won’t budge, try using a rubber band for extra grip. Avoid forcing screws too hard, or they may break inside the lock.
Dealing With Misalignment
Misalignment happens when parts do not line up correctly. This issue makes removing the lock difficult. Check the deadbolt’s position and adjust if needed. Tighten or loosen screws that hold the lock in place. Sometimes, the lock cylinder shifts out of place. Gently wiggle the cylinder to realign it with the door hole. Use a flat tool to push the parts back into position. Work slowly to avoid damaging the lock or door. Correct alignment ensures smooth removal and reinstallation.
Frequently Asked Questions
How Do You Remove A Lockwood Double Cylinder Deadbolt?
To remove it, first unlock the deadbolt using the key. Unscrew the interior and exterior plates carefully. Then, pull out the deadbolt mechanism. Keep screws and parts safe for reinstallation or replacement.
What Tools Are Needed To Remove The Deadbolt?
You will need a Phillips screwdriver, a flathead screwdriver, and the key. These tools help unscrew plates and remove the deadbolt smoothly and safely.
Can I Remove The Deadbolt Without A Key?
No, you need the key to unlock the deadbolt before removal. Removing it locked may damage the lock or door.
How Long Does It Take To Remove The Deadbolt?
Removing a Lockwood double cylinder deadbolt typically takes about 10 to 15 minutes. This depends on your experience and tool availability.
Conclusion
Removing a Lockwood double cylinder deadbolt is simple with the right steps. Take your time and follow each instruction carefully. Use basic tools and stay safe during the process. Doing it yourself saves money and gives you control. Remember to check the lock after removal to ensure everything works well.
This guide helps you handle the task without stress or confusion. Now, you can remove your deadbolt with confidence and ease.