Are you struggling with an old deadbolt lock that won’t budge? Removing it might seem tricky, but you can do it yourself without calling a locksmith.
Imagine saving time and money while gaining the confidence to handle your home security. In this guide, you’ll discover simple, step-by-step instructions to remove your old deadbolt lock quickly and safely. Keep reading to unlock the secret to a hassle-free lock removal!

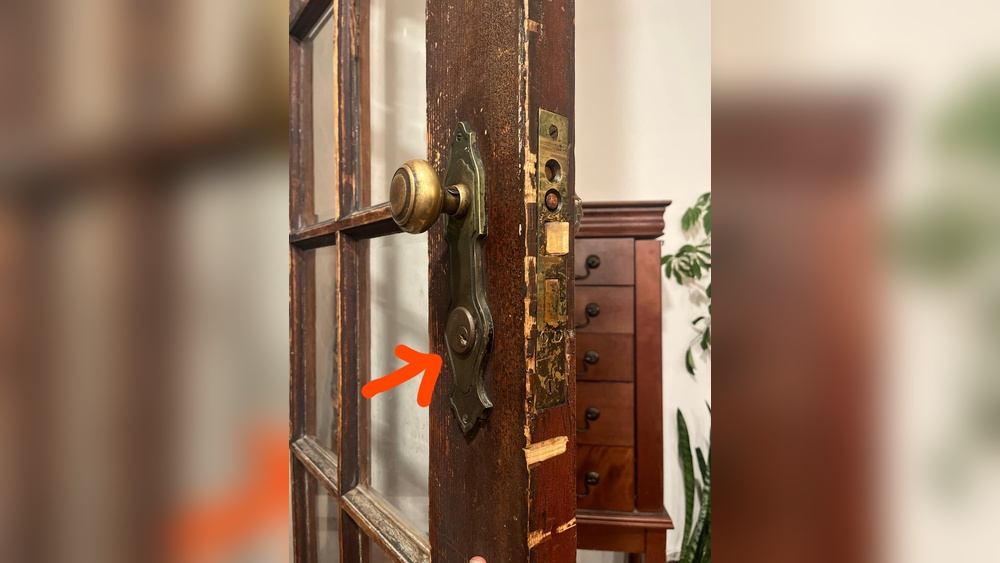
Credit: diy.stackexchange.com
Tools Needed
Removing an old deadbolt lock needs a few simple tools. Having the right tools makes the job easier and faster. Prepare these before starting to avoid interruptions. Each tool plays a key role in removing the lock smoothly.
Screwdrivers
Screwdrivers are essential for loosening screws on the deadbolt. A flathead and a Phillips screwdriver cover most screw types. Use the right size to avoid stripping the screws. These tools help you carefully remove the lock’s faceplate and other parts.
Pliers
Pliers provide a strong grip on small parts and pins. They help pull out stubborn screws or nails if needed. Needle-nose pliers are useful for reaching tight spots. They also assist in twisting or bending parts gently.
Lubricants
Lubricants like WD-40 loosen rusted or stuck screws and bolts. Spray a small amount and wait a few minutes before unscrewing. This prevents damage to the lock and tools. Lubricants make removing old deadbolts less frustrating.
Replacement Lock
Have a new deadbolt lock ready to install after removal. Match the size and type to the old lock. This helps ensure a smooth swap without extra modifications. Preparing the replacement ahead saves time and effort.

Credit: www.reddit.com
Preparing The Door
Start by removing screws from the old deadbolt on both sides of the door. Gently pull the lock parts away to expose the latch. Make sure the door is stable before continuing with the removal.
Clear The Area
Start by clearing the space around your door. Remove rugs, mats, and furniture near the door. This gives you room to work freely. A clean area helps avoid accidents. Keep your tools close but out of the way. Clear space means fewer distractions and easier movement.
Ensure Safety
Safety comes first. Wear safety glasses to protect your eyes from dust and debris. Use gloves to avoid cuts from sharp edges. Make sure the door is stable and won’t move while you work. Turn off any alarm systems linked to the lock. Taking these steps keeps you safe during removal.
Removing The Interior Lock
Removing the interior part of an old deadbolt lock is the next step. This part sits on the inside of your door. It controls the lock mechanism you use every day. Taking it off carefully helps you replace or fix the lock properly. Follow these steps to remove it safely.
Locate Screws
Find the screws holding the interior lock in place. They are usually visible on the round plate. Sometimes, they hide under a small cover. Look closely around the edges. Use a flat tool to lift the cover if needed.
Unscrew The Lock
Use a screwdriver to remove all screws. Turn them counterclockwise. Keep the screws safe for later use. Do not force the screws. If stuck, try gentle wiggling to loosen them.
Detach The Interior Plate
Pull the interior plate gently away from the door. It may need a little wiggle to come off. Do not pull hard to avoid damage. Inside, you will see the lock mechanism. Now the interior lock is free and ready for replacement or repair.
Removing The Exterior Lock
Removing the exterior part of an old deadbolt lock is the first key step. It allows you to access the lock’s inner parts for full removal or replacement. This process is simple with the right approach and tools.
Start by focusing on the exterior lock. It holds the cylinder and the handle or knob that you see outside your door. Removing it carefully prevents damage to your door and helps the next steps go smoothly.
Hold The Exterior Lock
Grip the exterior lock firmly with one hand. Use your other hand to unscrew the screws that hold the lock to the door. These screws are usually on the side of the door or under a cover plate.
Keep the screws safe for later use. Sometimes the screws are tight, so use a screwdriver that fits well. Avoid stripping the screw heads by applying steady pressure.
Pull Out The Lock Cylinder
After removing the screws, gently pull the lock cylinder straight out from the door. It may need a slight wiggle to come free. Avoid forcing it hard to prevent damage.
The cylinder is the part where you insert the key. Once it is out, you can see the inside of the lock clearly. This makes it easier to remove the rest of the lock parts.
Extracting The Deadbolt
Extracting the deadbolt is the key step to remove an old lock. This process lets you take out the main parts that hold the door secure. Doing this carefully helps you avoid damage to the door and frame. Follow these simple steps to get the deadbolt out.
Unscrew The Faceplate
Start by locating the screws on the faceplate. These screws hold the faceplate to the door edge. Use a screwdriver to remove them completely. Keep the screws safe for later use or disposal. Once unscrewed, gently pull the faceplate away from the door. This exposes the deadbolt mechanism inside the door.
Remove The Deadbolt Mechanism
After removing the faceplate, grab the deadbolt mechanism. Slide it out carefully from the door edge. You might need to wiggle it slightly to loosen its hold. Check for any additional screws or clips holding it in place. Remove those if present. Take the mechanism out fully to clear the way for a new lock or repairs.
Cleaning The Door Frame
Cleaning the door frame is a key step after removing an old deadbolt lock. It prepares the area for a new lock and helps the door close smoothly. Dirt and old paint can stop the lock from fitting well.
Take time to clean and check the door frame carefully. This step makes sure your new lock will work properly and last longer.
Remove Debris
Start by clearing dust, dirt, and loose paint from the door frame. Use a small brush or vacuum to get rid of crumbs and particles. Clean the area around the lock hole well. This helps the new deadbolt fit tightly and work smoothly.
Inspect For Damage
Look closely at the door frame for cracks or wood damage. Check if the wood around the lock hole is soft or broken. Fix any damage before installing the new lock. This keeps your door strong and secure. Replace any parts that look weak or worn out.
Installing The New Deadbolt
Installing the new deadbolt is a key step to secure your door. It needs careful fitting to work properly. This part guides you through placing the new deadbolt in the door and making it safe. Follow each step for a strong lock.
Insert New Deadbolt
First, slide the new deadbolt into the hole on the door edge. Make sure the bolt moves smoothly in and out. The bolt should face the door frame side. Check if the deadbolt fits tightly without gaps.
Attach Faceplate
Next, place the faceplate over the deadbolt on the door edge. Align the screw holes with the door. Use screws to fix the faceplate firmly. This keeps the deadbolt stable and protected.
Secure Interior And Exterior Locks
Now, fit the lock pieces on both door sides. Connect the interior thumb turn and the exterior key cylinder. Use screws to hold both parts in place. Test the lock by turning the thumb turn and using the key. It should lock and unlock easily.

Credit: www.youtube.com
Testing The New Lock
Testing the new lock is an important step after installation. It ensures the lock works smoothly and keeps your home safe. Take your time to check every part of the lock. This helps avoid problems later on.
Check Lock Functionality
Start by turning the key or thumb turn several times. Make sure the bolt slides in and out without sticking. Try locking and unlocking from both sides of the door. Listen for any unusual sounds like grinding or clicking. The lock should operate quietly and easily.
Next, close the door and test the lock with the door shut. The bolt should fit snugly into the strike plate. Check if the key turns smoothly without extra force. If the lock feels stiff or jammed, it needs adjustment.
Adjust If Necessary
Use a screwdriver to tighten or loosen screws on the lock and strike plate. Small changes can make a big difference in how the lock works. Align the strike plate so the bolt enters cleanly.
If the key does not turn easily, try lubricating the lock with graphite powder or a silicone spray. Avoid oil-based lubricants as they attract dust and dirt. Test the lock again after adjustments to confirm smooth function.
Tips For Quick Replacement
Replacing an old deadbolt lock can be fast and smooth with a few smart tips. Proper preparation and a clear plan save time and reduce frustration. These tips help you finish the job quickly and correctly.
Organize Tools
Gather all tools before you start. Common tools include a screwdriver, tape measure, and a new lock. Keep them within reach to avoid delays. Check if you need a drill or extra screws.
Work Methodically
Follow each step slowly and carefully. Remove the lock parts in order. Avoid rushing to prevent damage. Keep screws and small parts safe to reuse or replace.
Seek Help If Needed
Ask a friend or family member for help with tricky parts. Extra hands make the work easier. A second person can hold tools or steady the door. Don’t hesitate to call a professional if stuck.
Frequently Asked Questions
How Do I Remove An Old Deadbolt Lock Safely?
First, remove the screws on the interior side of the deadbolt. Then, gently pull both lock parts apart. Use a screwdriver to detach the lock from the door. Always work carefully to avoid damaging the door or lock components.
What Tools Are Needed To Remove A Deadbolt Lock?
You will need a Phillips or flathead screwdriver, depending on the screws. Sometimes, a drill may be required for stripped screws. A utility knife helps to clean around the lock edges. Having pliers can assist with stubborn parts.
Can I Remove A Deadbolt Lock Without The Key?
Yes, you can remove the deadbolt without a key by unscrewing the lock from the interior side. If screws are hidden, remove the interior cover plate first. Avoid forcing the lock to prevent damage to the door.
How Long Does It Take To Remove An Old Deadbolt Lock?
Removing a deadbolt lock usually takes 10 to 20 minutes. Time depends on your experience and the lock’s condition. Rusted or painted locks might require extra effort. Proper tools help speed up the process.
Conclusion
Removing an old deadbolt lock is simple with the right steps. Start by gathering the needed tools and staying safe. Take your time to unscrew and carefully pull the lock apart. Check the door for any damage before installing a new lock.
This process saves money and improves home security. You can do it yourself without extra help. Keep these tips in mind for easy lock removal next time. Your door will feel fresh and secure after the task.


