If you’re installing a deadbolt lock, cutting a precise mortise is a key step you can’t skip. It might sound tricky, but with the right guidance, you can do it yourself and save time and money.
Imagine having a strong, secure door lock that fits perfectly because you took control of the installation. You’ll discover simple, clear steps to cut a mortise for your deadbolt lock with confidence. Stick with me, and you’ll turn a complex task into an easy, satisfying project.
Let’s get started!
Tools And Materials Needed
Cutting a mortise for a deadbolt lock needs the right tools and materials. Having these ready makes the job easier and safer. You can work faster and get better results.
This section explains what tools and materials you need. The list includes both essential tools and recommended materials. Prepare these before starting your project.
Essential Tools
- Chisel set – for precise wood removal
- Hammer or mallet – to use with chisels
- Drill with drill bits – to make starter holes
- Mortise gauge – to mark accurate lines
- Square ruler – to check right angles
- Pencil – for marking cutting lines
- Measuring tape – to measure lock dimensions
- Clamp – to hold the door steady
Recommended Materials
- Wood filler – to fix any mistakes or gaps
- Sandpaper – to smooth the mortise edges
- Masking tape – to protect door surface
- Safety glasses – to protect your eyes
- Work gloves – to protect your hands
- Deadbolt lock kit – includes lock and screws
- Drop cloth – to keep the workspace clean
Preparing The Door
Preparing the door is the first step in cutting a mortise for a deadbolt lock. This stage ensures accurate fitting and smooth installation. Taking time to prepare prevents mistakes and saves effort later.
Measuring And Marking
Measure the deadbolt carefully before marking the door. Use a tape measure to check the lock’s height and depth. Mark the door edge where the lock will go with a pencil. Double-check all measurements. Precise marks guide your cutting for a perfect fit. Use a square tool to keep lines straight and even. Clear marks help avoid errors during cutting.
Safety Precautions
Wear safety glasses to protect your eyes from dust and wood chips. Use ear protection if you plan to use power tools. Keep your hands away from cutting tools at all times. Work in a clean, well-lit area to see clearly. Secure the door firmly to prevent movement while cutting. Follow all tool instructions carefully to avoid accidents. Safety first keeps the job smooth and injury-free.
Marking The Mortise Location
Marking the mortise location is a key step before cutting. Accurate marks guide your tools and ensure the lock fits well. Take your time here to avoid mistakes. Clear, precise markings help create a smooth installation process.
Locating The Lock Position
Begin by deciding where to place the deadbolt on the door. Usually, it sits about 6 to 12 inches above the door handle. Measure this height carefully from the door edge. Mark the center point on the door edge. This point shows where the lock body will go. Double-check your measurements to keep everything straight.
Drawing The Mortise Outline
Use the lock template or the lock body to draw the outline on the door edge. Hold the lock firmly against the door. Trace around the lock with a sharp pencil. Make sure the lines are clear and visible. This outline shows the exact size and shape of the mortise. Keep the lines tight to avoid cutting too much wood.

Credit: www.homedepot.com
Drilling The Mortise
Drilling the mortise is a key step in fitting a deadbolt lock. It creates the hollow space where the lock sits securely in the door. Precision is important to make sure the lock fits well and works smoothly. This part requires the right tools and careful technique.
Choosing The Right Drill Bit
Select a drill bit that matches the size of the deadbolt body. Typically, a spade bit or hole saw works best for this task. The bit should be sharp to cut cleanly through the door material. Using the correct size prevents damage and ensures a snug fit.
Drilling Depth And Technique
Mark the exact depth needed on the drill bit with tape. This helps avoid drilling too deep or too shallow. Hold the drill steady and start slowly to keep control. Drill straight into the door face, stopping at the marked depth. Clear out wood chips often to maintain a clean hole.
Chiseling The Mortise
Chiseling the mortise is a key step in fitting a deadbolt lock. It shapes the cavity in the door edge where the lock fits. This process needs patience and steady hands for a perfect fit.
Start by marking the mortise area clearly. Use a sharp chisel to remove wood carefully. Take small cuts to avoid mistakes. The goal is a clean, straight cavity that matches the lock size.
Removing Excess Wood
Hold the chisel with the bevel side facing the wood. Tap gently with a hammer to cut away wood layers. Work slowly to avoid splitting the door edge. Remove wood just inside the marked lines. Check the depth often to match the lock’s thickness.
Smoothing The Cavity
After removing most wood, smooth the cavity walls and bottom. Use the chisel’s flat side for fine shaving. Clean edges help the lock fit flush and work well. Smooth surfaces also prevent the wood from splitting when installing the lock.

Credit: www.homedepot.com
Fitting The Deadbolt Lock
Fitting the deadbolt lock is a key step after cutting the mortise. It ensures the lock sits properly in the door. A correct fit keeps the lock secure and works smoothly.
This step requires careful checking and small changes. The lock should not be loose or too tight. Both the lock body and the bolt must fit well in the mortise space.
Test Fitting The Lock
Place the lock body into the mortise opening. Check if it fits flush with the door surface. The lock should slide in without force. Make sure the bolt moves freely.
Try turning the key or thumb turn. The lock should work without sticking. Look for any gaps around the lock edges. A tight fit prevents rattling and keeps the lock secure.
Making Adjustments
Mark any spots where the lock does not fit well. Use a chisel to carefully trim these areas. Remove small amounts of wood at a time. Test fit again after each adjustment.
If the bolt does not move smoothly, check the bolt cavity size. Enlarge it slightly if needed. Sand rough edges to ease movement. Repeat fitting and adjusting until the lock fits perfectly.
Installing The Lock And Hardware
Installing the lock and hardware is a key step after cutting the mortise. Proper installation ensures the deadbolt works smoothly and keeps your door secure. Take your time to fit the parts carefully. Check that everything aligns before fixing the pieces in place.
Securing The Lock
Place the lock body inside the mortise. Make sure it fits snugly without forcing it. Use screws to fasten the lock to the door. Tighten them evenly to avoid shifting the lock. Test the lock by turning the thumb turn or key. It should move freely without sticking or resistance.
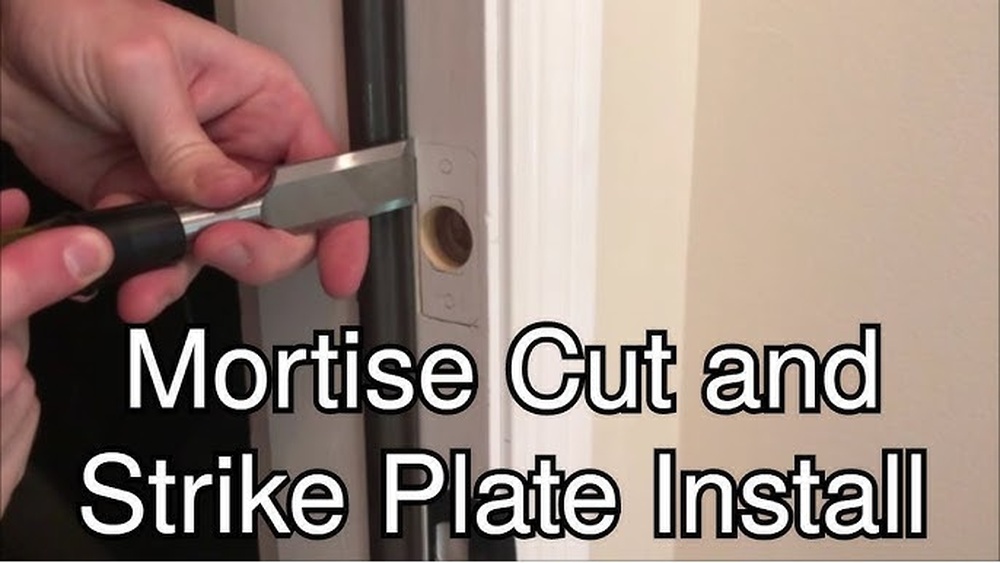
Attaching The Faceplate
Position the faceplate over the mortise opening. It must sit flush with the door edge. Use a screwdriver to secure the faceplate with screws. Tighten them so the plate does not wiggle. Check that the bolt slides smoothly through the faceplate hole. Adjust if the bolt catches or binds.
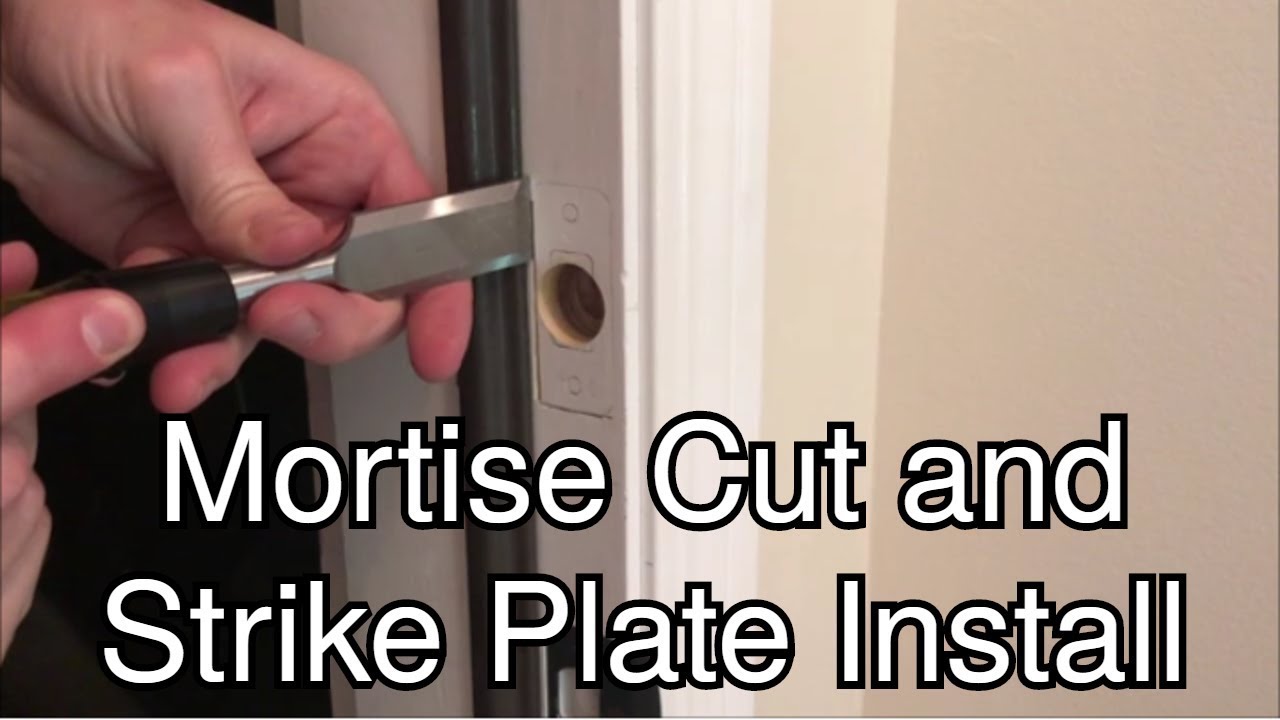
Credit: www.youtube.com
Final Checks And Troubleshooting
After cutting the mortise for your deadbolt lock, checking your work is important. This step ensures the lock fits well and works properly. Small mistakes here can cause big problems later. Follow these simple steps to test and fix common issues.
Testing The Lock Functionality
First, insert the deadbolt into the mortise. See if it slides in smoothly without force. Turn the key or thumb turn to check if the bolt moves freely. The lock should extend and retract easily. Try locking and unlocking several times. Make sure the bolt fully extends into the door frame. If the lock sticks or feels tight, adjustments are needed.
Common Issues And Fixes
One common problem is a too-tight mortise. Use a chisel to carefully remove small amounts of wood. Check the fit again after each adjustment. Another issue is the bolt not aligning with the strike plate. Mark the spot where the bolt hits the frame. Enlarge the hole in the strike plate or adjust its position. Sometimes, the lock won’t turn smoothly due to dust or debris. Clean the lock parts and lubricate them with graphite powder or silicone spray. Avoid oil-based lubricants as they attract dirt. Repeat testing after each fix until the lock works perfectly.
Frequently Asked Questions
What Tools Are Needed To Cut A Mortise For A Deadbolt?
You need a chisel, drill, drill bits, measuring tape, pencil, and a hammer. These tools ensure precise and clean mortise cuts for a deadbolt lock installation.
How Deep Should The Mortise Be For A Deadbolt Lock?
The mortise depth should match the deadbolt’s faceplate thickness. Typically, it ranges between 1/8 to 1/4 inch to allow a flush fit.
Can I Cut A Mortise Without Professional Help?
Yes, with the right tools and careful measurements, cutting a mortise yourself is possible. Follow step-by-step instructions for safety and accuracy.
How Do I Mark The Mortise Location Accurately?
Measure the deadbolt dimensions and use a pencil to outline the mortise on the door edge. Double-check measurements before cutting to avoid mistakes.
Conclusion
Cutting a mortise for a deadbolt lock takes patience and care. Follow each step slowly and use the right tools. Check your measurements twice to avoid mistakes. A clean mortise helps the lock fit and work well. Practice on scrap wood if you need more confidence.
This simple skill improves your home’s security and your DIY abilities. Keep your workspace safe and organized throughout the process. With time, cutting a mortise becomes easier and more precise. You can do this with focus and the right guidance.

