Are you ready to boost your home’s security with a reliable Schlage deadbolt lock? Installing one might seem tricky, but with the right steps, you can do it quickly and confidently.
Imagine having peace of mind knowing your door is locked tight and your family is safe. In this guide, you’ll find easy-to-follow instructions that save you time and frustration. Keep reading, and by the end, you’ll have your new deadbolt installed like a pro—no locksmith needed.

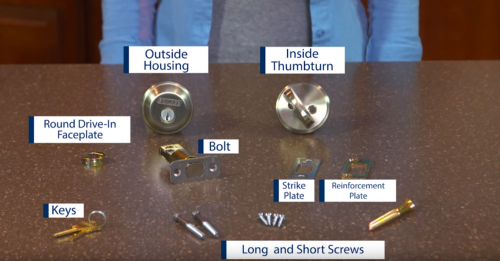
Credit: www.youtube.com
Choose The Right Deadbolt
Choosing the right deadbolt is the first step to secure your home. Schlage offers various models to fit different needs and door types. Picking the right one makes installation easier and improves security.
Types Of Schlage Deadbolts
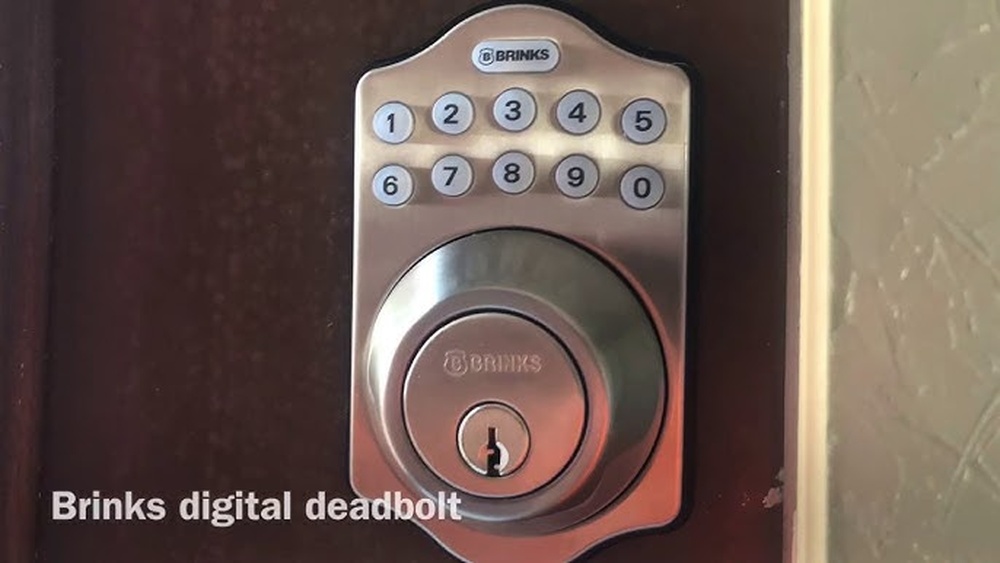
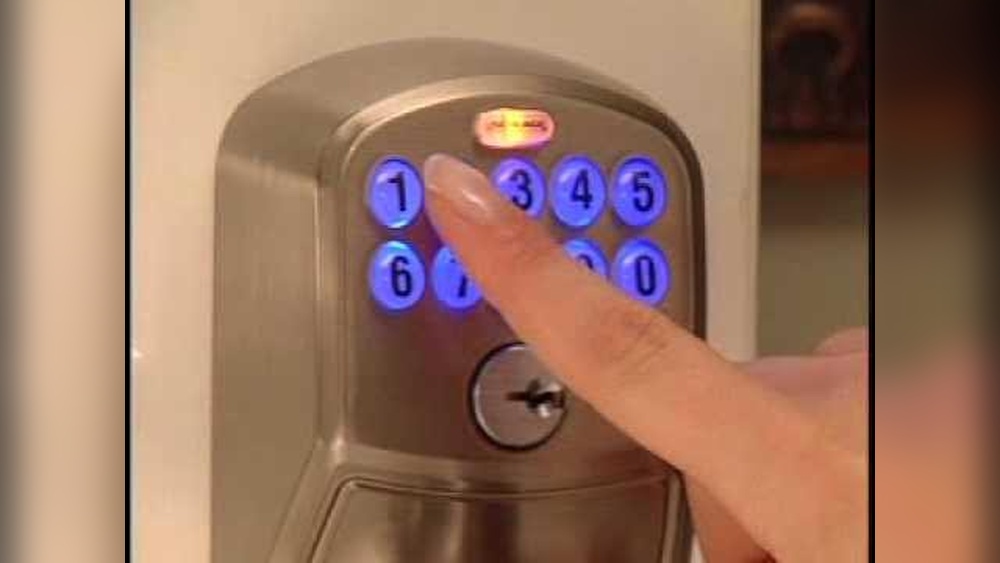
Schlage has several types of deadbolts. Single-cylinder deadbolts use a key outside and a thumb turn inside. They are common for most doors. Double-cylinder deadbolts need a key on both sides. Use these for doors with glass near the lock. There are also electronic deadbolts. These allow keyless entry with a code or app. Choose based on your security needs and convenience.
Selecting The Correct Size
Deadbolts come in different sizes. Measure your door thickness first. Most Schlage deadbolts fit doors 1-3/8 to 1-3/4 inches thick. If your door is thicker, look for adjustable models. Also, check the backset length. This is the distance from the door edge to the center of the hole. Common backsets are 2-3/8 inches or 2-3/4 inches. Matching these sizes ensures the lock fits and works properly.
Credit: www.schlage.com
Gather Necessary Tools
Before installing a Schlage deadbolt lock, gather the right tools. Having everything ready makes the job easier and faster. Missing tools can cause delays and frustration. Prepare your workspace and check the tools list carefully. This step helps you stay organized and efficient.
Essential Tools List
- Phillips screwdriver
- Flathead screwdriver
- Measuring tape
- Pencil or marker
- Power drill with drill bits
- Chisel
- Hammer
- Level
Optional Tools For Efficiency
- Hole saw kit for door drilling
- Utility knife for trimming
- Awl for marking pilot holes
- Clamp to hold parts steady
- Work gloves for protection
Prepare The Door
Preparing the door is a crucial step before installing a Schlage deadbolt lock. This step makes sure the new lock fits well and works smoothly. Taking time to prepare the door saves effort during installation and helps avoid future problems.
Two main tasks are needed: removing the old lock and checking the door fit and alignment. Both tasks help create a perfect base for your new deadbolt.
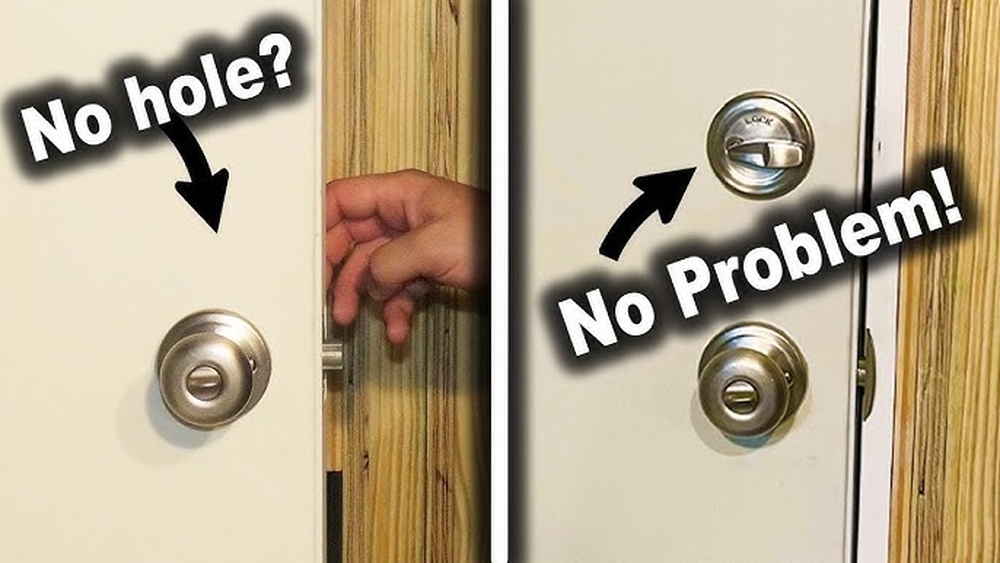
Remove Old Lock
Start by removing the old lock from the door. Use a screwdriver to take out all screws on the lock and latch. Keep the screws in a safe place in case you need them later. Pull the lock parts gently from both sides of the door. Remove the latch from the door edge. Clear out any dust or debris left behind. The door surface should be clean and smooth for the new lock.
Check Door Fit And Alignment
Check the door’s fit in the frame. Open and close the door a few times. Notice any rubbing or sticking points. The door should close easily without force. Look at the alignment of the latch hole and strike plate. They must line up perfectly for the deadbolt to lock correctly. Adjust the strike plate if needed by loosening screws and moving it slightly. Tighten screws back once aligned. This step ensures your Schlage deadbolt will work properly and last longer.
Credit: www.schlage.com
Install The Deadbolt Mechanism
Installing the deadbolt mechanism is a key step in securing your door. This process involves fitting the main parts that allow the lock to function smoothly. Proper installation ensures your deadbolt works correctly and lasts long. Follow the steps carefully for the best results.
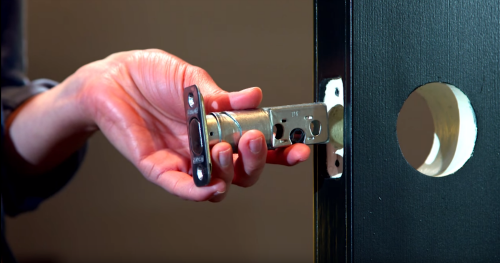
Position The Deadbolt
Start by placing the deadbolt into the hole on the edge of the door. Align it so the bolt slides out smoothly when turned. The bolt should face the strike plate side of the door. Make sure it fits flush with the door edge. Tighten the screws to hold the deadbolt in place. Check that the bolt moves freely before moving to the next step.
Secure The Latch Plate
Next, attach the latch plate over the deadbolt on the door edge. Align it with the bolt so it sits flat against the door. Use a pencil to mark the screw holes on the door frame. Drill small pilot holes for the screws to prevent splitting. Screw the latch plate firmly into the door frame. This plate keeps the bolt secure and helps lock the door properly.
Attach The Exterior And Interior Components
After installing your Schlage deadbolt lock, the next step is to adjust and finalize it. This step ensures the lock works properly and fits well with your door. Proper adjustment helps avoid problems later, like the lock sticking or the key not turning smoothly.
Fine-tune Alignment
Check the deadbolt’s position in the door frame. The bolt should slide evenly into the strike plate. If it rubs or misses the hole, loosen the screws slightly. Move the lock or strike plate a little until the bolt fits perfectly. Tighten all screws firmly once aligned. This small adjustment makes a big difference in how the lock feels.
Ensure Smooth Locking And Unlocking
Turn the key and thumb turn several times. The lock should move without resistance or sticking. If it feels tight, check for misalignment again. Also, test the lock from both sides of the door. Make sure it locks and unlocks smoothly every time. Smooth operation means your deadbolt is secure and easy to use.
Secure The Deadbolt
Installing a Schlage deadbolt lock is usually simple. Yet, some issues may arise during the process. This section helps you fix common problems quickly. Follow these tips to ensure your lock works well.
Common Installation Issues
Sometimes, the lock does not fit the door properly. The holes might be too small or off-center. The deadbolt may not extend fully. The key can be hard to turn. The lock might feel loose after installation. These problems can stop your lock from working right.
Quick Fixes
Check the hole size before installing. Use a drill to widen small holes carefully. Align the lock parts properly before tightening screws. Test the deadbolt movement by sliding it in and out. Tighten all screws firmly but do not over-tighten. Lubricate the keyhole with graphite powder to ease key turning. Adjust the strike plate on the door frame for smooth locking. These simple steps save time and avoid frustration.
Frequently Asked Questions
How Long Does It Take To Install A Schlage Deadbolt?
Installing a Schlage deadbolt typically takes 30 to 45 minutes. It depends on your skill level and tools available. Following the instructions carefully ensures a smooth and quick installation process.
What Tools Are Needed To Install A Schlage Deadbolt?
You need a screwdriver, drill, measuring tape, and pencil. Some installations may require a hole saw or chisel. Having all tools ready before starting speeds up the process.
Can I Install A Schlage Deadbolt Myself?
Yes, most homeowners can install it themselves. The process is straightforward with clear instructions. If unsure, watching tutorial videos can help ensure proper installation.
How Do I Ensure My Deadbolt Lock Fits Correctly?
Measure your door’s thickness and existing holes first. Schlage deadbolts fit standard door sizes. Proper alignment and secure screws guarantee a tight, functional fit.
Conclusion
Installing a Schlage deadbolt lock adds strong security to your home. Follow the steps carefully for a smooth process. Take your time to measure and align parts correctly. Use the right tools to avoid damage or mistakes. Test the lock several times to ensure it works well.
This simple upgrade helps protect your doors and peace of mind. Enjoy the confidence that comes with a secure lock. Your home feels safer with this easy installation done right.