
Are you struggling to hang heavy items on hollow walls without worrying about them falling? Using hollow wall drive anchors can be the simple solution you need.
These little tools provide strong support where screws alone just won’t hold. In this guide, you’ll learn exactly how to use hollow wall drive anchors step-by-step, so your pictures, shelves, or mirrors stay securely in place. Keep reading to discover the easy tricks that will make your next wall project a success.

Credit: www.youtube.com
Choosing The Right Anchor
Choosing the right hollow wall drive anchor is important for a strong hold. The correct anchor keeps your items safe and secure on the wall. Selecting the wrong type can cause damage or failure. Understanding types and key factors helps make the best choice.
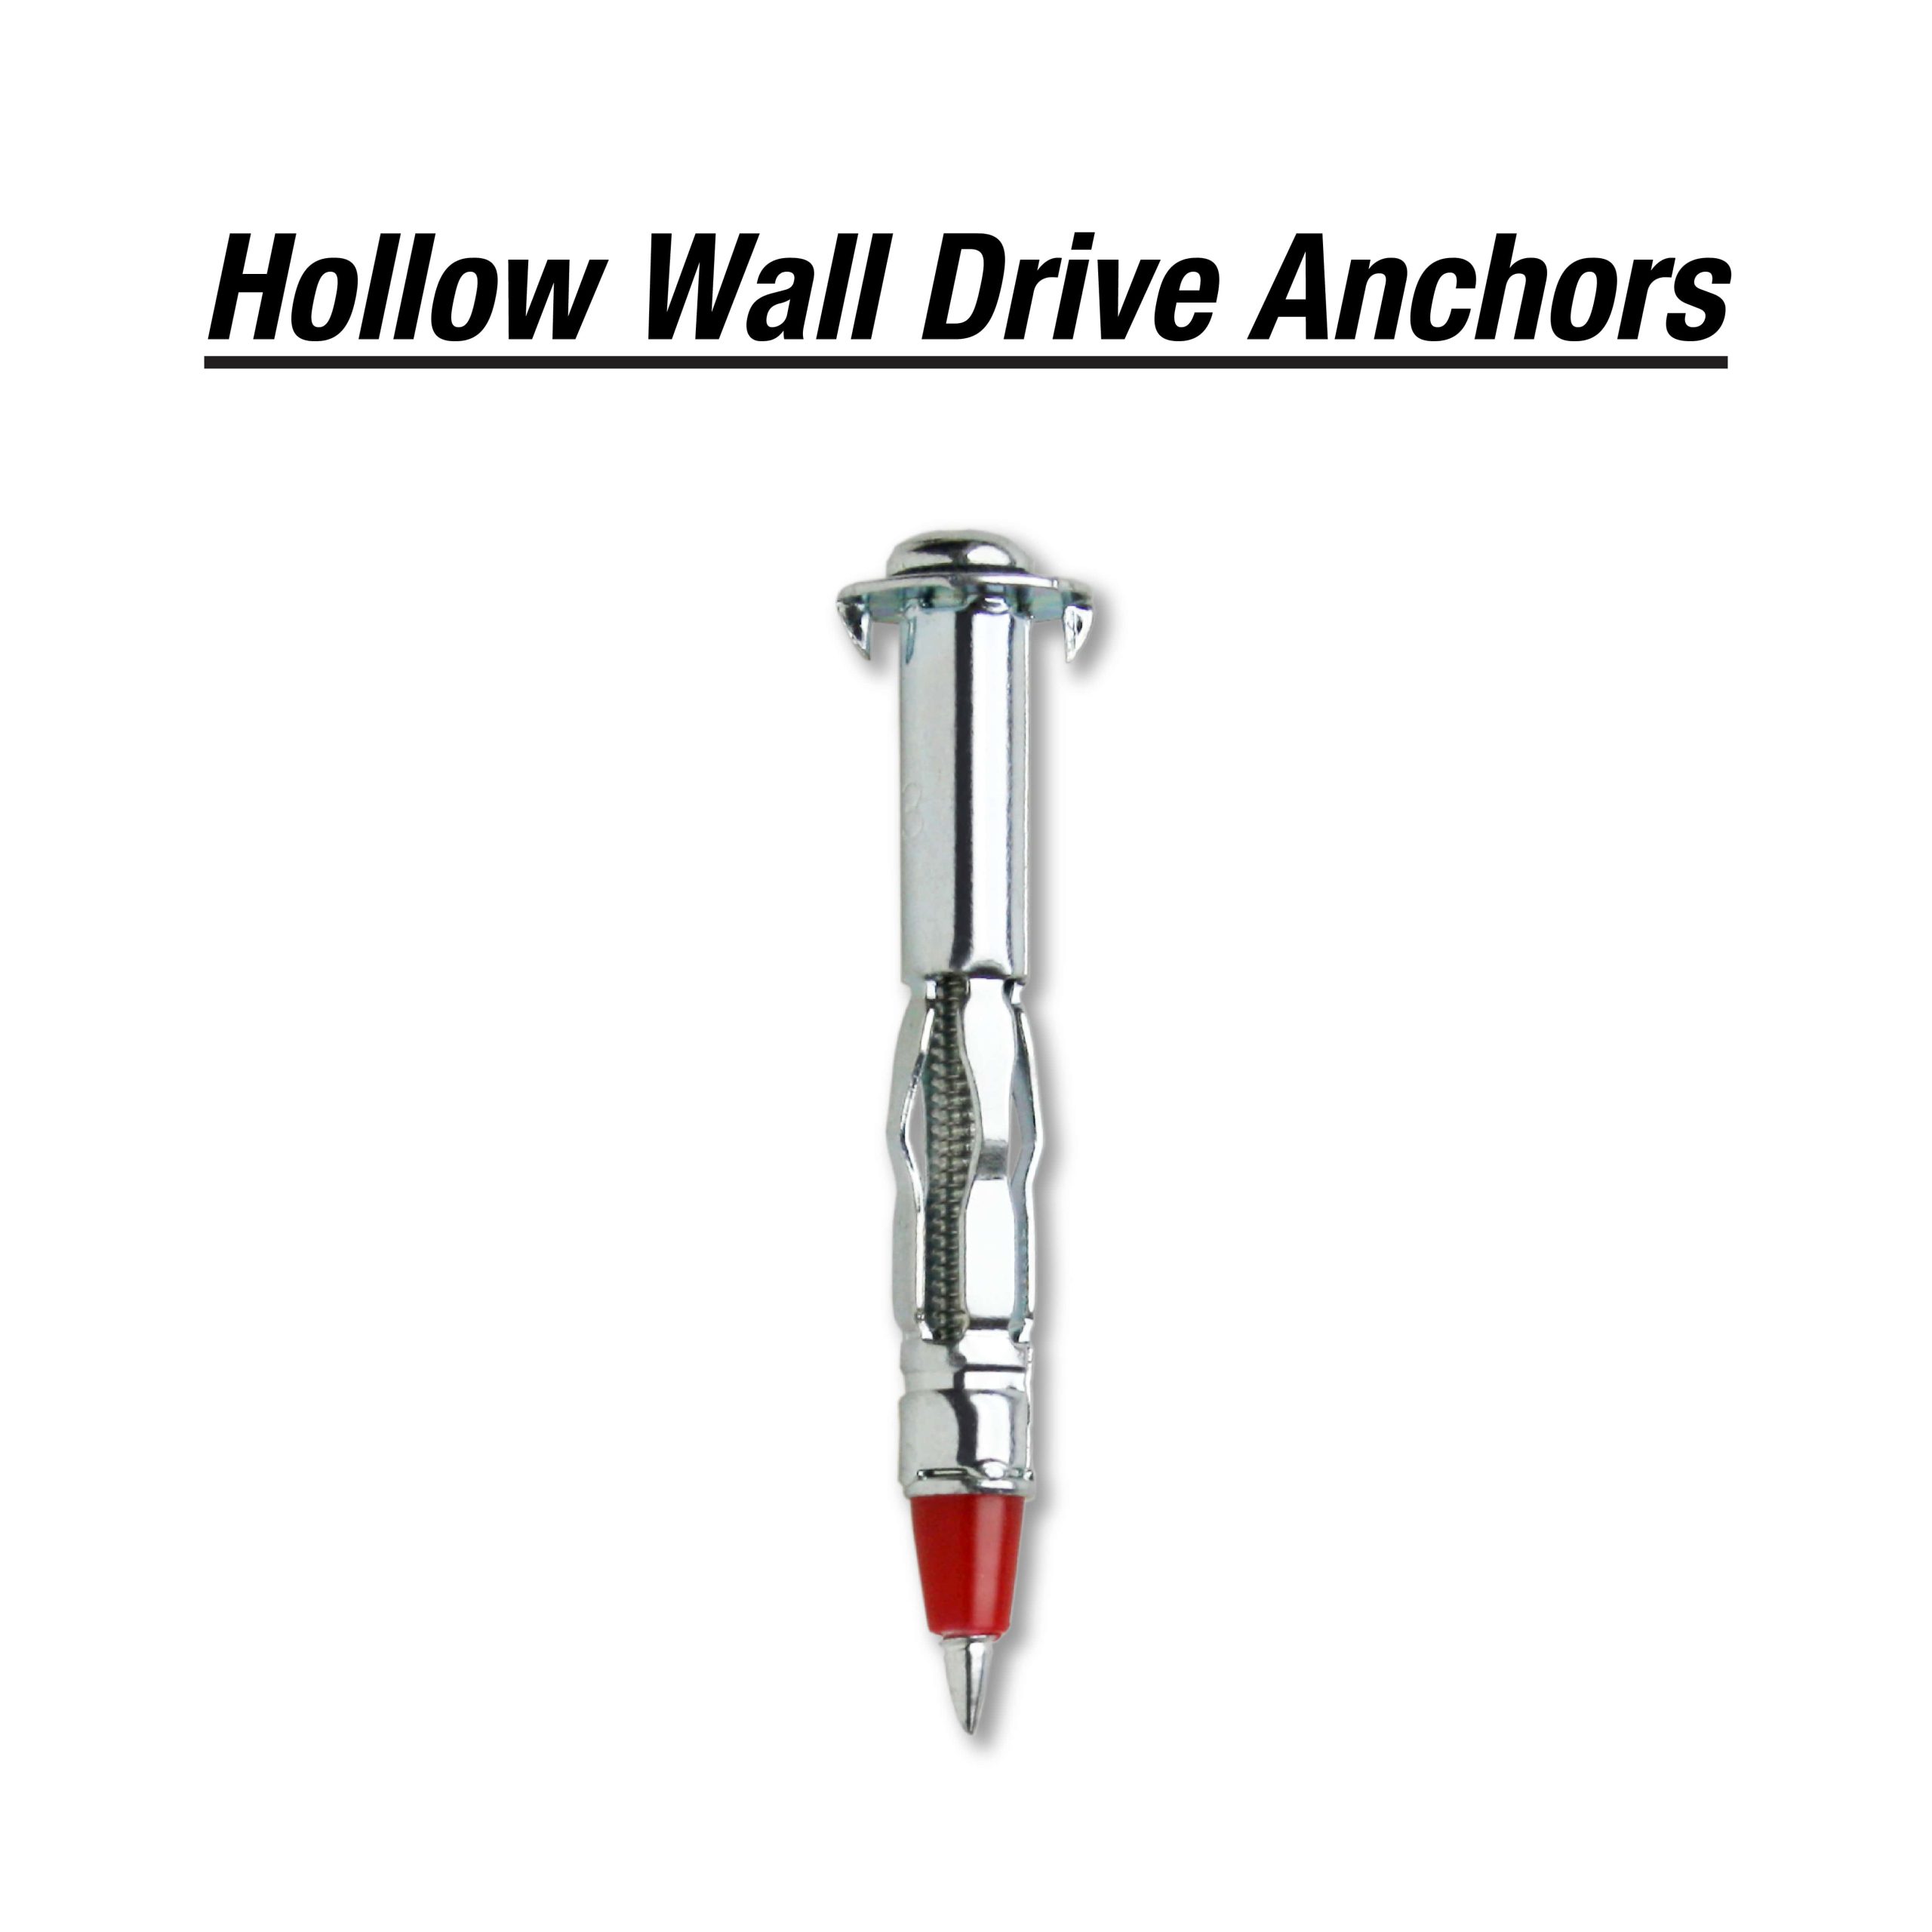
Types Of Hollow Wall Anchors
There are several common types of hollow wall anchors. Plastic expansion anchors are simple and good for light loads. They expand as screws tighten, gripping inside the wall.
Metal hollow wall anchors offer more strength. They often have wings or toggle mechanisms that open behind the wall. This provides a firm hold for medium to heavy items.
Self-drilling anchors cut into drywall without pre-drilling. These save time but suit only light to medium weights. Each type fits different uses and wall materials.
Factors To Consider For Selection
Weight of the item is the first factor. Heavier items need stronger anchors like metal toggle types. Lighter objects can use plastic or self-drilling anchors.
Wall material matters too. Drywall, plaster, and paneling all behave differently. Some anchors work better in drywall than plaster.
Size of the anchor should match the hole and screw size. Too big or small causes poor grip or damage. Check the anchor’s instructions for proper sizing.
Ease of installation is key for beginners. Plastic and self-drilling anchors are easier to install than metal toggle anchors. Choose one that fits your skill level.
Credit: cobraanchors.com
Tools And Materials Needed
Before starting to use hollow wall drive anchors, gather all necessary tools and materials. Having the right items ready makes the job easier and faster. It also helps to avoid mistakes during installation.
Prepare a clean workspace with good lighting. Check each tool and item to ensure they work properly. This preparation saves time and prevents frustration.
Essential Tools
- Drill with correct drill bit size for the anchor
- Screwdriver or screw gun for driving the anchors
- Measuring tape to mark the exact spot
- Level to keep items straight on the wall
- Hammer for tapping anchors into place if needed
- Pencil for marking points on the wall
Safety Equipment
- Safety goggles to protect eyes from dust and debris
- Dust mask to avoid inhaling fine particles
- Work gloves to protect hands from sharp tools
- Ear protection if using loud power tools
Preparing The Wall
Preparing the wall is the first step for using hollow wall drive anchors correctly. This step ensures your anchor holds tightly and your item stays secure. Take time to prepare carefully to avoid damage and get the best results.
Locating The Fixing Point
Find the exact spot where you want to place the anchor. Check the wall for studs, pipes, or wires that could get damaged. Use a stud finder or tap the wall to hear hollow or solid sounds. Mark the fixing point with a pencil. Clear marking helps with accurate drilling and anchor placement.
Drilling The Correct Hole
Choose the drill bit size that matches the anchor diameter. Use a drill with a steady hand to make a clean hole. Drill slowly to avoid cracking or breaking the wall surface. Clean out dust and debris from the hole before inserting the anchor. A well-prepared hole ensures the anchor fits snugly and holds firmly.
Credit: www.youtube.com
Installing The Anchor
Installing hollow wall drive anchors is a simple process. It involves placing the anchor into the wall and securing your item firmly. Follow the steps carefully to ensure a strong hold.
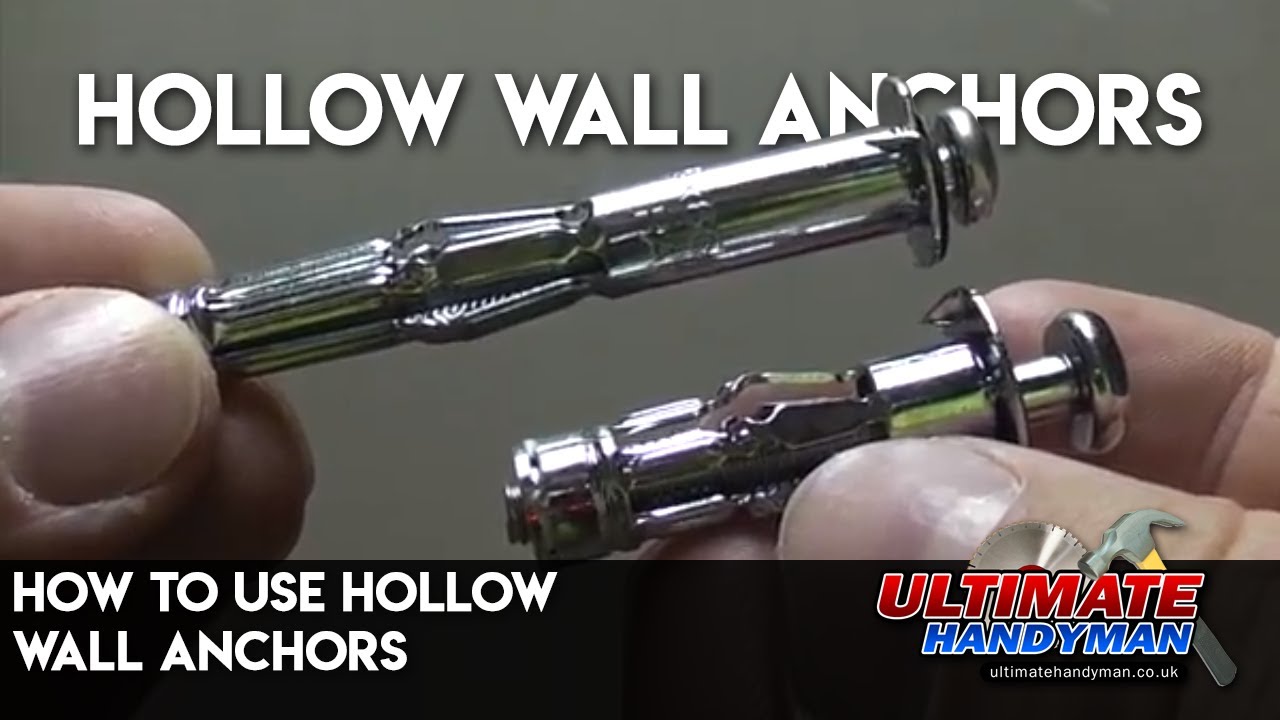
Inserting The Anchor
First, drill a hole in the wall matching the anchor size. Clean out dust from the hole for a good fit. Push the hollow wall anchor straight into the hole. Tap gently with a hammer if needed until the flange sits flush with the wall. Avoid forcing it to prevent damage.
Securing The Fixing
Next, insert the screw or bolt into the anchor. Turn it slowly to expand the anchor inside the wall cavity. The anchor’s wings open up, gripping the inside firmly. Tighten the screw until the fixing feels secure, but do not overtighten. This ensures the anchor holds your item safely without causing harm to the wall.
Testing The Fixing Strength
Testing the fixing strength of hollow wall drive anchors is important for safety. It ensures the anchor holds well in the wall. You do not want heavy items to fall because of weak fixing. This step helps confirm the anchor’s grip before hanging anything.
Checking Stability
Start by gently pulling on the item fixed to the anchor. Use slow, steady force to check if it moves. Small wobbles are normal but big shifts mean trouble. Try pushing the item side to side. If it feels loose, the anchor may not be secure.
Listen for creaking sounds or cracking noises. These signs show that the anchor or wall might be under stress. Stop testing if you hear these sounds. It prevents damage to the wall or anchor.
Troubleshooting Common Issues
If the anchor does not hold well, try these steps. First, check if the anchor is the right size for the hole. A too small anchor slips easily. A too large anchor may damage the wall.
Make sure you inserted the anchor fully. Partial insertion lowers its strength. Try tightening the fixing screw carefully. Over-tightening can break the anchor or wall.
For very weak walls, use a different type of anchor designed for hollow walls. Sometimes, adding a backing plate helps spread the load. Repeat the stability check after adjustments.
Maintenance Tips
Maintaining hollow wall drive anchors is key for lasting support. Regular care helps avoid damage and keeps anchors secure. Simple steps can extend the life of your anchors and ensure they hold well.
Regular Inspection
Check anchors often for any signs of damage or loosening. Look for cracks in the wall or movement in the anchor. Tighten loose anchors carefully to avoid overdoing it. Early spotting of problems prevents bigger issues later.
Handling Wear And Tear
Replace anchors showing rust or bending. Avoid heavy loads beyond the anchor’s limit to reduce stress. Use anchors suited to the wall type and weight. Proper use minimizes wear and keeps anchors strong longer.
Frequently Asked Questions
What Are Hollow Wall Drive Anchors Used For?
Hollow wall drive anchors secure fixtures in drywall or hollow walls. They provide strong support for lightweight to medium loads. These anchors prevent wall damage and ensure stable mounting of shelves, hooks, or frames.
How Do You Install Hollow Wall Drive Anchors?
First, drill a hole matching the anchor size. Insert the anchor into the hole. Tap the anchor flush with the wall using a hammer. Finally, drive the screw into the anchor to secure your fixture.
Can Hollow Wall Anchors Hold Heavy Items?
Hollow wall drive anchors support light to medium weights, typically up to 30 pounds. For heavier items, use specialized anchors or wall studs for better safety and stability.
Are Hollow Wall Drive Anchors Reusable?
No, hollow wall drive anchors are generally single-use. Removing the anchor often damages the wall or anchor, so it is best to replace them when needed.
Conclusion
Using hollow wall drive anchors makes hanging items easy and secure. These anchors hold well in drywall and hollow walls. Remember to pick the right size for your project. Drill a small hole, push the anchor in, and tighten the screw.
No need for extra tools or complex steps. With practice, you will hang pictures, shelves, and more with confidence. Small effort, strong hold. Try them on your next wall project for lasting support.


