Is your deadbolt stuck or not locking properly? A broken deadbolt can make your home feel unsafe and leave you frustrated.
But don’t worry—you don’t have to call a locksmith just yet. Fixing your deadbolt yourself is easier than you think. In this guide, you’ll learn simple steps that anyone can follow to get your lock working smoothly again. Keep reading to regain control of your home’s security quickly and with confidence.
Credit: www.yellowpages.ca
Signs Of A Broken Deadbolt
Deadbolts protect homes and keep families safe. Knowing the signs of a broken deadbolt helps avoid security risks. Early detection prevents bigger problems and costly repairs.
Common Issues To Look For
The deadbolt does not turn smoothly. The key gets stuck or won’t turn at all. The bolt does not extend fully into the door frame. The lock feels loose or wobbly. You hear strange noises when locking or unlocking. The door does not lock tightly, leaving gaps. Rust or corrosion appears on the lock parts.
When To Replace Vs. Repair
Repair the deadbolt if the problem is minor. Loose screws or simple misalignment can be fixed easily. Replace the deadbolt when the lock is old or heavily damaged. Broken internal parts or severe rust need new locks. A new deadbolt ensures better security and peace of mind.
Tools Needed For Repair
Fixing a broken deadbolt requires the right tools. Having these tools ready makes the repair easier and faster. This section lists the tools needed and important safety tips to follow.
Essential Tools List
Start with a screwdriver set. Both flathead and Phillips types help with different screws. A drill can speed up removing screws stuck tight. Keep a tape measure handy to check the deadbolt size. Use pliers to grip or pull small parts. A flashlight helps see inside dark areas. A replacement deadbolt might also be needed if parts are worn out.
Safety Precautions
Wear safety glasses to protect your eyes from dust and debris. Use gloves to avoid cuts from sharp edges. Work in a well-lit area to see clearly. Keep tools away from children and pets. Unplug power tools when not in use. Take your time and do not rush the repair.
Removing The Broken Deadbolt
Removing a broken deadbolt is the first step to fixing your door lock. This process helps clear out damaged parts and prepares for a new lock installation. It requires patience and the right tools to avoid further damage to your door.
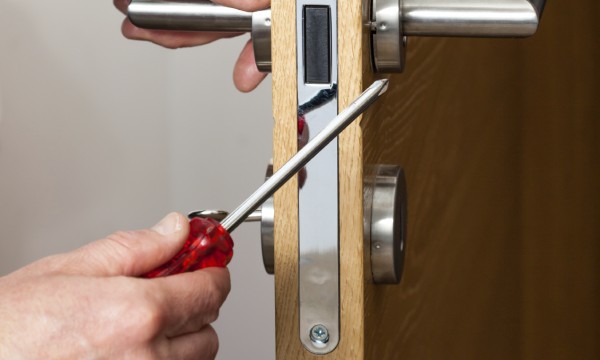
Step-by-step Removal Process
Start by locating the screws on the interior side of the deadbolt. Use a screwdriver to remove these screws carefully. Pull the interior plate and knob off the door. Next, remove the screws holding the exterior side of the deadbolt. Gently pull the exterior lock out from the door. Finally, slide out the deadbolt latch from the door edge. Clean the area before installing a new lock.
Handling Stuck Or Damaged Parts
Some parts may be stuck due to rust or damage. Apply a small amount of lubricant to loosen tight screws and bolts. Use pliers to grip and twist stuck pieces carefully. Avoid forcing parts out, as this can damage the door. Tap gently with a hammer if parts are jammed. Take your time to prevent extra repairs later.

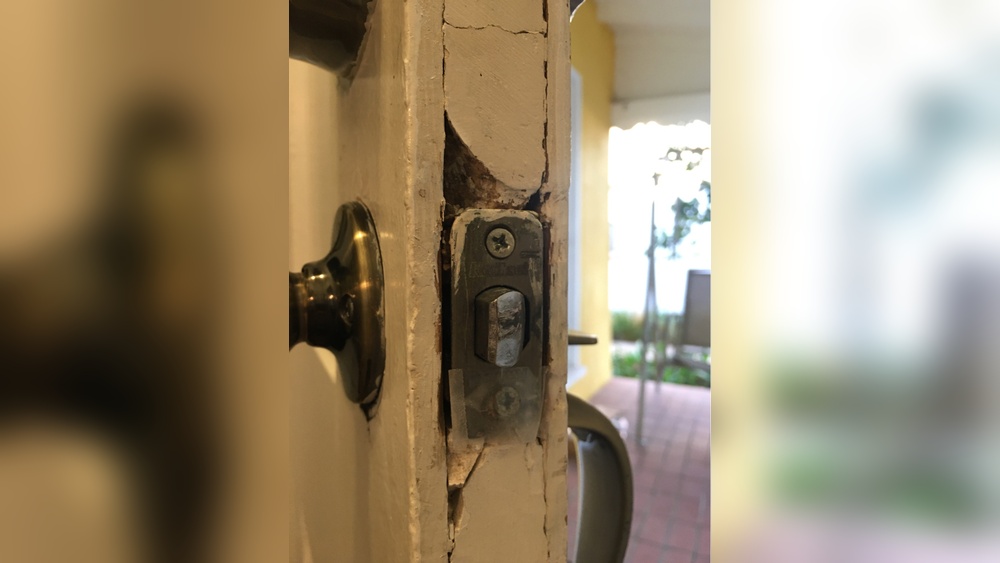
Credit: diy.stackexchange.com
Inspecting The Door And Frame
Before fixing a broken deadbolt, inspect the door and frame carefully. This step helps find hidden problems. It makes sure the repair lasts longer. A weak door or frame can cause the deadbolt to break again.
Check the area around the lock for cracks, splits, or loose parts. Look at the door edges and the frame where the deadbolt goes in. Small damage can get worse if not fixed first. Taking time to inspect saves effort later.
Checking For Additional Damage
Look closely for cracks or splinters near the lock hole. Check if the door or frame moves or feels loose. Notice any worn-out or rotten wood. Metal parts should not be bent or rusted. Damage can stop the deadbolt from working well.
Test the door’s alignment. The door must close smoothly without gaps. Check if the strike plate is loose or missing screws. All parts must hold firm to keep your door safe.
Preparing The Surface For Installation
Clean the door and frame around the deadbolt area. Remove dust, dirt, and old paint. Sand rough or chipped spots until smooth. Fill small cracks or holes with wood filler. Let it dry completely before installing the new deadbolt.
Make sure the surface is flat and solid. This helps the deadbolt fit tightly. Use a screwdriver to tighten any loose screws. A clean, strong surface improves lock performance and safety.
Installing A New Deadbolt
Installing a new deadbolt is a simple way to improve home security. A sturdy deadbolt locks your door firmly and keeps you safe. Replacing a broken deadbolt helps avoid trouble with your door lock. This guide explains how to choose and install a new deadbolt easily.
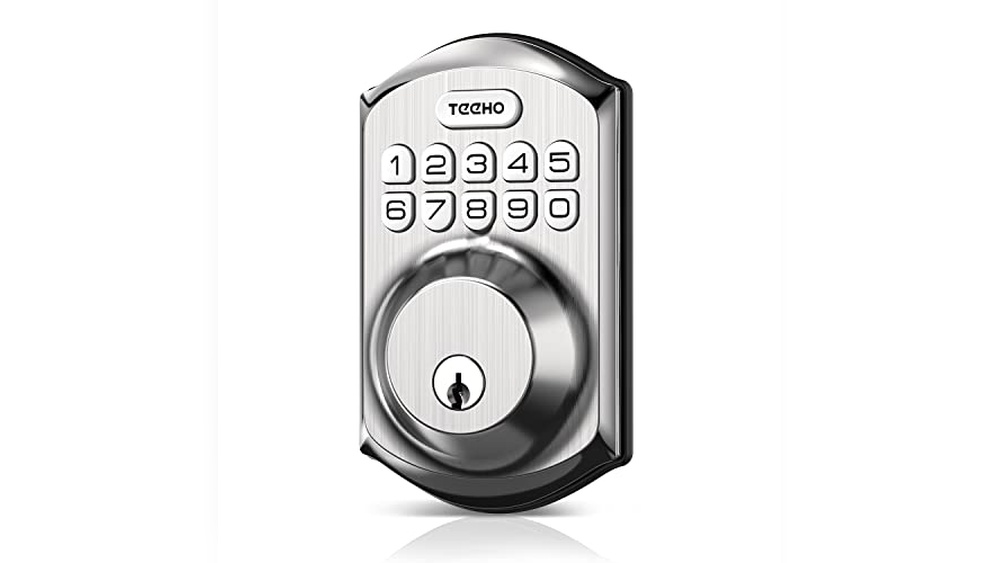
Choosing The Right Deadbolt
Select a deadbolt that fits your door’s thickness. Most doors need a deadbolt for 1 3/8 to 1 3/4 inches thick. Pick a single-cylinder deadbolt for regular doors. Double-cylinder deadbolts need a key on both sides. This type suits doors with glass near the lock.
Look for deadbolts with a solid metal bolt. A bolt that extends one inch or more is stronger. Choose a deadbolt with good reviews for durability and ease of use. Check if the deadbolt includes easy installation instructions. This saves time and effort.
Installation Steps
Start by removing the old deadbolt. Unscrew the interior and exterior parts carefully. Take out the latch from the door edge. Align the new latch with the hole in the door edge. Insert it and secure it with screws.
Place the exterior part of the deadbolt on the door. Make sure the keyhole faces outside. Attach the interior part on the other side. Connect both parts with screws through the door. Test the lock by turning the key and thumb turn. Adjust if the bolt does not slide smoothly.
Install the strike plate on the door frame. Align it with the bolt’s path. Screw it tightly to the frame. Check that the door locks firmly and opens easily. Your new deadbolt is ready to protect your home.
Testing And Adjusting The Lock
Testing and adjusting the lock is a key step in fixing a broken deadbolt. It helps ensure the lock works properly and keeps your door secure. This step lets you find small problems before they become big issues. Careful testing makes sure the deadbolt locks and unlocks smoothly every time. Adjusting the lock parts can fix misalignment and stiffness. The goal is a lock that works easily and safely.
Ensuring Smooth Operation
Start by turning the key or thumb turn slowly. Notice if the deadbolt moves without sticking. Check if the bolt slides fully into the door frame. A smooth operation means the lock parts line up well. If it feels hard or rough, the lock needs adjustment. Tighten or loosen screws on the lock and strike plate. This can help the bolt move freely. Test the lock several times after each adjustment.
Troubleshooting Common Problems
One common problem is the bolt not extending fully. This often happens if the strike plate is off-center. Loosen the strike plate screws and move it slightly. Tighten the screws and test again. Another issue is the key not turning easily. This can mean the lock cylinder is dirty or worn. Use a graphite lubricant to ease the key’s movement. If the lock still jams, parts may need replacement. Check for broken springs or bent components inside the lock.
Maintaining Your Deadbolt
Maintaining your deadbolt is key to keeping your home safe. A well-kept deadbolt works smoothly and lasts longer. Small efforts can prevent big problems. Regular care stops the lock from jamming or breaking. Here are two easy steps to keep your deadbolt in good shape.
Regular Cleaning Tips
Dust and dirt build up inside the lock. This makes it hard to turn the key. Clean your deadbolt every few months. Use a soft cloth to wipe the outside. For the keyhole, blow air gently to remove dirt. Avoid water or harsh chemicals. They can damage the lock parts.
Lubrication And Care
Lubricate your deadbolt to keep it moving smoothly. Use a graphite-based lubricant or a dry spray. Avoid oil-based products; they attract dirt. Apply a small amount inside the keyhole. Turn the key several times to spread the lubricant. Repeat this every six months for best results.

Credit: www.youtube.com
Frequently Asked Questions
How Do I Know If My Deadbolt Is Broken?
A broken deadbolt may stick, jam, or not lock smoothly. Check for difficulty turning the key or handle. Also, inspect for visible damage or loose parts. These signs indicate the deadbolt needs repair or replacement.
Can I Fix A Broken Deadbolt Myself?
Yes, you can fix a broken deadbolt if you have basic tools. Common fixes include tightening screws, lubricating the lock, or realigning the strike plate. For complex issues, consult a locksmith to avoid damage.
What Tools Are Needed To Repair A Deadbolt?
You typically need a screwdriver, lubricant, replacement screws, and possibly a new deadbolt kit. A hammer and pliers may also help. Having these tools ready makes the repair process easier and faster.
How Long Does It Take To Fix A Broken Deadbolt?
Fixing a broken deadbolt usually takes 15 to 30 minutes. Simple repairs like lubrication or tightening screws are quick. Replacing the deadbolt might take longer, depending on your experience and tools.
Conclusion
Fixing a broken deadbolt does not have to be hard. Follow each step with care and patience. Use the right tools to avoid extra damage. Check parts carefully before replacing anything. A working deadbolt keeps your home safe. Regular maintenance helps prevent future problems.
Take your time and stay calm during repair. Soon, your door will lock smoothly again. Simple fixes save money and stress. Keep your home secure with a strong deadbolt.