
Are you tired of struggling to hang shelves, pictures, or heavy items on your walls, only to have them fall down or damage the surface? Knowing how to properly put an anchor in the wall can make all the difference.
It’s a simple skill that saves you time, frustration, and money. You’ll learn step-by-step how to choose the right anchor, prepare your wall, and install it securely so your items stay put. Keep reading, and you’ll never worry about shaky wall hangings again!

Credit: www.youtube.com
Choosing The Right Anchor
Choosing the right anchor is key to a secure wall mount. Not all anchors work for every wall or object. Selecting the proper anchor helps avoid damage and ensures strong support. Understanding different anchors and their uses makes the job easier and safer.
Types Of Wall Anchors
Wall anchors come in many forms. Plastic expansion anchors are common for light loads. Metal anchors offer stronger support for heavier items. Toggle bolts spread weight over a larger area. Molly bolts expand inside the wall for firm hold. Each type fits different needs and wall types.
Matching Anchors To Wall Materials
Wall materials vary. Drywall, plaster, concrete, and brick need specific anchors. Plastic anchors suit drywall but not concrete. Metal anchors work well in brick and concrete. Toggle bolts perform best in hollow walls. Use anchors designed for your wall material for best results.
Weight Capacity Considerations
Always check the weight limit of anchors. Light anchors hold small items like picture frames. Heavy anchors support shelves or large mirrors. Choose anchors that can handle more than your item’s weight. This prevents accidents and wall damage. Safety depends on proper weight matching.
Tools And Materials Needed
Before putting an anchor in the wall, gather the right tools and materials. This step makes the job easier and safer. Having everything ready helps you work smoothly without interruptions.
Essential Tools
You need a drill to make holes in the wall. Choose a drill bit that matches the anchor size. A hammer helps to tap the anchor into the hole. Use a screwdriver to tighten screws into the anchors. A tape measure ensures correct placement on the wall. A pencil helps mark the spots for drilling.
Safety Gear
Wear safety goggles to protect your eyes from dust and debris. Gloves keep your hands safe from sharp edges. Use ear protection if the drill is loud. A dust mask prevents breathing in fine particles. Safety gear keeps you safe during the work.
Preparing Your Workspace
Clear the area around your work spot. Remove furniture or cover it with a cloth. Make sure the wall surface is clean and dry. Good lighting helps you see clearly. Organize your tools nearby for easy access. A tidy workspace prevents accidents and saves time.
Preparing The Wall
Preparing the wall is a key step before placing an anchor. It ensures the anchor holds tight and stays secure. Taking time to prepare helps avoid mistakes and damage to the wall.
Locating Studs And Marking Spots
Find the studs behind the wall using a stud finder. Studs provide strong support for heavy items. Mark the spots where you want to place the anchors. Use a pencil to make small marks on the wall.
Drilling Pilot Holes
Choose the right drill bit size for your anchor. Drill pilot holes at the marked spots carefully. Drill straight to avoid making the hole larger than needed. Pilot holes guide the anchor and make installation easier.
Cleaning The Hole
Remove dust and debris from the drilled holes. Use a small brush or blow air into the hole. Cleaning helps the anchor fit tightly and hold better. A clean hole prevents slipping and weak support.
Installing The Anchor
Installing the anchor properly is key for a strong hold on your wall. The right method depends on the type of anchor you choose. Each type fits different wall materials and weight needs. Follow simple steps to secure your anchor safely and firmly.
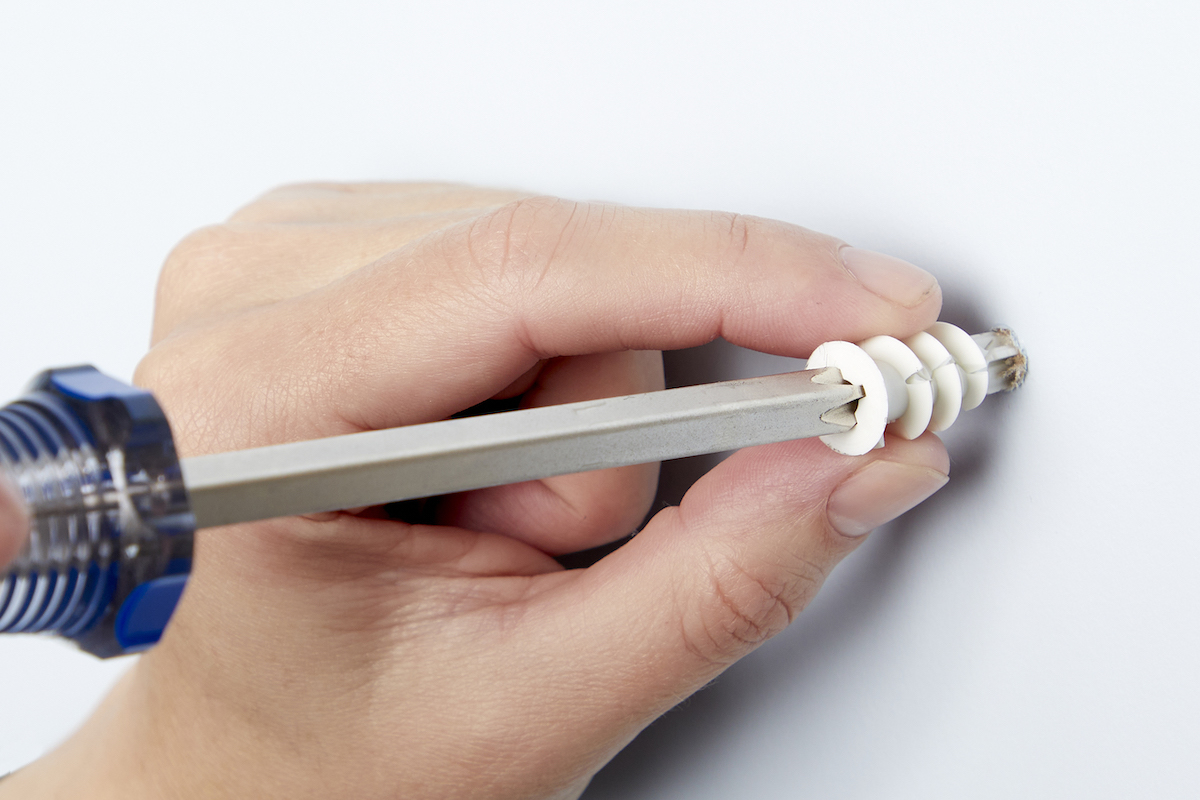
Inserting Plastic Anchors
Start by drilling a hole that matches the anchor size. Push the plastic anchor gently into the hole. Tap lightly with a hammer to make it flush with the wall. Avoid forcing it in, or the wall may crack. Insert the screw into the anchor and turn slowly. This expands the anchor inside the wall, creating a tight grip.
Using Toggle Bolts
Drill a hole wide enough for the folded toggle. Thread the bolt through the item to hang, then through the toggle. Squeeze the toggle wings and push through the hole. The wings open inside the wall. Pull back gently on the bolt to lock the wings in place. Tighten the bolt carefully to secure your item.
Securing Molly Bolts
Drill a hole that fits the molly bolt sleeve. Push the molly bolt into the hole until flush with the wall. Turn the screw slowly to expand the sleeve behind the wall. This expansion locks the anchor tightly. Remove the screw to hang your item, then reinsert and tighten it. The molly bolt provides strong support for medium to heavy loads.
Attaching The Fixture
Attaching the fixture to the wall anchor is the final step. This process ensures your item stays secure. Follow simple steps to get a strong hold. Proper attachment prevents damage and keeps your wall safe.
Aligning The Object
Place the fixture close to the wall. Match the holes on the object with the anchors. Check the alignment carefully before moving on. Correct placement saves time and effort later.
Screwing Into The Anchor
Use the right screwdriver or drill bit for your screws. Insert the screw slowly into the anchor. Turn the screw clockwise until it feels tight. Avoid overtightening to prevent damage to the anchor or wall.
Ensuring A Tight Fit
Check if the fixture holds firmly against the wall. There should be no wiggle or movement. Tighten the screws a bit more if needed. A solid fit keeps your items safe and stable.

Credit: www.youtube.com
Testing The Anchor’s Strength
Testing the anchor’s strength is a crucial step after installation. It ensures the anchor holds firmly in the wall. Without this test, the anchor might fail under load. This could cause damage or accidents. Proper testing saves time and effort later.
Applying Gradual Weight
Start by applying a small weight to the anchor. Use something light, like a bag or a small tool. Slowly increase the weight step by step. Watch how the anchor reacts with each increase. If it holds steady, the anchor is strong enough.
Checking For Movement
Look closely for any signs of movement in the anchor. Wiggle the item attached to the anchor gently. Even small shifts can mean the anchor is loose. Use your hand to feel if the anchor wiggles inside the wall. No movement means a secure fit.
Troubleshooting Loose Anchors
If the anchor moves, stop adding weight. Remove the item carefully to avoid damage. Try a bigger anchor or a different type for better grip. Check the wall material; some anchors suit certain walls better. Fixing loose anchors early prevents bigger problems.
Tips For Long-lasting Support
Ensuring your wall anchors provide long-lasting support is key to keeping items secure. Proper care and attention help prevent damage and maintain strength over time.
Follow simple tips to protect your anchors and avoid common problems that cause failure.
Avoiding Overloading
Do not hang items heavier than the anchor’s weight limit. Overloading can cause the anchor to pull out or break. Check the anchor packaging for weight ratings. Use multiple anchors for heavier objects. Distribute weight evenly to reduce stress on each anchor.
Regular Inspection
Check anchors regularly for signs of wear or damage. Look for cracks, loosening, or movement in the wall. Early detection helps prevent accidents. Tighten loose screws and replace damaged anchors immediately. Make inspections part of your routine maintenance.
Proper Maintenance
Keep the area around anchors clean and dry. Moisture can weaken both anchors and walls. Avoid using harsh chemicals near anchors. Use gentle cleaning methods instead. Recheck anchor tightness after heavy use or changes in load. Proper care extends anchor life and improves safety.
Credit: www.bobvila.com
Frequently Asked Questions
What Types Of Anchors Work Best For Drywall?
Plastic expansion anchors and toggle bolts are ideal for drywall. They provide strong support and prevent damage. Choose based on the weight of the object you want to hang. Plastic anchors suit lightweight items, while toggle bolts hold heavier loads securely.
How Do You Choose The Right Anchor Size?
Select an anchor size based on the screw size and wall thickness. The anchor should fit snugly in the drilled hole. Using the wrong size can reduce holding strength and cause wall damage. Always follow manufacturer size guidelines for best results.
Can I Use Anchors In Concrete Walls?
Yes, use concrete anchors like sleeve anchors or wedge anchors for concrete. Drill a hole with a masonry bit first. Then insert the anchor and tighten the screw. This ensures a secure hold suitable for heavy items on concrete surfaces.
Should I Drill A Pilot Hole Before Inserting An Anchor?
Yes, drilling a pilot hole is essential. It guides the anchor and prevents wall cracking. Use a drill bit size matching the anchor diameter. This step ensures a snug fit and maximizes anchor strength.
Conclusion
Putting an anchor in the wall is simple with the right steps. Start by choosing the correct anchor type for your wall. Drill a hole that matches the anchor size. Insert the anchor carefully without forcing it. Tighten the screw slowly to hold your item firmly.
Taking time and following these tips helps your anchor stay strong. This makes hanging pictures or shelves safer and easier. Practice a few times to gain confidence. Now, you can hang things securely and avoid wall damage.


