Are you staring at a stubborn Molly wall anchor that just won’t come out? You’re not alone.
Removing these anchors can feel tricky, but with the right steps, you can get it done quickly and without damaging your walls. In this guide, you’ll discover simple, clear methods to remove a Molly wall anchor safely. By the end, you’ll have the confidence to tackle this task yourself and restore your wall to perfect condition.
Keep reading, and let’s get started!
Credit: www.familyhandyman.com
What Is A Molly Wall Anchor
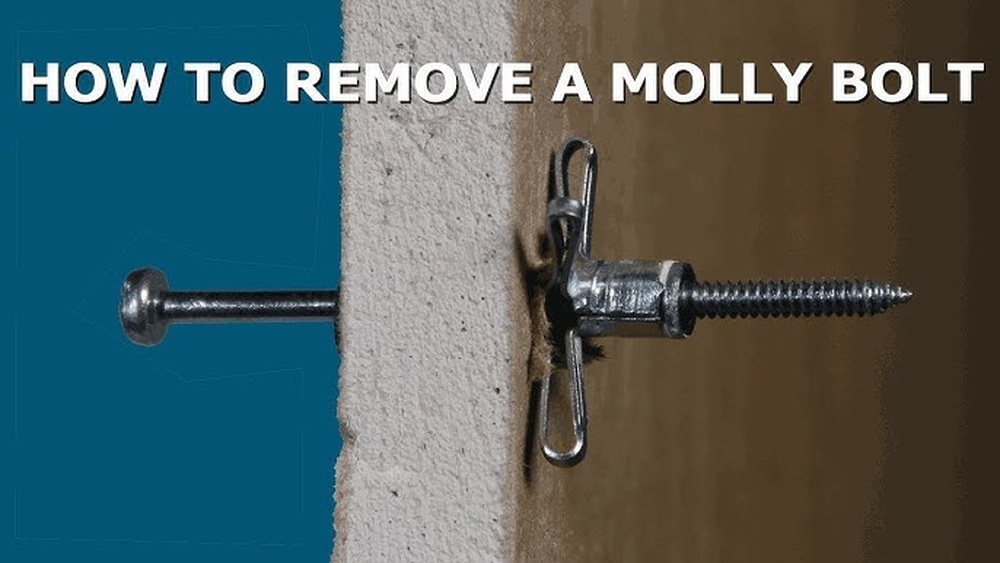
A Molly wall anchor is a type of fastener used to hang heavy items on drywall or hollow walls. It provides strong support by expanding behind the wall surface. This expansion holds the anchor tightly in place, preventing it from pulling out easily.
These anchors are popular for mounting shelves, mirrors, and other objects that need firm support. They work well in places where a regular screw or nail would not hold securely. The design of the Molly anchor allows it to spread the load over a larger area inside the wall.
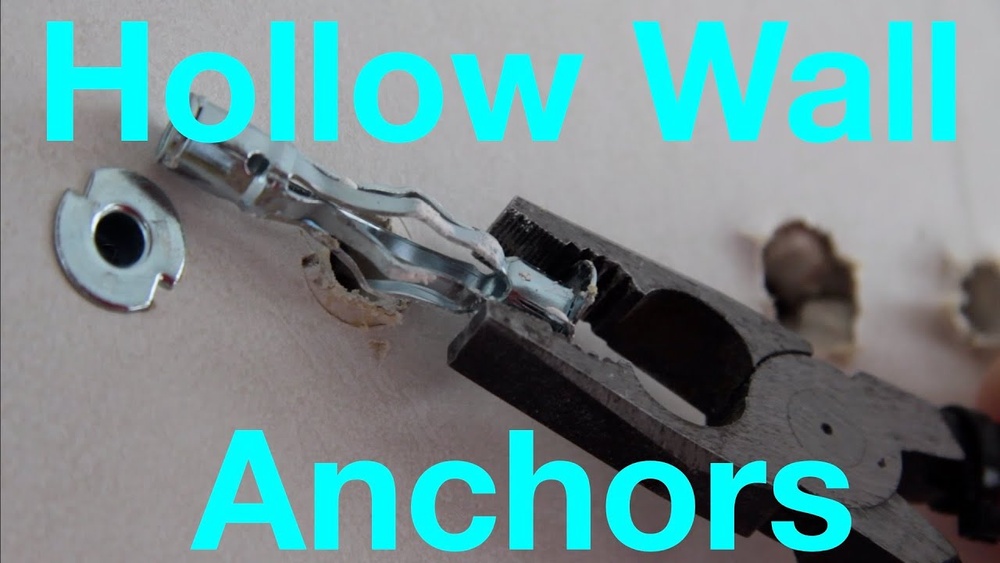
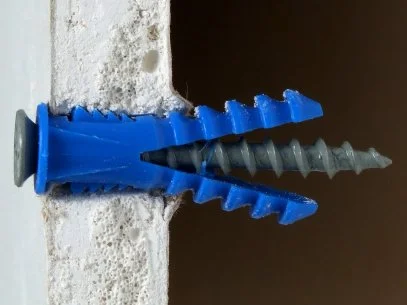
What Does A Molly Wall Anchor Look Like?
Molly anchors are metal sleeves with expandable legs. When you screw them in, the legs open up inside the wall. This opening acts like a clamp, gripping the wall’s inner surface. The visible part on the outside looks like a regular screw head or bolt.
Where Are Molly Wall Anchors Used?
These anchors are used in drywall, plaster, and hollow walls. They work best with medium to heavy loads. Common uses include hanging cabinets, curtain rods, and towel racks. Their design helps keep items secure without damaging the wall.
How Does A Molly Wall Anchor Work?
The anchor is inserted into a hole drilled in the wall. As the screw turns, the metal legs expand behind the wall. This expansion locks the anchor in place. It spreads the weight evenly to avoid wall damage.
Tools Needed For Removal
Removing a molly wall anchor needs the right tools. These tools make the job easier and safer. Using proper tools helps avoid damage to walls or your hands.
Gathering all tools before starting saves time. Here are the main tools you need for removal.
Flathead Screwdriver
This tool helps pry the anchor from the wall. Its thin edge fits between the anchor and wall. It provides leverage to pull the anchor out carefully.
Needle-nose Pliers
These pliers grip the anchor firmly. Their narrow tips reach tight spots easily. They help twist or pull the anchor without slipping.
Drill With A Small Drill Bit
A drill can remove stubborn anchors. Use a small bit that matches the anchor size. It loosens the anchor by drilling into its center.
Utility Knife
This knife cuts any paint or drywall around the anchor. It helps free the anchor and prevents wall damage. Use it carefully to avoid cuts or holes.
Putty Knife
Use a putty knife to smooth the wall after anchor removal. It removes loose drywall bits and prepares the surface for repair. A flat, flexible blade works best.
Preparing The Area
Preparing the area before removing a molly wall anchor is important. It helps make the process easier and safer. Taking simple steps can protect your walls and tools.
Clear the space around the anchor. This gives you room to work and prevents damage to nearby objects. Cover the floor and furniture to catch dust and debris.
Gather the right tools before you start. Having everything ready saves time and reduces frustration. Safety gear like goggles and gloves protects you during removal.
Clear The Work Area
Remove any items near the wall anchor. Move furniture and decorations away from the spot. This creates a clean space for you to work without interruptions.
Protect The Wall And Floor
Use painter’s tape around the anchor to protect the wall surface. Lay a drop cloth or old towel on the floor. This catches any dust or small pieces that fall.
Gather Necessary Tools
Prepare tools like pliers, a screwdriver, and a utility knife. Use safety glasses and gloves for protection. Having tools ready helps the job go smoothly.
Method 1: Pulling Out The Anchor
Method 1: Pulling Out the Anchor is a simple way to remove a molly wall anchor. This method works best when the anchor is not too deep in the wall. It involves loosening the anchor first, then pulling it out carefully. You need some basic tools like pliers to do this.
Loosen The Anchor
Start by loosening the anchor to make pulling easier. Tap the wall gently around the anchor with a small hammer. This can help break any paint or drywall holding the anchor tight. Then, try to wiggle the anchor by hand. This step reduces resistance and prevents damage to the wall.
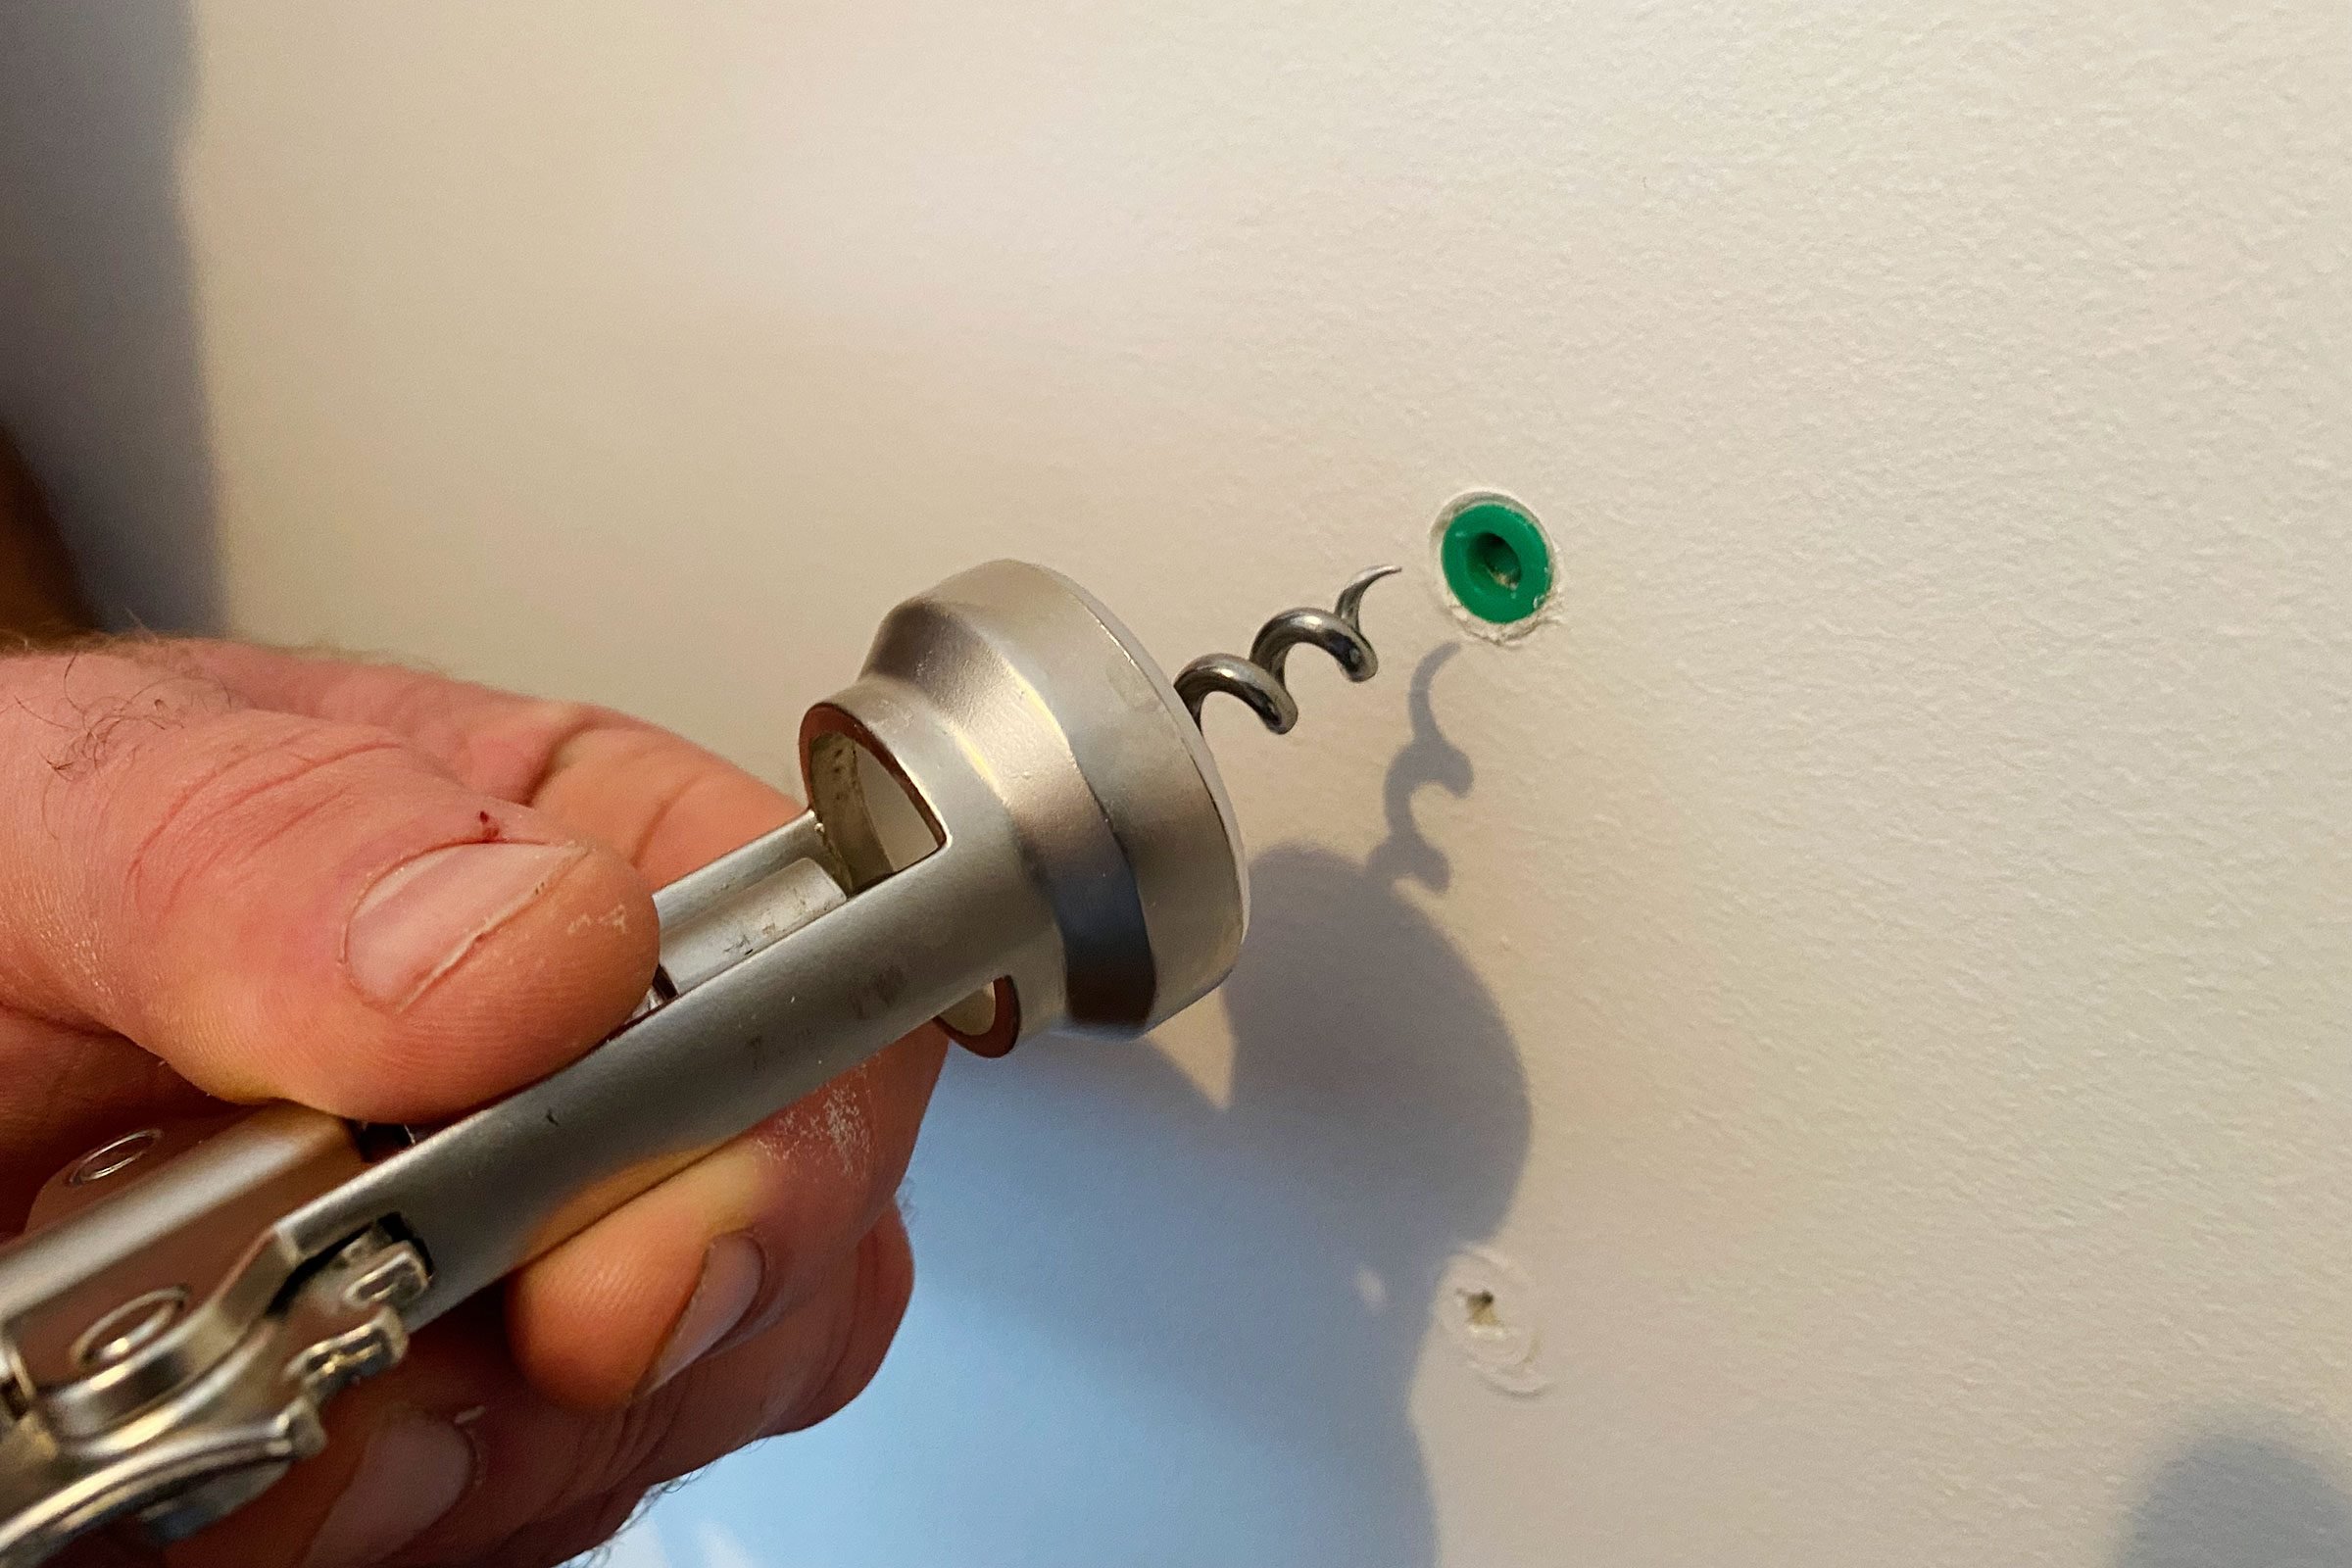
Use Pliers To Extract
Grab the anchor’s head firmly with pliers. Pull straight out slowly and steadily. Avoid twisting or jerking the anchor to stop wall damage. If the anchor does not come out easily, repeat loosening steps. Pulling out the anchor with care keeps the hole clean and ready for repair.
Method 2: Pushing The Anchor Through
The second method to remove a molly wall anchor is by pushing it through the wall. This method works well if you want to avoid damaging the wall surface. It involves drilling around the anchor and then pushing it inside the wall cavity. This is a simple process that clears the anchor without leaving a big hole.
Drill Around The Anchor
Start by drilling small holes around the edge of the molly anchor. Use a drill bit slightly smaller than the anchor’s outer edges. This step loosens the anchor’s grip on the drywall. Take care not to drill too deep or too wide. A steady hand will help avoid extra damage to the wall.
Push Anchor Inside Wall
After drilling, use a screwdriver or a similar tool to push the anchor into the wall. Apply steady pressure until the anchor moves inside the wall cavity. It will fall behind the drywall and stay hidden. This leaves a small hole that is easy to patch up. The wall remains smooth and ready for repair.

Credit: www.youtube.com
Filling And Repairing The Hole
After removing a molly wall anchor, a hole remains in the wall. Filling and repairing this hole restores the wall’s smooth surface. This step ensures the wall looks good and is ready for painting. Proper repair keeps your wall strong and clean.
Choose The Right Filler
Pick a filler made for drywall or plaster. Spackle or joint compound works well for small holes. For bigger holes, use patching plaster or a wall repair kit. The right filler sticks well and dries hard.
Apply And Smooth Filler
Use a putty knife to apply filler inside the hole. Press firmly to fill all empty space. Spread the filler evenly over the surface. Smooth the edges to blend with the wall. Let it dry fully before moving on.
Sanding And Painting
Once dry, sand the filled area gently. Use fine-grit sandpaper for a smooth finish. Wipe away dust with a clean cloth. Paint over the repaired spot to match the wall color. This hides the repair and refreshes your wall.
Tips To Avoid Wall Damage
Removing a molly wall anchor can be tricky without harming the wall. Small mistakes can cause big holes or cracks. Follow simple tips to protect your wall and keep it looking good. Taking your time and using the right tools makes a big difference.
Use The Correct Tools
Choose tools made for wall anchors. Needle-nose pliers and a screwdriver work well. Avoid sharp objects that can dig into the wall. Proper tools help remove the anchor gently.
Work Slowly And Carefully
Pull the anchor out slowly. Sudden force can damage the drywall. Take small, steady pulls. Patience reduces the risk of wall damage.
Protect The Wall Surface
Place a cloth or tape around the anchor. This stops scratches or dents. A soft barrier keeps the wall safe during removal.
Fill And Smooth The Hole
Use spackle or putty after removing the anchor. Fill the hole completely. Smooth the surface with a putty knife. This hides any marks and prepares for painting.
When To Call A Professional
Removing a molly wall anchor can be simple. But some situations need expert help. Knowing when to call a professional saves time and avoids damage. It also keeps your walls safe and strong.
Complex Wall Damage
Large holes or cracks may happen during removal. This damage can weaken the wall’s structure. A professional knows how to fix these problems safely. They use the right tools and materials.
Hard-to-remove Anchors
Some molly anchors are stuck tight. Pulling too hard can break the wall. Professionals have special tools for tough anchors. They remove them without causing harm.
Uncertain Wall Material
Walls are made from different materials like drywall or plaster. Removing anchors in unknown walls can be tricky. Pros understand how to work with various surfaces. They avoid mistakes that cause damage.
Time Constraints
Need the anchor gone quickly? Professionals work fast and clean. They save you time and effort. This is helpful for busy people or urgent repairs.
Safety Concerns
Electrical wires or pipes may be behind the wall. Removing anchors near these needs care. Experts know how to avoid accidents. They keep you and your home safe.
Credit: www.hgtv.com
Frequently Asked Questions
How Do You Safely Remove A Molly Wall Anchor?
To safely remove a molly wall anchor, first unscrew the bolt. Then, gently pull the anchor with pliers. If it won’t budge, push it into the wall cavity carefully to avoid damage.
Can Molly Anchors Be Reused After Removal?
No, molly anchors cannot be reused once removed. They expand inside the wall, causing permanent deformation. For secure fastening, always use a new anchor after removal.
What Tools Are Needed To Remove Molly Wall Anchors?
You need a screwdriver and needle-nose pliers. A hammer may help to tap the anchor inside the wall. These simple tools make the removal process quick and efficient.
Will Removing A Molly Anchor Damage The Wall?
Removing a molly anchor may cause minor wall damage. Small holes or dents can appear. Patch and repaint the area afterward for a clean finish.
Conclusion
Removing a molly wall anchor is simple with the right steps. Take your time and use basic tools for safety. Avoid damaging the wall by working gently and carefully. Practice makes the process easier and faster. Soon, you will feel confident handling wall anchors yourself.
Keep this guide handy for future projects. Small repairs can save money and improve your home. Try it out and see the difference.