Have you ever struggled with removing plastic wall anchors without damaging your walls? If you’re facing this common problem, you’re not alone.
Getting those stubborn anchors out can feel frustrating and tricky. But don’t worry—this guide will show you simple, effective ways to remove plastic wall anchors safely and quickly. By the end, you’ll know exactly what to do to keep your walls looking perfect and make your next DIY project easier.
Let’s dive in and solve this hassle together!
Tools Needed
Removing plastic wall anchors requires the right tools. The tools make the job easier and prevent damage to your wall. Some tools are common in most homes. Others are made specifically for this task. Knowing what tools to use helps you work faster and cleaner.
Common Household Tools
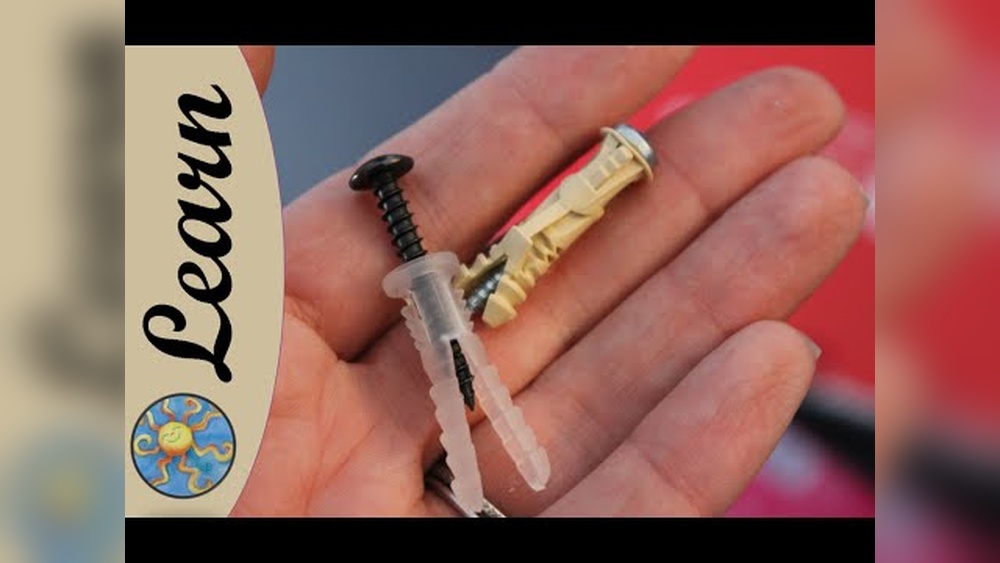
Many plastic wall anchors can be removed with basic tools. A pair of needle-nose pliers works well to grip and pull anchors out. A flathead screwdriver helps pry the anchor gently away from the wall. Sometimes a utility knife is needed to cut around the anchor or trim it flush with the wall. These tools are easy to find and simple to use.
Specialized Removal Tools
Some anchors are tougher and need special tools. An anchor removal tool is designed to twist and pull anchors out without damage. A drill with a small bit can help loosen the anchor inside the wall. Specialty pliers with angled jaws offer better grip and control for stubborn anchors. These tools are handy for frequent DIYers or difficult anchors.
Credit: www.familyhandyman.com
Preparation Steps
Before removing plastic wall anchors, some preparation is important. It helps make the process smoother and safer. Taking time to prepare can save effort later. The steps below cover clearing the space and safety measures.
Clearing The Area
Start by clearing the area around the wall anchor. Remove any furniture, decorations, or objects nearby. This gives you room to work freely and avoids damage to your belongings. A clean space also helps catch any debris or dust from the removal process. Lay down a drop cloth or old newspaper to protect the floor.
Safety Precautions
Wear safety glasses to protect your eyes from dust and small particles. Use gloves to avoid cuts or scrapes from tools or sharp edges. Make sure the area is well-lit so you can see clearly. Keep children and pets away during the removal. Prepare a first aid kit nearby, just in case.
Method 1: Using Pliers
Method 1: Using pliers is a simple way to remove plastic wall anchors. This method works well when the anchor sticks out a bit from the wall. You only need a pair of pliers and some patience.
Plastic wall anchors can be tricky to pull out. Gripping them firmly and pulling straight helps prevent damage to the wall. This method is quick and requires no special tools beyond pliers.
Grip And Wiggle Technique
First, grab the anchor with the pliers near the wall surface. Hold it tight to avoid slipping. Next, gently wiggle the anchor side to side. This loosens the anchor inside the wall.
After wiggling, pull the anchor straight out slowly. Keep steady pressure. The anchor should slide out without breaking. If it resists, wiggle again before pulling.
When To Use This Method
Use pliers if the anchor head is visible and not flush with the wall. This method works best on anchors that do not sit deep inside the drywall. It is ideal for small to medium-sized anchors.
Avoid this method for anchors that are flush or recessed deeply. In such cases, pulling might damage the wall. Try other removal methods for those situations.

Credit: www.youtube.com
Method 2: Screw And Pull
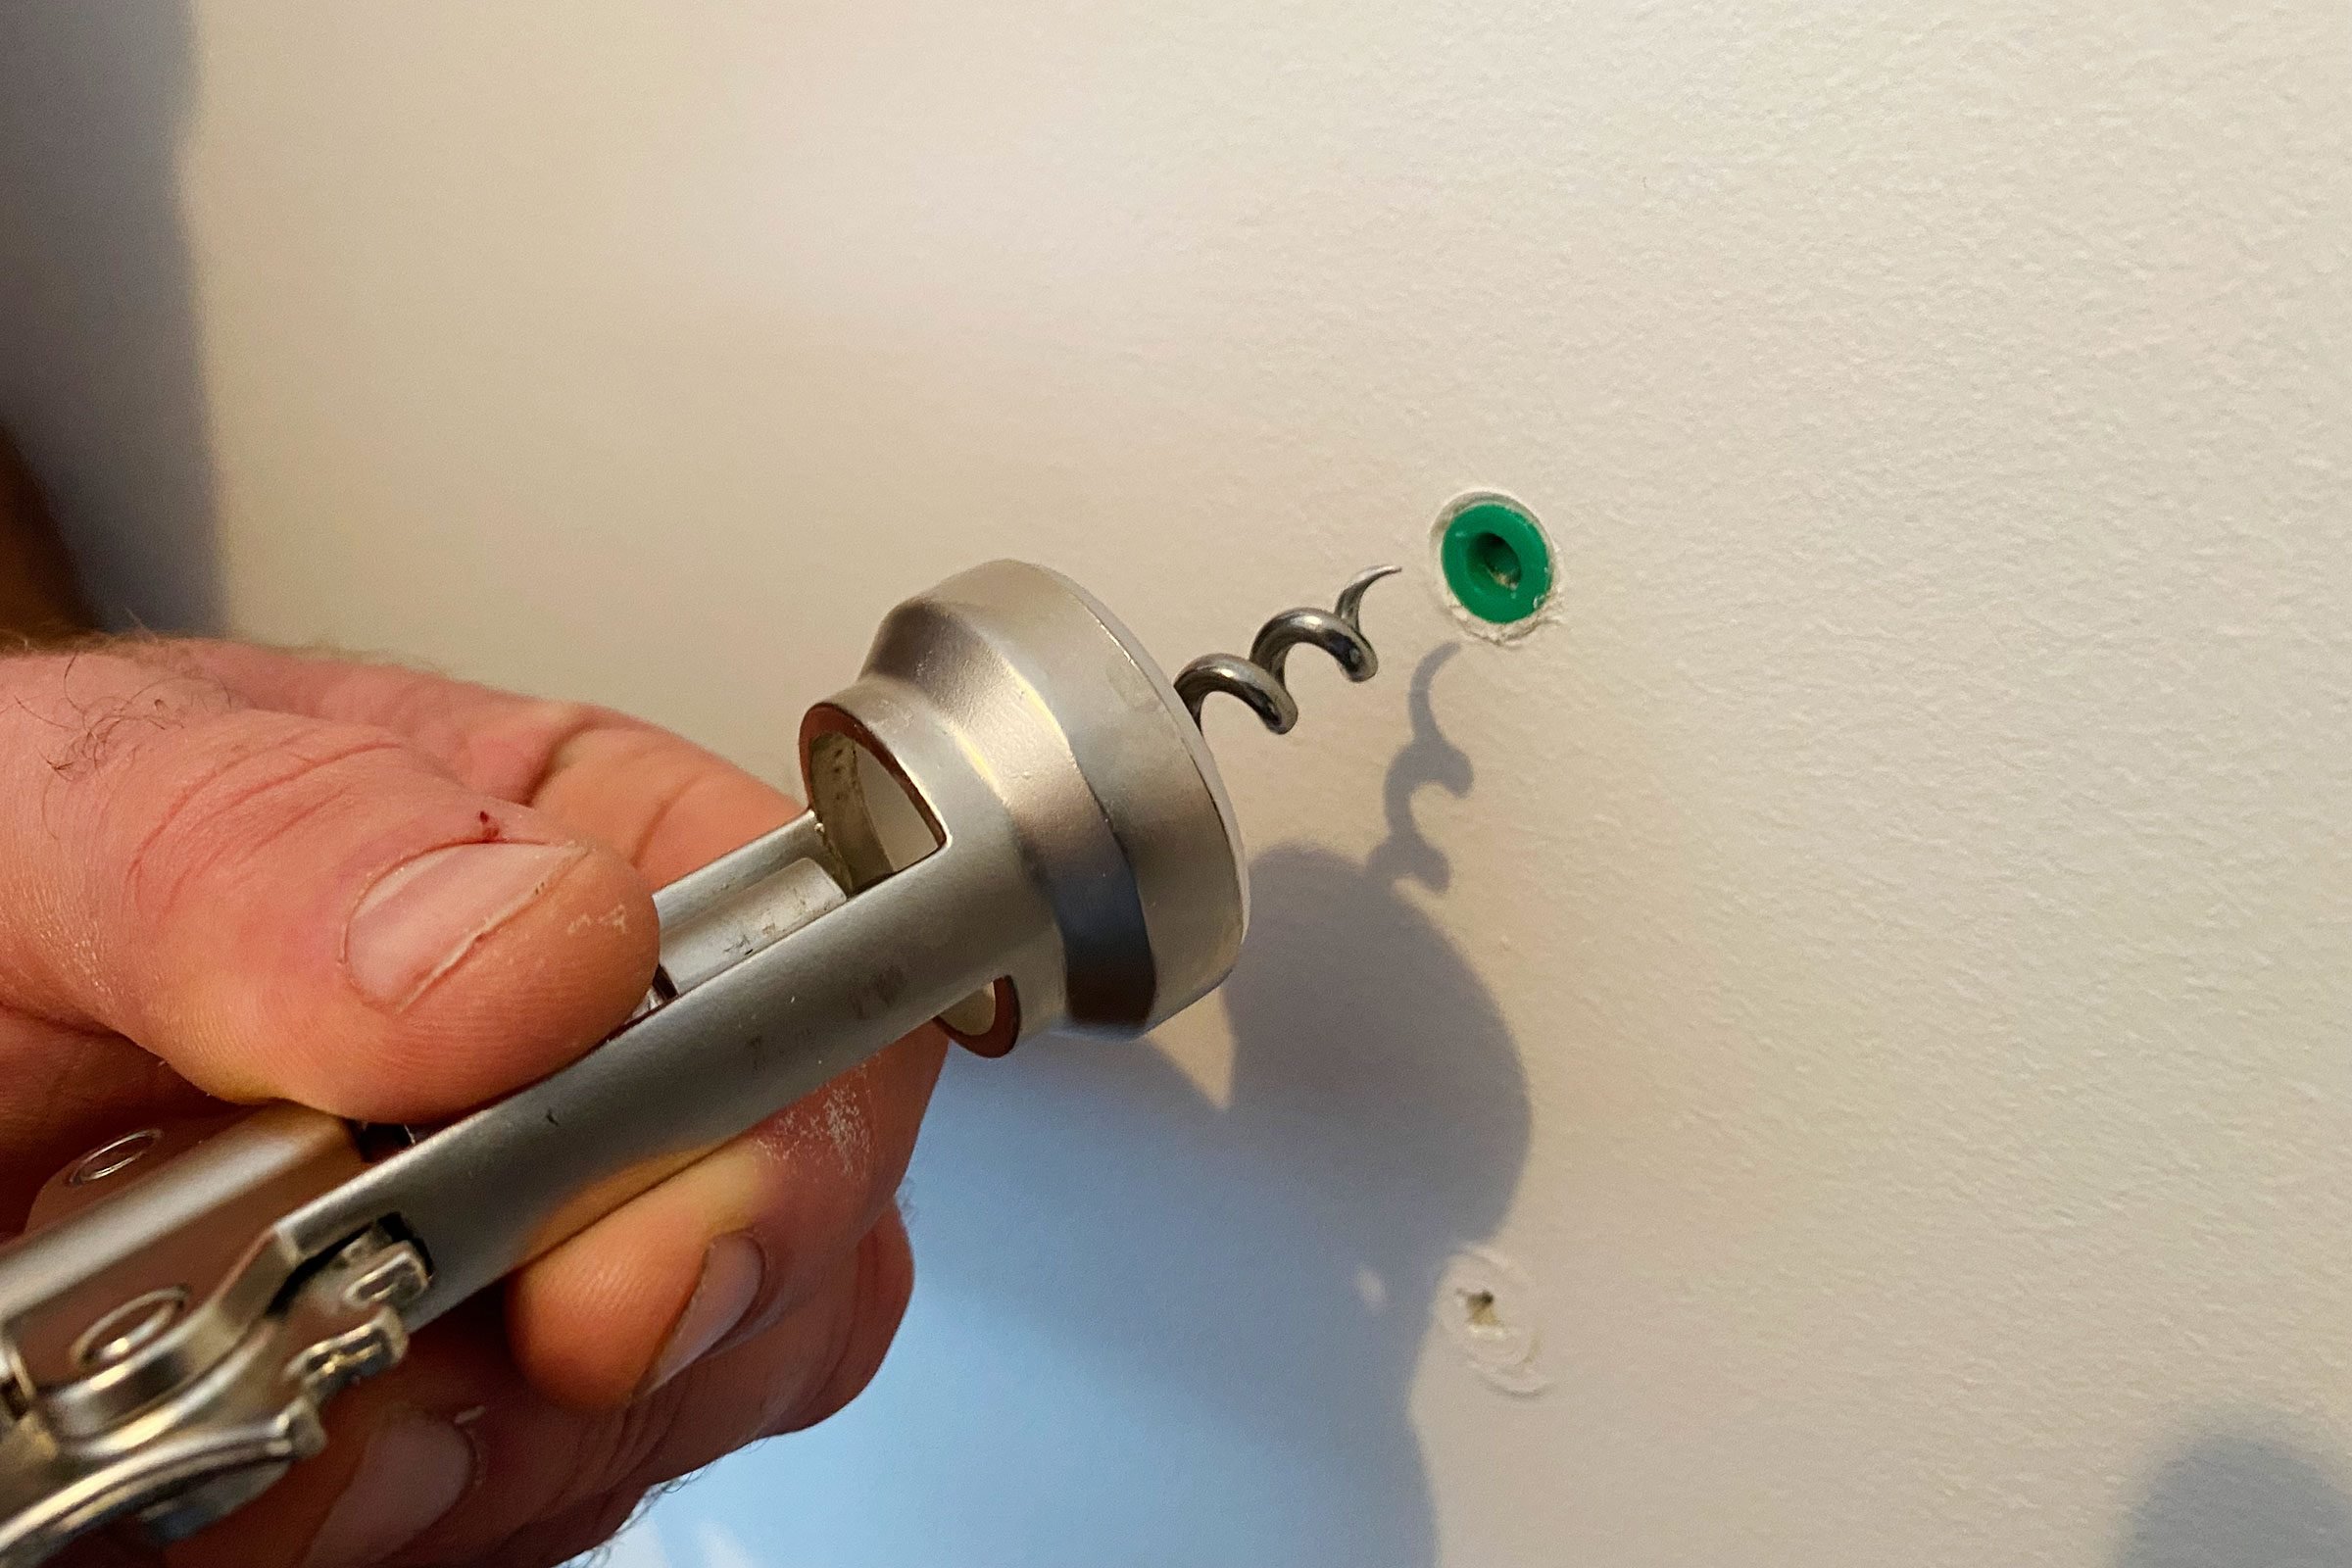
Method 2: Screw and Pull is a simple way to remove plastic wall anchors. This method uses a screw to grip the anchor. Then, you pull the anchor out with ease. It works well for anchors that are stuck or hard to grab.
Inserting A Screw
First, select a screw slightly smaller than the anchor hole. Gently insert the screw into the plastic anchor. Turn the screw slowly with a screwdriver. The screw should bite into the anchor. Stop when the screw feels tight and secure.
Pulling Out The Anchor
Next, use pliers or a claw hammer to pull the screw. Hold the screw head firmly and pull straight out. The anchor should come out with the screw. If the anchor stays, wiggle the screw while pulling. Keep pulling until the anchor releases from the wall.
Method 3: Cutting And Pushing
Method 3: Cutting and Pushing offers a practical way to remove plastic wall anchors. This method works well when the anchor is stuck or hard to pull out. It involves trimming the anchor’s top and then pushing it into the wall cavity. This technique leaves a clean surface ready for patching or new installations.
Trimming The Anchor Head
Start by cutting off the anchor’s head with a sharp utility knife or scissors. Cut close to the wall surface to remove any protruding parts. This step makes the anchor flush with the wall. Be careful not to damage the surrounding drywall or paint.
Pushing The Anchor Into The Wall
Use a screwdriver or a similar tool to push the trimmed anchor into the wall cavity. Apply steady pressure until it slides in completely. This leaves a small hole in the wall, easy to fill with spackle or putty. The anchor stays hidden and does not interfere with repairs or repainting.

Credit: www.fmwfasteners.com
Dealing With Stubborn Anchors
Sometimes plastic wall anchors refuse to come out easily. They get stuck deep inside the wall, making removal tough. Stubborn anchors need special care. Using the right methods can save your wall from damage.
Two effective ways to handle these anchors are using lubricants and applying heat. Both methods loosen the anchor’s grip and make pulling easier. Let’s explore these techniques in detail.
Using Lubricants
Lubricants reduce friction between the anchor and the wall. Apply a small amount around the anchor’s edges. Use oil or silicone spray for best results.
Let the lubricant sit for a few minutes. It seeps into tiny gaps, softening the plastic’s hold. After waiting, try to wiggle the anchor gently. This helps it slide out without tearing the wall.
Applying Heat
Heat softens plastic anchors, making them easier to remove. Use a hairdryer on low heat and direct it at the anchor. Keep it moving to avoid overheating one spot.
Heat for about one to two minutes. The warm plastic becomes flexible and less sticky. After heating, pull the anchor slowly with pliers. It should come out with less resistance.
Repairing The Wall After Removal
Removing plastic wall anchors often leaves small holes or rough spots on your wall. Repairing these areas helps restore a smooth, clean surface. This step is important before painting or hanging new items. A neat repair improves the room’s look and keeps the wall strong.
Filling Holes
Start by cleaning the hole and removing loose debris. Use a putty knife to apply spackling paste or wall filler. Press the filler into the hole until it is slightly overfilled. Let it dry for the time suggested on the package. Large holes may need a second layer for full coverage.
Sanding And Painting
After the filler dries, sand the area with fine-grit sandpaper. Sand until the surface feels smooth and even with the wall. Wipe away dust using a damp cloth. Apply primer to the repaired spot, then paint to match the wall color. Use a small brush for precise coverage and let it dry completely.
Tips To Avoid Damage
Removing plastic wall anchors can be tricky. Damaging the wall is common without care. These tips help protect your walls and save time. Follow smart steps before and during removal.
Choosing The Right Anchor
Select anchors based on wall type and weight load. Use lightweight anchors for drywall and heavier ones for masonry. Avoid using anchors too large or too small. Proper selection reduces stress on walls. This prevents cracks or holes during removal.
Plastic anchors work best for light items. For heavier objects, metal or toggle anchors suit better. Match anchor size to screw size for easy removal. Right anchors mean less damage to the wall surface.
Proper Installation Techniques
Drill holes carefully and at correct depth. Avoid making holes too big or too deep. Insert anchors gently without forcing them. Screws should fit snugly to avoid wobbling.
Do not overtighten screws; this can crack the anchor or wall. Leave a small gap to ease anchor removal later. Use a level to install anchors straight. Proper installation means anchors come out smoothly without tearing the wall.
Frequently Asked Questions
How Do I Remove Plastic Wall Anchors Safely?
To remove plastic wall anchors safely, first try pulling them out with pliers gently. If stuck, use a screwdriver to pry or twist the anchor. Avoid damaging the wall by applying steady, controlled pressure during removal.
What Tools Are Best For Removing Plastic Anchors?
The best tools for removing plastic anchors are needle-nose pliers, a flathead screwdriver, and a drill. These tools help grip, pry, or drill out the anchor effectively without damaging the wall.
Can I Reuse Plastic Wall Anchors After Removal?
Plastic wall anchors are typically damaged during removal and should not be reused. It’s best to replace them with new anchors to ensure a secure hold when rehanging items.
How To Fix Holes After Removing Plastic Anchors?
After removing plastic anchors, fill holes with spackle or wall filler. Let it dry, then sand smooth. Finally, repaint to match the wall for a clean, finished look.
Conclusion
Removing plastic wall anchors is easier than it seems. Use simple tools like pliers or a screwdriver. Gently pull or twist the anchor to avoid wall damage. Take your time to prevent making holes bigger. Clean the area after removing the anchor.
This keeps your wall smooth and ready for new fixtures. With care and patience, your walls will look neat again. Practice these steps for a quick and safe anchor removal.