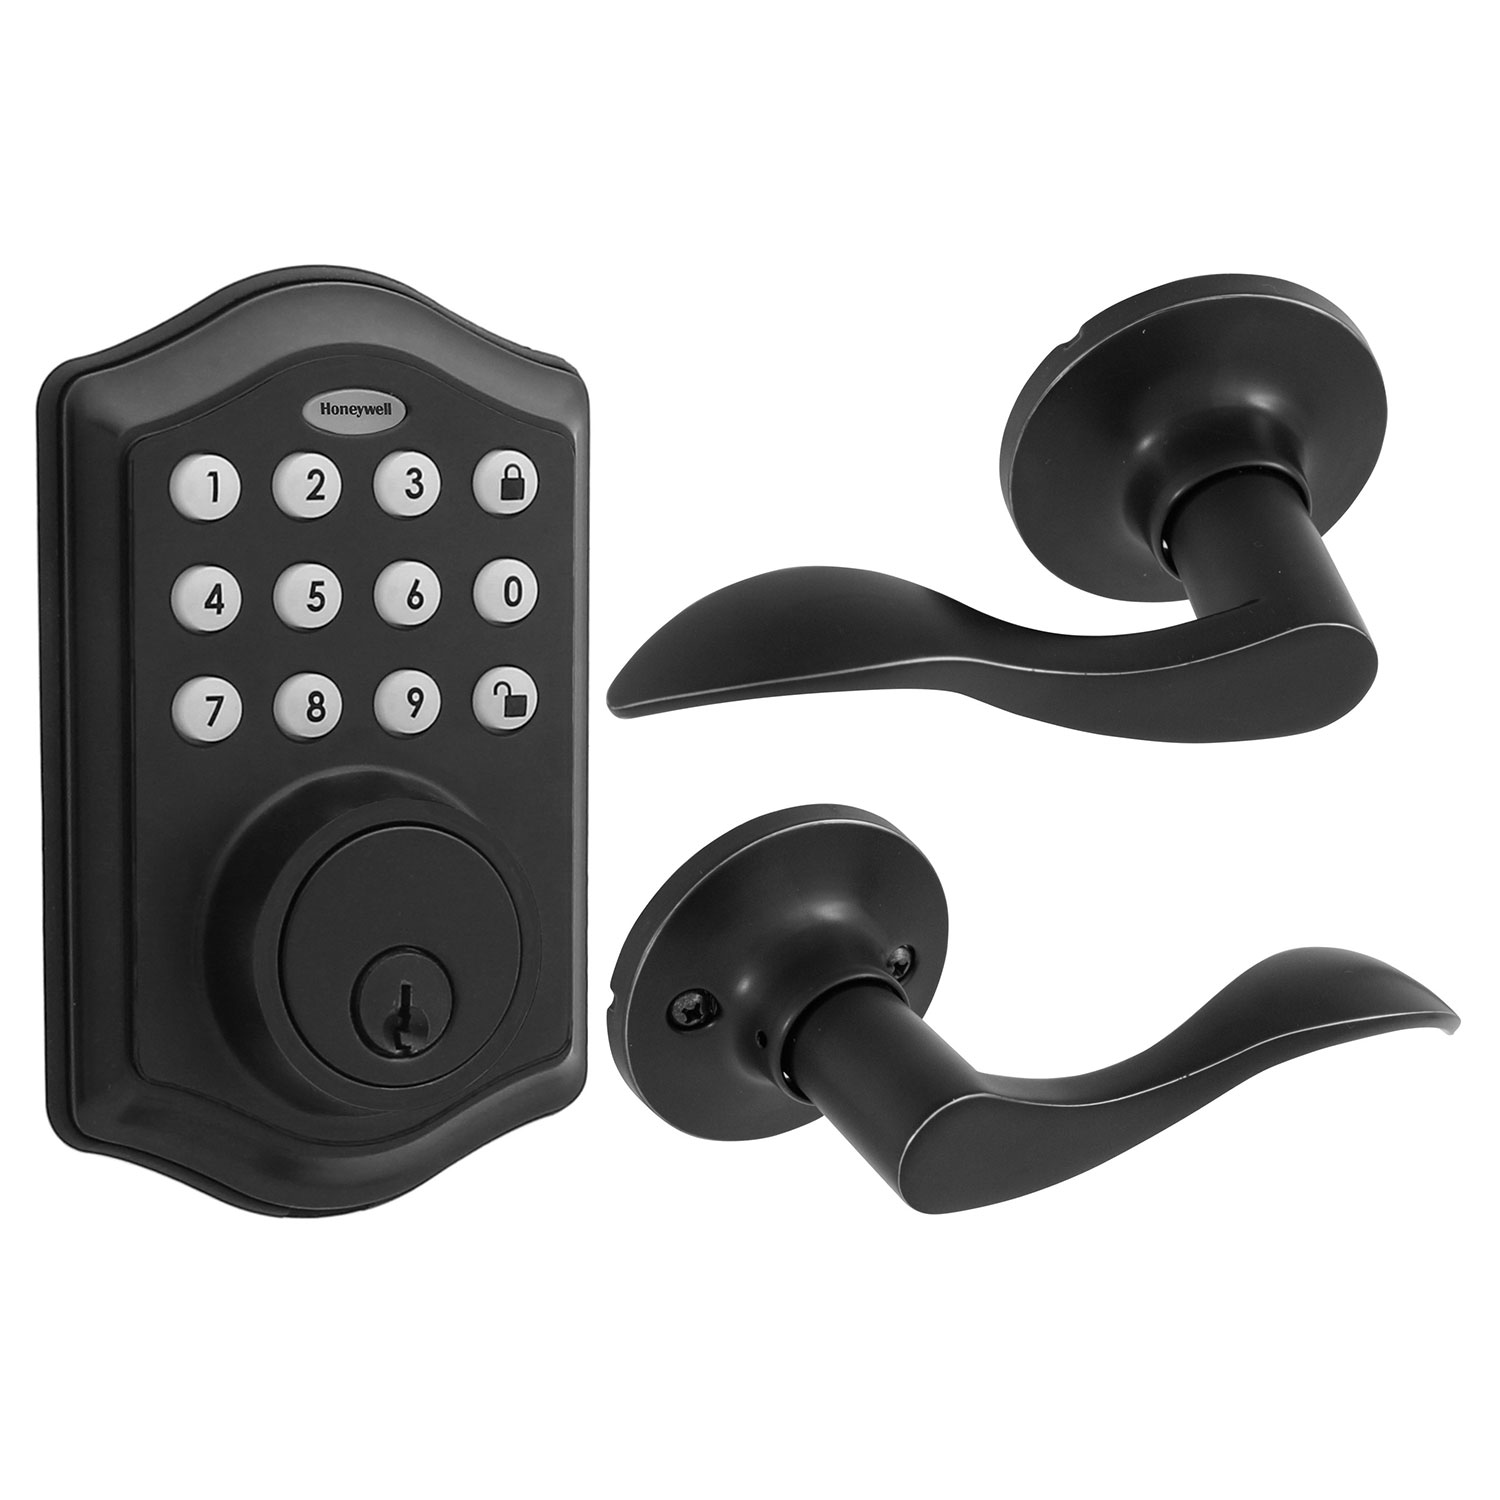
If you want to boost your home security without hassle, installing a Honeywell digital deadbolt is a smart choice. You might think it’s complicated, but with the right steps, you can do it yourself quickly and easily.
Imagine never fumbling for keys again or worrying about who has access to your door. In this guide, you’ll discover simple, clear instructions that make the whole process smooth. Keep reading, and you’ll have your digital deadbolt up and running in no time.

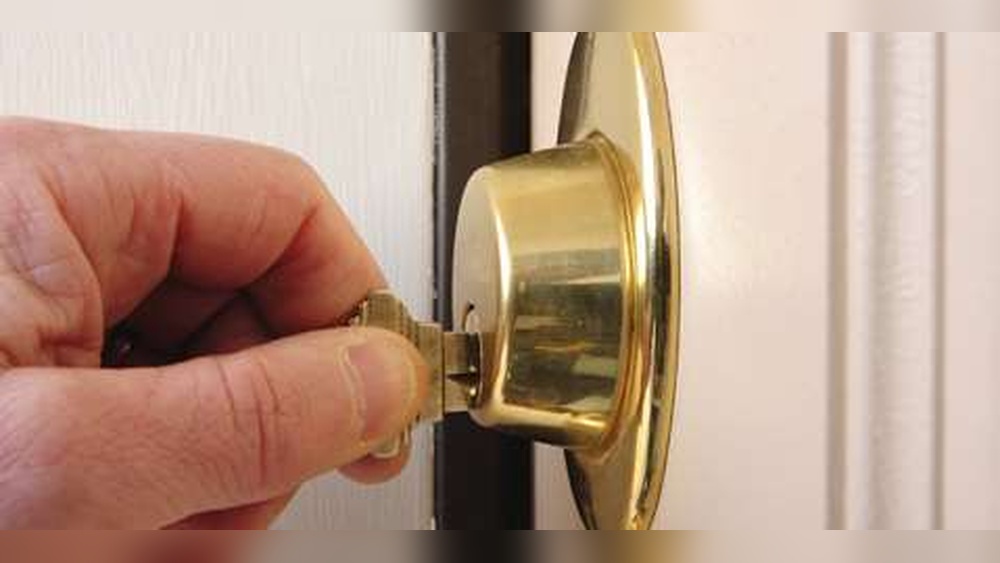
Credit: www.safeandvaultstore.com
Tools Needed
Installing a Honeywell digital deadbolt needs a few basic tools. Having the right tools ready makes the job easier and faster. You don’t need many tools, just the essentials. This list helps you prepare before starting the installation.
Phillips Screwdriver
A Phillips screwdriver is needed to tighten screws. It fits most screws on the deadbolt parts. Choose a medium size for better control and grip. This tool helps secure the lock firmly to the door.
Flathead Screwdriver
A flathead screwdriver helps with prying or adjusting parts. Sometimes small parts need gentle lifting or aligning. It also helps remove old screws or covers if needed. Keep it handy for small adjustments during installation.
Measuring Tape
Measuring tape ensures the lock fits perfectly on your door. Check the thickness and backset of your door. Accurate measurement avoids mistakes and improper fitting. It keeps the installation precise and smooth.
Drill With Drill Bits
A drill speeds up making holes for screws and bolts. Use drill bits matching the screw sizes in the kit. It helps create clean holes quickly without damaging the door. A cordless drill works best for ease of use.
Pencil
A pencil marks the exact spots for drilling and placement. Marking helps avoid errors during installation. Use light marks that you can erase later. This tool guides you to position the lock parts correctly.
Preparing The Door
Preparing the door is the first step to install a Honeywell digital deadbolt. Proper preparation ensures the lock fits well and works smoothly. This step saves time and avoids problems later.
Follow these simple tasks to get your door ready. Start by removing any old lock parts. Then, check the door alignment carefully.
Remove Existing Lock
Start by unscrewing the old lock from the door. Keep the screws in a safe place. Remove both the interior and exterior lock parts. Also, take out the latch and strike plate. Clean the door surface to remove dirt and dust. This helps the new lock sit flush and work correctly.
Check Door Alignment
Ensure the door closes smoothly without gaps. Check if the latch lines up with the strike plate. Misalignment can cause the lock to jam. Adjust the door hinges if needed. Use a level tool to check if the door is straight. Proper alignment helps the digital deadbolt operate without issues.
Install Deadbolt Assembly
Installing the deadbolt assembly is a key step in setting up your Honeywell digital deadbolt. This part connects the locking mechanism inside the door. It must fit securely to work properly and keep your door safe.
Careful handling during installation will help avoid damage. Follow these steps to position and fix the deadbolt correctly.
Insert Deadbolt
Slide the deadbolt into the door’s edge hole. Make sure the bolt’s flat side faces the door frame. Check that it moves smoothly without sticking. Adjust the fit if needed for easy operation.
Secure With Screws
Align the deadbolt’s screw holes with the door. Use the screws included in the package. Tighten them evenly to hold the deadbolt firmly. Avoid over-tightening to prevent damage to the assembly.
Attach Exterior Keypad
Attaching the exterior keypad is a key step in installing your Honeywell digital deadbolt. This keypad controls access to your door and must be set up correctly. Take your time to connect the cables and position the keypad properly. This ensures smooth operation and long-lasting use.
Connect Cables
Start by aligning the cables from the keypad with those inside the door. Match each wire color carefully. Push the connectors firmly together to secure the connection. Loose cables can cause the keypad to fail. Double-check the connections before moving on.
Position Keypad
Place the keypad over the exterior plate on the door. Make sure it fits flush and sits evenly. Avoid forcing it into place. Use screws to attach the keypad firmly. Tighten the screws without overdoing it to prevent damage. The keypad should feel stable and solid.
Install Interior Assembly
Installing the interior assembly of your Honeywell digital deadbolt is a key step. It connects the lock’s inside parts to the door. This step lets you control the lock from indoors.
Follow these simple steps to place and secure the interior assembly properly.
Align Components
Start by placing the interior assembly against the door’s inside surface. Make sure the tailpiece fits into the latch mechanism. Check that the screw holes line up with the holes in the door. Proper alignment helps the lock work smoothly.
Fasten Interior Plate
Use the screws provided to attach the interior plate firmly. Tighten them evenly to avoid any gaps. Do not over-tighten, as this can damage the parts. The interior plate should sit flush against the door.
Credit: www.honeywellstore.com
Insert Batteries
Inserting batteries is a key step to power your Honeywell digital deadbolt. Without batteries, the lock won’t work. This part is simple but must be done carefully. Follow the steps below to insert the batteries correctly and ensure smooth operation.
Locate The Battery Compartment
Find the battery cover on the inside part of the lock. It usually sits behind the keypad panel. Look for a small latch or tab to open the cover easily. This compartment holds the batteries securely in place.
Choose The Right Batteries
Use four AA alkaline batteries for best results. Avoid rechargeable or old batteries as they may cause issues. Fresh batteries provide strong and reliable power to your lock.
Insert The Batteries Correctly
Slide each battery into the compartment following the + and – signs. Align them as shown inside the battery slot. Incorrect placement can stop the lock from working properly.
Close The Battery Cover
Snap the battery cover back in place firmly. Make sure it fits tightly to protect the batteries. A loose cover can cause the batteries to disconnect.
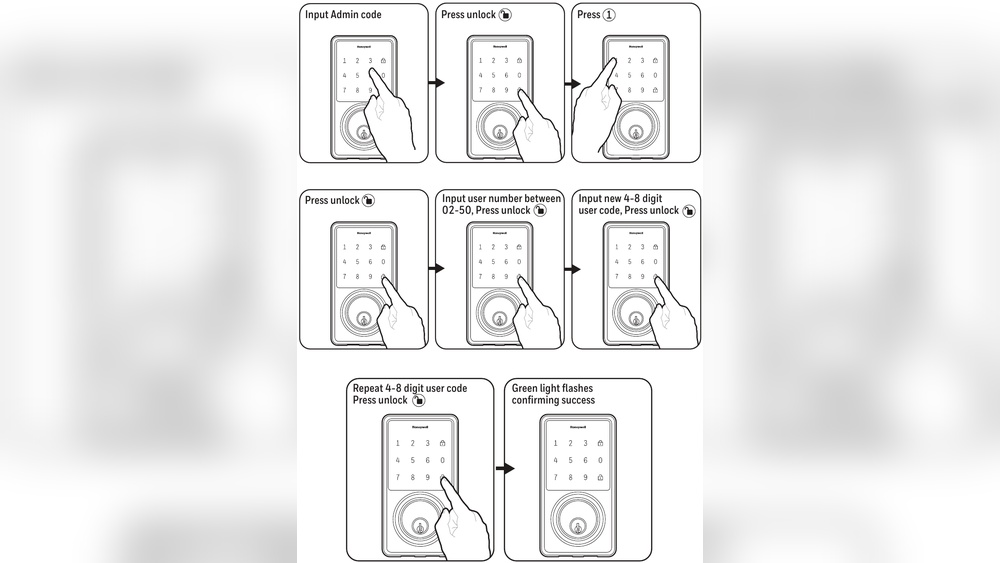
Program The Lock
Programming your Honeywell digital deadbolt is essential for secure and easy access. This step lets you control who can enter your home. Start by setting a master code. Then, add user codes for family or trusted friends. The process is simple and quick.
Set Master Code
Begin by opening the battery cover on the lock. Press the programming button inside. Enter the factory default code, usually found in the manual. Then, choose your new master code. Make sure it is easy to remember but hard to guess. Confirm the code by entering it again. The lock will beep to show success.
Add User Codes
Press the programming button again. Enter the master code you just set. Choose the option to add a user code. Enter a new code for the user. Keep it different from the master code. Confirm the user code by typing it again. Repeat for each person who needs access. The lock stores multiple user codes for convenience.

Credit: www.amazon.com
Test The Deadbolt
Testing the Honeywell digital deadbolt is an important step after installation. It ensures the lock works properly and keeps your home secure. This step confirms both mechanical and electronic parts function as expected. Take your time to test the lock carefully.
Check Lock Function
Start by locking and unlocking the deadbolt using the keypad. Enter your code and watch the bolt move smoothly. Try locking from both inside and outside. Use the physical key to check manual operation. Listen for any unusual sounds during locking. The bolt should fully extend and retract without sticking.
Next, test the lock’s automatic features. See if it locks after a set time or when the door closes. Confirm the keypad lights up and responds to your input. Make sure the battery indicator shows enough power. Check the lock status on your app if it is a smart model. This ensures electronic functions work well.
Troubleshoot Common Issues
If the deadbolt does not lock or unlock, check the batteries first. Replace old batteries with fresh ones. Ensure the battery contacts are clean and secure. If the keypad does not respond, reset the lock by following the manual. Clear any dirt or debris from the keyway and bolt area. Tighten loose screws on the lock and strike plate.
For mechanical problems, align the strike plate with the bolt. Adjust it to allow smooth bolt movement. If the door frame is warped, the bolt may not fit properly. Lubricate the bolt with a silicone-based lubricant for better movement. Contact Honeywell support if issues persist after basic fixes.
Frequently Asked Questions
How Do I Install A Honeywell Digital Deadbolt?
First, remove your old deadbolt. Align the Honeywell lock with the door. Attach the mounting plate, then secure the lock with screws. Finally, insert batteries and program the lock using the keypad.
What Tools Are Needed For Installation?
You will need a screwdriver, drill, measuring tape, and pencil. These tools help ensure proper alignment and secure mounting of the digital deadbolt.
Can I Install The Lock Myself Or Hire A Professional?
Most users can install it themselves by following the instructions. However, hiring a professional ensures perfect alignment and functionality, especially if you’re unfamiliar with door hardware.
How Do I Program The Honeywell Digital Deadbolt?
After installation, press the programming button inside the lock. Enter your desired access codes on the keypad as instructed in the manual. Test each code to confirm proper setup.
Conclusion
Installing the Honeywell digital deadbolt is simple and quick. Follow each step carefully for a secure fit. Double-check your work to avoid any issues later. Enjoy the convenience and safety it brings to your home. Regularly change the batteries to keep it working well.
This upgrade adds both security and ease to your door. Now, you can feel confident about your home’s protection.