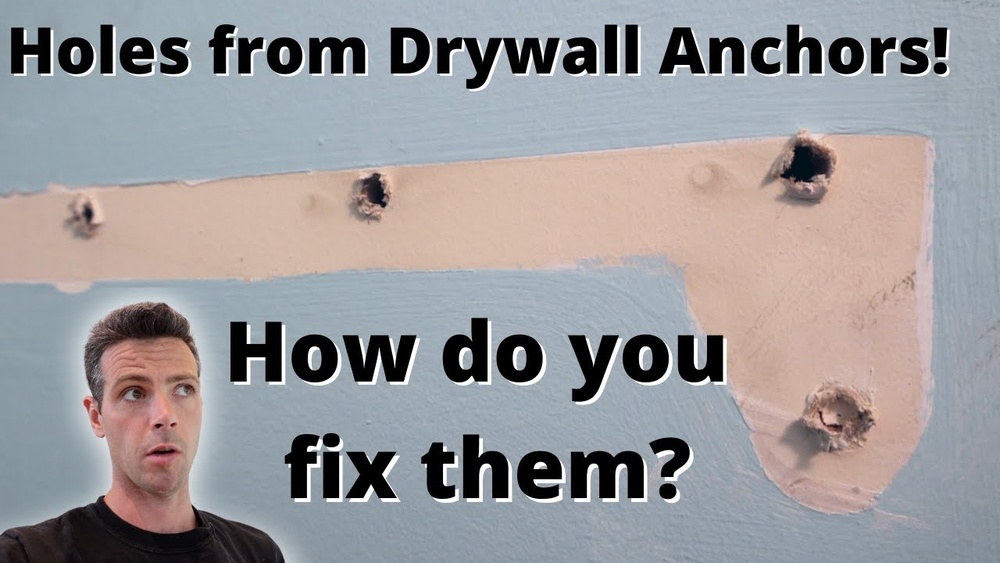
Have you ever removed a picture or shelf and been left staring at those annoying wall anchor holes? They can make your walls look messy and unfinished, ruining the clean look you want in your space.
But here’s the good news: fixing those holes is easier than you think. In this guide, you’ll learn simple, step-by-step methods to patch wall anchor holes like a pro. By the end, your walls will look smooth and flawless, and you’ll feel confident tackling this common home repair yourself.
Keep reading to discover how quickly you can restore your walls and bring back that fresh, polished look.

Credit: www.thriftydecorchick.com
Tools And Materials Needed
Fixing wall anchor holes is simple with the right tools and materials. Having what you need ready makes the job faster and smoother. Gather these items before starting your patching project.
Essential Supplies
- Spackling paste or wall filler
- Putty knife
- Sandpaper (medium and fine grit)
- Primer or paint matching your wall
- Paintbrush or small roller
- Clean cloth or sponge
Optional Tools For Better Results
- Utility knife to clean hole edges
- Painter’s tape to protect nearby areas
- Vacuum or brush to remove dust
- Drop cloth to keep floor clean
- Putty spreader for smoother application

Credit: www.youtube.com
Preparing The Hole
Preparing the hole is the first step to patch wall anchor holes correctly. It ensures the patch sticks well and looks smooth. Take time to get the hole ready before filling it.
Cleaning The Area
Start by cleaning the area around the hole. Remove dust, dirt, and any grease. Use a damp cloth or sponge for this. A clean surface helps the patch material hold better.
Make sure the wall is dry before moving on. Moisture can cause the patch to fail or peel off later. Let the area air dry or wipe it with a dry cloth.
Removing Loose Debris
Check inside the hole for loose debris. Use a small brush or a toothpick to clear out bits of drywall or paint. Loose pieces can make the patch weak.
Brush gently but thoroughly. The hole should feel solid and clean inside. This step helps the patch material to bond tightly with the wall.
Filling The Hole
Filling the hole left by a wall anchor is an important step. It restores the wall’s smooth surface and prepares it for painting or decoration. Using the right materials and techniques ensures a strong, invisible repair. This section explains how to choose and apply filler effectively.
Choosing The Right Filler
Select a filler suitable for your wall type. For drywall, spackle or lightweight joint compound works well. Plaster walls may require a setting-type compound or plaster patch. For larger holes, use a patch kit combined with filler. Avoid fillers that shrink too much or crack easily. The right filler should dry hard and sand smoothly.
Applying The Filler Properly
Start by cleaning the hole and removing loose debris. Use a putty knife to press filler firmly into the hole. Overfill slightly to allow for shrinkage as it dries. Smooth the surface with the knife, feathering edges to blend with the wall. Let the filler dry completely before sanding. Sand lightly to a flat, even finish. Repeat filling and sanding if needed for a perfect repair.
Smoothing The Surface
Smoothing the surface after patching wall anchor holes is key for a clean look. A smooth wall hides repairs and blends with the rest of the surface. It also helps paint stick evenly. Taking time to smooth the patch gives a professional finish.
Techniques For A Flush Finish
Start by applying a thin layer of joint compound over the patch. Use a putty knife to spread it evenly. Feather the edges to blend with the wall. Let the compound dry fully. Apply a second, thinner coat if needed. This fills small dips and creates a flat surface. Avoid thick layers that crack or peel.
Using Sandpaper Effectively
Choose fine-grit sandpaper, around 120 to 150 grit. Sand the dried patch gently with light, circular motions. Focus on raised edges and rough spots. Check your progress by running your hand over the surface. Stop sanding once the patch feels smooth and flush with the wall. Clean off dust with a damp cloth before painting.
Painting And Touch-ups
Painting and touch-ups are the final steps after patching wall anchor holes. These steps help the wall look smooth and new again. Proper painting hides the repair and blends it with the rest of the wall. This part of the process needs care to make the fix less visible.
Matching Paint Color
Matching the paint color is very important. Use the original paint if you have some left. If not, take a small paint chip to the store. They can match the color for you. Test the paint on a small area first. This helps to see if the color fits well. Let the test patch dry before deciding.
Applying Primer And Paint
Apply a primer on the patched area first. Primer helps paint stick better and cover the patch fully. Let the primer dry completely before painting. Use a small brush or roller for even coverage. Apply thin layers of paint over the primer. Wait for each layer to dry before adding the next. This ensures a smooth finish that blends with the wall.
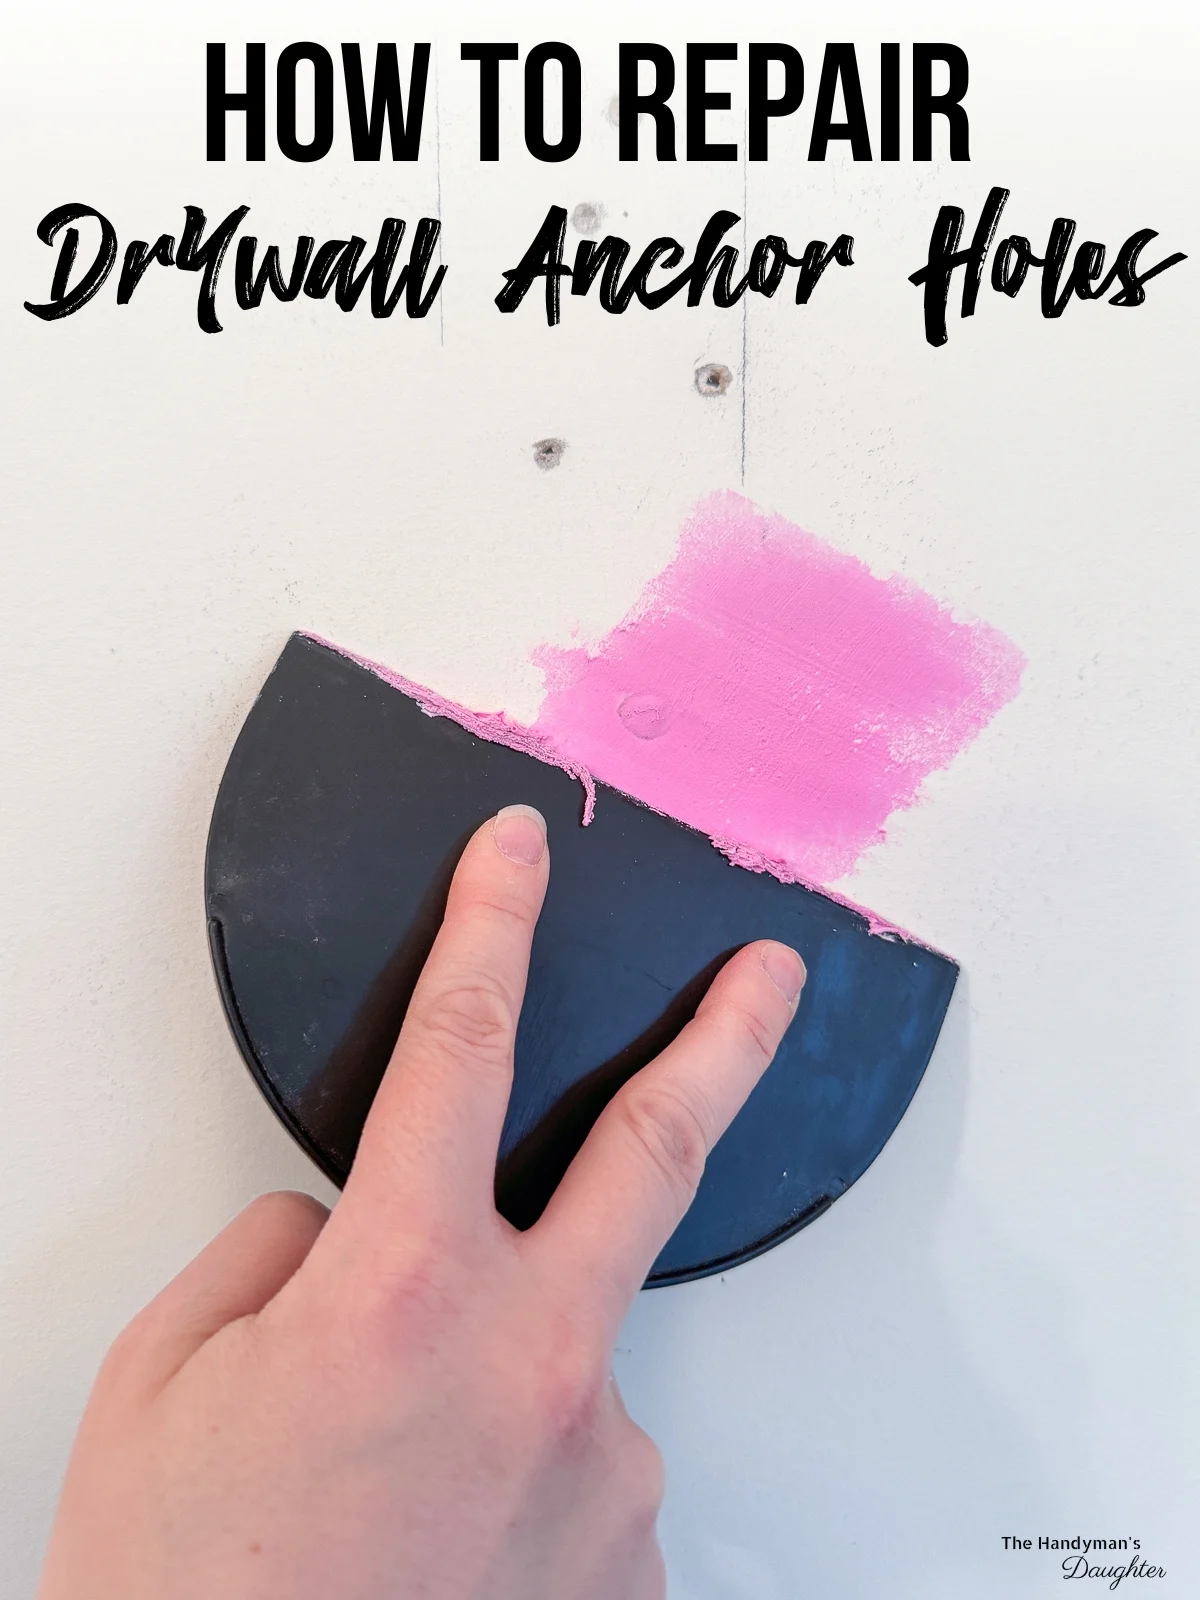
Credit: www.thehandymansdaughter.com
Tips For Durable Repairs
Repairing wall anchor holes needs care to last long. Using the right materials and methods helps your repair stay strong and neat. Small steps can stop holes from breaking apart again. This section shares simple tips to make your patch work durable and reliable.
Preventing Future Damage
Choose the correct wall anchor for your wall type. Anchors that are too heavy or too light cause damage. Use anchors made for drywall, plaster, or masonry. Avoid over-tightening screws; it can crack the wall or hole. Spread the weight of heavy items with multiple anchors. Check the wall for cracks or moisture before installing anchors. Fix these issues to keep anchors secure and the wall stable.
When To Call A Professional
Call a professional if holes are very large or deep. Walls with water damage or mold need expert care. If you don’t have tools or skills, a pro can help. Professionals know how to match wall texture and color perfectly. They ensure the repair is strong and safe for heavy objects. Getting help saves time and prevents bigger problems later.
Frequently Asked Questions
How Do I Fix Wall Anchor Holes Quickly?
To fix wall anchor holes quickly, remove loose debris, fill the hole with spackle or putty, let it dry, and sand smooth. Finally, paint over the patched area for a seamless finish.
What Materials Are Needed To Patch Wall Anchor Holes?
You need spackling compound or wall putty, a putty knife, sandpaper, and paint. These materials help fill, smooth, and blend the hole with the wall surface.
Can I Reuse Wall Anchors After Patching Holes?
No, reusing wall anchors after patching is not recommended. The hole’s integrity is compromised, so use new anchors for better support and safety.
How Long Does It Take To Patch Wall Anchor Holes?
Patching wall anchor holes usually takes about 30 minutes to apply compound and sand. Drying time varies but generally needs a few hours before painting.
Conclusion
Patching wall anchor holes is simple and quick. Use the right tools and materials for best results. Clean the hole well before applying filler. Let the filler dry fully to avoid cracks. Sand the surface smooth for a neat finish.
Paint over the patch to match your wall. Small repairs keep your walls looking fresh and clean. Try this easy fix to maintain your home’s appearance. A little effort goes a long way in wall care.


