If you’ve ever tried to fix or maintain your hydraulic floor jack, you know how tricky it can be to put the piston back together correctly. Getting it right is crucial for your jack to work safely and smoothly every time you use it.
In this guide, you’ll discover simple, step-by-step instructions that make the process clear and manageable—even if you’ve never done it before. By the end, you’ll have the confidence to handle your hydraulic jack like a pro and keep your equipment in top shape.
Ready to learn how to put your hydraulic jack floor jack piston together the right way? Let’s get started.
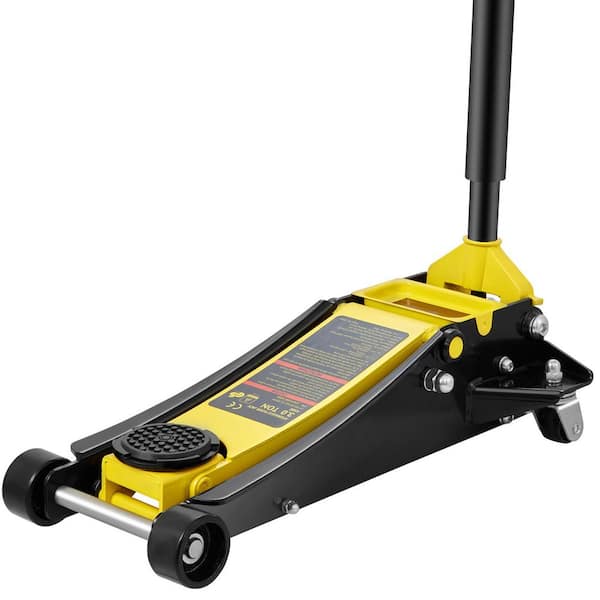
Credit: www.wideworldofindoorsports.com
Hydraulic Jack Basics
Understanding the basics of a hydraulic jack is important before assembling the piston. A hydraulic jack uses fluid pressure to lift heavy objects safely. It works by pushing fluid through cylinders, which moves the piston up and down. This simple tool can lift cars, machinery, and more with ease.
Knowing the key parts and how they work helps in putting the piston together correctly. It also helps in maintaining the jack for longer use. Let’s explore the main components and the working process of a hydraulic jack.
Key Components
The hydraulic jack has several main parts. The piston is a cylinder that moves up and down. The pump handle pushes fluid into the piston. The fluid is usually oil, which does not compress easily. The reservoir holds the oil until needed. Valves control the flow of oil between parts. The base supports the whole jack and keeps it steady.
How It Works
When you pump the handle, oil moves from the reservoir to the piston. The pressure from the oil pushes the piston up. This lifts the load placed on the jack. To lower the piston, a release valve opens. Oil flows back to the reservoir, and the piston moves down. This simple system uses fluid pressure to lift heavy objects safely.
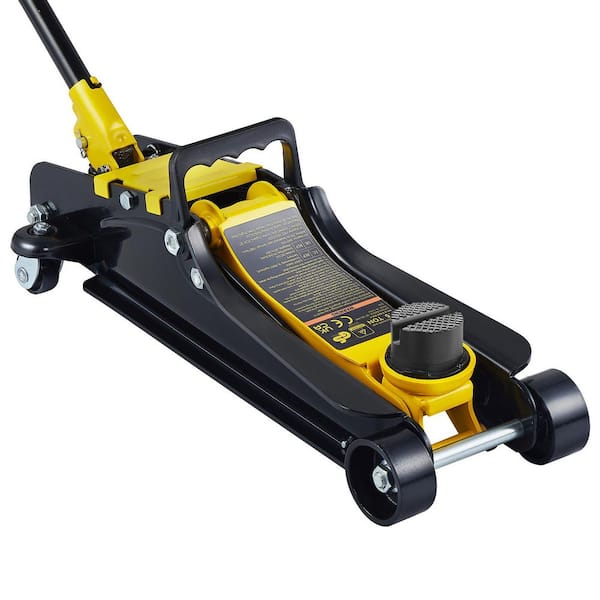
Credit: www.homedepot.com
Tools And Materials Needed
Gathering the right tools and materials is the first step. It makes assembling the hydraulic jack piston easier. Having everything ready saves time and prevents mistakes.
Each tool and part plays a key role. Using the correct items ensures a smooth process and a strong, safe jack.
Basic Hand Tools
Wrenches and screwdrivers are essential. They help remove and tighten bolts and screws. A set of both flathead and Phillips screwdrivers works best. Adjustable wrenches fit different bolt sizes.
Hydraulic Jack Parts
The piston, seals, springs, and valves are vital. Use new or well-maintained parts for safety. Check each piece for damage before assembly.
Cleaning Supplies
Clean parts fit together better. Use rags and a degreaser to remove dirt and old oil. Clean surfaces prevent leaks and wear.
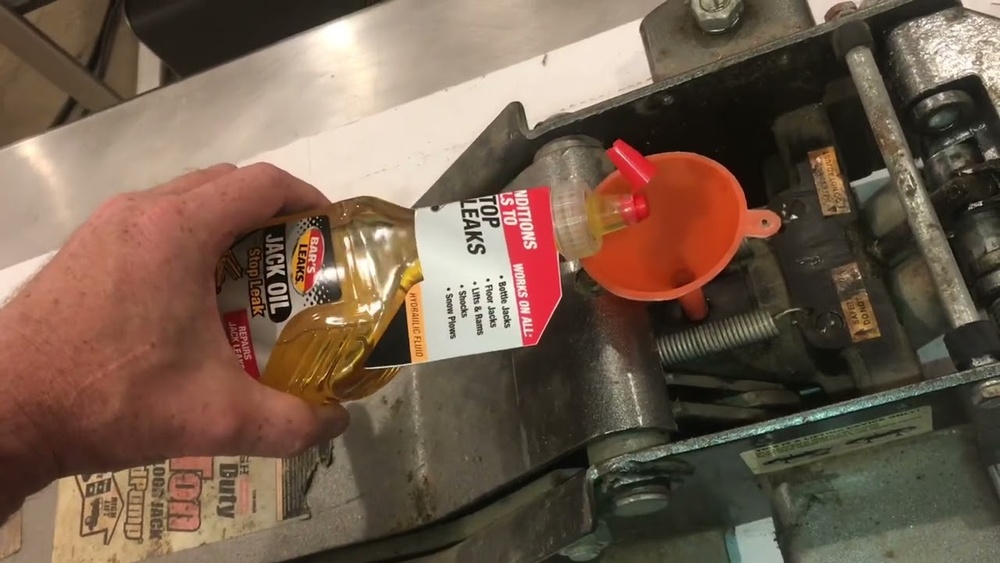
Lubricants And Hydraulic Fluid
Proper lubrication reduces friction inside the jack. Use the recommended hydraulic oil. Apply grease to moving parts for smooth operation.
Safety Gear
Wear gloves and safety glasses. Protect your hands and eyes from oil and sharp parts. Safety prevents accidents during the assembly process.
Preparing The Work Area
Preparing the work area is the first step in assembling a hydraulic jack floor jack piston. A clean and safe space helps you focus on the task. It also prevents accidents and damage to the jack parts. Setting up the right environment makes the process smooth and efficient.
Cleaning The Jack
Start by wiping off dirt and grease from the jack. Use a clean cloth and a mild cleaner. Avoid harsh chemicals that can damage seals and metal. Clean parts fit together better and work more smoothly. Remove old oil and debris from the piston and base. This step helps the jack last longer and work safely.
Safety Precautions
Safety is important when working with hydraulic jacks. Wear gloves to protect your hands from sharp edges and oil. Use eye protection to guard against splashes or flying debris. Work in a well-lit area to see all parts clearly. Keep children and pets away from the workspace. Make sure the jack is stable on a flat surface before starting.
Disassembling The Piston
Disassembling the piston is the first step in fixing your hydraulic floor jack. It allows you to check each part carefully. This process helps find worn or broken pieces that affect the jack’s performance.
Careful disassembly prevents damage to the components. Use the right tools and work in a clean area. Keep parts organized for easy reassembly.
Removing The Old Piston
Start by releasing any pressure inside the jack. Use a wrench to open the release valve slowly. Next, pull out the piston carefully from the cylinder. Avoid using force to prevent damage. Clean the piston with a soft cloth to remove dirt and oil.
Check if the piston moves freely. If stuck, apply light lubricant and try again. Remove any seals or rings attached to the piston. Keep these parts separate for inspection or replacement.
Inspecting Parts
Look for cracks or deep scratches on the piston surface. Check seals and O-rings for cracks or hardening. Old seals often cause leaks and pressure loss. Replace any parts that look damaged or worn out.
Examine the cylinder walls for smoothness. Rough spots can cause the piston to stick. Use a fine cloth to clean all parts before reassembling. Clean parts work better and last longer.
Assembling The Piston
Assembling the piston of a hydraulic floor jack requires focus and patience. Each step affects how well the jack will work. The piston must fit tightly but move smoothly. This section shows how to prepare and connect the piston parts correctly.
Lubricating Components
Start by applying a thin layer of hydraulic oil on the piston and seals. This helps reduce friction during movement. Use a clean cloth or brush to spread the oil evenly. Avoid using too much oil. Too much can attract dirt and cause wear.
Aligning Parts Correctly
Place the piston inside the cylinder carefully. Check that the seals line up with the grooves. Misaligned parts can cause leaks or damage. Rotate the piston gently while pushing it in. This helps fit the seals without tearing.
Securing The Piston
Once aligned, secure the piston with the retaining ring or clip. Use pliers or the correct tool to snap it into place. Make sure the ring is fully seated in its groove. A loose ring can cause the piston to come apart during use.
Testing The Assembly
Testing the assembly of your hydraulic jack floor jack piston is a vital step. It ensures the jack works safely and correctly. This phase confirms that all parts fit well and the jack can lift weight without issues. Careful testing helps catch problems early. This saves time and avoids accidents later.
Checking For Leaks
Start by inspecting all joints and seals. Look for drops of hydraulic fluid around the piston and cylinder. Even small leaks can reduce jack performance. Use a clean cloth to wipe the area and watch for fresh fluid. Tighten any loose fittings gently. Replace worn seals if you see damage. Proper sealing keeps the hydraulic system pressurized.
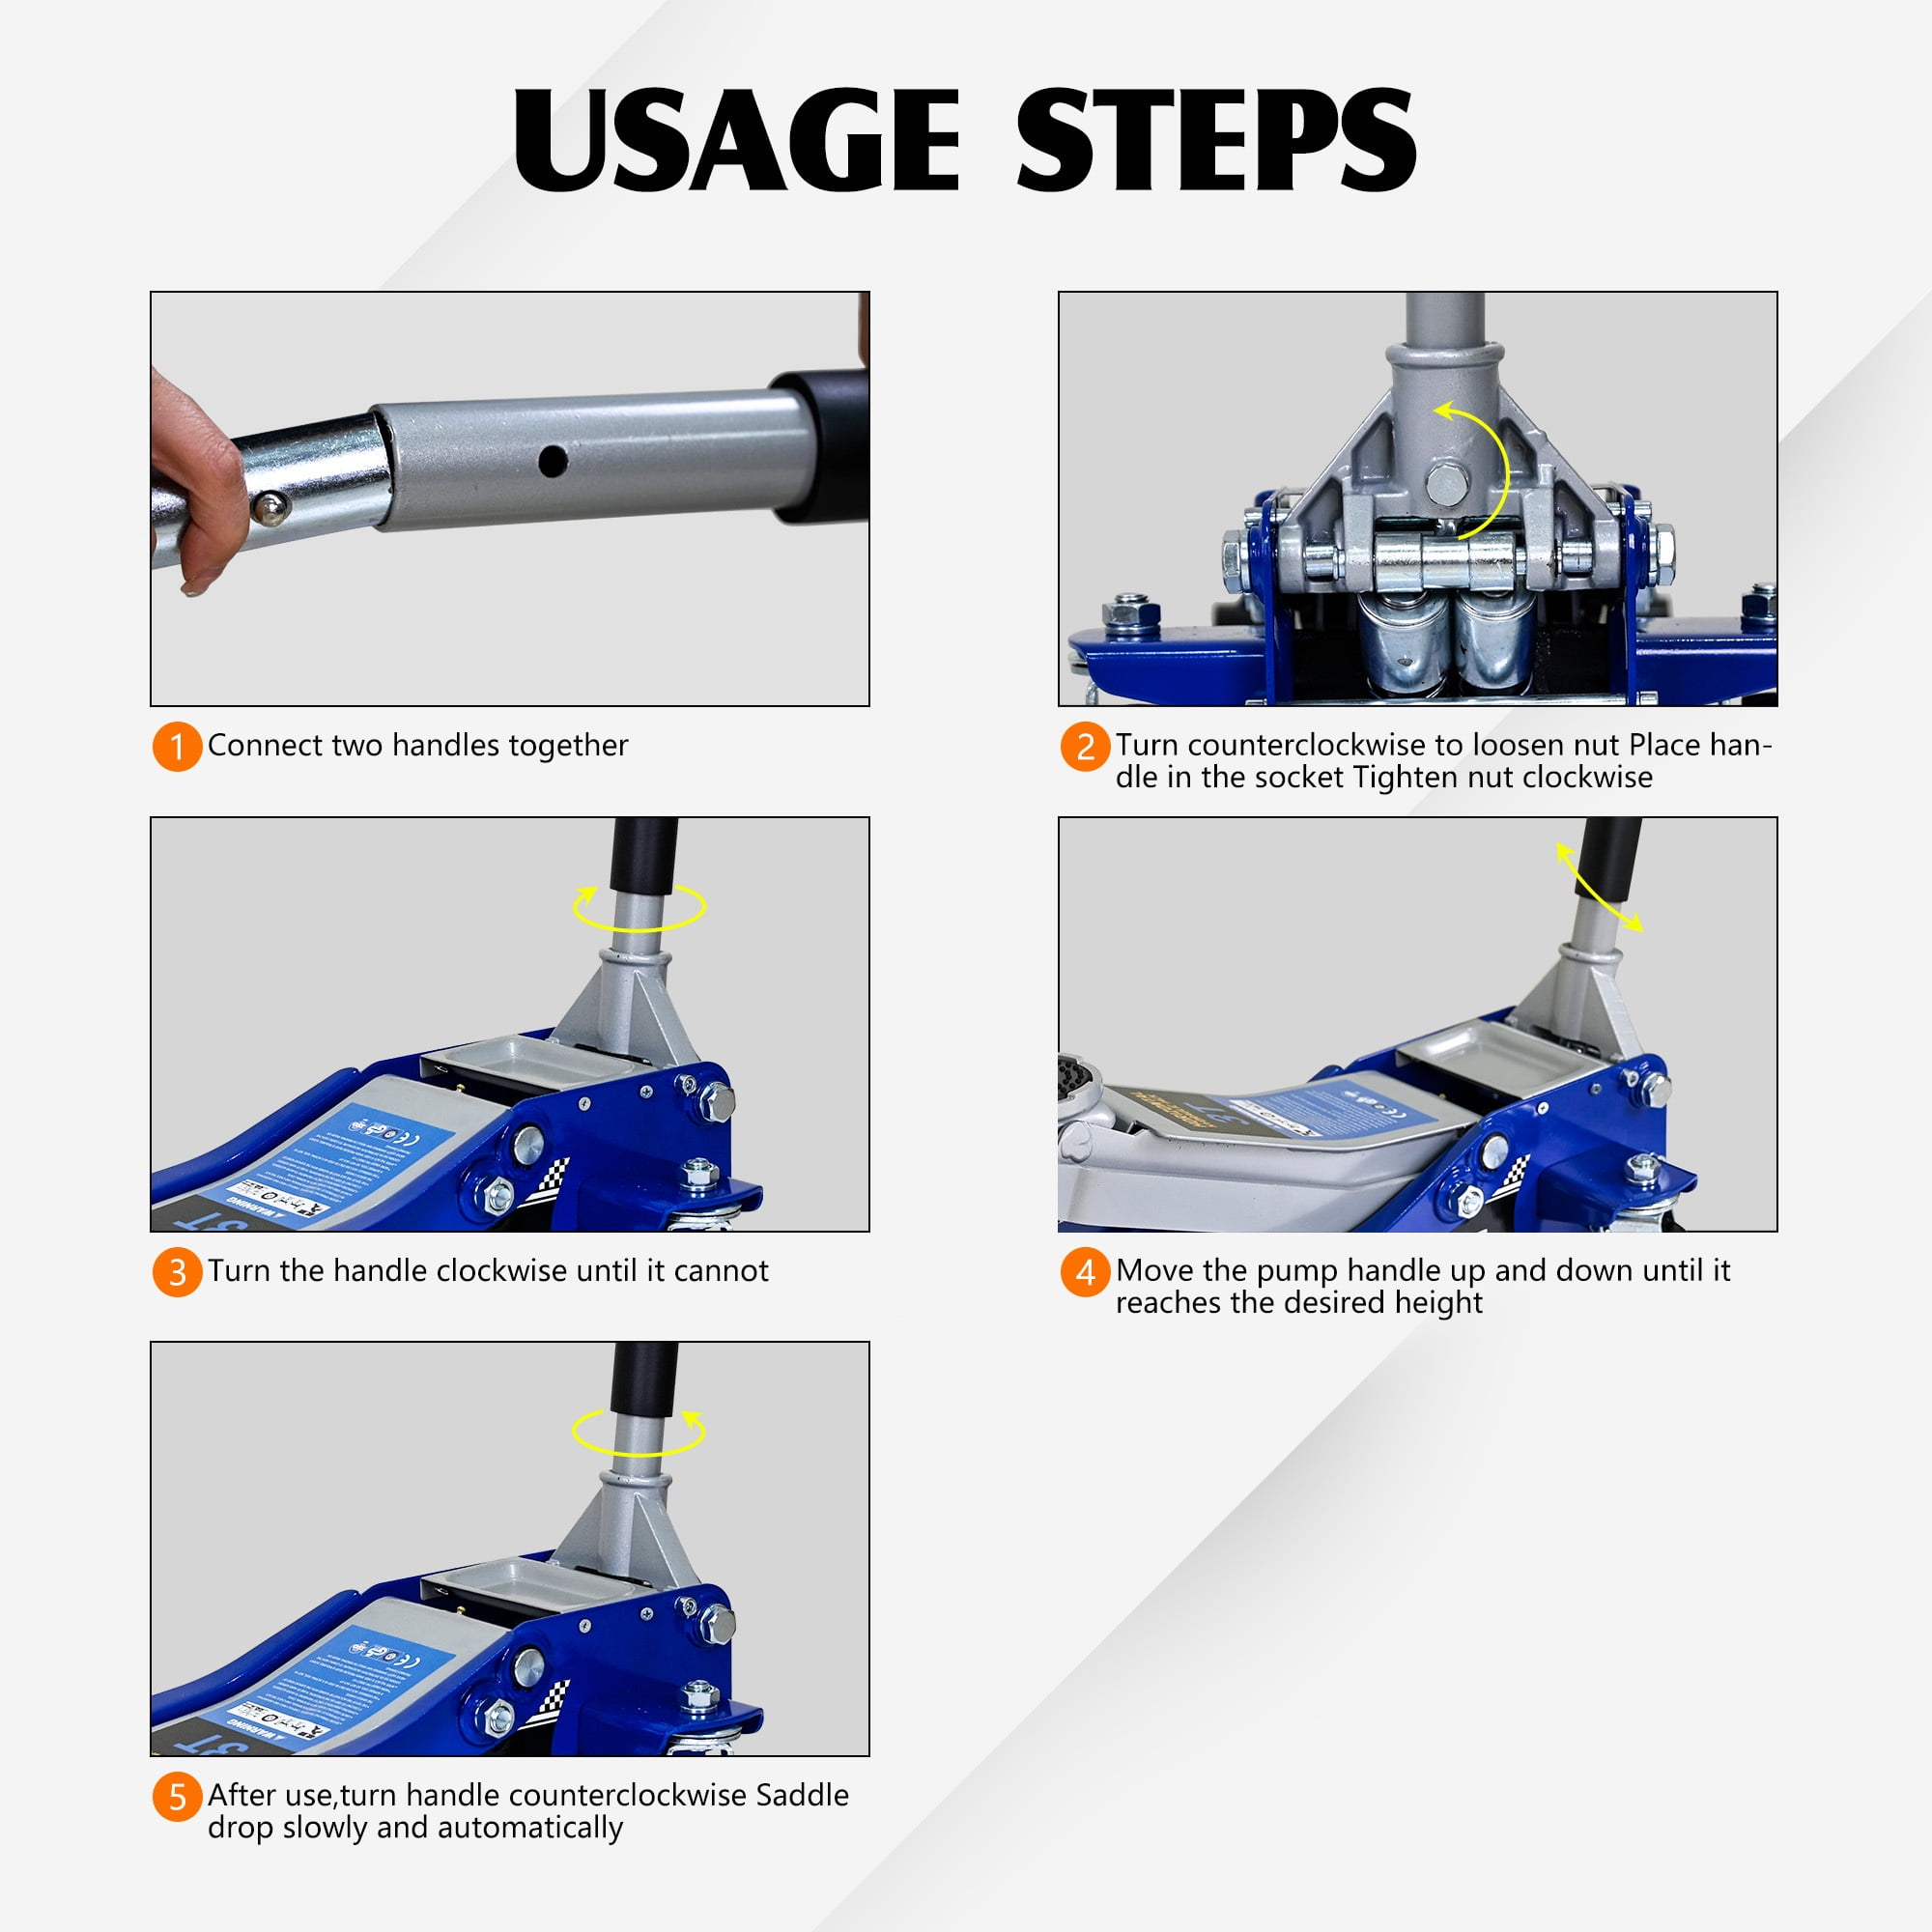
Ensuring Smooth Operation
Pump the jack handle slowly. The piston should rise smoothly without jerks. Listen for strange noises like hissing or grinding. These sounds may mean air is trapped or parts are misaligned. Lower the piston carefully and check that it returns fully. The movement must be steady and controlled. Smooth action shows the assembly is correct and ready for use.
Maintenance Tips
Maintaining your hydraulic jack floor jack piston is essential for safety and long life. Proper care keeps the jack working smoothly and prevents damage. Simple maintenance steps save time and money later.
Regular Inspection
Check the piston and jack regularly for signs of wear or leaks. Look for cracks, rust, or oil around the piston area. Test the jack by lifting a small load to see if it holds pressure. Tighten any loose parts you find. Replace worn seals or damaged components immediately. Regular inspections catch problems early and keep the jack safe to use.
Proper Storage
Store the jack in a dry, clean place to avoid rust and dirt buildup. Keep the piston lowered completely when not in use. This protects the seals and prevents dust from entering. Cover the jack with a cloth or plastic sheet to guard against moisture. Avoid placing heavy objects on top of the jack. Proper storage helps the jack stay in good condition and ready for use.
Credit: www.homedepot.com
Frequently Asked Questions
How Do I Assemble A Hydraulic Jack Floor Jack Piston?
To assemble the piston, clean all parts thoroughly first. Insert the piston into the cylinder carefully. Ensure seals and rings fit snugly to prevent leaks. Tighten all screws and test the jack for smooth operation before use.
What Tools Are Needed To Put The Piston Together?
You will need a wrench, screwdrivers, pliers, and a lubricant. Clean cloths and gloves are also helpful for safety and precision. Using the right tools ensures proper assembly and prevents damage to the jack components.
How To Ensure The Piston Seals Correctly?
Apply a thin layer of hydraulic oil on seals before installation. Make sure seals are positioned evenly without twisting. Proper sealing prevents oil leaks and maintains the jack’s lifting power. Test the jack under low pressure first to confirm the seal.
How Long Does It Take To Assemble The Piston?
Assembly usually takes between 15 to 30 minutes for most users. Time depends on experience and whether all parts are clean and ready. Taking your time ensures accuracy and safety during the process.
Conclusion
Putting together a hydraulic jack floor jack piston takes care and patience. Follow each step slowly and check your work. Use clean tools and parts to avoid damage. Tighten all bolts firmly but don’t force them. Test the jack carefully before using it on heavy loads.
This helps keep you safe and the jack working well. Practice makes the process easier every time. Keep your jack clean and well-maintained for longer life. Simple care protects your tools and saves money. You can handle this task with focus and care.