Is your floor jack not lifting like it used to? You don’t have to buy a new one just yet.
Rebuilding your floor jack can save you money and give it new life. In this guide, you’ll learn simple steps to fix and restore your floor jack, even if you have little experience. Imagine getting your trusty tool working smoothly again—saving time and effort every time you use it.
Keep reading, and by the end, you’ll know exactly how to bring your floor jack back to full strength.

Credit: www.youtube.com
Tools And Materials Needed
Rebuilding a floor jack takes careful preparation. Having the right tools and materials is key. These help make the job easier and safer. You will save time and avoid damage.
Gather everything before you start. Check each tool and part for quality. Using proper tools keeps the floor jack working well after repair.
Basic Hand Tools
You need simple hand tools like wrenches and screwdrivers. A set of open-end wrenches and socket wrenches works best. Screwdrivers with flat and Phillips heads help remove screws. Pliers are useful for gripping and bending small parts.
Cleaning Supplies
Clean parts before reassembly. Use a degreaser to remove old oil and dirt. A wire brush helps clean rust from metal surfaces. Rags or paper towels are needed to wipe parts dry.
Replacement Parts
Some parts wear out and need replacement. Common parts include seals, O-rings, and valves. Check the jack’s manual for exact parts. Use parts made for your jack model only.
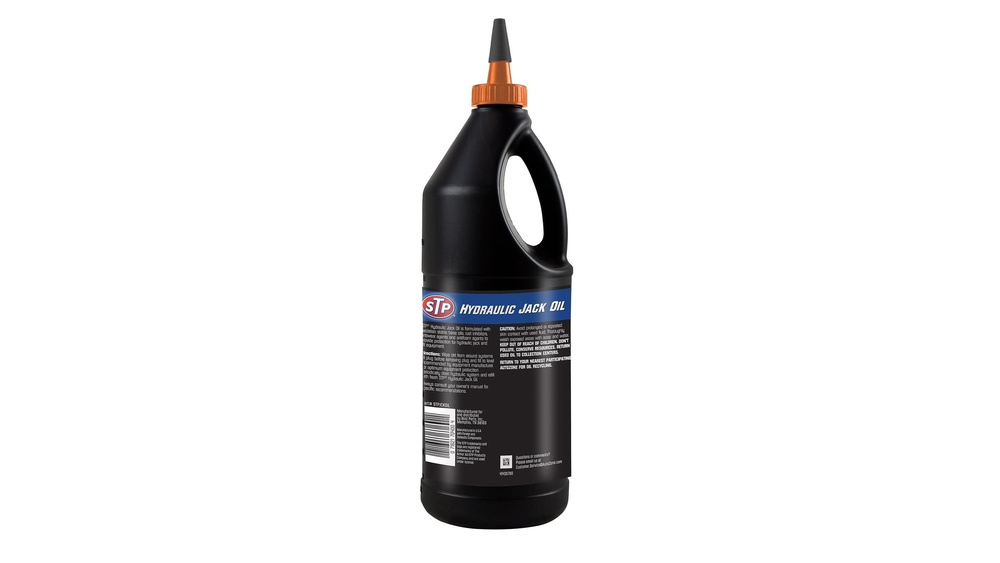
Hydraulic Fluid
Hydraulic fluid is essential for the jack to work. Use the type recommended by the manufacturer. Avoid mixing fluids to prevent damage. Fill the jack with the correct amount.
Lubricants And Grease
Lubricate moving parts to reduce friction. Use a good quality grease for metal parts. A light machine oil works for small joints. Proper lubrication extends the jack’s life.
Safety Gear
Protect yourself during the rebuild. Wear safety glasses to shield your eyes. Gloves protect your hands from sharp parts and chemicals. Work in a well-ventilated area to avoid fumes.

Credit: www.reddit.com
Preparing The Floor Jack
Preparing the floor jack is the first step in rebuilding it safely and correctly. This stage ensures all parts are clean and in good condition. It helps avoid problems during the rebuild. Careful preparation saves time and effort later.
Cleaning And Inspection
Start by cleaning the floor jack thoroughly. Use a degreaser to remove dirt and oil. Wipe all surfaces with a clean cloth. Check for rust, cracks, or damage on metal parts. Look closely at the hydraulic cylinder and wheels. Any broken or worn parts must be noted. This inspection helps decide what parts need replacing.
Disassembling Components
Next, carefully take apart the floor jack. Remove bolts and screws using proper tools. Keep all small pieces in a container to avoid loss. Separate the handle, hydraulic pump, and lifting arm. Do not force parts apart to prevent damage. This step allows access to internal parts for repair or replacement.
Replacing Seals And Hydraulic Fluid
Replacing seals and hydraulic fluid is key to restoring a floor jack’s performance. Over time, seals wear out and fluid gets dirty or leaks. This causes the jack to lose pressure and fail to lift properly. By changing these parts, you bring back smooth and safe operation.
This process requires care but is doable with basic tools. Proper seal installation stops leaks. Fresh hydraulic fluid ensures the jack lifts with full power and control. Let’s break down the steps to replace seals and refill hydraulic fluid.
Removing Old Seals
Start by locating the seals inside the jack. These are usually around the piston and pump areas. Use a flat tool to gently pry out the old seals. Avoid scratching metal parts. Remove all seal fragments to prevent damage later. Clean the area with a cloth to remove dirt and old fluid.
Installing New Seals
Choose seals that match the jack model exactly. Lightly oil the new seals for easy fitting. Press each seal evenly into its groove. Make sure they sit flat and snug. Double-check there are no twists or gaps. Proper seal placement prevents fluid leaks and keeps pressure steady.
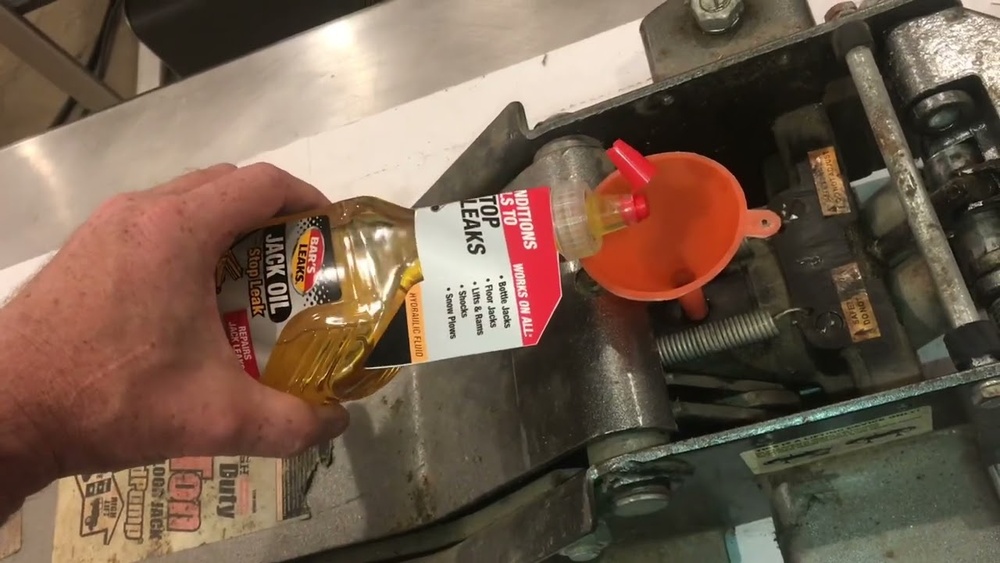
Refilling Hydraulic Fluid
Open the fill plug on the jack’s reservoir. Use the recommended hydraulic fluid type. Pour slowly to avoid air bubbles. Fill until the fluid reaches the correct level. Replace the fill plug tightly. Pump the handle a few times to spread fluid inside. Check for leaks and test lifting action.

Credit: us.amazon.com
Reassembling The Floor Jack
Reassembling the floor jack is a careful process that brings all parts back together. This step is key to making sure the jack works well and lasts long. Follow each step slowly and check every piece for a perfect fit.
Reinstalling Parts
Start by placing all cleaned parts in their right spots. Use the manual or photos taken before disassembly to guide you. Tighten bolts and screws but avoid over-tightening to prevent damage. Pay close attention to seals and gaskets; they stop leaks and keep pressure strong.
Reinstall the hydraulic cylinder carefully. Make sure the piston moves smoothly inside. Attach the release valve and pump assembly securely. Check that the handle and wheels fit firmly. Each part must connect properly for safety and function.
Testing For Leaks And Performance
After assembly, test the floor jack for leaks and proper function. Pump the handle slowly and watch for fluid leaks around seals. Listen for strange noises that may signal wrong parts or loose fittings. Check if the jack lifts steadily and holds weight without dropping.
Lower the jack and pump again several times to confirm smooth operation. If the jack does not lift or leaks appear, stop and fix the issue. Testing ensures the jack is safe and ready for use.
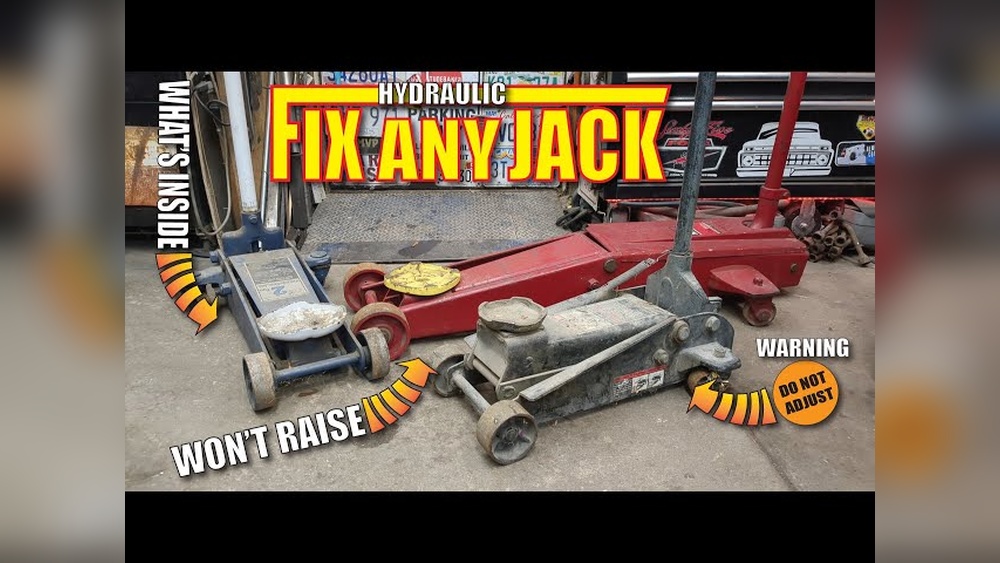
Troubleshooting Common Issues
Troubleshooting common issues is a key part of rebuilding a floor jack. Knowing how to find and fix problems saves time and money. It also keeps the jack safe to use. This section covers the most common problems you might see during a rebuild. Each issue has simple steps to help you diagnose and repair it. Follow these tips to keep your floor jack working well.
Jack Not Lifting Properly
Check the hydraulic fluid level first. Low fluid can stop the jack from lifting. Add the right type of fluid if needed. Air in the hydraulic system also causes poor lifting. Bleed the system by opening the release valve and pumping the handle several times. Inspect seals and valves for damage. Worn parts let fluid leak or air enter. Replace any damaged seals or valves to restore pressure.
Fluid Leaks
Look around the jack for wet spots or dripping fluid. Leaks usually come from worn or broken seals. Clean the area to find the exact leak spot. Tighten loose fittings and connections carefully. Replace seals that look cracked or torn. Use the correct seal kit for your jack model. Avoid overfilling the fluid reservoir to prevent leaks. Regularly check fluid levels and seals to stop leaks early.
Unusual Noises
Strange sounds often mean parts are worn or dirty. Listen for squeaks, grinding, or hissing noises. These can come from rust, lack of lubrication, or damaged components. Clean all moving parts thoroughly. Apply grease or oil as recommended by the manufacturer. Tighten any loose bolts or screws. Replace parts that look worn or broken. Fixing noises early prevents bigger problems later.
Maintenance Tips For Longevity
Proper maintenance helps your floor jack last longer and work better. Regular care stops problems before they start. It also keeps your jack safe to use. Follow these simple tips to keep your floor jack in top shape.
Regular Cleaning And Inspection
Clean your floor jack after each use. Remove dirt, dust, and grease from all parts. Check for cracks, leaks, or worn-out components. Early detection helps avoid big repairs later.
Lubricate Moving Parts
Apply oil or grease to hinges, wheels, and joints. This reduces friction and prevents rust. Lubrication keeps the jack moving smoothly and quietly.
Check Hydraulic Fluid Levels
Hydraulic fluid powers your floor jack. Low fluid can cause poor lifting or failure. Top up with the recommended fluid regularly. Use a clean container to avoid contamination.
Store In A Dry Place
Keep your floor jack in a dry, clean area. Moisture causes rust and damage. Cover it with a cloth or tarp to protect from dust and dirt.
Test Before Use
Test the jack’s lift and release functions before every job. This ensures it works correctly and safely. Address any issues immediately to avoid accidents.
Frequently Asked Questions
What Tools Do I Need To Rebuild A Floor Jack?
You need basic tools like wrenches, screwdrivers, pliers, and a hydraulic fluid pump. Safety gloves are also essential.
How Long Does It Take To Rebuild A Floor Jack?
Rebuilding typically takes 1 to 3 hours, depending on your experience and jack condition. Proper cleaning speeds up the process.
Can I Rebuild A Floor Jack Myself Safely?
Yes, with the right tools and instructions, you can safely rebuild a floor jack. Follow safety guidelines and work slowly.
What Are Common Issues Fixed When Rebuilding A Floor Jack?
Common fixes include replacing seals, refilling hydraulic fluid, and cleaning or replacing worn parts to restore lifting efficiency.
Conclusion
Rebuilding a floor jack takes patience and care. Follow each step slowly and double-check your work. Using the right tools helps the job go smooth. Keep safety first to avoid accidents or damage. After rebuilding, test the jack to ensure it works well.
Regular maintenance keeps your floor jack strong and reliable. Small repairs save money and extend the jack’s life. You can trust your skills with practice and focus. A well-maintained jack makes lifting tasks easier and safer.