Have you ever tried to hang something on your wall, only to end up with an annoying anchor stuck in your Sheetrock? Removing these anchors can seem tricky, and if done wrong, you might damage your wall.
But don’t worry—this guide will show you simple, effective ways to remove anchors from your Sheetrock wall without causing a mess. By the end, you’ll have the confidence to fix your walls quickly and easily. Ready to make your walls look smooth and clean again?
Let’s get started!
Types Of Anchors In Sheetrock
Sheetrock walls need special anchors to hold items securely. These anchors come in different types. Each type works best for certain jobs. Knowing the types helps remove them safely and easily.
Plastic Expansion Anchors
Plastic expansion anchors are common and easy to use. They expand inside the wall when a screw is inserted. These anchors hold lightweight items well. Removing them can be tricky since they grip tightly.
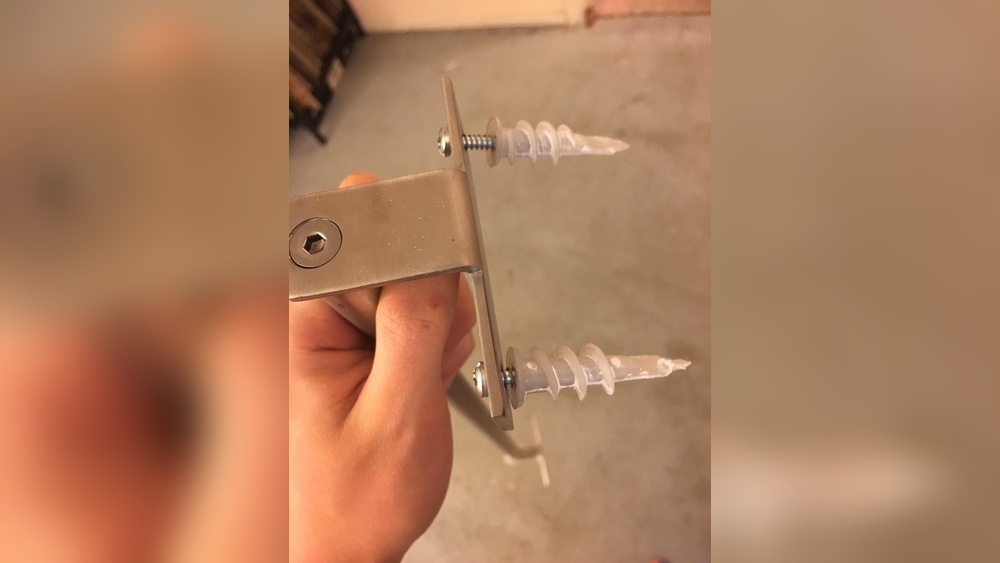
Self-drilling Anchors
Self-drilling anchors do not need pre-drilling holes. They screw directly into the drywall. These anchors hold medium-weight objects firmly. They often have threads that dig into the wall for a strong grip.
Toggle Bolts
Toggle bolts have metal wings that open inside the wall. These wings spread the load over a large area. They work great for heavy items. Removing toggle bolts requires careful handling of the wings.
Molly Bolts
Molly bolts are metal anchors that expand behind the wall. When a screw is tightened, they open up like legs. This creates a strong hold in drywall. Removing molly bolts needs some skill to avoid wall damage.
Tools Needed For Removal
Removing anchors from a Sheetrock wall requires the right tools. These tools help you take out anchors safely and fix the wall afterward. Using proper tools makes the job easier and keeps your wall neat.
Gather these basic tools before you start. Each tool serves a specific purpose during the removal process. Knowing what to use and how helps you avoid damage and finish faster.
Screwdriver Options
A screwdriver is essential for removing anchors with screws. Choose a flathead or Phillips screwdriver based on the screw type. The right fit prevents stripping the screw head. Turn the screw gently to pull it out smoothly.
Pliers And Wrenches
Pliers help grip anchors that stick out from the wall. Needle-nose or slip-joint pliers work well. Use them to twist or pull the anchor carefully. Wrenches can also help loosen tight anchors. Grip firmly but avoid squeezing too hard to prevent damage.
Putty Knife And Spackle
After removing anchors, holes remain in the wall. A putty knife helps fill these holes with spackle. Spread the spackle evenly and smooth it out. Let it dry completely before sanding for a clean finish. This step restores your wall’s look.
Utility Knife
A utility knife helps cut around anchors that are hard to remove. Score the paint or drywall gently to free the anchor. It also trims excess spackle after drying. Handle the knife carefully to avoid cutting too deep.
Removing Plastic Expansion Anchors
Plastic expansion anchors are common in Sheetrock walls. They hold screws tightly in place. Removing them can be tricky but simple with the right steps. This guide shows easy ways to take out plastic anchors without damaging your wall.
Unscrewing The Fastener
Start by removing the screw from the anchor. Use a screwdriver that fits well. Turn the screw counterclockwise to loosen it. Pull the screw out carefully. This step frees the anchor from the fastener.
Prying Out The Anchor
Next, try to pull the anchor out. Use needle-nose pliers for a good grip. Gently wiggle the anchor while pulling. If it moves, keep pulling slowly. Avoid forcing it hard to prevent wall damage.
When To Push It In
Sometimes the anchor won’t come out easily. In that case, push the anchor into the wall cavity. Use a screwdriver to tap it gently. The anchor will fall behind the drywall. This method hides the anchor inside the wall.
Credit: www.familyhandyman.com
Taking Out Self-drilling Anchors
Taking out self-drilling anchors from a Sheetrock wall can be easy with the right steps. These anchors screw directly into the drywall, creating a strong hold. Removing them carefully prevents damage to the wall surface. Use simple tools you already have at home.
Unscrewing Method
Start by turning the anchor counterclockwise with a screwdriver. Use the same size screwdriver that fit the anchor head. Apply steady pressure to avoid stripping the slot. As you unscrew, the anchor will back out of the wall. This method works well for anchors that are not too tight. Stop if the anchor feels stuck to avoid wall damage.
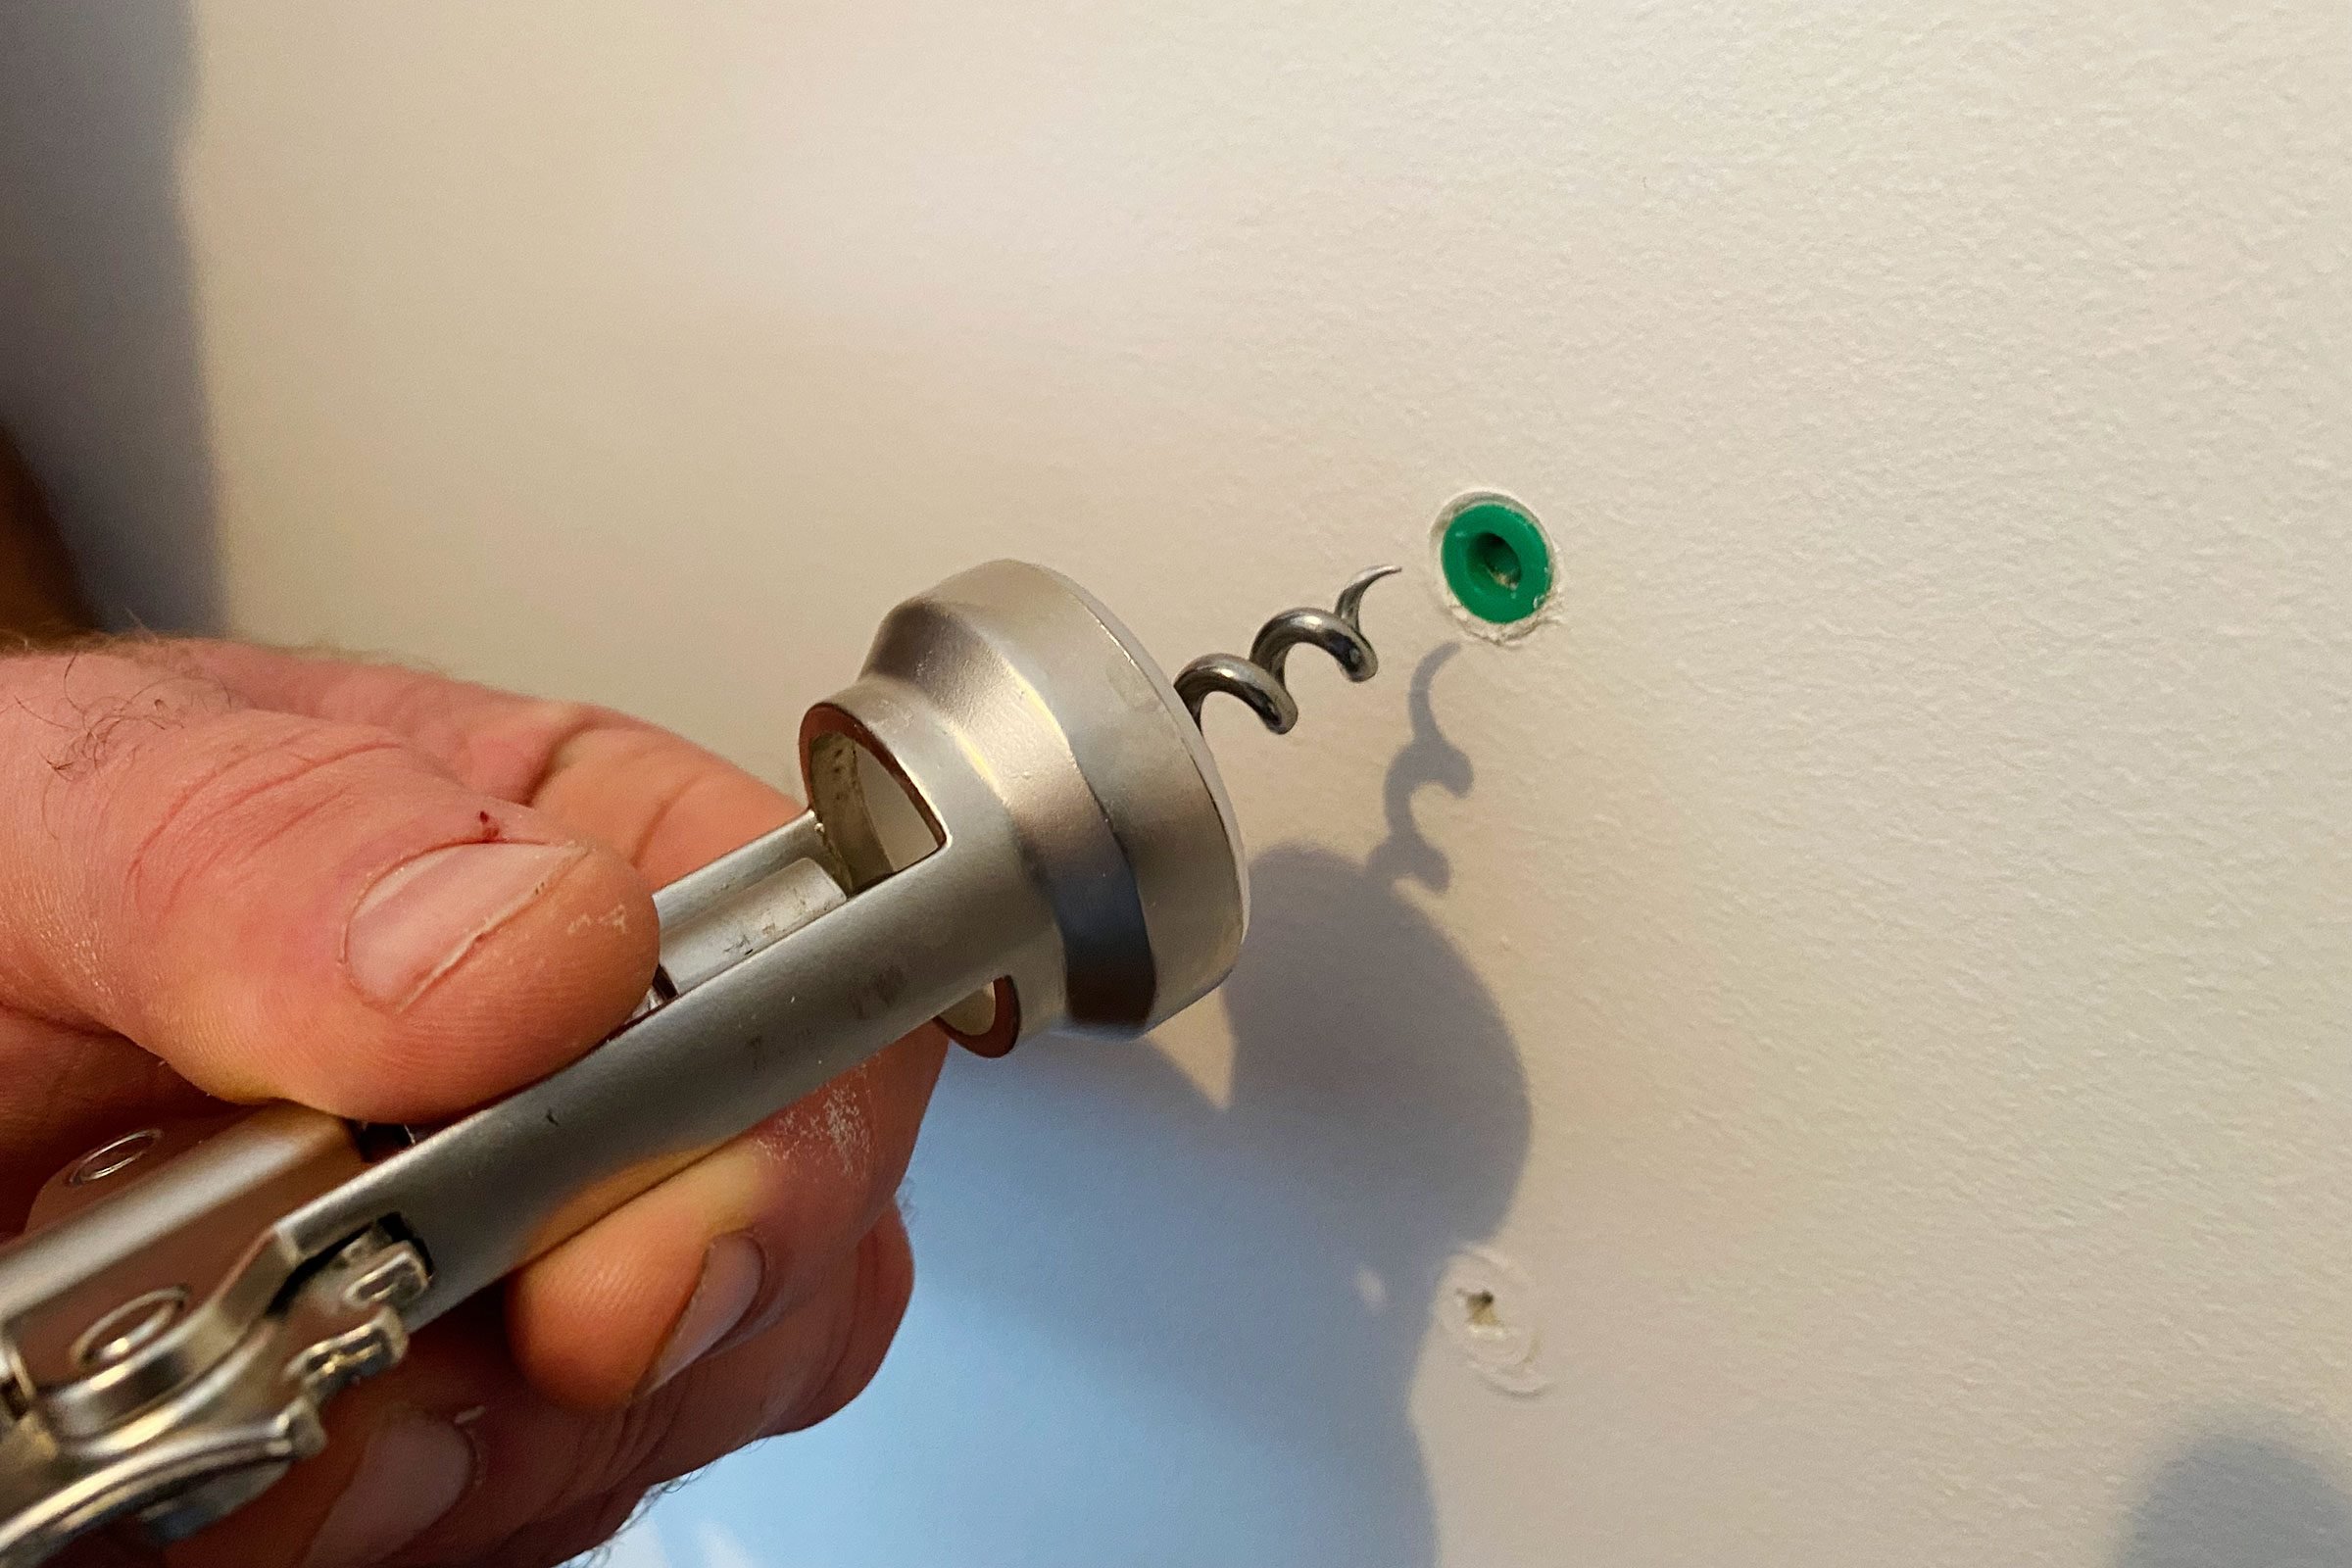
Using Pliers For Stubborn Anchors
Grab the anchor head firmly with needle-nose pliers. Twist the anchor slowly while pulling it outward. The pliers give better grip on damaged or stuck anchors. Do not yank hard to prevent ripping the drywall. Move the anchor back and forth if it resists. This loosens it before full removal. Clean the hole after the anchor is out for patching.
Handling Toggle Bolts
Toggle bolts provide strong support in sheetrock walls. Removing them needs care to avoid wall damage. This section explains how to handle toggle bolts safely and easily. Follow these simple steps to remove them without hassle.
Unscrewing And Pulling Out
Start by unscrewing the bolt using a screwdriver. Turn it counterclockwise until loose. Keep turning until the bolt comes out completely. The toggle wings inside the wall will drop down. Gently pull the bolt out of the hole. Avoid forcing it to prevent wall damage.
Dealing With Stuck Toggles
Sometimes, toggle wings get stuck behind the wall. Try pushing the bolt further inside to release the wings. Use needle-nose pliers to grab the bolt head if slipping occurs. Tap around the hole with a hammer to loosen the toggle. If the toggle does not budge, cut the bolt flush with the wall. Patch the hole afterward for a smooth finish.
:max_bytes(150000):strip_icc()/how-to-remove-drywall-anchors-7562285-02-c01abbfe63374ad3a7bc1e52d0c15bb2.JPG)
Credit: www.thespruce.com
Removing Molly Bolts
Removing molly bolts from a Sheetrock wall can be tricky. These anchors expand behind the wall, holding tightly. You need a simple method to remove them without damaging your wall. Follow these steps to take out molly bolts safely.
Unscrewing The Bolt
Start by turning the bolt counterclockwise. Use a screwdriver that fits well. Keep turning until the bolt comes out completely. If the bolt is stuck, try a little more force. This step releases the front part of the anchor.
Collapsing The Sleeve
After removing the bolt, the sleeve stays inside the wall. It is spread open behind the drywall. Push the sleeve inward using pliers or a screwdriver. The goal is to fold or collapse the sleeve. This makes it easier to pull out.
Pulling Out The Anchor
Grab the collapsed sleeve with pliers. Pull gently but firmly straight out of the wall. If it resists, wiggle it slowly to loosen. Avoid pulling too hard to prevent wall damage. Once removed, fill the hole for a smooth finish.
Fixing Wall Damage
Removing anchors from Sheetrock walls can leave visible holes or damage. Fixing these imperfections restores your wall’s smooth surface. This process needs careful steps to make the repair look natural and clean.
Cleaning The Hole
Start by clearing loose debris from the hole. Use a small brush or vacuum to remove dust and bits. A clean hole helps the spackle stick better. Avoid pushing debris deeper into the wall.
Applying Spackle Or Joint Compound
Fill the hole with spackle or joint compound using a putty knife. Press the compound firmly to avoid air pockets. Spread it evenly and smooth the surface. Let it dry fully before the next step.
Sanding And Smoothing
Once dry, sand the patched area with fine-grit sandpaper. Sand gently to blend the patch with the wall surface. Remove dust with a soft cloth after sanding. Check for any uneven spots and fix if needed.
Painting Touch-ups
Match the wall paint color for the final touch. Use a small brush to apply paint over the patched area. Apply thin layers and let each dry before adding more. This step hides the repair and refreshes your wall’s look.
Preventing Wall Damage
Removing anchors from Sheetrock walls requires care to avoid damage. Damaged walls need patching and repainting, which takes time and money. Preventing wall damage starts with choosing the right anchor and installing it properly. Using careful removal methods also helps keep walls smooth and clean.
Using The Right Anchor
Select anchors designed for Sheetrock walls. Use plastic or metal anchors made for drywall. Avoid heavy-duty anchors meant for concrete or wood. The right anchor holds weight without causing big holes. Using the correct anchor reduces the chance of wall damage.
Proper Installation Tips
Drill a hole size that matches the anchor exactly. Do not make the hole too big or too small. Insert the anchor gently without forcing it. Tighten screws slowly to avoid cracking the wall. Proper installation keeps the wall strong and prevents cracks.
Careful Removal Techniques
Remove screws before pulling out anchors. Pull anchors straight out slowly. Use pliers to grip anchors firmly. Push anchors gently into the wall if they won’t come out. Fill any small holes with spackle for a smooth finish. Careful removal avoids large holes and wall damage.

Credit: theturquoisehome.com
Frequently Asked Questions
How Do You Safely Remove Anchors From Sheetrock?
To safely remove anchors, first unscrew any attached screws. Use pliers to gently pull out plastic anchors. For metal anchors, push them through the wall or unscrew carefully. Avoid damaging the drywall by working slowly and applying steady pressure.
What Tools Are Needed To Remove Drywall Anchors?
You typically need pliers, a screwdriver, and a putty knife. Pliers help grip and pull anchors. Screwdrivers remove screws. A putty knife can help smooth the surface after removal. These tools ensure a clean and damage-free extraction.
Can Removing Anchors Damage Sheetrock Walls?
Yes, improper removal can cause holes or dents. Pulling anchors too forcefully may tear drywall paper. Using the right tools and techniques reduces damage. Repair kits can fix minor holes after removal.
How To Fill Holes Left By Removed Anchors?
Use spackle or joint compound to fill holes. Apply with a putty knife, smooth the surface, and let dry. Sand lightly after drying for a smooth finish. Then, repaint to match the wall color.
Conclusion
Removing anchors from a Sheetrock wall is simple with the right steps. Take your time and use the proper tools. Avoid making large holes by being gentle. After removal, patch the wall to keep it smooth. This helps your wall look neat and clean again.
Practice these tips to fix your walls without stress. Keep your home looking its best with easy repairs.