Are your floors starting to sag or feel uneven beneath your feet? This can be more than just an eyesore—it might lead to bigger problems if left unchecked.
But don’t worry, you don’t have to live with sagging floors or call in expensive help right away. You’ll discover simple, effective ways to jack up those sagging floors and bring your home back to solid ground. Keep reading, and you’ll learn how to protect your home’s value and comfort with easy steps you can take yourself.
Signs Of Sagging Floors
Sagging floors cause many problems in a home. They make rooms feel uneven and unsafe. Early signs help catch issues before big damage occurs. Spotting these signs saves money and effort on repairs.
Pay attention to how floors look and feel. Small changes often mean bigger problems under the surface. Knowing what to check helps protect your home’s structure.
Common Causes
Water damage weakens wood and support beams. Poor foundation or settling ground shifts the floor frame. Old or damaged joists lose strength over time. Heavy loads or changes in use can stress floors. Pest infestations, like termites, eat wood support. Each cause affects floors differently but leads to sagging.
Identifying Problem Areas
Look for visible dips or uneven spots in floors. Doors and windows may stick or fail to close properly. Cracks appear in walls near the floor or ceiling. Floors might feel springy or soft underfoot. Notice any unusual creaking or noises when walking. These signs mark where repairs might be needed most.

Credit: www.youtube.com
Tools And Materials Needed
Fixing sagging floors requires the right tools and materials. Using proper equipment makes the job easier and safer. Prepare everything before starting to avoid delays and mistakes.
Below is a list of essential tools and safety gear needed for jacking up sagging floors.
Essential Equipment
You need a strong hydraulic jack to lift the floor safely. A bottle jack works well for this task. Also, gather sturdy wooden blocks or steel shims to support the lifted floor.
Use a tape measure to check the height difference before and after lifting. A level helps to ensure the floor is even. Bring a crowbar or pry bar to remove any trim or obstacles.
Have a drill and screws ready to secure the supports once the floor is lifted. A flashlight helps to see under the floor or in dark spaces.
Safety Gear
Protect your eyes with safety goggles to avoid dust and debris. Wear sturdy gloves to prevent splinters and cuts. Use a dust mask if the area is dusty or old materials release particles.
Wear work boots with good grip to avoid slipping. Dress in clothes that cover your arms and legs to protect your skin. Keep a first aid kit nearby for minor injuries.
Preparing The Work Area
Preparing the work area is the first step in fixing sagging floors. A clean and organized space makes the job safer and easier. Taking time to prepare helps avoid mistakes and delays.
Clearing The Space
Remove all furniture and items from the room. Clear the floor completely. This gives you full access to the floor and joists. It also protects your belongings from dust and damage. Sweep the floor to remove dust and debris. Good lighting helps you see better during work.
Assessing Floor Joists
Inspect the floor joists carefully. Look for cracks, rot, or damage. Check if the joists are level or sagging. Mark the areas that need lifting or repair. Use a flashlight to see dark corners. This assessment guides your jacking plan. Knowing the condition of joists prevents surprises later.
Lifting The Sagging Floor
Lifting a sagging floor is a careful task. It needs the right tools and patience. This step fixes the dip in the floor by raising it back to level. Doing this right prevents further damage and makes the floor strong again.
Use the right method to lift the floor evenly. Avoid quick moves that might cause cracks or breaks. Take your time and follow the steps for a steady lift.
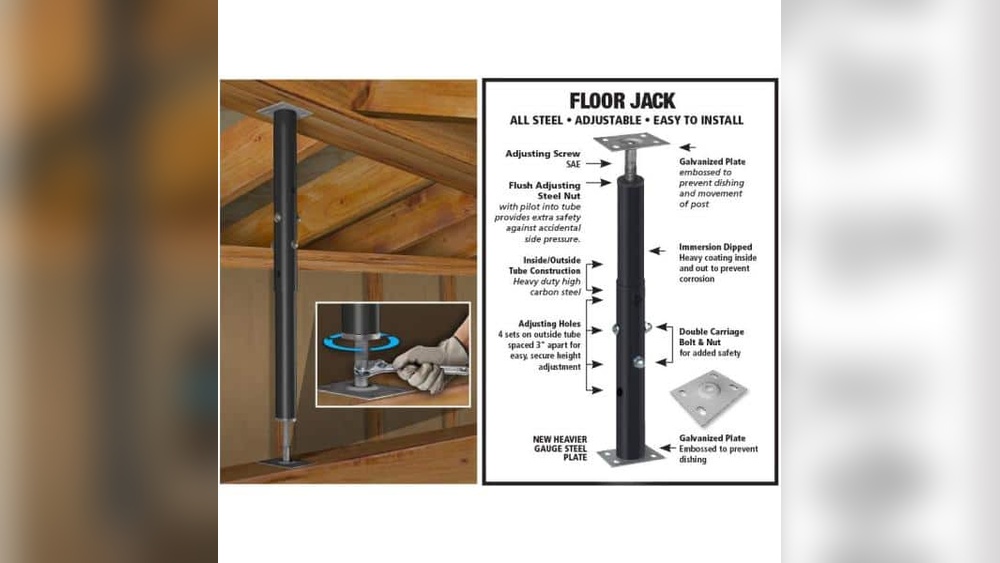
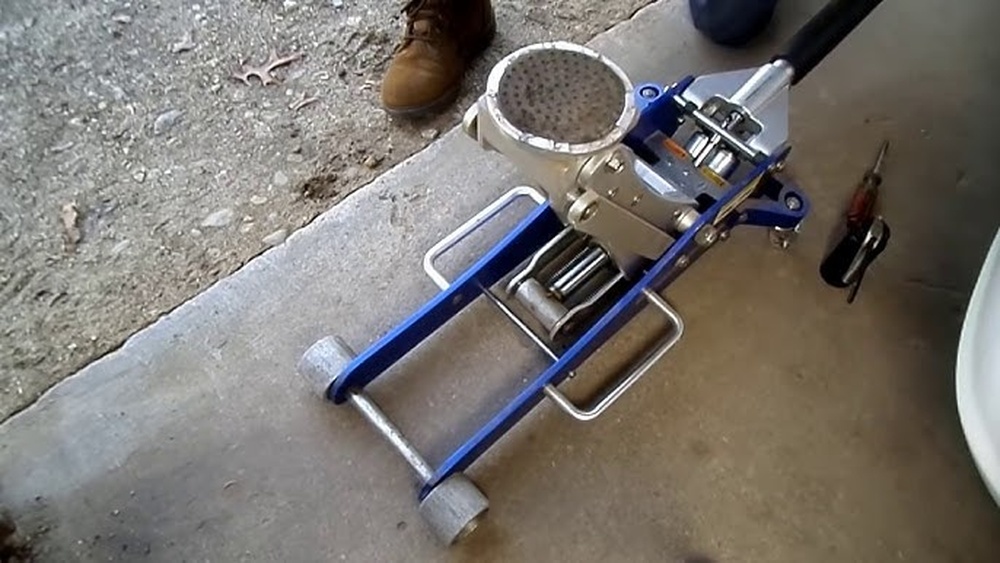
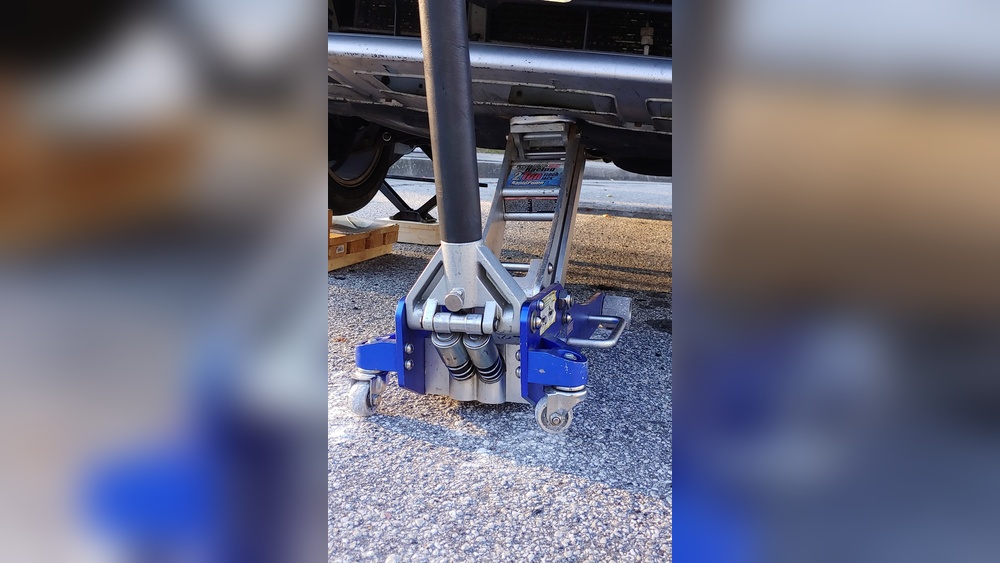
Using Floor Jacks
Floor jacks are tools that help raise the floor. Place a floor jack under the sagging spot. Make sure it sits on a strong beam or joist. This gives good support during lifting. Turn the jack handle slowly to start lifting. Watch the floor closely as it rises. Stop if you see any cracks or sounds.
Slow And Steady Lifting
Lift the floor in small steps. Move the jack up a little at a time. Pause for a few minutes between lifts. This lets the wood settle without stress. Check the floor level often. Keep lifting until the floor is flat again. Slow lifting stops damage and keeps the floor safe.
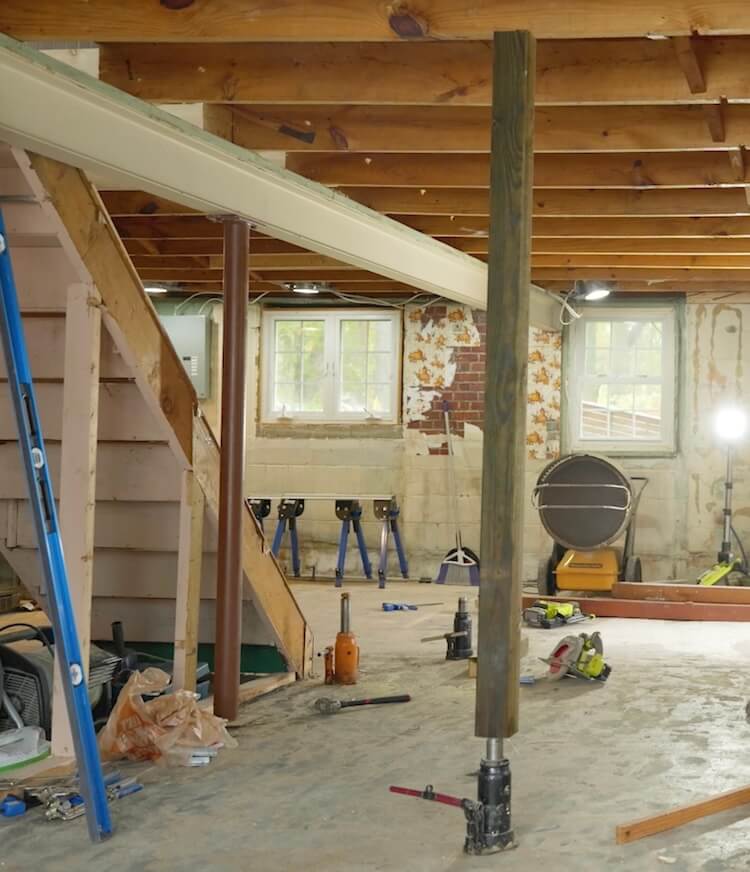
Supporting The Raised Floor
Supporting the raised floor is crucial after lifting a sagging area. Without proper support, the floor may sink again or become unstable. Strong, steady supports hold the floor in place and spread the weight evenly. This step ensures safety and durability. Proper support reduces future repairs and keeps your home solid.
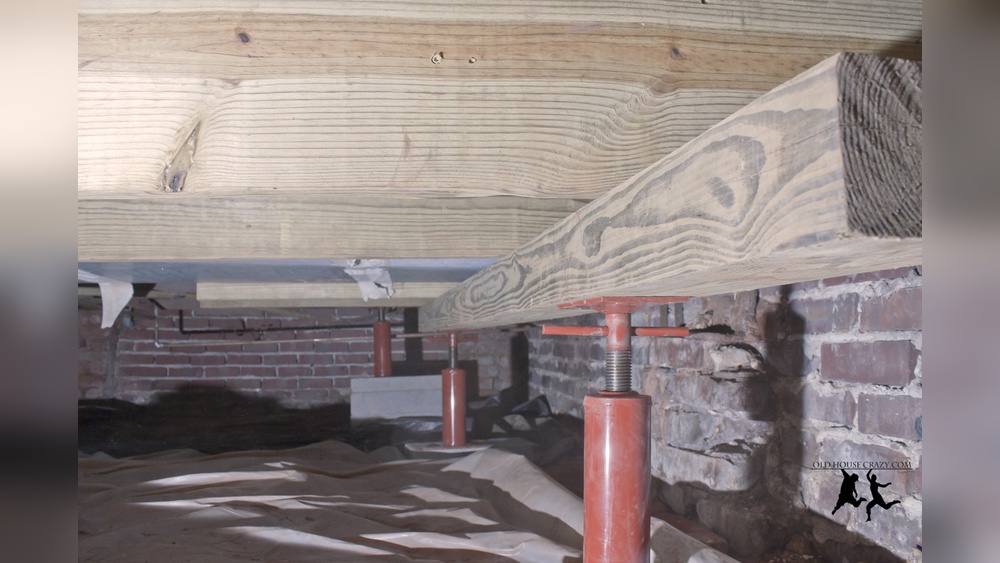
Installing Temporary Supports
Start by placing temporary supports under the raised floor. Use adjustable jacks or sturdy wooden posts. Position them close to the lifted area for better stability. Make sure the supports touch the floor joists firmly. Check that the supports stand straight and do not wobble. These temporary supports hold the floor while you work on permanent fixes. Remove them only after the floor is fully secured.
Adding Permanent Reinforcements
Permanent reinforcements keep the floor strong for years. Install strong beams or sister joists alongside existing joists. Use metal brackets to fasten new supports tightly. Add blocking between joists to stop sideways movement. Secure all reinforcements with screws or nails for a tight fit. These fixes prevent future sagging and improve floor stability. Reinforcing the floor is a smart investment in your home’s safety.

Credit: oldhousecrazy.com
Fixing Structural Issues
Sagging floors often mean the structure below is weak. Fixing these problems is key to a strong floor. This work needs care and proper steps.
Repairing or replacing damaged parts helps bring back support. Strong joists and beams stop sagging and keep floors level.
Replacing Damaged Joists
Joists are the wooden beams that hold up floors. If they are cracked or rotten, floors will sag. Remove the damaged joists carefully.
Cut new joists to the right size. Use good quality wood for strength. Fit the new joists in the same place as old ones.
Secure the joists with nails or screws. Check they are level to avoid future sagging. This gives strong support to the floor above.
Sistering Techniques
Sistering means adding a new beam next to a weak one. This helps share the weight and stops sagging. It is easier than full replacement.
Choose a new joist that matches the size of the old one. Place it tightly alongside the damaged joist. Attach both with screws or bolts.
This adds strength and keeps the floor steady. Sistering works well for small damage or weak spots. It is a quick fix with lasting results.
Finishing Touches
After jacking up sagging floors, the final steps are very important. These finishing touches ensure the floor stays strong and looks good. Taking time here saves future problems and extra costs.
Level Checking
Check the floor with a level tool. Move it around the whole area. Look for any spots that are still uneven or tilted. Small adjustments might be needed to balance the floor perfectly. A flat floor feels better and supports furniture well.
Flooring Repairs
Fix damaged floorboards or tiles next. Replace broken pieces to avoid hazards. Fill cracks or gaps with wood filler or putty. Sand rough areas smooth for a clean finish. Repaint or stain the floor to match the rest of the room. Repairs improve both safety and appearance.
Preventing Future Sagging
Preventing future sagging in floors is key to keeping your home safe and comfortable. Fixing a sagging floor is only the first step. Taking care of your floor after repair stops problems from coming back. Simple habits and regular checks help maintain strong, level floors for years.
Moisture Control
Moisture is a main cause of sagging floors. Water weakens wood and causes it to warp or rot. Keep your home dry to protect floor joists and beams.
Check for leaks in pipes, roofs, and windows. Use a dehumidifier in damp areas like basements. Ensure good ventilation to stop moisture build-up. Fix any water problems quickly to avoid damage.
Regular Inspections
Look at your floors often to spot early signs of sagging. Walk around and notice any soft spots or dips. Listen for creaks or unusual noises underfoot.
Inspect crawl spaces and basements for wood damage or mold. Check the foundation for cracks or shifting. Early discovery of problems makes repairs easier and cheaper.
Credit: rogueengineer.com
Frequently Asked Questions
How Do You Identify Sagging Floors?
Sagging floors often feel uneven or bouncy underfoot. Look for visible dips, cracks, or separation from walls. Use a level tool to check for unevenness. Early detection helps prevent further structural damage and costly repairs.
What Tools Are Needed To Jack Up Sagging Floors?
Common tools include a hydraulic jack, support posts, a level, and shims. You’ll also need safety gear like gloves and goggles. Proper tools ensure a safe and effective floor lifting process.
Can Sagging Floors Be Fixed Without Replacing Joists?
Yes, jacking up floors can restore levelness without joist replacement. Adding support posts and shims stabilizes the floor. However, severe damage may require joist repair or replacement for safety.
How Much Does It Cost To Jack Up Sagging Floors?
Costs vary by floor size and damage severity. On average, expect $500 to $1,500 for professional jacking and reinforcement. DIY methods reduce costs but require skill and proper tools.
Conclusion
Sagging floors can cause many problems in your home. Fixing them early saves time and money. Use the right tools and follow safety steps. Gradually lift the floor to avoid damage. Check for any hidden issues under the floor. Keep an eye on the floor after repair.
A steady, careful approach works best. This simple guide helps you get stronger floors. Start small, and you will see good results. Your home will feel safer and more stable.