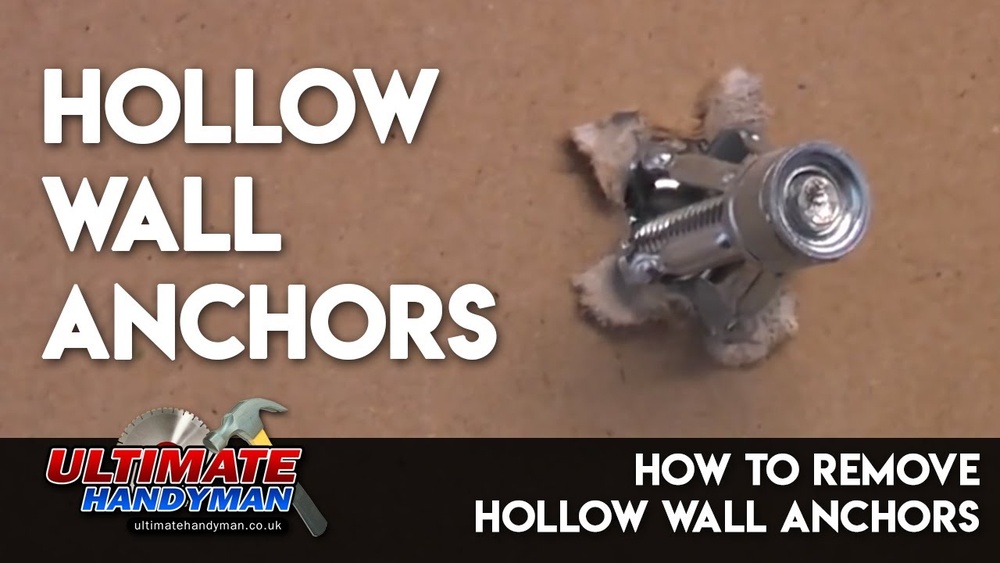
If you’ve ever hung something heavy on your wall, you’ve probably used Molly wall anchors. They’re great for holding weight, but when it’s time to remove them, things can get tricky.
You might worry about damaging your wall or struggling to get the anchor out. Don’t worry—this guide will show you simple, effective ways to remove Molly wall anchors without hassle. By the end, you’ll feel confident tackling this task on your own.
Ready to learn how? Let’s dive in.

Credit: www.hgtv.com
Tools Needed
Removing Molly wall anchors requires the right tools. Having the proper equipment makes the job easier and safer. This section lists the tools you need to remove these anchors effectively. Some tools are basic, while others are optional but helpful.
Basic Tools List
- Flathead screwdriver – to pry the anchor out gently
- Needle-nose pliers – to grip and pull the anchor
- Drill with a metal bit – to drill out stubborn anchors
- Utility knife – to cut away any excess drywall around the anchor
- Hammer – to tap the anchor if needed
Optional Supplies
- Putty knife – to smooth the wall after removal
- Spackling compound – to fill holes left behind
- Sandpaper – to smooth the patched area
- Protective gloves – to protect your hands during work
- Safety glasses – to guard your eyes from dust and debris

Credit: www.youtube.com
Preparing The Area
Preparing the area is the first step in removing Molly wall anchors safely and efficiently. It helps protect your walls and makes the task easier. Proper preparation sets a clear workspace and keeps you safe throughout the process.
Clearing The Workspace
Remove any furniture or items near the wall. This gives you enough space to work comfortably. Clear the floor to avoid tripping or damage. Cover the floor with a drop cloth or old sheet. It will catch dust and debris during removal.
Safety Precautions
Wear safety goggles to protect your eyes from dust and debris. Use gloves to prevent cuts or scrapes on your hands. Make sure the area is well-lit to see clearly. Keep a first aid kit nearby in case of minor injuries.
Removing The Anchor Screw
Removing the anchor screw is the first step to take out a Molly wall anchor. This screw holds the anchor in place. Taking it out carefully helps remove the anchor without damaging the wall. Use the right tools and follow simple steps.
Using A Screwdriver
Start by choosing a screwdriver that fits the screw head well. Place the screwdriver firmly into the screw slot. Turn it counterclockwise slowly. Keep steady pressure to avoid slipping. The screw should start to loosen. Pull the screw out gently once it is loose. This step frees the anchor for removal. Avoid forcing the screw to prevent damage.
When The Screw Is Stripped
A stripped screw has a damaged head that makes removal hard. Try using a rubber band for extra grip. Place the rubber band over the screw head. Press the screwdriver into the band and turn slowly. The band fills gaps and helps grip the screw.
If this fails, use pliers to grab the screw head. Twist carefully while pulling outward. This can remove stubborn screws without breaking them. Avoid drilling out the screw unless absolutely necessary.
Extracting The Molly Anchor
Extracting a molly wall anchor can be tricky without damaging your wall. These anchors expand behind the drywall, gripping tightly. Removing them requires care and the right technique. Two common methods make the process easier and cleaner.
Prying Out With Pliers
Start by gripping the molly anchor’s collar with pliers. Pull gently but firmly. The anchor may bend or twist as you pull. Keep steady pressure to avoid tearing the wall. If it resists, try rocking it back and forth. This loosens the anchor’s grip inside the wall. Once loose, pull the anchor out completely.
Tapping The Anchor Inward
Use a hammer and a screwdriver or punch. Place the tool’s tip on the anchor’s center. Tap gently to push the anchor deeper into the wall cavity. This method hides the anchor behind the drywall. After pushing it in, patch the hole with spackle. Let it dry and sand smooth for a clean finish.
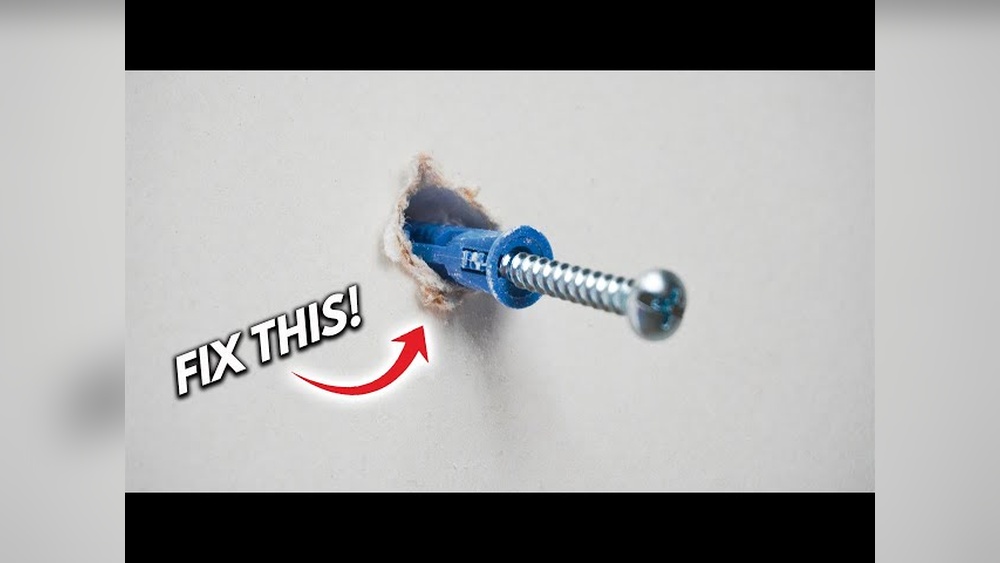
Fixing Wall Damage
Removing molly wall anchors often leaves small holes or damage in your wall. Fixing these marks quickly restores the wall’s smooth look. Repairing the wall is simple and does not take much time. A few basic tools and materials can do the job well. Follow easy steps to fill holes, sand rough spots, and paint over the repair. Your wall will look clean and like new again.
Filling Small Holes
Start by cleaning the hole and removing any loose debris. Use a putty knife to apply spackling paste or wall filler. Press the filler firmly into the hole to fill it completely. Smooth the surface with the knife to match the wall. Let the filler dry fully, following the product’s instructions. Drying usually takes a few hours. For deeper holes, apply a second layer if needed. This ensures the repair is strong and even.
Sanding And Painting Tips
After the filler dries, gently sand the area with fine-grit sandpaper. Sand until the surface feels smooth and flat against the wall. Wipe away dust with a damp cloth before painting. Use a primer if the filler is very visible. Then, apply paint that matches your wall color. Use a small brush or roller for even coverage. Two coats of paint may be needed for the best finish. Let each coat dry fully before applying the next one.
Preventing Future Damage
Preventing future damage after removing Molly wall anchors is important. The right steps keep your walls strong and clean. Avoiding common mistakes helps save time and money. Focus on choosing the correct anchor and installing it properly. These tips protect your walls and ensure lasting support.
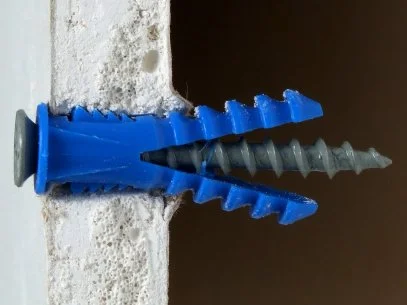
Choosing The Right Anchor
Select an anchor that fits the wall type and weight. Drywall needs different anchors than concrete or plaster. Use anchors designed for the load you want to hang. Light items need smaller anchors, heavy items need stronger ones. Check the package details to match your needs. Picking the wrong anchor can cause damage or failure.
Proper Installation Tips
Start by drilling a hole the correct size. Too big or too small can weaken the wall. Insert the anchor gently without forcing it. Tighten screws slowly to avoid cracking the wall. Follow the anchor’s instructions carefully for best results. Use a level to keep items straight and secure. Proper installation extends the life of the anchor and protects your wall.
Credit: www.hgtv.com
Frequently Asked Questions
What Tools Do I Need To Remove Molly Wall Anchors?
You need a screwdriver, pliers, and a utility knife to remove Molly wall anchors safely and efficiently. These tools help loosen, grip, and extract the anchor without damaging the wall.
How Do I Prevent Wall Damage When Removing Anchors?
Remove the screw first, then gently pull or pry the anchor out. Use minimal force to avoid wall damage. Patch holes afterward for a smooth finish.
Can I Reuse Molly Wall Anchors After Removal?
No, Molly wall anchors are designed for one-time use and lose their grip after removal. It’s best to replace them with new anchors for secure mounting.
Why Is My Molly Anchor Stuck In The Wall?
Anchors may get stuck due to expansion behind the drywall or corrosion. Use pliers to grip firmly and wiggle gently until the anchor loosens and comes out.
Conclusion
Removing Molly wall anchors takes patience and the right tools. Start by loosening the anchor carefully. Avoid damaging the wall while pulling it out. Filling the hole afterward keeps your wall smooth and ready for new use. Small steps lead to good results.
This simple process helps maintain your walls well. Try these tips next time you need to remove anchors. Your walls will thank you.