Is your light switch button stuck, loose, or just not working right? It’s frustrating when a simple flick doesn’t turn your lights on or off like it should.
But don’t worry—fixing your light switch button is easier than you think. In this guide, you’ll discover clear, step-by-step tips to get your switch working smoothly again. Keep reading, and soon you’ll have full control over your lights without calling a professional or spending a fortune.
Ready to fix it yourself? Let’s dive in!
Common Light Switch Problems
Light switches can develop problems over time. These issues can cause frustration and disrupt daily life. Knowing the common problems helps you fix them quickly. This saves money and keeps your home safe.
Switch Not Responding
A switch that does not respond means it does not turn the light on or off. This can happen due to a loose wire or a broken internal part. Sometimes, the switch mechanism wears out and stops working. Checking the wiring and replacing the switch often solves this problem.
Flickering Lights
Flickering lights often point to a poor connection inside the switch. Loose wires or a damaged switch can cause this issue. Flickering can also mean the bulb or fixture has a problem. Make sure to check the switch and wiring first to fix flickering lights.
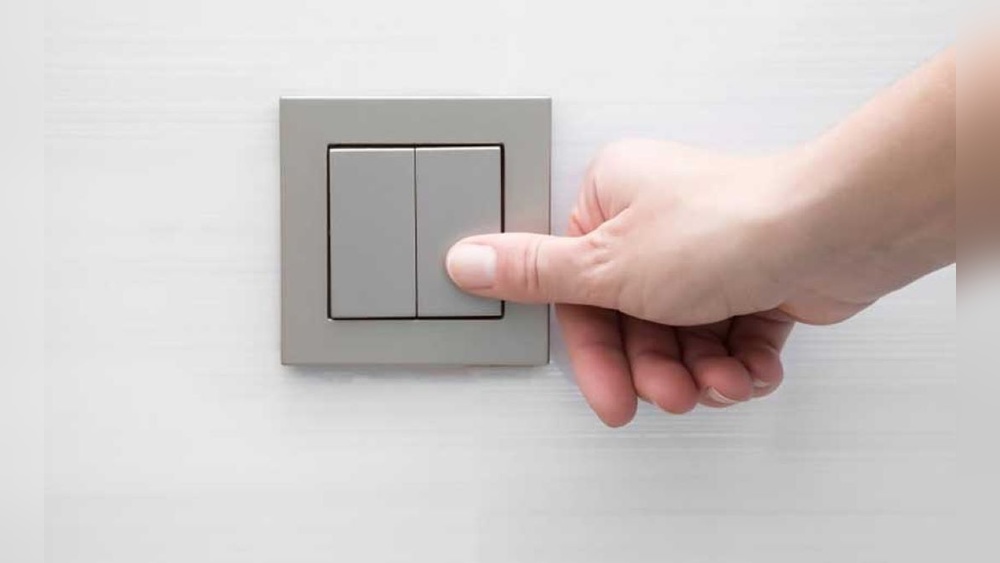
Loose Or Wobbly Button
A loose or wobbly button can make it hard to control the light. This happens when screws become loose or the switch plate is damaged. Tightening screws or replacing the switch plate usually fixes this problem. A steady button feels secure and works smoothly.
Credit: www.electriciansingapore.org
Tools And Materials Needed
Fixing a light switch button requires the right tools and materials. Having these ready makes the job easier and safer. This section lists what you need before starting your repair.
Basic Tools
Start with a flathead screwdriver and a Phillips screwdriver. These help remove the switch cover and screws. A voltage tester is essential to check if the power is off. Wire strippers come in handy to clean wire ends. Needle-nose pliers help hold and bend wires carefully. Keep electrical tape nearby to insulate wires after fixing.
Safety Equipment
Wear insulated gloves to protect against electric shocks. Safety glasses shield your eyes from dust and debris. Use a sturdy ladder if the switch is high on the wall. Make sure the work area has good lighting to see clearly. Turn off the circuit breaker to avoid accidents during repair.
Safety First
Fixing a light switch button needs care and caution. Safety is the top priority before starting any electrical work. A small mistake can cause electric shock or damage. Follow simple safety steps to protect yourself and your home.
Turning Off Power
Switch off the power at the circuit breaker. Do not just use the light switch to cut power. Confirm that the right circuit is off by checking other devices on the same line. This step stops electricity from flowing to the switch.
Using A Voltage Tester
Use a voltage tester to check if the power is off. Touch the tester to the wires or terminals. The tester shows if electricity is present. Never skip this step. It ensures no current flows through the switch before you start work.
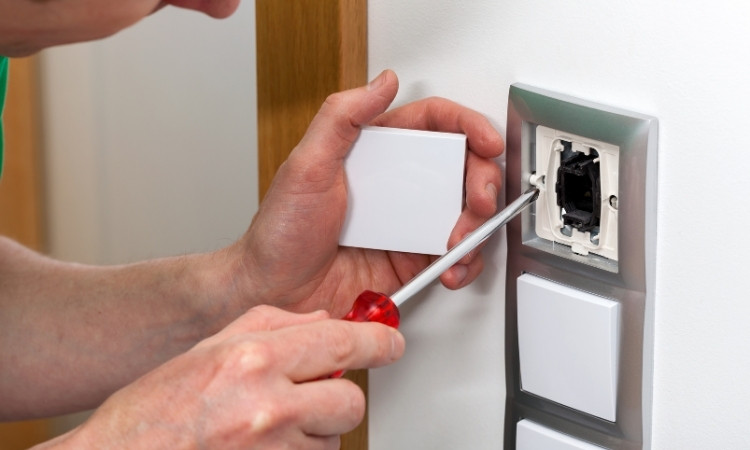
Removing The Light Switch Cover
Inspecting the switch components is the first step to fix a light switch button. This step helps find the exact problem inside the switch. Careful inspection avoids guesswork and saves time.
Turn off the power before starting. Safety is very important. Use a screwdriver to remove the switch cover. Look closely at each part inside the switch.
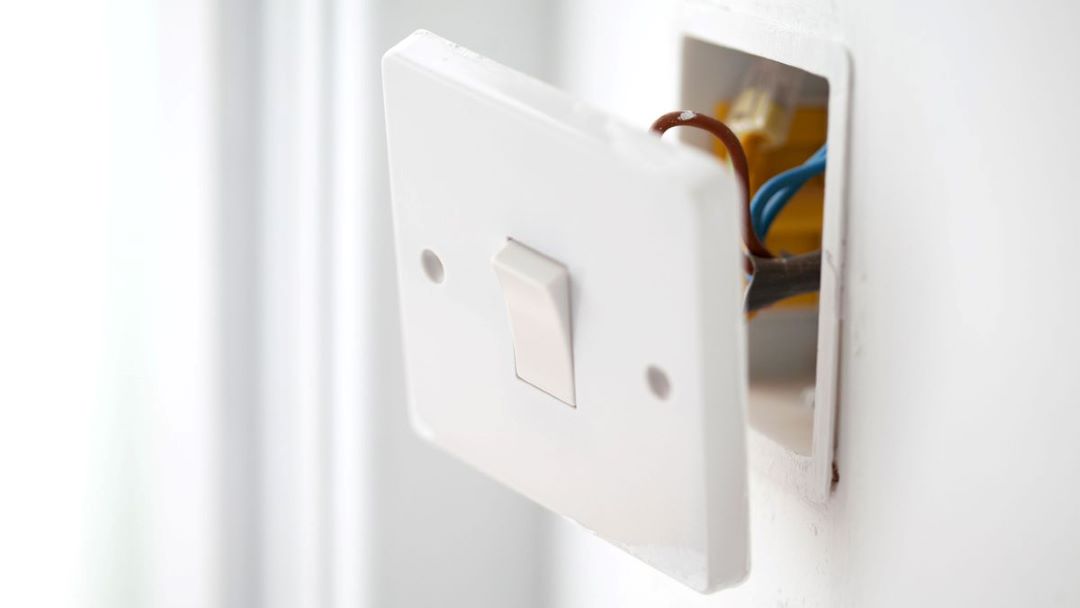
Checking For Damaged Wires
Look at all wires connected to the switch. Check if any wires are cut, frayed, or loose. Damaged wires can stop the switch from working properly. Gently move the wires to see if they are loose. Tighten any loose connections with a screwdriver. Replace wires that look worn out or broken.
Identifying Burnt Or Worn Parts
Burn marks or dark spots show that parts are burnt. These parts may cause the switch to fail. Check the switch terminals and internal metal pieces. If metal parts look worn or broken, they need replacement. Worn parts reduce the switch’s ability to connect electricity. Cleaning minor dirt can help, but replace damaged parts for safety.
Inspecting The Switch Components
A loose light switch button can be annoying and unsafe. It may cause flickering lights or trouble turning the switch on and off. Fixing the button is simple and does not need special tools. Follow these steps to make the switch steady again.
Tightening Screws
First, turn off the power at the breaker. Remove the switch cover by unscrewing it carefully. Check the screws holding the button in place. Use a screwdriver to tighten any loose screws. Do not overtighten to avoid damage. Put the cover back and test the switch. The button should feel firm and work well.
Replacing The Button
If tightening does not fix the problem, replace the button. Turn off the power before starting. Remove the switch cover and unscrew the button. Take the old button to a hardware store to find the right replacement. Install the new button by connecting wires as before. Screw it into place and attach the cover. Turn the power back on and test the switch. The button should now be secure and responsive.

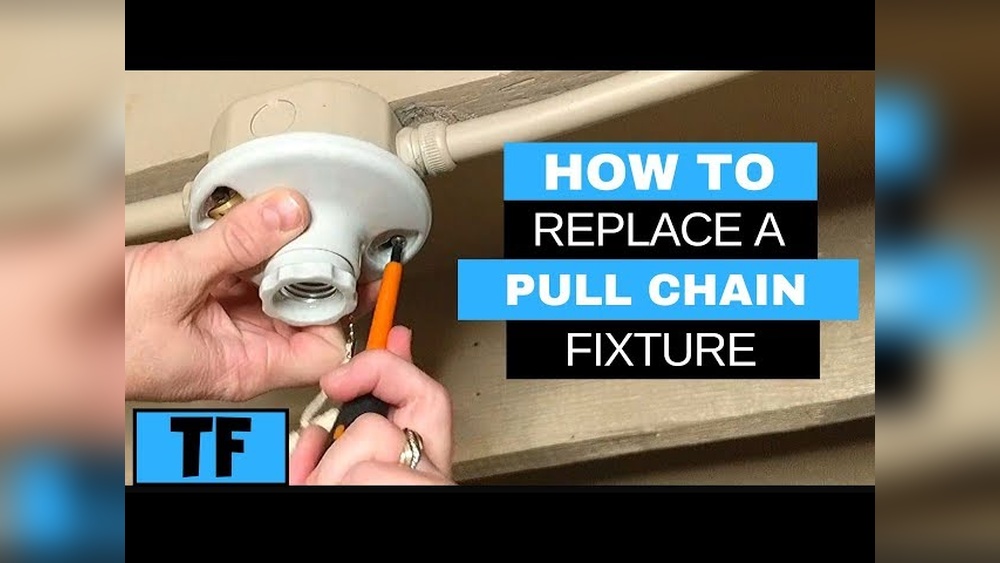
Credit: www.youtube.com
Fixing A Loose Switch Button
Replacing a faulty light switch is a simple task that anyone can do with basic tools. A damaged switch can cause flickering or no light at all. Fixing it restores safety and proper function. Follow these steps carefully to replace your light switch safely and correctly.
Disconnecting The Old Switch
Turn off the power at the circuit breaker. Use a voltage tester to ensure no electricity flows. Remove the switch cover plate with a screwdriver. Unscrew the old switch from the electrical box. Carefully pull the switch out to expose the wires. Note how the wires connect before disconnecting them. Loosen the terminal screws and remove the wires from the old switch.
Wiring The New Switch
Check the new switch for compatibility with your wiring. Attach the wires to the new switch terminals. Tighten the screws firmly to secure the wires. Match the wires by color: black to black, white to white. If unsure, consult the instructions that come with the switch. Avoid loose connections to prevent electrical problems. Double-check all connections before moving on.
Securing The Switch In Place
Push the wired switch gently back into the electrical box. Align it with the screw holes on the box. Use screws to fasten the switch securely. Attach the switch cover plate and tighten its screws. Restore power at the circuit breaker. Test the switch to ensure it works properly. A properly secured switch prevents hazards and ensures lasting use.
Replacing A Faulty Light Switch
Testing the repair is a crucial step after fixing a light switch button. It ensures the switch works safely and correctly. This step helps you avoid any future electrical issues.
Restoring Power
First, restore power to the switch. Turn the circuit breaker back on. This sends electricity to the switch. Be careful and make sure your hands are dry. Avoid touching wires or metal parts while doing this.
Confirming Switch Functionality
Next, test the switch by pressing the button. Check if the light turns on and off smoothly. Try pressing it several times. The light should respond each time without flickering. If it works well, the repair is successful. If not, turn off the power again and recheck your work.
Credit: www.litoelectrical.com
Frequently Asked Questions
How Do I Safely Fix A Light Switch Button?
First, turn off power at the circuit breaker. Use a voltage tester to confirm no electricity flows. Unscrew the switch plate, replace or tighten the button, then reassemble. Always follow safety guidelines to avoid electric shock.
What Tools Are Needed To Fix A Light Switch?
You need a screwdriver, voltage tester, wire stripper, and replacement switch button. These tools help you remove the old switch safely and install the new one securely.
Why Is My Light Switch Button Not Working?
A faulty switch, loose wiring, or tripped breaker can cause issues. Inspect the switch for damage and check wiring connections. Replace the switch if it’s worn out or defective.
Can I Fix A Light Switch Without Professional Help?
Yes, if you follow safety precautions and understand basic wiring. Turn off power, use proper tools, and carefully replace or tighten the switch button. If unsure, consult a professional electrician.
Conclusion
Fixing a light switch button can be simple and quick. Always turn off the power before starting any work. Check the switch for loose wires or dirt. Tighten connections carefully to avoid sparks. Replace old or broken parts if needed.
Test the switch after fixing it to ensure it works well. Regular maintenance helps keep switches safe and functional. Small repairs save money and keep your home bright. Try these steps for a safe and easy fix.