Have you ever wanted to add a light to a room but didn’t want to deal with complicated wiring or call an electrician? What if you could turn any outlet into a switch-controlled light source quickly and safely?
You’ll learn exactly how to add a light and switch from an existing outlet step by step. By the end, you’ll have the confidence to brighten up your space the smart way—without unnecessary hassle or cost. Keep reading, and let’s make your home more comfortable and functional together.

Credit: www.do-it-yourself-help.com
Tools And Materials Needed
Adding a light and switch from an outlet is a simple project. It needs the right tools and materials. Using proper items keeps the work safe and smooth. Gather everything before starting. This saves time and avoids mistakes.
Basic Electrical Tools
Start with a voltage tester to check power. Wire strippers help remove insulation from wires. A screwdriver set is needed for screws. Needle-nose pliers make bending wires easier. A utility knife can cut wire sheathing. A drill may be needed for new holes. These basic tools make wiring tasks easier.
Required Materials
Use a light fixture that fits your space. A single-pole switch controls the light on and off. Electrical wire, usually 14/2 or 12/2, connects the circuit. Wire nuts join wires safely. Electrical tape adds extra insulation. An outlet box holds the switch or light. Secure boxes keep wiring safe and neat.
Safety Gear
Wear safety glasses to protect your eyes. Insulated gloves reduce shock risk. Use a dust mask if drilling. Work in a dry area to avoid hazards. A flashlight can help in dark spots. Always turn off the power before starting. Safety gear helps prevent accidents and injuries.
Preparing The Workspace
Preparing the workspace is the first step to add a light and switch from an outlet safely. A clean and safe area helps prevent accidents. It also makes the task easier and faster. Follow these steps carefully before starting any electrical work.
Turning Off The Power
Always turn off the power at the circuit breaker. This stops electricity from flowing to the outlet. Use the breaker that controls the room where you work. Double-check by flipping the switch off and on.
Clearing The Area
Remove any objects near the outlet. Clear tools, furniture, and other items. This gives you space to move and work comfortably. A clean area also reduces the risk of accidents or damage.
Testing For Live Wires
Use a voltage tester to check for live wires. Touch the tester to the wires inside the outlet box. If the tester lights up or beeps, wires are still live. Do not touch any wires until the power is off and no voltage is detected.
Planning The Wiring Layout
Planning the wiring layout is the first step to add a light and switch from an outlet. A clear plan helps avoid mistakes and keeps the work safe. It also saves time and materials. Careful planning makes the installation smooth and reliable.
Locating The Outlet And Light
Find the outlet you want to use for power. Check if it is working and has space for wiring. Choose a light spot that fits your room’s needs. The light should brighten the area well. Make sure both locations are easy to reach and safe to work on.
Mapping The Wire Path
Draw a simple map showing the route from the outlet to the light. Avoid sharp bends and long wire runs. Plan the wire path along walls or ceiling edges. Keep wires away from heat sources or water pipes. This makes wiring safer and easier to install.
Choosing The Switch Location
Pick a spot for the switch near the light and at a comfortable height. The switch should be easy to find and use. Think about the room layout and usual movement. Avoid places where the switch can get wet or blocked. Proper switch placement improves convenience and safety.
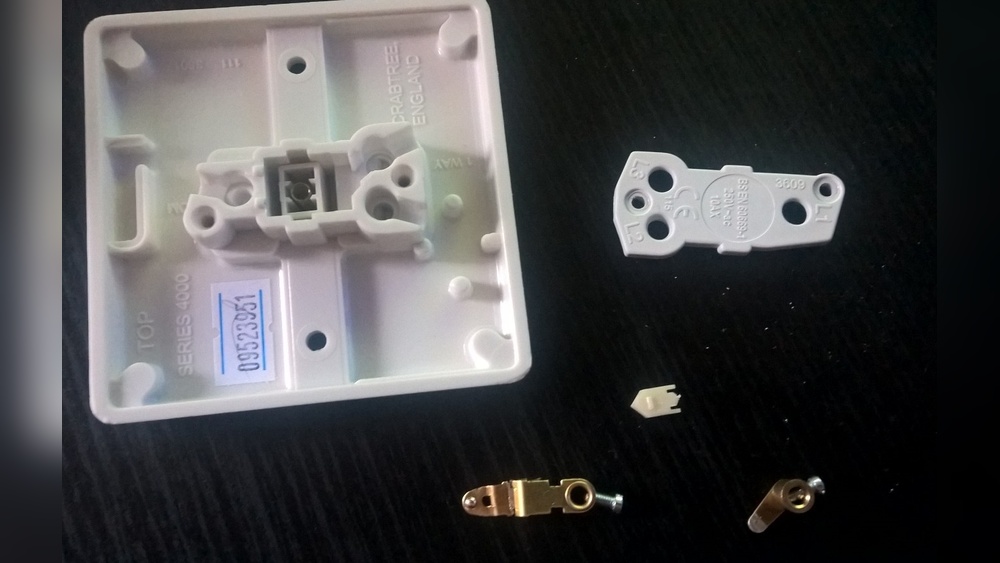
Removing The Outlet Cover
Removing the outlet cover is the first step to adding a light and switch from an outlet. This step gives you access to the wiring inside. It is important to be careful and follow safety rules. Always turn off the power at the breaker box before starting.
Take your time with this part. A clean and careful removal prevents damage to the outlet and the wall. Let’s look at the simple steps to remove the cover properly.
Unscrewing The Outlet
Start by locating the screws that hold the outlet cover. Usually, there is one screw at the center of the cover plate. Use a flathead or Phillips screwdriver, depending on the screw type.
Turn the screwdriver counterclockwise to loosen the screws. Keep the screws safe; you will need them to put the cover back later. Gently pull the cover away from the wall once the screws are out.
Inspecting The Wiring
After removing the cover, look inside at the wires connected to the outlet. Check for any signs of damage, such as frayed wires or loose connections. Healthy wires are important for safety and proper function.
If you see any problems, do not touch the wires. Consult a professional electrician. Clean and secure wiring makes it easier to add a new light and switch safely.
Running The New Wire
Running new wire for a light and switch from an outlet is an important step. It connects the power source to your new fixtures safely. Careful planning and execution make the job easier and safer. Follow these simple steps to guide the wire through walls and secure it properly.
Fishing Wire Through Walls
Start by drilling a hole in the wall near the outlet and switch locations. Use a fish tape or wire puller to guide the wire through the wall cavity. Move the fish tape slowly to avoid damage to the drywall or insulation. Once the tape reaches the other end, attach the wire and pull it back carefully. Keep the wire straight and avoid sharp bends.
Securing The Wire
Secure the wire with staples or wire clips every 12 inches. Make sure not to pierce or damage the wire insulation. Keep the wire tight but not stretched. Proper securing prevents the wire from moving or causing hazards. Check local codes for exact spacing and methods for securing wires.
Avoiding Common Obstacles
Watch out for pipes, studs, and electrical boxes inside the walls. Use a stud finder to locate framing and avoid drilling into them. If you hit insulation, gently push it aside to create space for the wire. Avoid sharp edges that could cut the wire over time. Plan your path carefully to prevent future problems.
Credit: www.reddit.com
Connecting The Switch
Connecting the switch is a key step in adding a light from an outlet. This process controls the flow of electricity to the light. Proper connection ensures safety and functionality. Follow clear steps to wire the switch correctly and securely.
Identifying Hot And Neutral Wires
Start by turning off the power at the breaker. Use a tester to find the hot wire. The hot wire usually has black or red insulation. The neutral wire is often white. Identifying these wires is vital before wiring the switch. Mixing wires can cause short circuits or shocks.
Wiring The Switch Properly
Connect the hot wire to one terminal of the switch. Attach the wire going to the light to the other terminal. Do not connect the neutral wire to the switch. The neutral wire should bypass the switch and go directly to the light. Tighten all screws firmly to avoid loose connections. Loose wires can cause flickering or fire hazards.
Mounting The Switch Box
Choose a spot near the outlet for the switch box. Secure the box to the wall stud or drywall. Pull the wires through the box’s opening carefully. Attach the switch to the box using screws. Cover the switch with a faceplate for safety and appearance. Proper mounting keeps the switch stable and easy to use.
Installing The Light Fixture
Installing the light fixture is a key step in adding a light and switch from an outlet. This process involves connecting wires safely, securing the fixture, and ensuring everything works correctly. Follow each step carefully for a safe and neat installation.
Wiring The Light
Turn off power at the circuit breaker before starting any wiring. Connect the black (hot) wire from the light to the black wire from the switch. Join the white (neutral) wires together. Attach the green or bare copper wire to the ground wire or grounding screw. Use wire nuts to secure each connection. Make sure wires are tight and no copper is exposed.
Attaching The Fixture
Attach the mounting bracket to the electrical box with screws. Position the light fixture on the bracket. Align screw holes and secure the fixture with screws. Ensure it is flush against the ceiling or wall. Check that the fixture is steady and does not wobble.
Testing The Connections
Switch the power back on at the circuit breaker. Turn on the light switch to test the fixture. The light should turn on without flickering. If it does not work, switch off power and recheck all connections. Confirm wires are correctly connected and secure before trying again.

Credit: diy.stackexchange.com
Final Checks And Safety Tips
Final checks and safety tips are important before finishing your light and switch installation. These steps keep you safe and make sure everything works well. Take time to review each part carefully. Safety is the top priority when dealing with electricity.
Restoring Power
Turn the power back on at the breaker box carefully. Check that no tools or wires touch each other. Make sure the breaker is fully switched on. Never rush this step. Safe power restoration helps avoid shocks or damage.
Testing The Switch And Light
Flip the switch slowly to test the light. The light should turn on without flickering. Try the switch a few times to confirm it works smoothly. If the light stays off, check your connections. A properly tested switch ensures your installation is correct.
Troubleshooting Common Issues
If the light does not turn on, start by checking the breaker again. Ensure all wires are tight and connected right. Look for loose or damaged wires inside the outlet box. Replace any faulty parts before testing again. Simple checks often solve common problems quickly.
Frequently Asked Questions
How Do I Safely Add A Light And Switch From An Outlet?
Turn off power at the circuit breaker before starting. Use a voltage tester to confirm no power. Connect the new light and switch wiring to the outlet’s power source following electrical codes. Always use proper tools and follow safety guidelines.
Can I Use An Existing Outlet To Install A New Switch?
Yes, you can tap into an existing outlet’s wiring. This method saves running new wires from the panel. Ensure the outlet has enough capacity for the new light and switch. Follow local electrical codes for safe installation.
What Tools Are Needed To Add A Light And Switch From An Outlet?
You need a voltage tester, wire stripper, screwdriver, electrical tape, wire nuts, and a drill. These tools help ensure safe, precise wiring and secure connections during installation.
How Do I Know If My Outlet Can Support A New Light?
Check the circuit’s amperage rating, usually 15 or 20 amps. Ensure the added light won’t overload the circuit. Calculate total wattage of devices on the circuit to avoid tripping breakers.
Conclusion
Adding a light and switch from an outlet is a simple task. It saves money and adds convenience to your home. Always follow safety rules and turn off power first. Use the right tools and check your work carefully. Taking your time helps avoid mistakes.
This project helps you learn basic electrical skills. Try it step-by-step and enjoy better lighting in your space.