Have you ever wished you could set the perfect mood lighting in your room with just a simple flick? Changing your regular light switch to a dimmer switch can do just that—giving you full control over the brightness and ambiance of any space.
It’s easier than you think, and you don’t need to be an expert to get it done. In this guide, you’ll discover step-by-step how to swap out your old switch and enjoy the cozy, adjustable lighting you’ve been missing. Ready to transform your room with just one small change?
Let’s get started!

Credit: www.gelighting.com
Tools And Materials Needed
Changing a regular light switch to a dimmer switch needs some specific tools and materials. Having these ready helps the job go smoothly. Safety comes first. Make sure you have everything before starting.
Essential Tools
First, gather the basic tools. A screwdriver is a must, both flathead and Phillips types. Wire strippers help to remove the insulation from wires. A voltage tester ensures the power is off before touching wires. Needle-nose pliers are good for bending and holding wires. Electrical tape helps to secure wire connections. A flashlight or work light is useful if the room is dark.
Choosing The Right Dimmer Switch
Pick a dimmer switch that fits your light bulbs. Some dimmers work only with incandescent bulbs. Others are made for LED or CFL bulbs. Check the dimmer’s wattage limit to match your light fixture. Single-pole dimmers work for one switch controlling the light. Three-way dimmers are for lights controlled by two switches. Confirm the type before buying.
Safety Precautions
Safety is the top priority when changing a light switch to a dimmer. Electricity can be dangerous. Taking the right steps protects you from shocks and accidents. Follow these safety precautions carefully before starting any work.
Turn Off Power
Switch off the power at the circuit breaker. Do not rely on the wall switch alone. This stops electricity from flowing to the switch. Confirm that the power is off before touching any wires. Safety first.
Use A Voltage Tester
Check the wires with a voltage tester to be sure. The tester shows if electricity is still present. Test each wire carefully. Only proceed when the tester shows no voltage. This step prevents electric shocks and injuries.
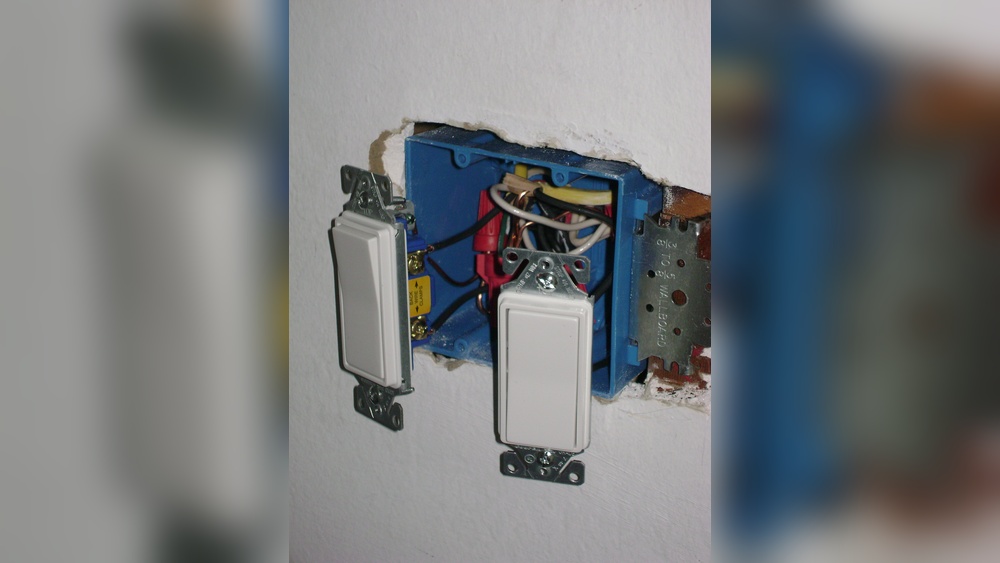
Removing The Existing Switch
Removing the existing switch is the first step in installing a dimmer switch. This process requires safety and care. Turning off the power is essential before handling any wiring.
Follow these steps to remove the old switch safely and prepare for the new dimmer.
Unscrew The Switch Plate
Start by locating the screws on the switch plate. Use a screwdriver to remove these screws carefully. Take off the switch plate and set it aside. This reveals the switch and wiring behind it.
Disconnect Wires
Next, identify the wires connected to the switch. Use a voltage tester to confirm the power is off. Unscrew or unclip the wires from the switch terminals. Keep track of which wire connects where. This step makes it easy to connect the dimmer switch later.
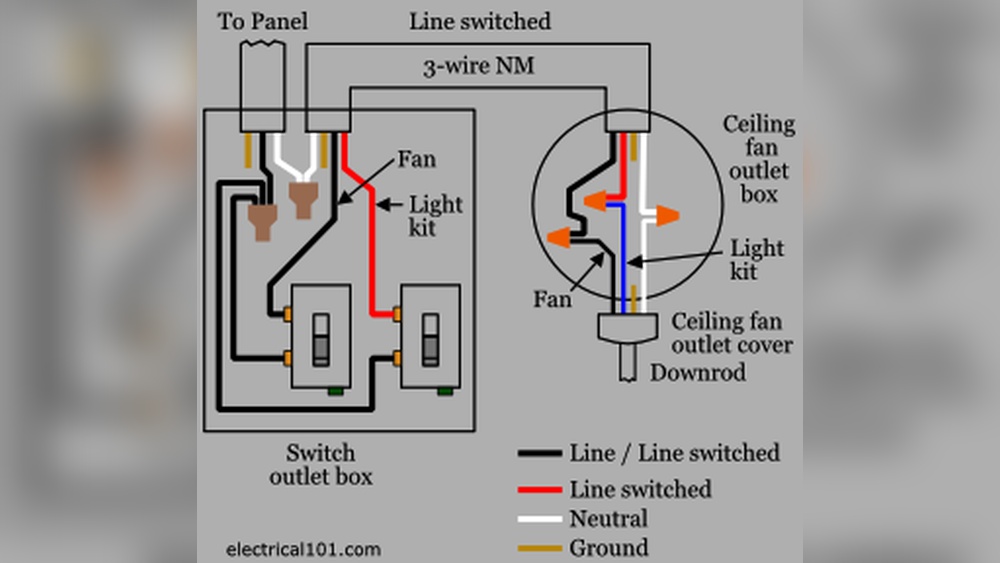
Installing The Dimmer Switch
Installing the dimmer switch is the key step to control your light brightness. This process is simple and safe if you follow the steps carefully. Turn off the power from the main breaker before starting. This prevents any electric shock. Gather your tools and the dimmer switch. Now, let’s connect the wires and secure the switch in place.
Connect Wires To Dimmer
First, match the wires from the wall with the dimmer wires. Usually, black wires connect to black, and green or bare copper wires connect to ground. Use wire nuts to twist wires together securely. Make sure no bare wire shows outside the nuts. Tighten the wire nuts by twisting clockwise. Check all connections are firm and safe. This ensures good electrical contact and prevents sparks.
Secure The Switch
After wiring, gently push the dimmer switch back into the electrical box. Align the screw holes with the box holes. Use a screwdriver to fasten the screws tightly. Do not over-tighten to avoid breaking the switch. Attach the faceplate over the dimmer switch. Snap or screw it in place depending on your model. Turn the power back on and test the dimmer. Adjust the knob to see the light change brightness smoothly.
Testing The Dimmer Switch
Testing the dimmer switch is a key step after installation. It makes sure the switch works correctly and safely. This step helps you find any problems early. Follow the instructions carefully to avoid damage or injury.
Restore Power
Turn the circuit breaker back on. This restores power to the light switch. Check that the room lights up. Be cautious and avoid touching wires or terminals. Use a tester if you want extra safety confirmation.
Check Dimmer Functionality
Rotate the dimmer knob slowly. The light should brighten and dim smoothly. Listen for any buzzing sounds from the switch. Flickering or uneven light means a possible issue. Make sure the dimmer fits the bulb type used.

Credit: www.youtube.com
Troubleshooting Tips
Changing a light switch to a dimmer can improve your room’s lighting. Sometimes, dimmers do not work as expected. Troubleshooting helps fix common problems quickly. Below are tips for two frequent issues you may face.
Dimmer Not Working
Check the power supply first. Make sure the circuit breaker is on. Loose wiring can cause failure. Turn off power before inspecting wires. Tighten all wire connections carefully. Verify the dimmer is compatible with your bulbs. Some dimmers do not work with LED bulbs. Replace incompatible bulbs or dimmers for best results.
Flickering Lights
Flickering often means poor connection or wrong bulb type. Turn off power before checking wiring. Ensure all wires are secure and tight. Use bulbs that match dimmer specifications. Low-quality bulbs may flicker on dimmers. Try replacing bulbs with better quality ones. If flickering continues, test the dimmer switch. A faulty dimmer may need replacement.
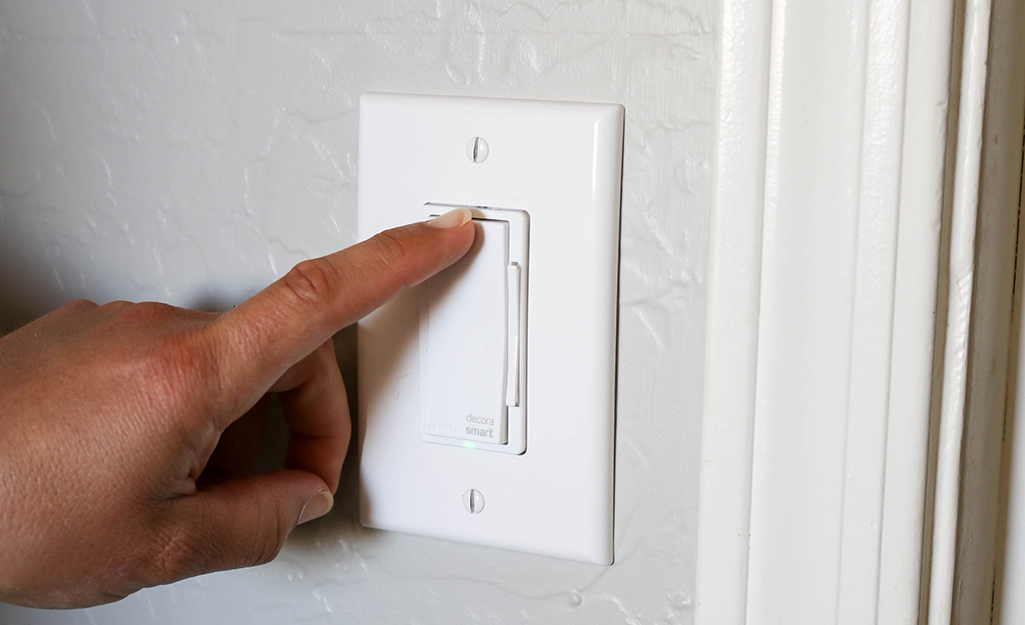
Upgrading To Smart Dimmers
Upgrading to smart dimmers offers a modern way to control your lighting. These devices let you adjust brightness with ease and add convenience to your home. Smart dimmers often connect to apps or voice assistants, making lighting control hands-free. This upgrade changes how you interact with your lights every day.
Benefits Of Smart Dimmers
Smart dimmers save energy by adjusting light levels efficiently. They help create the right mood with simple brightness control. Some models allow scheduling, so lights turn on or off automatically. You can control lights from anywhere using your phone. Smart dimmers also support voice commands through popular assistants. These features add comfort and save money on electricity bills.
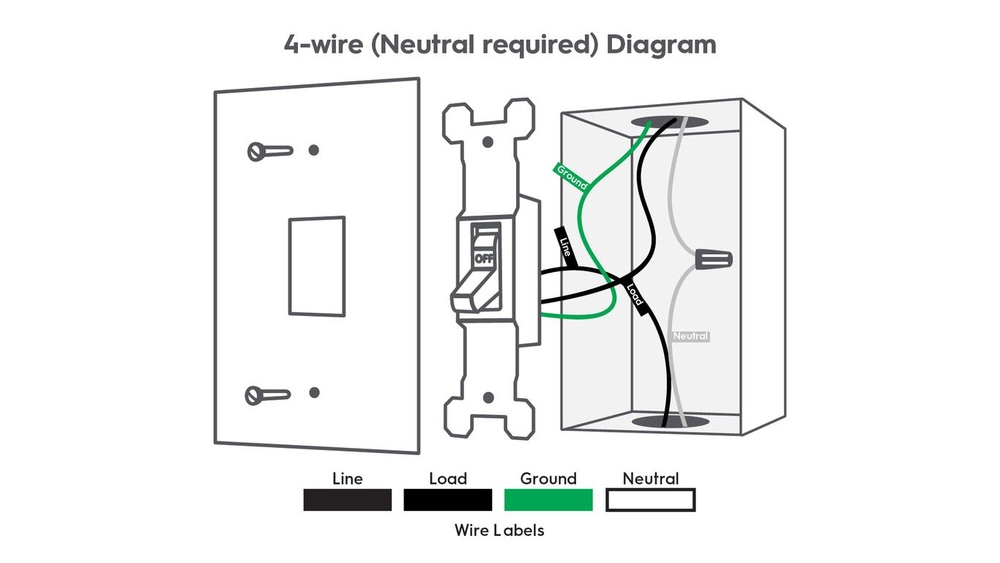
Installation Differences
Installing smart dimmers is similar to regular dimmers but needs extra steps. You must turn off power before starting to avoid shocks. Smart dimmers often require a neutral wire in the switch box. This wire is essential for power and communication. Follow the manufacturer’s instructions carefully to connect wires correctly. After wiring, pair the dimmer with your home network. Testing the dimmer ensures it works with your system.
Credit: www.homedepot.com
Frequently Asked Questions
How Do I Replace A Standard Switch With A Dimmer?
Turn off power, remove the old switch, connect dimmer wires, and secure it in place. Restore power and test the dimmer.
What Tools Are Needed To Install A Dimmer Switch?
You need a screwdriver, wire stripper, voltage tester, and electrical tape for a safe dimmer installation.
Can I Install A Dimmer Switch Myself Safely?
Yes, if you follow safety steps like turning off power and reading instructions carefully. When unsure, hire a professional.
Will A Dimmer Switch Work With Led Bulbs?
Choose dimmers compatible with LED bulbs for smooth dimming and avoid flickering or buzzing issues.
Conclusion
Changing a light switch to a dimmer is simple and useful. It lets you control light brightness easily. Always turn off power before starting work. Follow steps carefully for safety and success. A dimmer switch saves energy and creates mood lighting.
Enjoy softer light for relaxing or brighter light for tasks. This small change makes your room feel better. Try it yourself and see the difference today.