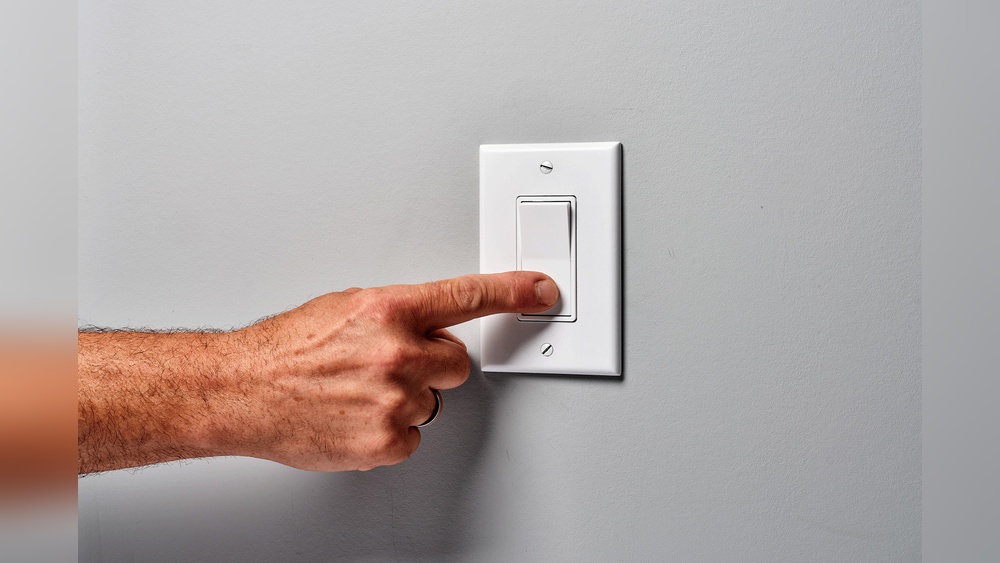
Have you ever flipped a light switch only to find nothing happens? It’s frustrating and can leave you wondering if the switch itself is to blame.
Knowing how to check if a light switch is bad can save you time, money, and a lot of guesswork. You’ll discover simple steps to quickly identify problems with your light switch. By the end, you’ll feel confident fixing the issue or knowing when to call a professional.
Keep reading—your next easy home fix is just a few steps away.

Credit: mrelectric.com
Signs Of A Faulty Light Switch
Signs of a faulty light switch often appear before the switch stops working. These signs help you spot problems early. Acting fast can prevent electrical hazards and save repair costs. Watch for unusual behavior or changes in your light switch’s function.
Flickering Lights
Flickering lights can mean a bad switch. The switch may not hold a steady connection. The light may blink or flash on and off. This can happen even if the bulb is fine. Flickering is a clear warning sign of switch trouble.
Switch Feels Loose
A loose switch is another sign of damage. The switch may wiggle or move too much when touched. It might not click firmly into place. Loose parts inside can cause poor connections. This makes the switch unsafe to use.
Burning Smell Or Sparks
A burning smell near the switch signals danger. Sparks or small flashes can also appear when you use the switch. These signs show electrical problems inside the switch. Stop using it right away to avoid fire risks. Call an electrician for help.
Tools Needed For Testing
Testing a light switch requires a few basic tools. These tools help you find out if the switch works or not. Using the right tools makes the job safe and easy. Here are the main tools you need for testing a light switch.
Multimeter
A multimeter measures electrical current, voltage, and resistance. It shows if the switch lets electricity pass through. Set the multimeter to the continuity or resistance mode. Place the probes on the switch terminals. A reading means the switch is good. No reading means it might be bad.
Screwdriver
A screwdriver helps remove the switch cover and screws. Use a flathead or Phillips screwdriver. Choose the one that fits your switch screws. Always turn off the power before using the screwdriver. This tool gives you access to the wiring and switch parts.
Voltage Tester
A voltage tester checks if electricity is flowing to the switch. It lights up or beeps when voltage is present. Touch the tester to the switch wires. The tester shows if power reaches the switch. This helps find wiring problems or a dead switch.
Safety First
Safety comes first when checking a light switch. Electricity can cause serious injury or worse. Taking proper safety steps protects you and your home. Always prepare carefully before touching any electrical parts.
Turn Off Power
Start by turning off the power at the circuit breaker. This stops electricity from flowing to the switch. Never rely on just the wall switch to cut power. Confirm that the correct breaker is off to avoid shocks.
Use Insulated Tools
Use tools with insulated handles to avoid electric shocks. Regular tools can conduct electricity and cause injury. Insulated tools protect your hands when working on electrical parts. Keep your tools in good condition and clean.
Verify Power Is Off
Double-check that power is off before touching wires. Use a voltage tester or multimeter on the switch wires. If the tester shows no voltage, it is safe to proceed. Never assume the power is off without testing first.
:max_bytes(150000):strip_icc()/testing-single-pole-switches-1152811-03-8b89394a236d499ebee520df31a0ce27.jpg)
Credit: www.thespruce.com
Step-by-step Testing Process
Testing a light switch is a simple way to find out if it works properly. This step-by-step process helps you check the switch safely and clearly. Follow each step to spot any problems with the switch.
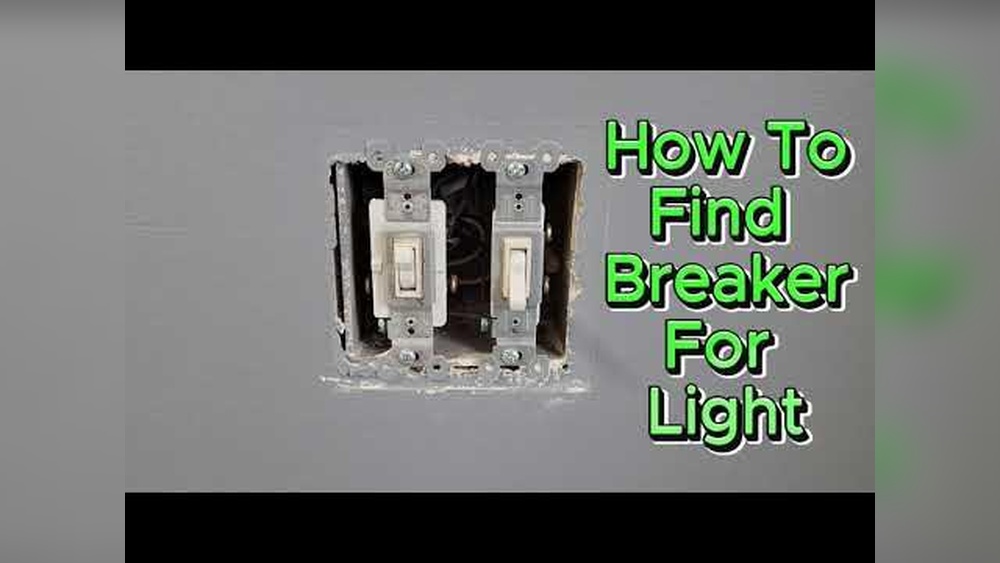
Remove The Switch Cover
Turn off the power at the breaker to stay safe. Use a screwdriver to take off the switch cover plate. Set the screws and cover aside carefully. This gives you access to the switch and wiring inside.
Inspect The Wiring
Look closely at the wires connected to the switch. Check for any signs of damage, such as frayed or burnt wires. Make sure all wires are attached firmly to the switch terminals. Damaged or loose wires can cause the switch to fail.
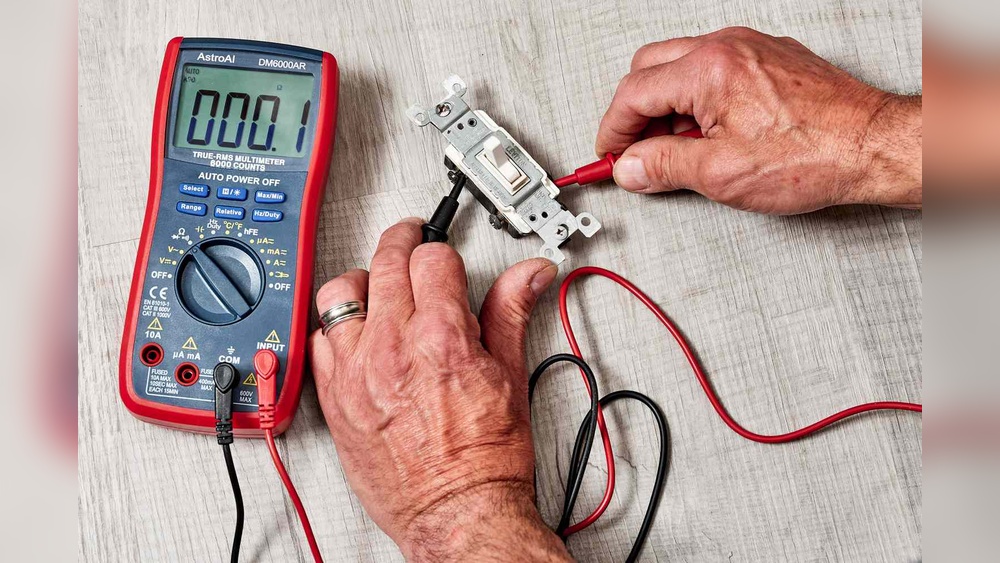
Test Continuity With A Multimeter
Set your multimeter to the continuity or ohm setting. Touch the multimeter probes to the switch terminals. Flip the switch on and off while watching the meter. A good switch shows a change in reading when flipped.
Check For Loose Connections
Gently wiggle each wire at the switch terminals. Loose connections can stop the switch from working properly. Tighten any screws holding the wires if needed. Secure connections ensure the switch works safely and well.
When To Replace The Switch
Knowing when to replace a light switch saves time and keeps your home safe. Some signs clearly show the switch is faulty and needs replacement. Identifying these signs helps avoid electric shocks and power issues.
No Continuity Detected
Use a multimeter to test the switch’s continuity. No continuity means the switch cannot complete the circuit. A bad switch will show no connection between terminals. Replace the switch if the multimeter reads no continuity.
Visible Damage Or Corrosion
Look closely at the switch for any cracks, burns, or rust. Physical damage often means the switch is unsafe to use. Corrosion on terminals can block electricity flow. Replace the switch if you notice any visible damage or corrosion.
Persistent Issues After Testing
Test the switch several times to confirm the problem. Flickering lights or switches that don’t respond show an issue. If problems continue after testing, replacement is necessary. Persistent faults can cause bigger electrical problems later.

Credit: www.youtube.com
Tips For Installing A New Switch
Installing a new light switch is a simple task that anyone can do. Following a few important tips helps ensure safety and proper function. These tips guide you through the process smoothly and avoid common mistakes.
Choose The Right Switch Type
Select a switch that matches your needs and wiring setup. Single-pole switches control one light from one location. Three-way switches control lights from two places. Check the switch rating to match your circuit voltage and current. Picking the correct switch type avoids future problems.
Secure Wiring Properly
Turn off the power before starting any wiring work. Use a voltage tester to confirm power is off. Connect wires tightly to the switch terminals. Loose connections cause flickering or failure. Follow the wiring diagram that comes with the switch. Use wire nuts to join wires safely. Tuck wires neatly inside the switch box to avoid pinching.
Test After Installation
Restore power and test the switch immediately. Flip the switch on and off to check for proper function. Look for any signs of flickering or buzzing. If the switch does not work, turn off power and recheck wiring. Testing early helps catch mistakes before closing the wall.
Frequently Asked Questions
How Do I Know If My Light Switch Is Faulty?
A faulty light switch may cause flickering, no light, or a burning smell. Test it by toggling and checking the light’s response.
Can A Multimeter Detect A Bad Light Switch?
Yes, a multimeter can check continuity in a light switch. No continuity means the switch is likely bad and needs replacement.
What Causes A Light Switch To Stop Working?
Common causes include worn contacts, loose wiring, or electrical faults. Regular use and age can also degrade switch performance over time.
Is It Safe To Test A Light Switch Myself?
Testing is safe if you turn off the power at the breaker first. Use proper tools and follow safety guidelines to avoid electrical hazards.
Conclusion
Checking a light switch for problems is simple and important. Start with safety—always turn off the power first. Use a tester or look for signs like flickering or no light. Fixing a bad switch saves time and money. Knowing these steps helps keep your home safe and bright.
Keep tools ready, and don’t rush the process. A working light switch means fewer worries and better comfort. Try these tips next time your lights act strange. Easy steps, clear results—your guide to a good switch.