Are you struggling to keep your precious photos, documents, or artwork safe and looking their best? Using the right materials can make all the difference.
Archival mounting tape is a simple tool that helps you protect and display your items without damage. You’ll discover exactly how to use archival mounting tape the right way to preserve your memories and projects for years to come. Keep reading—your treasured items deserve the best care, and you’ll learn how to give it to them easily.
Choosing The Right Tape
Choosing the right archival mounting tape is key to preserving your documents and artwork. The tape must protect without damaging over time. Understanding types, material compatibility, and chemical safety helps you pick the best option. This guide breaks down these important factors for you.
Types Of Archival Mounting Tape
Archival tapes come in different forms. Double-sided tape is common for mounting photos and papers. Single-sided tape works well for repairs and light holding. Some tapes are designed to be removable, while others provide a permanent bond. Choose based on your project’s needs and how long the tape must hold.
Material Compatibility
Consider the surface you will tape. Paper, fabric, and plastic all react differently to adhesives. Some tapes stick too tightly and cause damage when removed. Others may not hold well on textured or coated surfaces. Test a small area first to check how the tape performs on your material.
Acid-free And Lignin-free Benefits
Tapes labeled acid-free and lignin-free are best for preservation. Acid and lignin cause paper to yellow and become brittle. Using safe tapes prevents this damage. These tapes keep your items looking good for many years. Always check the label to ensure the tape is safe for archival use.

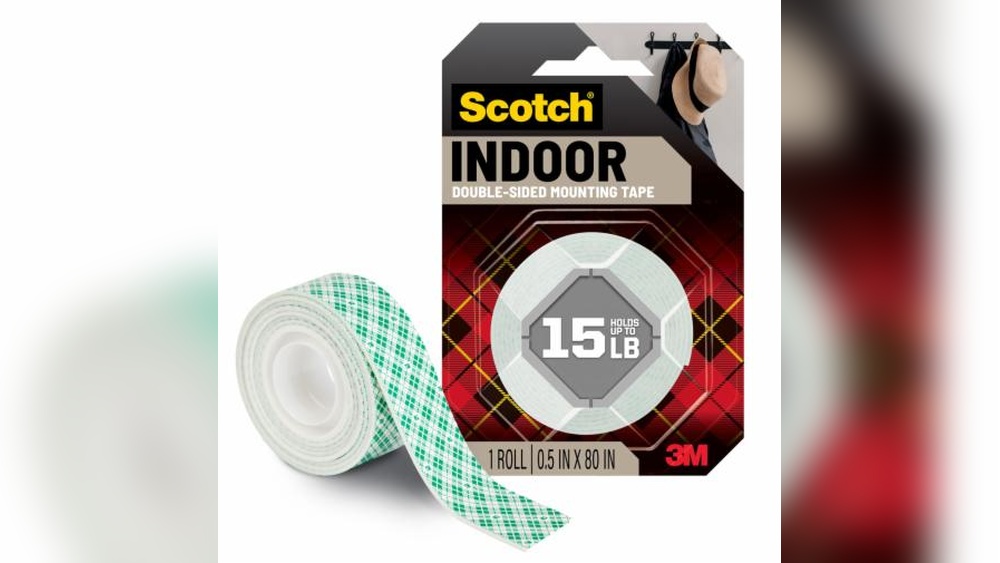
Credit: www.amazon.ae
Preparing Surfaces
Preparing surfaces is a key step before applying archival mounting tape. Clean and dry surfaces help the tape stick well. Any dirt or moisture can reduce its strength. Take time to prepare the area carefully. This will keep your items safe and secure for a long time.
Cleaning Techniques
Start by removing dust and dirt with a soft cloth. Use a gentle cleaner for stubborn spots. Avoid harsh chemicals that may damage the surface. Dab lightly and do not rub hard. Let the surface air dry after cleaning.
Ensuring Dryness
Make sure the surface is completely dry before applying tape. Moisture weakens the adhesive and causes peeling. Use a clean, dry cloth to wipe any wet areas. Allow the surface to air out if needed. Dry surfaces give the best hold.
Avoiding Surface Damage
Choose cleaning tools that do not scratch or harm the material. Avoid sharp objects or abrasive pads. Test cleaners on a small, hidden spot first. Handle fragile items gently during preparation. Protect delicate surfaces for safe mounting.
Applying The Tape
Applying archival mounting tape correctly is key to preserving your documents or artwork. Proper application keeps items safe without damage. Follow clear steps for a neat and lasting hold.
Cutting Tape Properly
Use scissors or a craft knife for clean cuts. Cut the tape slightly longer than needed. Avoid jagged edges to prevent peeling. Straight edges help the tape stick well.
Positioning Tips
Place the tape gently on the back of your item. Align it carefully before pressing. Avoid stretching the tape to keep it flat. Check for bubbles or wrinkles to ensure smoothness.
Pressing And Securing
Press the tape firmly to secure it in place. Use your fingers or a soft tool for even pressure. Make sure all edges stick down well. This step prevents lifting and protects your item.

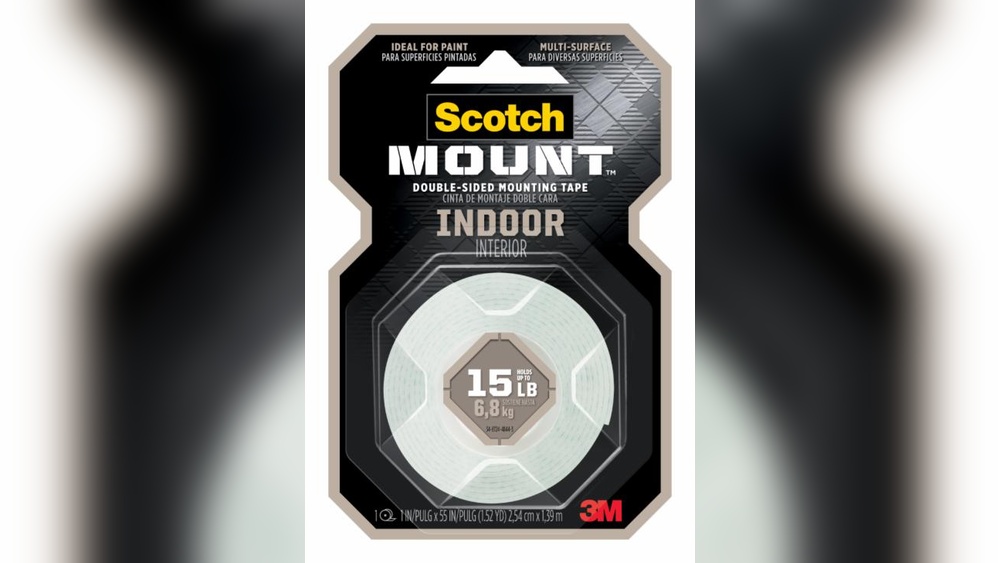
Credit: www.framedestination.com
Handling Common Challenges
Using archival mounting tape can sometimes bring small problems. These issues might affect the look and safety of your items. Handling them carefully keeps your project neat and lasting longer. Here are ways to solve common challenges with archival mounting tape.
Dealing With Wrinkles And Bubbles
Wrinkles and bubbles happen when air gets trapped under the tape. Press the tape down slowly from one edge to the other. Use a flat tool, like a plastic card, to smooth out air pockets. Work gently to avoid tearing the tape or damaging your item.
Adjusting Misaligned Tape
Sometimes tape is not placed correctly the first time. Carefully lift the tape edge without pulling too hard. Slowly reposition it to the correct spot. Press it down again firmly to ensure it sticks well. Avoid stretching the tape while adjusting.
Removing Residue Safely
Sticky residue can stay on surfaces after tape removal. Use a soft cloth with a small amount of rubbing alcohol. Gently rub the residue until it loosens. Test on a small area first to avoid damage. Avoid harsh chemicals that can harm paper or photos.
Storing And Maintaining Taped Items
Storing and maintaining items taped with archival mounting tape requires care. Proper storage helps protect your important documents and keeps the tape strong. Following good habits extends the life of your taped items.
Optimal Storage Conditions
Keep taped items in a cool, dry place. Avoid areas with high heat or moisture. Use acid-free folders or boxes to store the items. Store flat to prevent bending or warping. Keep away from direct sunlight to stop fading.
Long-term Preservation Strategies
Use archival-quality materials alongside the tape for better preservation. Avoid touching tape edges to stop oils from fingers. Place a sheet of acid-free paper between taped items. Store in a stable environment with consistent temperature and humidity. Rotate stored items to prevent pressure marks.
Regular Inspection Tips
Check taped items every few months. Look for signs of tape yellowing or peeling. Examine the item for mold or moisture damage. Replace or re-tape if the adhesive weakens. Document any changes to track the item’s condition over time.
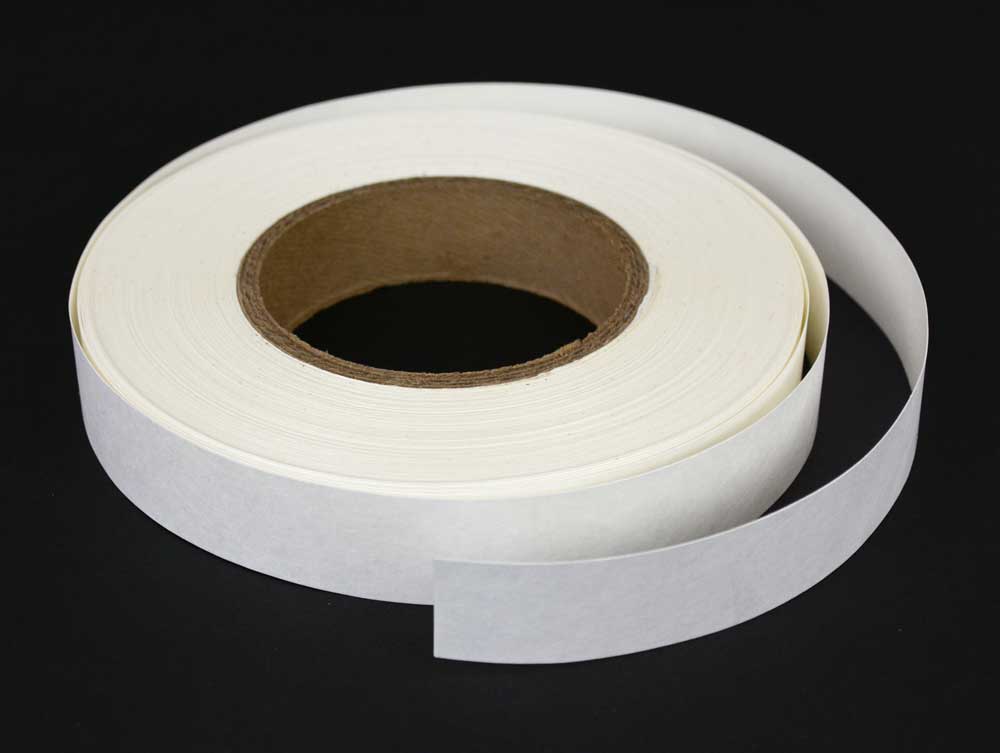
Credit: www.archivalmethods.com
Frequently Asked Questions
What Is Archival Mounting Tape Used For?
Archival mounting tape is used to safely attach photos, documents, and artwork. It preserves items without damage or discoloration over time.
How Do You Apply Archival Mounting Tape Properly?
Clean the surface first. Cut the tape to size, then press firmly on the item and mounting surface. Avoid air bubbles for best results.
Is Archival Mounting Tape Safe For Photos?
Yes, it is acid-free and lignin-free, preventing damage or yellowing on photos and paper. It ensures long-term preservation.
Can Archival Mounting Tape Be Removed Easily?
Generally, yes. Archival tape is designed for gentle removal without tearing or residue. Test a small area to be sure.
Conclusion
Using archival mounting tape keeps your items safe and neat. It sticks well without damaging photos or papers. Always apply tape carefully to avoid wrinkles or bubbles. Store your projects in a cool, dry place for best results. This simple tool helps preserve memories for years.
Try it on your next project and see the difference. Easy to use and gentle on materials—archival tape is a smart choice. Keep your keepsakes secure and looking great with this handy tape.