Are you struggling to find the best way to mount your servo securely and neatly? Using servo tape might be the simple solution you need.
It’s quick, clean, and strong enough to hold your servo in place without extra tools. You’ll learn exactly how to use servo tape step-by-step, so your setup stays reliable and looks professional. Keep reading to discover tips that will save you time and frustration on your next project!

Credit: www.invidiavoices.co.uk
Choosing The Right Servo Tape
Choosing the right servo tape is important for a secure and lasting mount. The tape holds the servo in place and stops it from moving during use. Picking the wrong tape can cause the servo to shift or fall off. This guide helps you find the best servo tape for your needs.
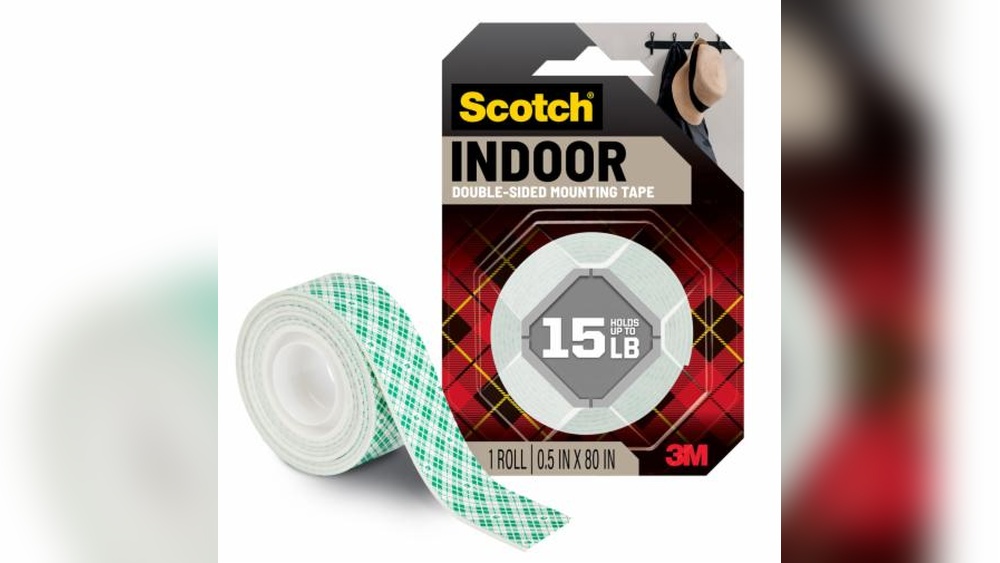
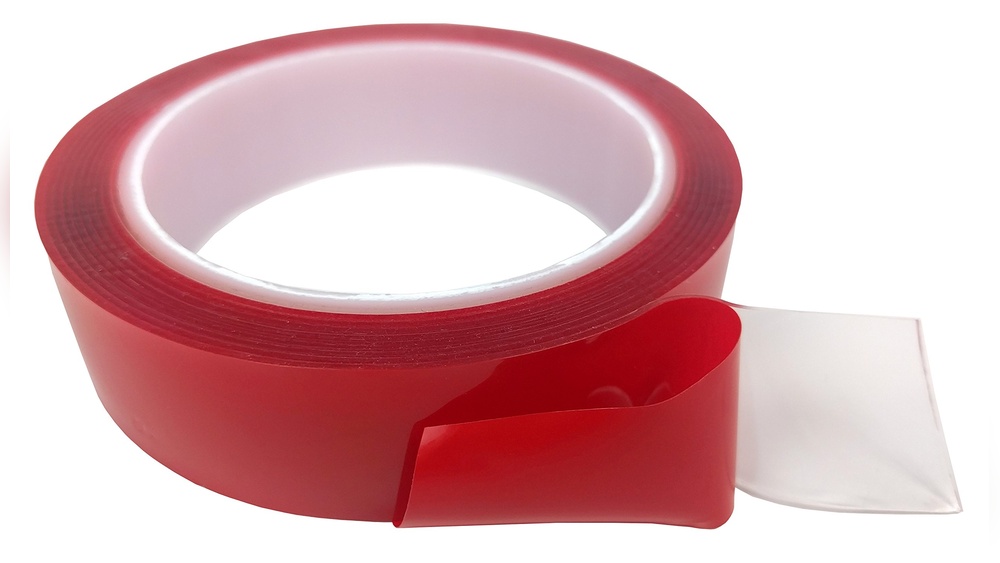
Types Of Servo Tape
Double-sided foam tape is common for mounting servos. It sticks well and absorbs vibrations. Clear double-sided tape offers a cleaner look and strong hold. Velcro servo tape allows easy removal and repositioning. Each type has unique strengths for different projects.
Factors To Consider
Check the tape’s thickness and strength. Thin tape works for small servos. Thick tape is better for larger, heavier servos. Consider the surface where you mount the servo. Some tapes stick better to plastic or metal. Heat resistance matters if your servo gets warm. Choose tape that can handle your environment.
Where To Buy
Servo tape is available at hobby shops and online stores. Look for stores that specialize in RC parts and electronics. Always read reviews to confirm tape quality. Buying from trusted sellers ensures you get genuine products. Check if the seller offers different tape sizes and types.
Preparing The Servo And Surface
Preparing the servo and surface is a key step before using servo tape. It helps the servo stick firmly and work well. Taking time to prepare both parts ensures a strong hold and stops the servo from moving or falling off.
Cleaning The Mounting Area
Start by cleaning the area where you will place the servo. Remove dust, dirt, and grease using a clean cloth. A small amount of rubbing alcohol on the cloth works well to clear oils and sticky residue. A clean surface lets the tape stick tightly and last longer.
Checking The Servo Base
Look at the bottom of the servo carefully. Remove any dirt or leftover glue. The base should be flat and smooth for the tape to stick properly. If the base is rough or curved, sanding it lightly can help create a better surface for the tape.
Ensuring Dry And Smooth Surfaces
Both the servo base and the mounting area must be dry. Moisture reduces the tape’s grip and can cause the servo to fall. Make sure the surfaces feel smooth to touch. Rough or uneven surfaces reduce tape contact and weaken the hold.
Cutting And Applying The Tape
Cutting and applying servo tape correctly ensures your servo stays secure. This step needs attention for a strong hold and neat finish. Use the right length of tape and cut it cleanly. Smooth application avoids air bubbles that weaken the bond. Follow these tips for the best results.
Measuring The Tape Length
Measure the tape to fit the servo base exactly. Too much tape causes wrinkles; too little reduces hold. Use a ruler or tape measure for precision. Cut a piece slightly longer than the servo base. This allows for a firm grip on edges.
Proper Cutting Techniques
Use sharp scissors or a craft knife for clean cuts. Cut on a flat surface to keep edges straight. Avoid jagged or uneven edges that reduce adhesion. Cut slowly and carefully for the best results. Clean cuts help the tape stick better.
Avoiding Air Bubbles
Press the tape down gradually from one side to the other. Smooth the tape with your finger or a flat tool. Push out air bubbles as you go to prevent gaps. Air bubbles weaken the tape’s grip on the servo. Take time to apply the tape evenly and firmly.
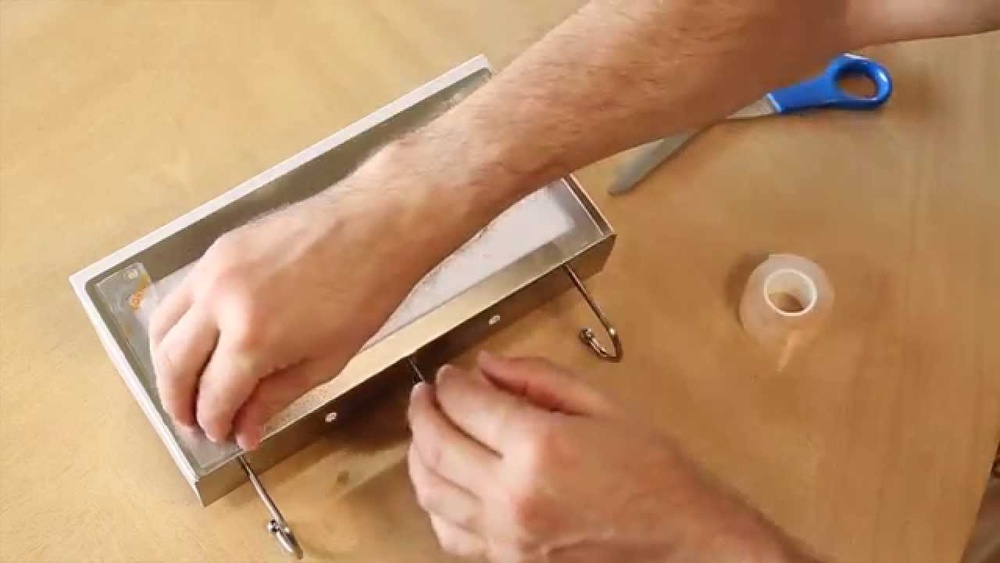
Mounting The Servo Securely
Mounting the servo securely is important for the performance of your project. A loose servo can cause errors and damage. Using servo tape is a simple way to keep your servo in place. Follow these steps to ensure a strong and reliable mount.
Positioning The Servo
Place the servo on the spot where it fits best. Check that the servo arm can move freely. Make sure the surface is clean and dry before attaching the tape. Correct position helps avoid stress on the servo and parts.
Pressing For Strong Bond
Press the servo firmly onto the tape. Use even pressure on all sides. This helps the tape stick well to both the servo and the mounting surface. Avoid moving the servo after pressing it down.
Allowing Time To Set
Let the servo sit without disturbance. The tape needs time to create a strong bond. Wait at least a few hours before testing the servo. This step ensures long-lasting attachment and prevents slipping.
Testing And Adjusting The Mount
Testing and adjusting the servo mount is a key step after attaching the servo with servo tape. This process ensures the servo stays secure and works properly. Checking the mount early helps avoid problems later. Small shifts or loose spots can affect your servo’s performance. Taking time to test and adjust can save effort and parts.
Checking For Movement
Gently try to move the servo. Check if it shifts or feels loose. Push or pull slightly on the servo arm. The mount should hold the servo firmly in place. Any movement means the tape did not stick well enough. Also, listen for noise when the servo moves. Strange sounds may mean the servo is not seated correctly.
Reapplying If Needed
If the servo moves, remove it carefully. Clean the surfaces to remove old tape residue. Cut a new piece of servo tape. Apply it evenly and press the servo firmly on the mount. Wait a few minutes for the tape to stick well. Test the servo again to confirm it is secure. Repeat if the servo still moves.
Maintaining The Mount
Check the servo mount regularly during use. Heat or vibration can weaken the tape over time. Replace the tape if the servo becomes loose. Keep the mounting area clean and dry. Good maintenance keeps the servo working well and extends its life. Quick checks save you from bigger repairs later.

Credit: www.miponline.com
Common Mistakes To Avoid
Mounting a servo with servo tape seems simple. Yet, many make mistakes that cause poor results or damage. Avoiding these common errors helps keep your project strong and working well. Focus on the right tape, surface prep, and load limits.
Using Wrong Tape Type
Not all servo tapes are the same. Using tape that is too thin or weak can cause the servo to fall off. Choose tape made specifically for servos or strong double-sided foam tape. Avoid regular office tape or masking tape. These do not hold well under vibration or movement.
Poor Surface Preparation
Mounting a servo on a dirty or oily surface reduces tape stickiness. Clean the area with rubbing alcohol before applying tape. Let the surface dry fully. Roughen smooth plastic slightly with sandpaper to improve grip. Skipping this step can make the tape peel off quickly.
Overloading The Servo
Servo tape holds well with light to moderate loads. Attaching heavy parts or placing strain on the servo can break the tape bond. Keep the servo load within the tape’s limits. Use screws or brackets for heavier components. Overloading causes slippage or damage.
Tips For Long-lasting Mounts
Using servo tape to mount servos is simple and effective. To keep mounts strong and lasting, follow some key tips. These tips help prevent damage and keep the servo working well for a long time.
Environmental Considerations
Heat can weaken servo tape. Avoid placing servos near hot parts or direct sunlight. Cold can make tape brittle and less sticky. Keep servos away from water or moisture to stop the tape from losing grip. Clean surfaces before applying tape to remove dust and oil.
Regular Inspections
Check servo mounts often for any signs of peeling or loosening. Small lifts can cause big problems if ignored. Press down the tape firmly if it starts to come off. Look for dirt or oil buildup that can reduce tape stickiness. Early action keeps mounts safe and secure.
Replacing Tape Periodically
Servo tape does not last forever. Replace it every few months or after heavy use. Old tape loses strength and can cause the servo to fall. Remove old tape carefully to avoid damage. Apply new tape evenly and press firmly to ensure a strong hold.

Credit: www.eurorc.com
Frequently Asked Questions
What Is Servo Tape Used For In Mounting Servos?
Servo tape securely attaches servos to surfaces without screws. It offers a strong, vibration-resistant hold. This tape is ideal for lightweight, precise servo positioning in RC models and robotics.
How Do You Apply Servo Tape Correctly?
Clean the mounting surface first. Cut the tape to servo size, then firmly press it onto the servo base. Peel off the backing and press the servo onto your project’s mounting spot for a secure fit.
Can Servo Tape Hold Heavy Servos Securely?
Servo tape works best with small to medium servos. For heavy servos, additional mechanical support like screws is recommended to ensure stability and prevent detachment during operation.
Is Servo Tape Reusable Or One-time Use?
Servo tape is generally designed for one-time use. Removing it often reduces its adhesive quality. For reuse, consider specialized reusable mounting adhesives instead.
Conclusion
Using servo tape to mount your servo keeps it secure and neat. It saves time and avoids drilling holes. Just clean the surface well before sticking the tape. Press firmly for a strong hold. This method works well for many projects and keeps your setup tidy.
Try it out and enjoy a simple, effective way to mount your servo. Easy, fast, and reliable.