Are you tired of messy nails, drills, or complicated tools every time you want to hang or fix something? Mounting tape could be the simple solution you’ve been looking for.
It’s strong, easy to use, and can save you time and effort. But do you know the best way to apply it so your items stay secure and your walls stay damage-free? Keep reading, and you’ll learn exactly how to use mounting tape like a pro—making your next project smooth and stress-free.

Credit: uk.gorillaglue.com
Choosing The Right Tape
Choosing the right mounting tape is key for a strong hold and neat finish. Different tapes suit different tasks and surfaces. Picking the correct tape avoids damage and keeps items secure. This guide helps you find the best tape for your needs.
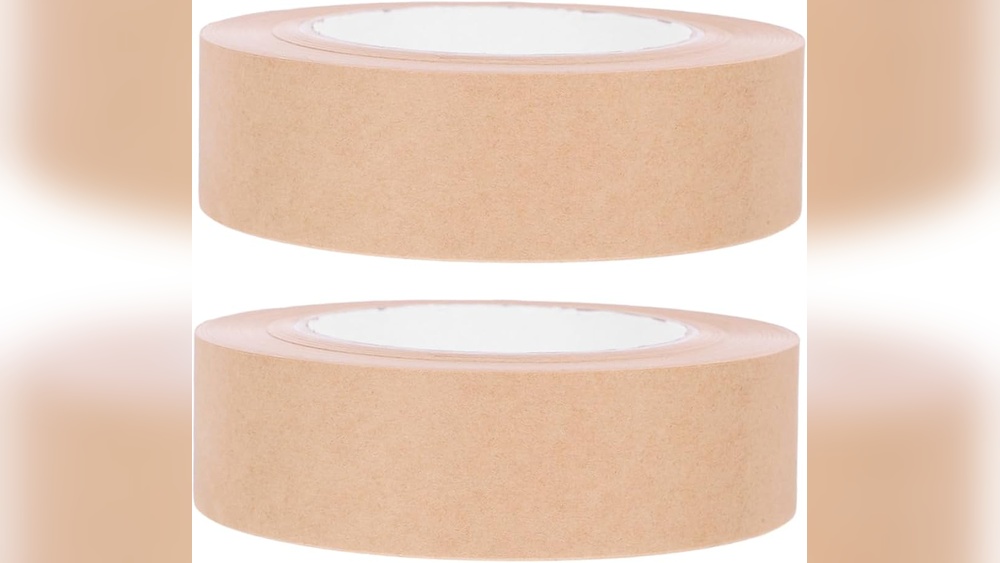
Types Of Mounting Tape
Mounting tape comes in various forms. Foam tape is thick and cushions heavier objects. Double-sided tape is thin and good for light items. Clear tape works well on glass or smooth surfaces. Each type has its strength and best use.
Surface Compatibility
Not all tapes stick well on every surface. Rough surfaces like brick need strong, thick tape. Smooth surfaces like glass or metal work best with clear, thin tape. Test a small area first to check if the tape sticks well.
Weight Capacity
Each tape can hold a certain weight. Check the package for weight limits. Use heavy-duty tape for items that weigh more. Too weak tape can cause things to fall and break. Match tape strength to the object’s weight for safety.
Credit: www.youtube.com
Preparing The Surface
Preparing the surface is an important first step before using mounting tape. A clean and dry surface helps the tape stick better. Dirt, dust, and moisture can weaken the tape’s hold. Taking time to prepare the surface ensures a strong and lasting bond. Follow these simple steps to get the best results from your mounting tape.
Cleaning Techniques
Start by removing any dirt and dust. Use a soft cloth or sponge with mild soap and water. Wipe the area gently to avoid damage. Avoid oily or greasy cleaners, as they leave residue. For stubborn grime, rubbing alcohol works well. Apply it to a cloth and rub the surface. Let it remove any leftover oils or dirt. Clean surfaces help the tape stick firmly and prevent peeling.
Drying And Temperature Tips
After cleaning, dry the surface completely. Use a dry cloth or let it air dry. Moisture weakens the tape’s adhesive power. The surface must be cool and dry before applying the tape. Avoid using mounting tape in very cold or hot weather. Room temperature is best for strong adhesion. Proper drying and temperature help the tape hold for a long time.
Applying The Tape
Applying mounting tape correctly ensures your items stay firmly in place. This step needs care and attention. Proper application helps the tape hold better and last longer. Follow simple tips for best results.
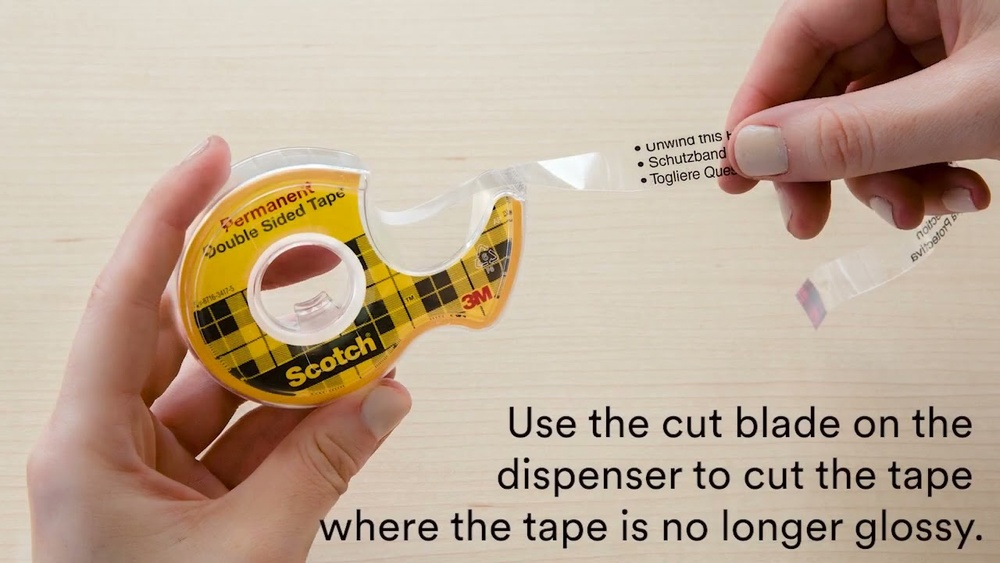
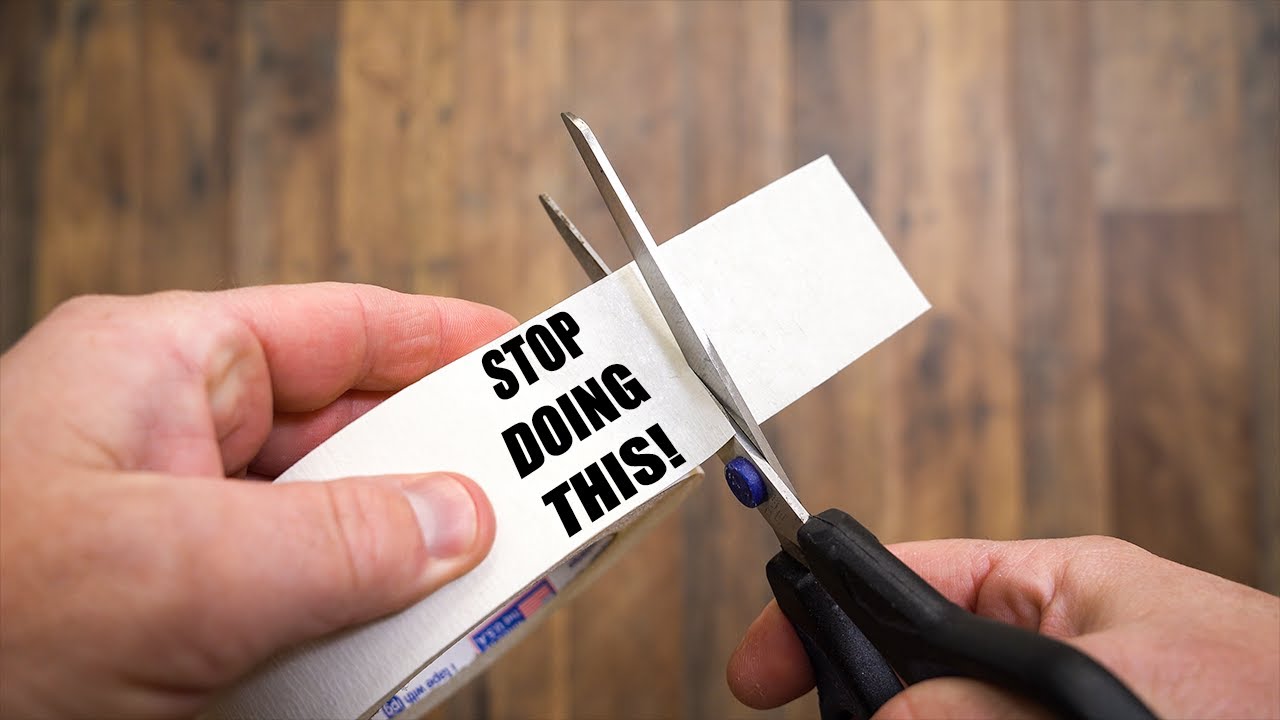
Cutting The Tape Correctly
Cut the tape to the right size for your project. Use scissors or a utility knife for a clean edge. Avoid tearing the tape by hand. Cut slightly smaller pieces for a neat finish. Clean cuts help the tape stick evenly.
Pressing For Maximum Adhesion
Press the tape firmly onto the surface. Use your fingers or a flat tool for even pressure. Hold for at least 30 seconds to improve grip. Avoid air bubbles by pressing from the center outward. Strong pressure helps the tape bond well.

Credit: xfasten.com
Mounting Objects Securely
Mounting objects securely is key for a strong hold and a neat look. Proper use of mounting tape can keep items in place for a long time. Follow simple steps to avoid common mistakes and get the best results.
Clean the surface before applying tape. Dust or grease can weaken the bond. Press the tape firmly on both the object and the wall for extra grip. This helps the tape stick well and hold weight without slipping.
Aligning Items Precisely
Mark the spots before you place the tape. Use a pencil or painter’s tape to guide your placement. Position the object lightly first to check alignment. Adjust as needed before pressing it down fully. This prevents crooked or uneven mounting.
Avoiding Air Bubbles
Air bubbles reduce tape strength and look messy. Press the tape from the center outward to push out air. Use a flat tool like a credit card for smooth pressing. Removing bubbles ensures the tape sticks evenly and holds better.
Maintaining The Hold
Maintaining the hold of mounting tape is key for a strong and lasting bond. Proper care after application helps keep the tape’s grip firm. Small steps can prevent the tape from losing stickiness. These tips ensure your items stay securely in place.
Curing Time
Give the tape time to set. Most mounting tapes need 24 to 72 hours to cure fully. During this period, avoid moving or stressing the taped object. The adhesive strengthens as it cures. Patience here leads to a better hold.
Avoiding Moisture And Heat
Keep the tape dry. Water weakens the adhesive and reduces stickiness. Avoid placing taped items in humid areas. High heat can also soften the adhesive. Do not expose the tape to direct sunlight or heat sources. A dry and cool environment helps the tape last longer.
Removing Tape Safely
Removing mounting tape can be tricky. Pull too hard, and the surface may peel or get damaged. Pull too slowly, and the tape may leave sticky marks behind. Safe removal protects your walls, frames, and other surfaces. It also makes cleaning easier and keeps your space neat. Follow simple steps to remove tape without harm.
Techniques To Minimize Damage
Start by warming the tape. Use a hairdryer on low heat to soften the adhesive. Heat helps the tape peel off smoothly. Next, peel the tape slowly at a 45-degree angle. Avoid quick, sharp pulls that can damage paint or wallpaper. Use your fingers or a plastic scraper to lift edges gently. Stop if you feel strong resistance. Warming again may be necessary. Patience is key for damage-free removal.
Cleaning Residue
Sticky residue can stay after tape removal. Use a soft cloth dampened with warm, soapy water. Rub gently to remove glue spots. For tougher residue, try rubbing alcohol or vinegar on a cloth. Test these cleaners on a small hidden area first. Avoid harsh chemicals that can harm paint or surfaces. After cleaning, dry the area with a clean cloth. This keeps your walls clean and fresh.
Frequently Asked Questions
What Surfaces Work Best With Mounting Tape?
Mounting tape works best on clean, dry, and smooth surfaces like painted walls, glass, metal, and plastic. Avoid rough or porous surfaces for optimal adhesion and longer-lasting results.
How Long Does Mounting Tape Hold Items Securely?
Mounting tape can hold items securely for weeks to months, depending on weight and surface type. For heavy objects, use extra tape or alternative methods for safety.
Can Mounting Tape Be Removed Without Damage?
Yes, mounting tape can be removed carefully without damaging most surfaces. Slowly peel the tape at a low angle and use heat if needed to soften adhesive.
Is Mounting Tape Waterproof And Suitable For Outdoor Use?
Most mounting tapes are water-resistant but not fully waterproof. For outdoor use, select weatherproof mounting tape designed to withstand moisture and temperature changes.
Conclusion
Mounting tape offers a simple way to attach items quickly and neatly. It works best on clean, dry surfaces for a strong hold. Cut the tape to the right size and press firmly to stick. Removing it carefully helps avoid damage.
Use mounting tape for pictures, decorations, or small tools around your home. It saves time and avoids nails or drills. Try it for your next project to keep things tidy and secure.