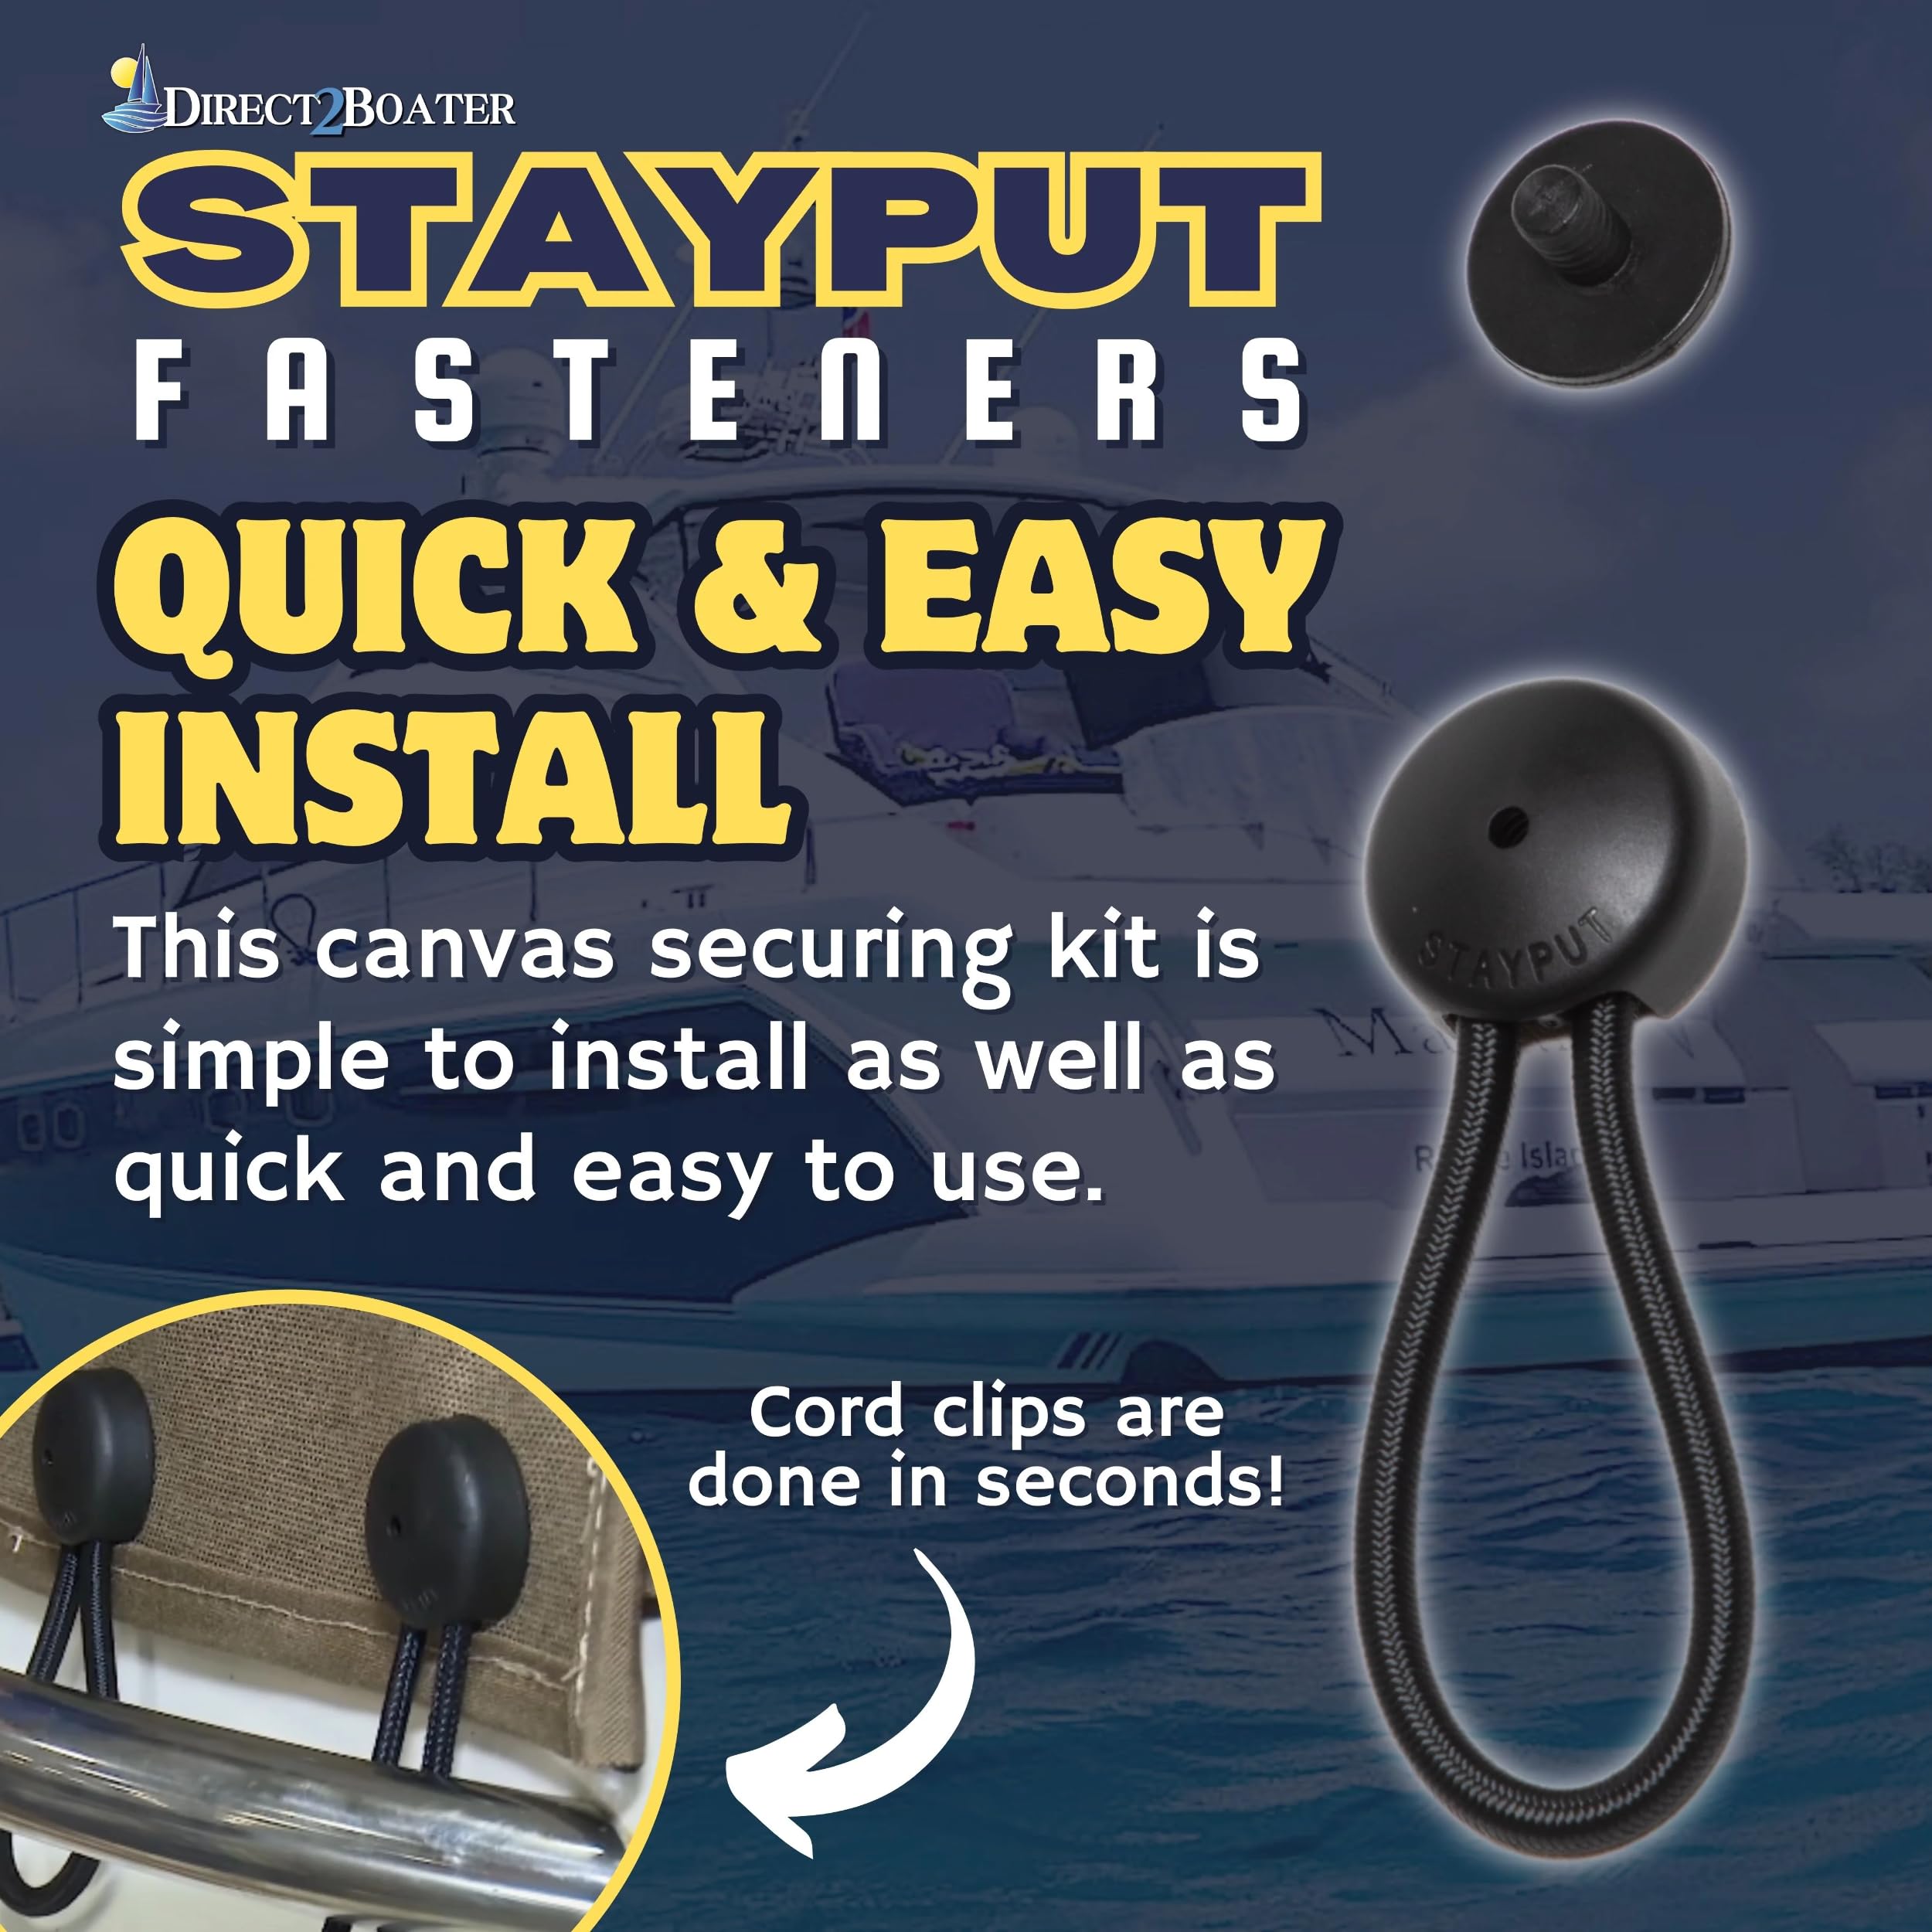
If you’ve ever struggled with keeping your canvas, boat covers, or fabric securely fastened, Stayput fasteners are the solution you’ve been looking for. These clever fasteners hold fabric tight, even in windy or wet conditions, making your life easier.
But how do you install them correctly so they last and do their job well? In this guide, you’ll learn simple, step-by-step instructions to install Stayput fasteners quickly and confidently. By the end, you’ll have the skills to make sure your covers stay put no matter the weather.
Ready to get started? Let’s dive in!
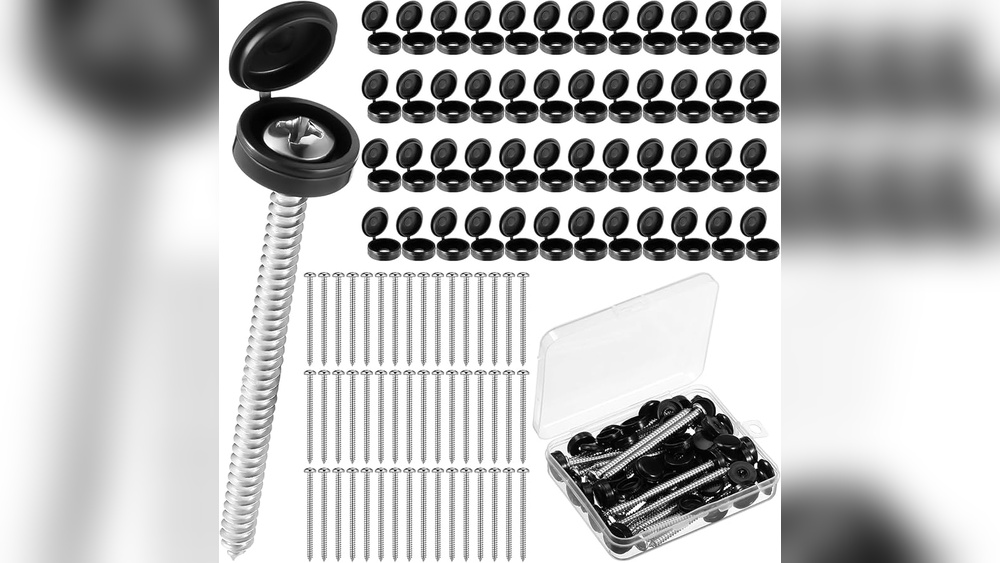
Tools And Materials
Installing Stayput fasteners requires specific tools and materials to ensure a secure and neat finish. Proper preparation helps avoid damage and saves time during installation. Gathering the right items beforehand makes the process smooth and efficient.
Selecting The Right Fasteners
Choose Stayput fasteners that fit your project needs. Consider the material you will attach them to, such as fabric or wood. Pick the correct size and type for your application. Using the wrong fastener can cause poor hold or damage. Marine-grade fasteners are ideal for outdoor or wet conditions. Always check the product specifications before purchase.
Gathering Installation Tools
Prepare basic tools for easy installation. A hammer or mallet is necessary to secure the fasteners. Use a punch or awl to create starter holes if needed. Needle-nose pliers help hold small parts in place. A ruler or tape measure ensures correct spacing. Having all tools ready prevents interruptions during work. Safety gear like gloves protects your hands from injury.
Preparing The Surface
Preparing the surface is a key step before installing Stayput fasteners. It ensures a strong hold and smooth installation. A clean, well-marked surface reduces mistakes and saves time.
Cleaning The Area
Start by removing dirt, dust, and grease from the installation spot. Use a mild cleaner and a cloth. Let the area dry completely. A clean surface helps the fasteners grip better and last longer.
Marking Fastener Positions
Measure and mark where each fastener will go. Use a pencil or a light marker. Check alignment carefully. Even spacing creates a neat, professional look. Marking first prevents errors during installation.
Positioning Fasteners
Positioning fasteners correctly is crucial for a secure and lasting hold. Proper placement prevents damage and ensures the fastener functions as intended. Take time to position each fastener carefully before installation. This step sets the foundation for the entire project. Follow these tips to position your Stayput fasteners perfectly.
Aligning The Fastener Correctly
Start by placing the fastener on the surface. Check that it lines up with the fabric or material edge. The fastener should sit flush without gaps or tilting. Use a ruler or straight edge to verify alignment. Mark the spot lightly with a pencil for accuracy. A well-aligned fastener avoids unnecessary stress on the material.
Ensuring Proper Angle
Hold the fastener at a slight angle before hammering. The angle depends on the surface and fabric thickness. Usually, a 90-degree angle works best for flat surfaces. Avoid tilting the fastener too far forward or backward. This prevents bending or breaking during installation. Gently tap the fastener with a mallet to set it in place. Firm, controlled blows ensure the fastener stays put without damage.

Credit: www.stayputfasteners.com.au
Securing Fasteners
Securing Stayput fasteners correctly is key for a strong hold. Proper installation ensures the fasteners stay in place during use. Follow simple steps to install them safely and firmly.
Using the right tools and technique helps avoid damage to the fasteners. This section explains how to use a mallet and how to apply the correct force.
Using A Mallet For Installation
Choose a rubber or plastic mallet to install Stayput fasteners. Metal hammers can damage the fastener or the surface. Hold the fastener steady and position it at the correct angle. The mallet helps drive the fastener into place without bending or breaking it.
Applying Firm, Gentle Blows
Strike the fastener with firm but gentle blows. Too hard hits may crack or deform the fastener. Too soft hits might not set it properly. Use controlled taps to gradually secure the fastener. Check the fit often to avoid overdriving it.
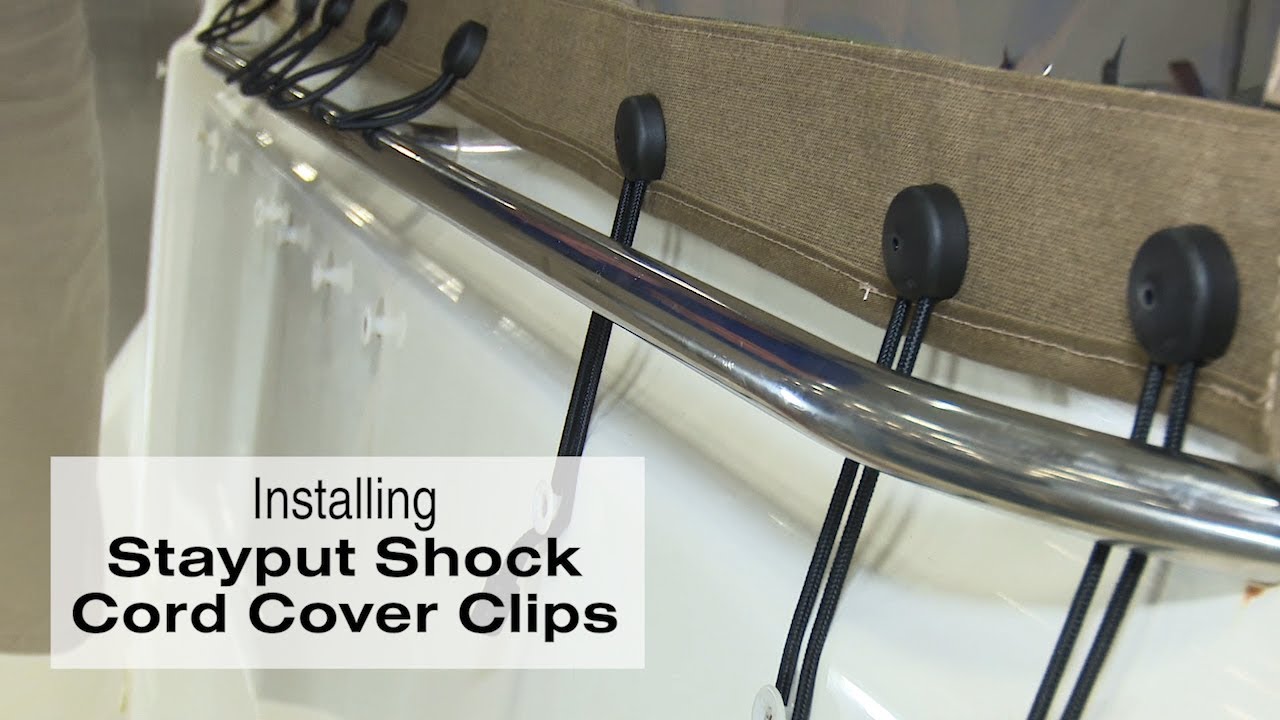
Attaching Shock Cord
Attaching the shock cord to Stayput fasteners is a simple task that ensures a secure fit for your fabric or canvas. Proper attachment keeps your cover tight and prevents flapping in the wind. Follow these clear steps to get your shock cord installed correctly.
Threading The Cord
Start by cutting the shock cord to the needed length. Leave extra to allow for tying knots. Insert one end of the cord through the hole in the Stayput fastener. Pull the cord through slowly to avoid twisting. Make sure the cord runs smoothly along the edge of the fabric.
Securing The Cord Ends
Once threaded, tie a strong knot at each end of the shock cord. Use a double knot to prevent slipping. Trim any excess cord close to the knot for a neat finish. Check the tension by pulling gently on the cord. The cord should hold firmly without being too tight.
Credit: www.amazon.com
Testing The Fastening
Testing the fastening is a critical step after installing Stayput fasteners. It ensures the fasteners hold the fabric or material securely. Proper testing prevents future issues like loosening or damage. Follow these simple checks to confirm your fasteners are stable and adjusted correctly.
Checking For Stability
Start by gently pulling on the fastened fabric. It should stay firmly in place without shifting or slipping. Wiggle the fastener slightly to detect any looseness. If the fastener moves or feels unstable, it needs adjustment. Stability means the fastener is doing its job well.
Adjusting If Needed
If the fastener feels loose, carefully realign it. Remove the fabric tension and reposition the fastener. Tap it lightly with a mallet to secure it better. Avoid hitting too hard to prevent damage. Repeat the stability check after adjustment to confirm a tight hold.
Removing And Replacing Fasteners
Removing and replacing Stayput fasteners is key for maintaining secure attachments. Over time, fasteners may wear out or become damaged. Replacing them promptly keeps your fabric or cover tight and safe. The process involves careful removal and precise installation to avoid damage.
Safe Removal Techniques
Start by loosening the fastener gently. Use a flat tool like a screwdriver to pry it up. Work slowly around the edges to avoid tearing fabric. If rust or dirt is present, clean the area first. Protect your hands with gloves to prevent injury. Remove any debris stuck under the fastener. Avoid using excessive force to keep the surface intact. Once loose, pull the fastener straight out. Check the hole for damage before installing a new one.
Installing Replacement Parts
Choose the correct size and type of Stayput fastener. Align it carefully with the existing hole or mark a new spot. Press the fastener firmly into place. Tap lightly with a mallet if needed, but avoid strong blows. Ensure it sits flush with the surface for a secure hold. Test the fastener by pulling gently to confirm it is locked. Replace any worn parts in the assembly for best results. Proper installation extends the life of your fasteners and fabric.
Tips For Long-lasting Fixing
Ensuring your Stayput fasteners hold firm over time requires more than just proper installation. Paying attention to ongoing care and material choice helps maintain their strength. These tips help extend the life of your fixing and keep it secure.
Maintenance Advice
Regularly inspect fasteners for rust or damage. Clean them with fresh water to remove dirt and salt. Avoid harsh chemicals that can wear down metal or fabric. Tighten loose fasteners to prevent strain on the material. Replace any broken parts quickly to keep the fixing reliable. Routine checks avoid bigger problems later.
Choosing Marine Grade Options
Use marine grade fasteners for outdoor or wet environments. They resist corrosion better than standard metals. Stainless steel is a strong choice that lasts longer in harsh conditions. Selecting the right grade prevents rust and keeps your fixing solid. Marine grade fasteners protect your investment by lasting through tough weather.
Credit: www.youtube.com
Frequently Asked Questions
How Do You Install Stayput Fasteners?
Align the Stayput fastener correctly on the fabric or surface. Tap it gently with a mallet until secure. Avoid excessive force to prevent damage.
What Are Stayput Fasteners Used For?
Stayput fasteners securely attach fabric to solid or fabric surfaces, ideal for boat covers, canvas, and vertical posts.
How Do You Remove Stayput Fasteners?
Use a flathead screwdriver or pliers to gently pry and lift the Stayput fastener. Work slowly to avoid damage.
Are Stayput Fasteners Marine Grade?
Stayput fasteners are made from stainless steel, offering strong corrosion resistance suitable for marine environments. They qualify as marine grade fasteners.
Conclusion
Installing Stayput fasteners is simple with the right steps and tools. Take your time to align each fastener carefully before tapping it in. This helps avoid damage and ensures a secure fit. These fasteners hold fabric tightly on boats, covers, and more.
Regular checks keep them working well over time. Following this guide makes your project easier and more durable. Give it a try, and enjoy a neat, strong finish every time.