Are your shutter fasteners stuck or rusted, making it hard to open or close your shutters? You’re not alone.
Removing shutter fasteners can be tricky and frustrating, especially if you don’t have the right tools or know the best techniques. But don’t worry—this guide will show you simple, effective ways to get those fasteners out quickly and safely. Keep reading, and you’ll have your shutters working smoothly again in no time.

Credit: www.youtube.com
Tools Needed
Removing shutter fasteners requires the right tools. Using proper tools makes the task easier and safer. You avoid damage to shutters and walls. This section covers the common fastener types and the essential tools needed for removal.
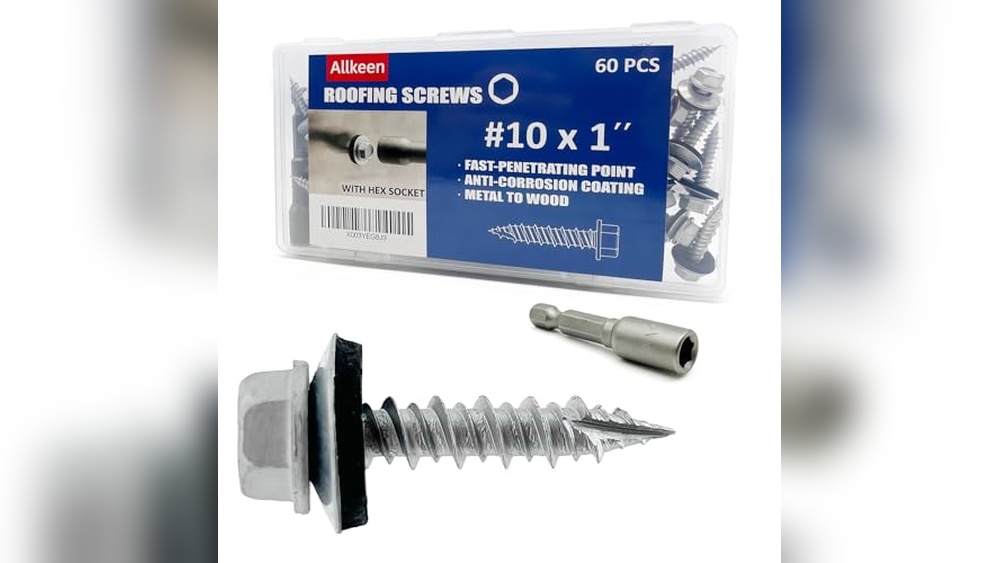
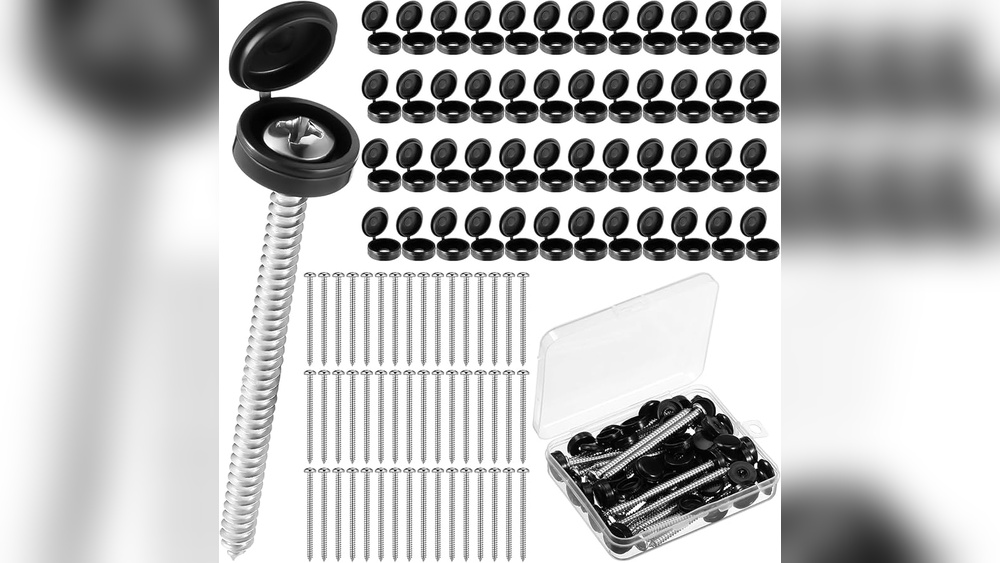
Common Fastener Types
Shutters use different fasteners. Screws are the most common type. They usually have Phillips or flat heads. Nails hold some shutters in place. They need a different removal approach. Some shutters use bolts or clips. Knowing the type helps you pick the right tool. Check the fastener head before starting work.
Essential Removal Tools
A screwdriver set is a must-have. Include both Phillips and flathead screwdrivers. A power drill with screwdriver bits speeds up the job. Use a pry bar or crowbar for nails or clips. Needle-nose pliers help grip small parts. A hammer can help loosen stuck fasteners. Always wear gloves to protect your hands. Having these tools ready saves time and effort.

Credit: www.youtube.com
Preparation Steps
Before removing shutter fasteners, proper preparation is important. It helps avoid accidents and makes the work easier. Taking a few simple steps first ensures a smooth process. These steps focus on safety and clearing the work area.
Safety Measures
Wear safety glasses to protect your eyes from dust and debris. Gloves will protect your hands from sharp edges and rough surfaces. Use sturdy shoes to avoid injury from falling tools or parts. Make sure your ladder or step stool is stable if you need to reach high places. Avoid loose clothing that can catch on fasteners or tools. Keep children and pets away from the work area. Check your tools before starting to ensure they are in good condition.
Clearing The Area
Remove any furniture or objects near the shutters. This prevents damage and allows free movement. Clear away plants or decorations that could get in the way. Lay down a drop cloth to catch dust and small parts. Have a container ready to store removed fasteners and screws. Make sure the area has enough light to see clearly. A clean workspace helps finish the job faster and safer.
Manual Removal Techniques
Removing shutter fasteners manually needs care and the right tools. This method works well when power tools are not available or when the fasteners are old and fragile. Manual removal helps avoid damage to shutters and walls. Below are two common techniques to get fasteners out safely and easily.
Using Screwdrivers
Choose a screwdriver that fits the fastener head perfectly. A wrong size can strip the screw or damage the shutter. Turn the screwdriver slowly to loosen the fastener. Apply steady pressure while turning. If the fastener is tight, tap the handle gently with a hammer. This helps break the rust or paint seal. Keep the screwdriver straight to avoid slipping. Remove screws one by one until all fasteners are free.
Prying With A Crowbar
Use a small crowbar or pry bar for stubborn fasteners. Place the flat end under the fastener head or the shutter edge. Push down on the handle carefully to lift the fastener. Work slowly to prevent breaking the shutter. If the fastener moves slightly, reposition the crowbar and try again. Use a piece of wood as a buffer to protect the shutter surface. Continue prying until the fastener comes out completely.

Credit: www.amazon.com
Power Tool Methods
Power tools make removing shutter fasteners easier and faster. They provide strong force and precision. Using the right power tool can save time and reduce effort. Choose tools based on the fastener type and condition. This section covers drill options and impact drivers for removing fasteners.
Drill Options
Drills work well for screws and some bolts. Use a drill with a variable speed setting. This helps control the force applied to fasteners. Select the correct drill bit size for the fastener head. A worn or wrong bit may strip the fastener.
Start drilling at a slow speed to avoid damage. Increase speed gradually if the fastener loosens. Cordless drills offer convenience and easy handling. Keep the drill straight to prevent slipping off the fastener.
Impact Drivers
Impact drivers deliver strong rotational force and hammering action. This makes removing stuck or rusted fasteners easier. They are more powerful than regular drills for tough jobs. Use impact-rated bits designed to handle high torque.
Hold the driver firmly and apply steady pressure. The impact action helps break fastener bonds without stripping heads. Impact drivers work well with long or deeply set fasteners. They reduce wrist strain compared to manual tools.
Dealing With Stuck Fasteners
Stuck fasteners can make shutter removal tough. They often resist turning or pulling out. Dirt, rust, or paint can cause this problem. Patience and the right methods help loosen them without damage. Use these simple techniques to free stuck fasteners safely.
Lubrication Tips
Apply a penetrating oil to the fastener. Let it sit for 10 to 15 minutes. The oil seeps into tight spaces, breaking rust and dirt bonds. Use a small brush or cloth to spread oil evenly. Repeat the process if the fastener still feels stuck. Avoid over-lubricating to prevent mess.
Applying Heat
Use a heat source like a heat gun or hair dryer. Warm the fastener slowly and evenly for a few minutes. Heat expands the metal, loosening rust and paint grip. Be careful not to overheat or damage surrounding materials. After heating, try turning the fastener gently. Heat often makes removal easier and faster.
Preventing Damage
Removing shutter fasteners can be tricky. The goal is to take them out without harming the shutters. Damage can make repairs costlier and slower. Taking care during removal saves time and money. Here are ways to protect your shutters and fasteners.
Protecting Shutter Surfaces
Cover the shutter edges with painter’s tape. This shields paint and wood from scratches. Use a soft cloth under tools to avoid dents. Work slowly and gently around the surface. Avoid sharp tools pressing hard on the shutter. Check your tools before starting to ensure smooth edges.
Avoiding Stripped Screws
Pick the right screwdriver size for each fastener. Press down firmly but do not force the screw. Turn screws slowly to keep the grip steady. Use a screwdriver with a good handle for better control. If a screw slips, stop and try a different tool. Keeping screws intact helps with easy removal later.
Final Cleanup
After removing shutter fasteners, the final cleanup is important. It helps keep the area safe and ready for use. Cleaning also prevents damage and keeps shutters working well for a long time.
Removing Debris
Start by clearing all small pieces and dust from the shutter area. Use a brush or cloth to sweep off dirt and leftover bits. Check corners and edges carefully to catch hidden debris. Dispose of all waste properly to avoid mess or injury.
Inspecting For Repairs
Look closely at the shutter and frame after cleaning. Find any cracks, rust, or loose parts that need fixing. Early repair stops small problems from growing bigger. Note down any damage and plan the needed repairs soon.
Frequently Asked Questions
How Do I Remove Shutter Fasteners Safely?
Use a screwdriver or pry bar to gently loosen fasteners. Apply penetrating oil if rusted. Work slowly to avoid damage.
What Tools Are Best For Removing Shutter Fasteners?
Flathead screwdrivers, pry bars, and penetrating oil work best. Choose tools that fit fasteners securely for easy removal.
Can I Reuse Shutter Fasteners After Removal?
Yes, if fasteners are undamaged and rust-free. Clean them thoroughly before reusing to ensure proper function.
How To Remove Rusted Shutter Fasteners Effectively?
Apply penetrating oil and let it sit for 10 minutes. Use a wrench or screwdriver to loosen rusted fasteners carefully.
Conclusion
Removing shutter fasteners does not have to be hard. Use the right tools and take your time. Start by loosening screws or clips carefully. Avoid forcing parts to prevent damage. Clean the area afterward to keep shutters in good shape.
With patience and simple steps, you can do this yourself. Remember, safety comes first, so wear gloves and protect your eyes. This small task can help your shutters look and work better. Try these tips next time you need to remove fasteners.