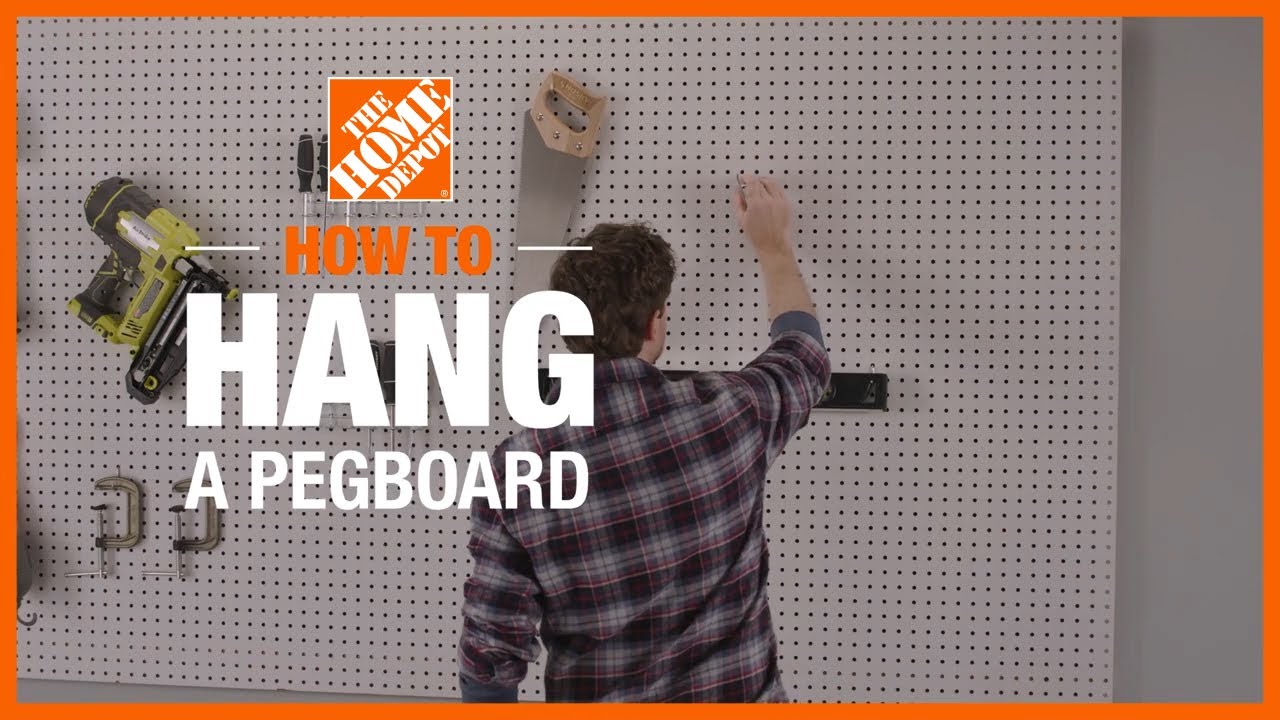
Looking to organize your tools or craft supplies without drilling holes in your walls? Hanging a pegboard with mounting tape is a simple, damage-free solution you can do yourself.
In this guide, you’ll discover easy steps to securely mount your pegboard using just mounting tape—no special tools or messy hardware needed. By the end, you’ll have a clean, sturdy setup that keeps your space tidy and your favorite items within reach.
Ready to transform your wall quickly and effortlessly? Let’s get started!
Credit: www.homedepot.com
Choosing The Right Pegboard
Choosing the right pegboard is important for a strong and neat setup. The pegboard must hold your tools and items safely. It should also stick well with mounting tape. Picking the right material, size, and thickness helps ensure your pegboard works well and lasts long.
Materials That Work Best
Choose pegboards made from materials that stick well to mounting tape. Hardboard or medium-density fiberboard (MDF) are good options. These materials have smooth surfaces for strong adhesion. Avoid pegboards made of metal or plastic. They may not stick firmly to the tape, causing the board to fall.
Size And Thickness Considerations
Select a pegboard size that fits your space and needs. Smaller boards are easier to mount with tape. Large pegboards can be heavy and may need extra support. The thickness should be enough to hold hooks and tools without bending. Boards about 1/4 to 1/8 inch thick are ideal for mounting tape.
:max_bytes(150000):strip_icc()/how-to-hang-a-pegboard-5214870-10-e07c97c6d0de44188d06d518eb538d57.jpg)
Credit: www.thespruce.com
Selecting Mounting Tape
Selecting the right mounting tape is key to hanging pegboards securely. The tape holds the board on the wall, so it must be strong and reliable. Choosing the wrong tape can cause the pegboard to fall, damaging tools or walls. Understand the options before buying tape to ensure a safe and lasting hold.
Types Of Mounting Tape
There are several types of mounting tape for pegboards. Double-sided foam tape is thick and cushions the pegboard. It works well on uneven surfaces. Clear acrylic tape is thinner and less visible. It sticks best on smooth walls. Some tapes are heavy-duty, made for holding more weight. Choose tape based on your wall type and pegboard size.
Tape Strength And Adhesion
Tape strength matters for holding the pegboard firmly. Check the weight limit on the tape package. Stronger tapes hold heavier boards and tools. Adhesion means how well the tape sticks to surfaces. Clean the wall before applying tape to improve adhesion. Press the tape firmly to the wall for a tight bond. Good adhesion prevents the pegboard from slipping or falling.
Preparing The Surface
Preparing the surface is a key step before hanging pegboard with mounting tape. A clean and smooth surface helps the tape stick well. It also keeps the pegboard steady and safe on the wall. Taking time to prepare the wall makes the whole process easier and longer-lasting.
Cleaning And Drying
Start by removing dust, dirt, and grease from the wall. Use a damp cloth with mild soap to wipe the surface. Avoid harsh chemicals that can damage the wall. After cleaning, dry the area completely with a clean towel. Moisture can weaken the tape’s hold, so make sure the surface is dry.
Ensuring A Smooth Surface
Check the wall for bumps, holes, or rough spots. Sand down any uneven areas lightly to create a flat surface. Fill holes or cracks with spackle and smooth it out. Wait for the patch to dry fully before hanging the pegboard. A smooth surface lets the tape stick evenly and strongly.
Cutting And Marking Pegboard
Cutting and marking your pegboard correctly is key to a neat, secure installation. This step ensures the pegboard fits perfectly in your space. Careful measuring and marking help avoid mistakes and wasted material.
Measuring For Fit
Start by measuring the wall or surface where you want to hang the pegboard. Use a tape measure to get the width and height. Write down these numbers clearly. Compare your measurements with the pegboard size. Mark the pegboard edges where you need to cut. Double-check measurements before cutting to avoid errors.
Marking Attachment Points
Next, mark where you will place the mounting tape on the pegboard. Place marks near each corner and along the edges for strong support. Space the marks evenly to balance the board’s weight. Use a pencil for clear, easy-to-remove marks. These points guide you during the taping process.
Applying Mounting Tape
Applying mounting tape to hang pegboard is a simple step that needs care. Proper application ensures the pegboard stays secure on the wall. The tape must be placed correctly and smoothly for the best hold.
Proper Tape Placement
Start by cleaning the wall surface thoroughly. Dirt or dust can reduce tape adhesion. Cut strips of mounting tape and apply them along the pegboard edges. Place tape strips evenly on all sides. Add extra strips in the center for strong support. Avoid putting tape too close to the peg holes. This keeps holes clear for hooks and accessories.
Avoiding Air Bubbles
Press the tape firmly to the pegboard surface. Smooth out the tape using your fingers or a flat tool. Move from the center outward to push out air bubbles. Air bubbles weaken the tape’s hold and cause peeling. Take your time to ensure the tape sticks evenly. Good contact means a stronger, longer-lasting mount.
Mounting The Pegboard
Mounting the pegboard with tape is a quick and clean way to organize your space. This method avoids drilling holes and keeps your wall intact. Proper mounting ensures the pegboard stays secure and holds your tools or decorations safely.
Aligning With Wall
Start by holding the pegboard against the wall. Check the edges to make sure it is level. Use a pencil to mark the top corners lightly. These marks help keep the pegboard straight during mounting. Take your time to align it perfectly before sticking.
Pressing Firmly For Adhesion
Remove the backing from the mounting tape strips. Stick the tape strips evenly on the back of the pegboard. Press the pegboard against the wall with firm pressure. Hold it in place for 30 seconds to secure the tape. This step helps the tape bond tightly to the wall and board.
Securing And Testing
Securing and testing your pegboard after applying mounting tape is important. This step ensures the pegboard stays in place and handles the weight of your tools or items safely. Take time to follow these steps carefully for a strong hold and safe use.
Allowing Tape To Set
After sticking the pegboard to the wall, let the tape set. Wait at least 24 hours without touching the pegboard. This time helps the tape bond firmly to the wall and pegboard surface. Avoid placing any items on the pegboard during this period. A strong bond reduces the risk of the pegboard falling.
Checking Weight Capacity
Test the pegboard by gently adding light items first. Start with small hooks or lightweight tools. Check if the pegboard holds without moving or falling. Gradually increase the weight, but do not exceed the tape’s weight limit. Always use mounting tape designed for the weight you plan to hang. This careful testing protects your tools and wall.
Tips For Damage-free Removal
Removing pegboard mounted with tape can be tricky. The goal is to avoid damage to walls and surfaces. Careful removal helps keep your space clean and ready for new projects. Follow these tips to protect your walls and remove tape without leaving marks.
Removing Tape Without Marks
Start by pulling the tape slowly at a low angle. Fast or sharp pulls can peel paint or drywall. Use your fingers or a plastic scraper to lift edges gently. If the tape resists, warm it slightly with a hairdryer. Heat softens the adhesive, making removal easier. Avoid metal tools that may scratch or damage walls. Clean any sticky residue with rubbing alcohol and a soft cloth.
Maintaining Wall Integrity
Check wall condition before and after tape removal. Small holes or dents need patching for a smooth finish. Use lightweight spackle and a putty knife for repairs. Sand the area gently after it dries for a clean look. Repaint if necessary to restore the wall’s appearance. Avoid heavy tape types that can pull paint or drywall layers. Choose mounting tape designed for delicate surfaces to keep walls intact.

Credit: www.wikihow.com
Frequently Asked Questions
Can Pegboard Be Hung Using Mounting Tape?
Yes, pegboard can be hung using strong mounting tape. Ensure the surface is clean and dry. Use heavy-duty tape for better support. This method is quick and avoids drilling holes. It works best for lightweight pegboards and small tools.
What Mounting Tape Is Best For Pegboard?
Use heavy-duty, double-sided mounting tape with strong adhesive. Foam tapes are ideal as they provide cushioning and grip. Look for tape rated for the pegboard’s weight. Check product specifications to ensure it can hold the load securely.
How Much Weight Can Mounting Tape Hold On Pegboard?
Mounting tape can hold between 1 to 5 pounds per inch, depending on quality. For heavier loads, consider stronger tape or additional support. Always test the tape’s strength before hanging heavy tools or items on the pegboard.
Can Mounting Tape Damage Walls Or Pegboard?
High-quality mounting tape is designed to remove cleanly without damage. However, some surfaces may peel paint or leave residue. Test a small area before full application. Use tape specifically made for your wall type to minimize risks.
Conclusion
Hanging pegboard with mounting tape is simple and fast. It saves time and avoids drilling holes. Make sure the surface is clean and smooth before applying tape. Press firmly to hold the pegboard in place. This method works best for light to medium weight items.
You can organize tools or craft supplies easily. Try this way for a neat and tidy space. Small changes can make a big difference in your workspace. Give it a go and enjoy your clutter-free area.