Are you ready to take control of your home lighting with a Honeywell light switch but don’t know where to start? Programming your light switch might sound tricky, but it’s easier than you think.
With just a few simple steps, you can customize your lighting to fit your daily routine, save energy, and boost comfort. This guide will walk you through everything you need to know, so by the end, you’ll feel confident managing your Honeywell light switch like a pro.
Keep reading, and you’ll be surprised how quickly you can make your home smarter and brighter.
Choosing The Right Honeywell Switch
Choosing the right Honeywell light switch is key to a smooth installation and daily use. The right switch fits your needs and works well with your home’s setup. Understanding the types and compatibility helps you pick the best option. This section guides you through these points for a smart choice.
Types Of Honeywell Light Switches
Honeywell offers several light switch types. Standard switches control lights on and off manually. Dimmer switches adjust light brightness for comfort. Smart switches connect to Wi-Fi for remote control via apps. Each type has unique features to match your lifestyle.
Compatibility With Home Systems
Check if the switch works with your home’s wiring and devices. Some Honeywell switches need a neutral wire, common in newer homes. Others work with older wiring without it. Also, verify if the switch supports your smart home system like Alexa or Google Home. Proper compatibility ensures easy setup and reliable use.

Credit: www.youtube.com
Tools And Materials Needed
Before programming a Honeywell light switch, gather the right tools and materials. This makes the process smooth and safe. Proper preparation avoids delays and mistakes.
Essential Tools For Installation
Start with a flathead and a Phillips screwdriver. These help remove and secure screws. A voltage tester is crucial to check if wires have power. Wire strippers make it easy to clean wire ends. Needle-nose pliers help bend and hold wires. Finally, have electrical tape to cover exposed wires safely.
Safety Equipment
Wear safety glasses to protect your eyes from sparks and debris. Use insulated gloves to avoid electric shocks. A flashlight helps if the area has low light. Make sure the work area is dry and clear of hazards. Safety first keeps accidents away and ensures a smooth job.
Preparing For Installation
Preparing for installation is a key step in programming your Honeywell light switch. It ensures safety and smooth setup. Taking time to get ready makes the process easier.
Start by gathering tools like a screwdriver and voltage tester. Clear the area around the switch for easy access. Follow these steps carefully to avoid mistakes.
Turning Off Power Safely
First, find your home’s circuit breaker panel. Turn off the power to the switch you will replace. This prevents electric shocks during installation.
Use a voltage tester on the switch to confirm no power flows. Always double-check for safety. Do not skip this step.
Removing The Old Switch
Remove the cover plate by unscrewing it carefully. Take out the screws holding the switch in place.
Gently pull the switch from the wall box. Note the wires connected to it. Label them if needed for easy reconnection.
Disconnect the wires by loosening the terminal screws. Keep the wires separated to avoid confusion later.
Wiring The Honeywell Switch
Wiring the Honeywell light switch is a key step in setting up your smart lighting. Proper wiring ensures the switch works correctly and safely. This part may seem tricky, but careful attention makes the process easy. Follow each step carefully to avoid mistakes and keep your home safe.
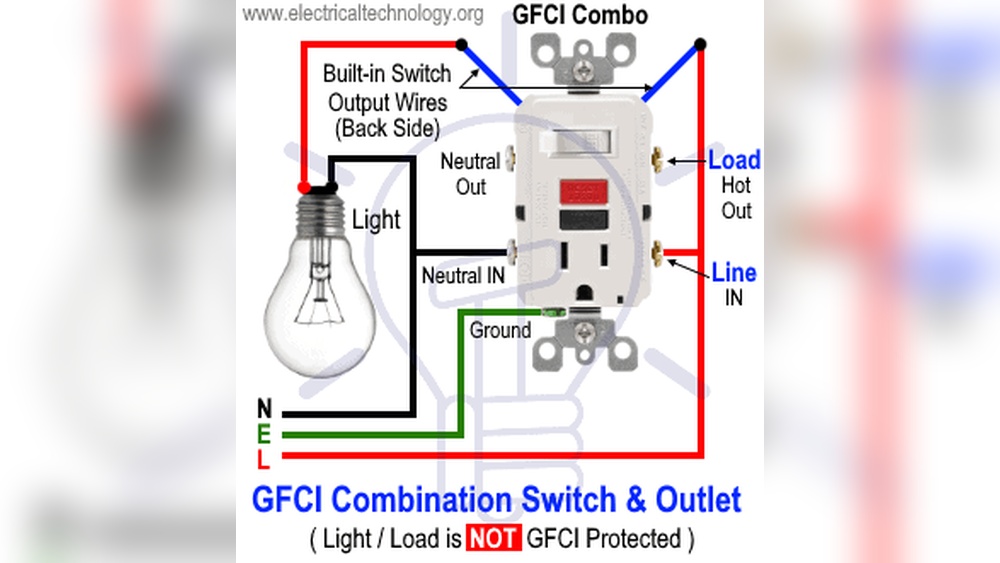
Identifying Wires
First, turn off power at the circuit breaker. Use a voltage tester to confirm no electricity flows. Look inside the switch box. You will see several wires: usually black, white, and green or copper.
The black wire is the “hot” wire. It carries power from your breaker. The white wire is the “neutral” wire. It completes the electrical circuit. The green or bare wire is the ground wire. It protects against electrical faults.
Sometimes, wires may have different colors. Check your switch manual or label wires before disconnecting anything. Proper identification prevents wiring errors and risks.
Connecting The Switch Wires
Match each wire from the Honeywell switch to the corresponding wire in the wall box. Connect the black switch wire to the black “hot” wire. Attach the white switch wire to the white “neutral” wire. Connect the green or bare wire to the ground wire.
Use wire nuts to secure each connection tightly. Twist wires together before capping to ensure a strong bond. Tuck wires neatly back into the box. Avoid pinching or damaging any wire.
Double-check all connections. Loose wires cause switch failure or fire risks. Turn on power and test the switch function after wiring. Correct connections make your Honeywell switch work smoothly.
Programming The Switch
Programming a Honeywell light switch lets you control your lights easily. This step helps set up the switch to match your needs. You can change basic functions or customize settings for better use.
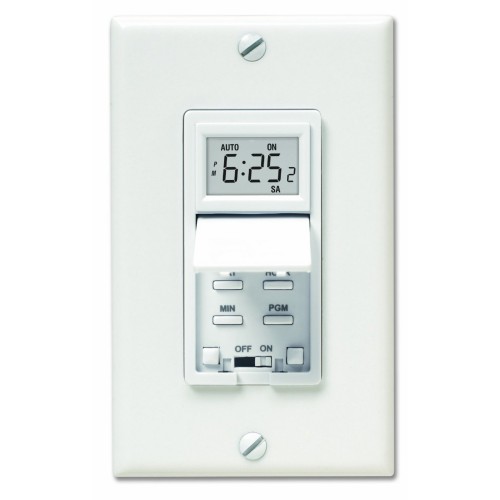
Setting Up Basic Functions
Start by turning on the switch and entering programming mode. Press and hold the main button for a few seconds. The switch’s light will blink, showing it is ready.
Use the buttons to set the time and date. This helps the switch follow your schedule. Set the on and off times for your lights. Confirm each setting by pressing the main button.
Customizing Settings
After the basics, adjust the switch for more comfort. Set dimming levels if your switch supports it. This lets you control light brightness easily.
Choose different modes like manual or automatic. Manual mode lets you control lights by hand. Automatic mode uses your schedule to turn lights on or off.
Save your settings by pressing and holding the main button again. The switch will flash to confirm your choices are stored.
Testing The Switch
Testing the Honeywell light switch is a key step after programming it. This step confirms the switch works as expected. It also helps catch any problems early. Testing ensures your light switch controls your lights smoothly and safely.
Ensuring Proper Operation
Start by turning the light switch on and off. Check that the lights respond quickly. Make sure all buttons or touch controls work correctly. Test any programmed settings like timers or dimming features. Observe the switch for any unusual sounds or delays. Confirm the switch stays in the desired mode after power loss. This simple check avoids future frustrations.
Troubleshooting Common Issues
If the light does not turn on, check the wiring connections first. Loose wires can cause failure. Reset the switch by turning off the power and turning it back on. Reprogram the switch if settings did not save properly. Replace the bulbs or check the circuit breaker if the light still fails. Use the Honeywell manual for specific error codes or lights on the switch. These steps often solve common problems fast.
Maintaining Your Honeywell Switch
Maintaining your Honeywell light switch helps it work well for a long time. Clean switches look better and work smoothly. Keeping the software updated adds new features and fixes bugs. Small care steps can save you from big problems later.
Regular Cleaning Tips
Turn off the power before cleaning your switch. Use a soft, dry cloth to wipe the surface. Avoid water or wet cloths to stop damage. Clean the switch gently to avoid scratches. Dust can block the buttons and reduce performance. Clean the switch once every few weeks for best results.
Updating Firmware
Check Honeywell’s app or website for updates. Updates improve security and add new functions. Connect the switch to Wi-Fi before updating. Follow the instructions carefully to avoid errors. Updating takes a few minutes and keeps your switch smart. Regular updates ensure your switch works with new devices.
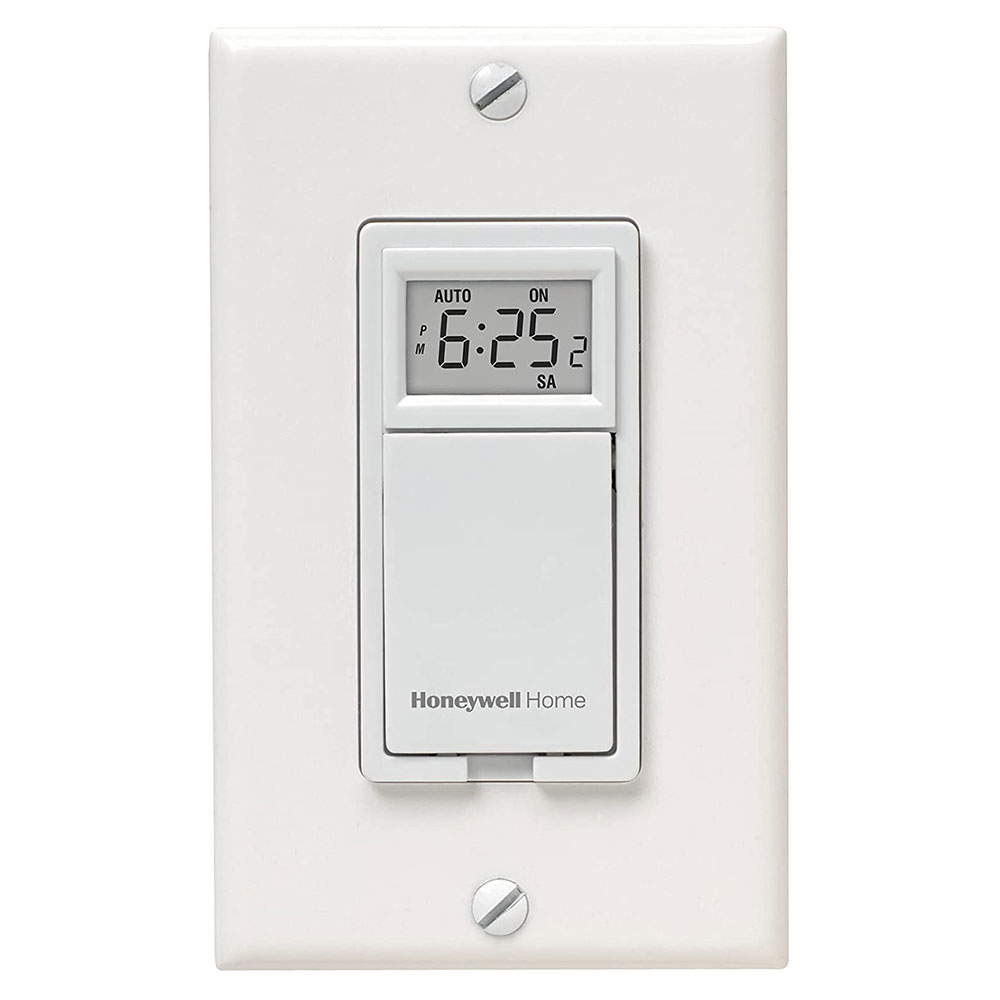
Credit: www.honeywellstore.com
Credit: www.honeywellstore.com
Frequently Asked Questions
How Do I Start Programming A Honeywell Light Switch?
To start, turn off power at the breaker. Press and hold the program button until the LED blinks. Follow the specific model’s manual for detailed steps. Always ensure safety by confirming power is off before programming.
Can I Program Multiple Honeywell Switches Together?
Yes, you can program multiple switches using the master switch method. Program one switch first, then link others by following the synchronization steps in the manual. This allows coordinated control of multiple lights.
What If My Honeywell Switch Won’t Program?
Check the power supply and ensure the breaker is on. Reset the switch by pressing the reset button. Follow the programming steps carefully again. If problems persist, consult the user manual or contact support.
How Do I Reset A Honeywell Light Switch To Default?
Press and hold the reset button for about 10 seconds until the LED flashes. This clears all programming. The switch returns to factory settings, ready for reprogramming.
Conclusion
Programming your Honeywell light switch is simple and useful. Follow the steps carefully for the best results. You can control your lights easily and save energy. Take your time to understand each step. Soon, your switch will work just how you want.
Enjoy the comfort and convenience this brings to your home. Keep this guide handy for future reference. Small changes make a big difference in daily life. Try it today and see how well it works.