Is your ceiling fan’s light switch not working properly? Replacing it might seem tricky, but you can do it yourself with the right steps.
Imagine saving money and gaining a useful skill by fixing this small issue at home. In this guide, you’ll learn exactly how to replace the light switch in your ceiling fan safely and easily. Keep reading, and by the end, you’ll feel confident handling this simple repair on your own.
Tools And Materials Needed
Replacing a light switch in a ceiling fan needs the right tools and materials. Having these ready makes the job safe and simple. It saves time and helps avoid mistakes.
Gather all items before starting. This helps keep the work smooth. Use tools that are in good condition for best results.
Essential Tools For The Job
- Flathead screwdriver
- Phillips screwdriver
- Voltage tester
- Wire stripper
- Needle-nose pliers
- Electrical tape
- Flashlight
Materials Required
- New light switch compatible with ceiling fans
- Wire connectors (wire nuts)
- Replacement screws (if needed)
- Electrical box (optional, if existing one is damaged)
Safety Gear To Use
- Insulated gloves
- Safety goggles
- Non-slip shoes

Credit: www.amazon.com
Safety Precautions
Always turn off power at the circuit breaker before starting. Use a voltage tester to ensure no electricity flows. Wear gloves and handle wires carefully to avoid shocks.
Turn Off Power At The Circuit Breaker
Always cut power before starting any electrical work. Switch off the circuit breaker that controls the ceiling fan. Do not rely on the wall switch alone. Use a tester to confirm no electricity flows to the fan.
Use Proper Tools And Equipment
Use insulated tools designed for electrical work. Avoid using damaged or worn-out tools. Wear rubber-soled shoes to reduce shock risk. Keep a flashlight nearby to see clearly in dark areas.
Check For Loose Or Damaged Wires
Inspect wires for fraying or breaks before touching them. Do not touch wires with bare hands. Replace any damaged wires to prevent future hazards. Proper wire connections ensure safety and performance.
Work In A Dry Environment
Never work on electrical components in wet or damp conditions. Moisture increases the chance of electric shock. Make sure your hands are dry at all times. If needed, wait for the area to dry completely.
Wear Safety Gear
Put on safety goggles to protect your eyes from dust and debris. Use gloves to avoid cuts and shocks. Avoid loose clothing that can catch on fan parts. Safety gear reduces injury risks during replacement.
Turning Off Power
Turning off the power is the first and most important step when replacing a light switch in a ceiling fan. It keeps you safe from electric shocks. Working with electricity without turning off the power is very dangerous. Always take time to make sure the power is off before you start.
Before doing any electrical work, locate the correct circuit breaker. This controls the electricity to your ceiling fan and switch. Switching off this breaker stops the flow of electricity. It makes your work area safe.
Find The Circuit Breaker
Go to your home’s main electrical panel. Look for the breaker that controls the room where the ceiling fan is. It is usually labeled. If not, try switching off breakers one at a time to find the right one.
Switch Off The Breaker
Flip the switch on the breaker panel to the off position. This cuts the power to the ceiling fan and switch. Never skip this step. It protects you from electric shocks.
Test The Power Is Off
Use a voltage tester or a simple light tester on the switch or fan wires. Make sure no electricity is flowing. If the tester shows no power, you can safely continue with the replacement.

Credit: www.youtube.com
Removing The Old Light Switch
Removing the old light switch in a ceiling fan is the first step in replacement. Safety is key. Turn off power at the breaker before starting. This prevents shocks and accidents. The process involves unscrewing the switch plate and detaching wires.
Take your time and follow each step carefully. Proper removal makes installing the new switch easier. Keep track of screws and wires for reassembly.
Turn Off Power And Test
Switch off the circuit breaker connected to the fan. Use a voltage tester on the switch wires. Confirm no electricity flows. This step protects you from electric shocks.
Remove The Switch Plate
Unscrew the cover plate with a screwdriver. Set the screws aside safely. Gently pull the plate away from the wall. This exposes the old light switch.
Unscrew The Old Switch
Locate the screws holding the switch to the electrical box. Use a screwdriver to loosen them. Carefully pull the switch out, exposing the wires. Avoid yanking to prevent damage.
Disconnect The Wiring
Note the wire connections for reference. Loosen the terminal screws or remove wire nuts. Gently separate the wires from the switch. Keep wires untangled and ready for the new switch.
Identifying Wiring Connections
Identifying wiring connections is the first step to safely replace a light switch in a ceiling fan. Knowing which wire does what helps avoid mistakes. Each wire has a role in making the fan and light work properly.
Before touching any wires, turn off the power. Use a voltage tester to confirm no electricity flows. This step keeps you safe from shocks.
Types Of Wires In Ceiling Fan Switch
Usually, you will see three types of wires: black, white, and green or bare copper. Black wires carry power to the fan or light. White wires are neutral, completing the electrical circuit. Green or bare copper wires are ground wires. They protect from electrical faults.
Finding The Line And Load Wires
Line wires bring power from the main electrical box. Load wires connect power to the fan or light. Identifying these wires helps you know where to connect the new switch. Use a tester to check which wires have power when the switch is on.
Recognizing Traveler And Common Wires
Some ceiling fans have a three-way switch system. Traveler wires connect two switches. The common wire is where power flows into the switch. Mark these wires carefully before removing the old switch. This makes installation easier.
Installing The New Light Switch
Installing the new light switch in your ceiling fan is a key step. It controls the fan’s light and makes sure everything works safely. This part is simple if done carefully. Follow each step to avoid common mistakes and ensure proper function.
Turn Off Power At The Circuit Breaker
Safety is the top priority. Switch off the power to the fan’s circuit. Use a voltage tester to confirm no electricity flows to the wires. This prevents shocks during installation.
Connect Wires To The New Switch
Match the wires from the ceiling to the switch terminals. Usually, black or red wires go to the switch. Secure the wire ends under the screws tightly. Double-check connections for a firm fit.
Secure The Switch In The Fan Housing
Push the connected switch back into the fan’s housing gently. Use screws to fasten the switch. Make sure it sits flat and does not move. This keeps the switch stable when used.
Restore Power And Test The Switch
Turn the power back on at the breaker. Press the switch to check if the light turns on and off. Test a few times to confirm it works well. If the light fails, re-check wire connections.
Testing The New Switch
Testing the new switch in your ceiling fan is a key step after installation. It ensures the switch works correctly and safely. This step helps avoid future problems and keeps your fan operating smoothly.
Turn The Power Back On
First, switch the power back on at the circuit breaker. This restores electricity to the fan and switch. Never test without power. It is unsafe and will not show if the switch works.
Check The Switch Function
Flip the new switch to different positions. Observe if the fan and light respond as expected. The fan should turn on and off smoothly. The light should also operate without flickering.
Listen For Unusual Noises
Pay attention to sounds from the fan when using the switch. Clicking or buzzing noises may indicate a wiring problem. The switch should operate quietly and without interruptions.
Test Multiple Times
Switch the new switch on and off several times. This confirms consistent performance. Any delay or failure shows the switch may need adjustment or replacement.
Use A Voltage Tester
For extra safety, check the switch with a voltage tester. This tool confirms power is flowing correctly. It helps ensure the wiring is safe and the switch works.
Troubleshooting Common Issues
Troubleshooting common issues helps fix problems fast. It saves time and prevents frustration. Many problems arise from simple mistakes or worn parts. Fixing these issues can make your ceiling fan switch work like new.
Understanding typical problems makes repair easier. You learn what to check and how to fix it safely. Troubleshooting guides you step-by-step through common faults.
Checking For Loose Wiring Connections
Loose wires cause the fan switch to fail. Turn off the power before touching wires. Look for disconnected or frayed wires in the switch box. Tighten screws and reconnect wires securely. Loose connections often stop the fan or light from working.
Testing The Switch For Continuity
Use a multimeter to test the switch. Set it to continuity mode. Press the switch and check if the meter beeps. No beep means the switch is broken. Replace the faulty switch to restore function.
Inspecting The Circuit Breaker
Check if the breaker has tripped. A tripped breaker cuts power to the fan. Flip it fully to the off position, then back on. If it trips again, there may be a short circuit. Do not ignore repeated breaker trips.
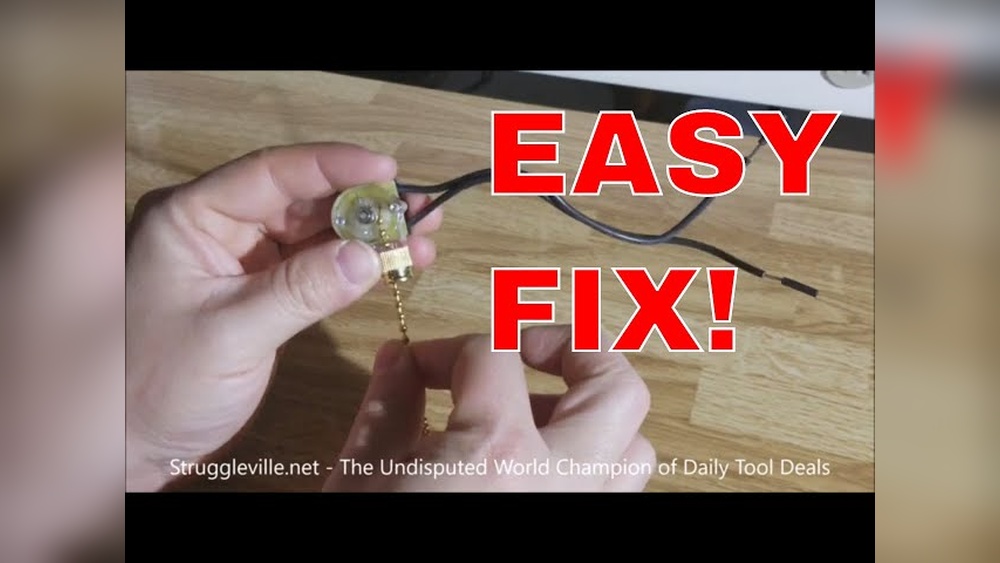
Replacing A Burnt Or Damaged Switch
Burn marks or melted plastic show switch damage. Replace the switch with an identical type. Disconnect power first. Remove the old switch and install the new one carefully. Test the fan after replacement to confirm repair.

Credit: www.amazon.com
Frequently Asked Questions
How Do I Safely Replace A Ceiling Fan Light Switch?
Turn off the power at the circuit breaker before starting. Use a voltage tester to confirm no electricity flows. Remove the fan’s light kit, disconnect the old switch, and carefully connect the new switch wires. Secure everything before restoring power and testing.
What Tools Are Needed To Replace A Ceiling Fan Light Switch?
You will need a screwdriver, wire stripper, voltage tester, and a replacement switch. Having electrical tape and wire nuts helps secure connections. These basic tools ensure a safe and smooth switch replacement process.
How Can I Identify The Correct Wires For The Light Switch?
Typically, the light switch connects to the fan’s light kit wires. Black or red wires usually carry the switch signal. Use a voltage tester to confirm wires and follow the fan’s wiring diagram for accuracy.
Can I Replace The Switch Without Removing The Ceiling Fan?
No, you usually must remove or at least lower the light kit to access the switch. This step ensures safe handling and correct wiring. Avoid working on live wires to prevent electrical hazards.
Conclusion
Replacing a light switch in a ceiling fan is simple and safe. Turn off the power before you start. Use the right tools and follow steps carefully. Double-check your work before turning power back on. A new switch can improve your fan’s function and convenience.
Take your time and don’t rush the job. Small fixes like this save money and keep your home working well. You can handle this task with confidence and care.