Have you ever flipped a light switch only to find nothing happens? It’s frustrating, right?
Knowing how to test a light switch yourself can save you time, money, and a lot of hassle. Whether your lights won’t turn on or you just want to make sure everything is working safely, this simple skill puts control back in your hands.
You’ll discover easy steps to check your light switch quickly and confidently—even if you’re not an expert. Ready to learn how? Keep reading, and you’ll have the answers you need in no time.
:max_bytes(150000):strip_icc()/testing-single-pole-switches-1152811-03-8b89394a236d499ebee520df31a0ce27.jpg)
Credit: www.thespruce.com
Tools Needed
Testing a light switch requires some basic tools. These tools help you check if the switch works properly and safely. Using the right tools makes the job easier and faster. You do not need many items, just a few essential ones.
Essential Equipment
A multimeter is the main tool for testing a light switch. It measures electricity flow and voltage. You can also use a non-contact voltage tester. It helps detect live wires without touching them. A screwdriver is needed to remove the switch cover. Having a small flashlight can help you see inside dark spaces.
Safety Gear
Safety is very important while testing electrical parts. Wear insulated gloves to protect from electric shocks. Use safety glasses to shield your eyes from sparks or debris. Avoid loose clothing or jewelry that can catch on wires. Make sure to work in a dry area to prevent accidents.
Safety Precautions
Testing a light switch can be simple but requires caution. Safety comes first to avoid shocks or damage. Follow clear steps to keep yourself safe while working with electricity.
Power Shutoff
Always turn off the power before testing a light switch. Use the main breaker or fuse box to cut power. Double-check by flipping the switch or using a tester. No electricity means no risk of shock.
Avoiding Hazards
Wear insulated gloves to protect your hands. Use tools with insulated handles only. Keep the area dry and clean to prevent slips or falls. Never touch wires or terminals with bare hands. Stay alert and work slowly to avoid mistakes.
Visual Inspection
Before testing a light switch with tools, start with a visual inspection. This step helps find visible issues that may cause problems. It is simple and safe. You can spot damage or loose parts that affect the switch’s function. Careful observation saves time and effort later.
Checking For Damage
Look closely at the switch and its cover. Check for cracks, burns, or discoloration. These signs may mean the switch is faulty. Also, inspect the wall plate for damage. Broken parts can expose wires, which is unsafe. If you see damage, do not use the switch until it is fixed.
Loose Connections
Turn off the power before touching the switch. Remove the cover gently. Check if wires are tight and secure. Loose wires can cause the switch to fail or spark. Tighten any loose connections with a screwdriver. Make sure no wires are frayed or broken. Proper connections keep the switch working well and safe.
Credit: www.youtube.com
Testing With A Voltage Tester
Testing a light switch with a voltage tester is a safe and easy way to check if power flows correctly. It helps find out if the switch works or if there is a wiring problem. A voltage tester can show if electricity reaches the switch without touching wires directly. This method saves time and reduces risk.
Using A Non-contact Tester
A non-contact voltage tester detects electricity without touching wires. Hold the tester near the switch or wires. If the tester lights up or beeps, it means voltage is present. This tool is simple to use and safe for beginners. Make sure the tester has fresh batteries before use. Always test the tester on a known live wire first to confirm it works.
Interpreting Results
If the tester shows voltage at the switch, power is reaching it. No voltage means no power or a problem in wiring or breaker. Test both the switch terminals to check the circuit fully. If voltage is on one side but not the other, the switch may be faulty. Use the tester results to decide if the switch needs repair or replacement.
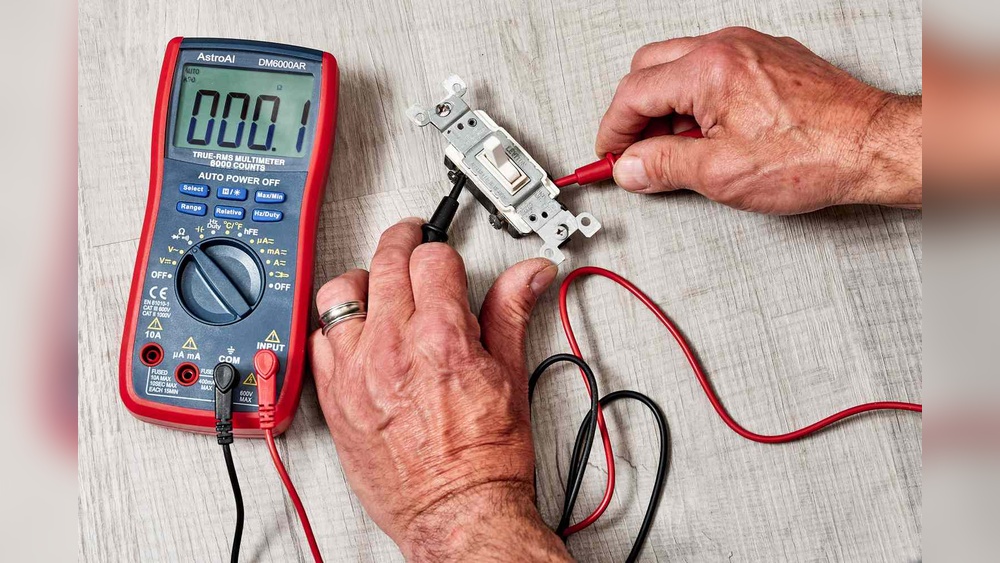
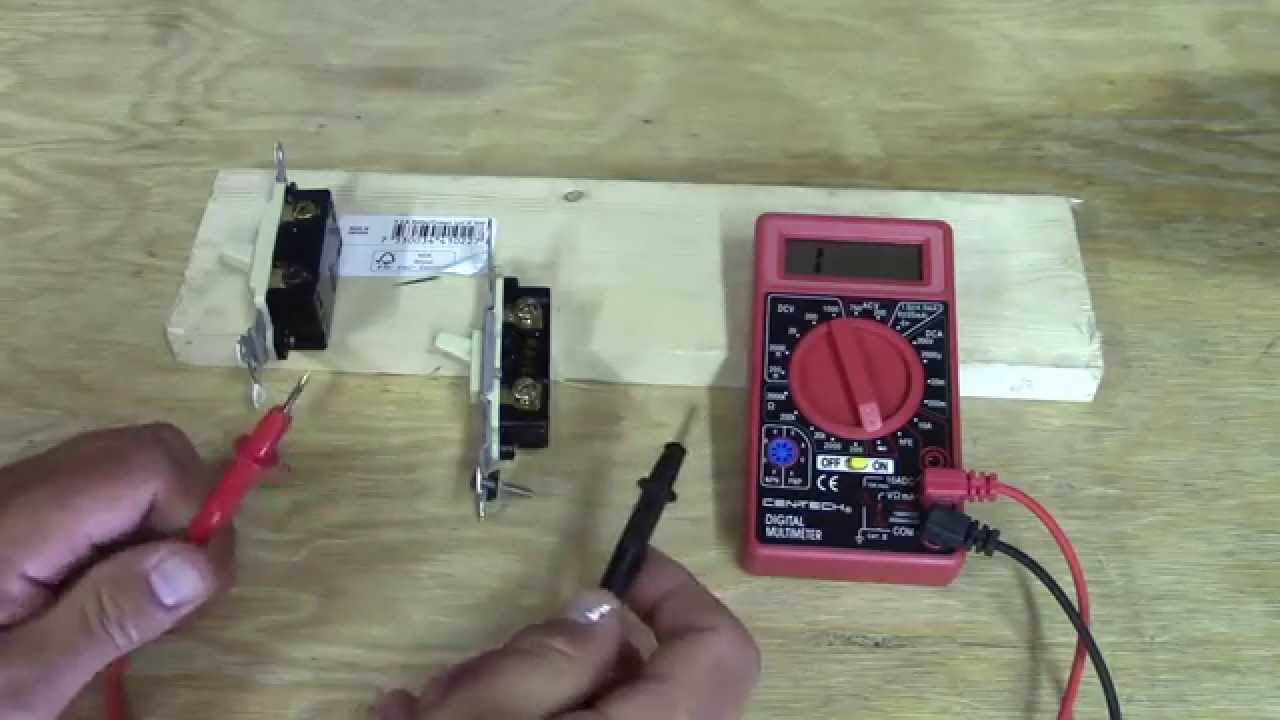
Testing With A Multimeter
Testing a light switch with a multimeter helps find electrical problems safely. This tool checks if the switch works right. It measures electrical flow and voltage. Learning to use a multimeter can save time and money.
Setting Up The Multimeter
First, turn off power at the circuit breaker. Safety is key. Set the multimeter to the correct mode. For continuity, choose the continuity or resistance setting. For voltage, set it to AC voltage. Use the right probes for testing. Black to common (COM), red to voltage or resistance port.
Measuring Continuity
Remove the switch cover. Touch one probe to each switch terminal. Press the switch on and off. The multimeter beeps or shows zero resistance if working. No beep means the switch is faulty or broken. Continuity test checks if current can pass through the switch.
Measuring Voltage
Turn the power back on carefully. Place probes on the switch terminals. The multimeter shows voltage if power flows. No voltage means no power or switch problem. Voltage test confirms if the switch gets electricity. Use caution to avoid electric shock.
Replacing A Faulty Switch
Replacing a faulty light switch is a common fix in many homes. A switch that doesn’t work properly can cause frustration or even be unsafe. Changing it yourself saves time and money. The process is simple if you follow the right steps carefully.
Removing The Old Switch
Start by turning off the power at the circuit breaker. This step is very important for safety. Use a voltage tester to confirm no electricity is flowing to the switch. Remove the switch cover plate with a screwdriver. Unscrew the switch from the electrical box. Pull the switch out gently to see the wires attached.
Note the wires’ positions or take a photo for reference. Loosen the screws holding the wires and disconnect them. Keep the wires apart to avoid contact. The old switch is now ready to be replaced.
Installing The New Switch
Take the new switch and connect the wires to the correct terminals. Match the wires to the same screws as before. Tighten the screws firmly to hold the wires in place. Push the switch back into the electrical box carefully. Screw it in securely to avoid movement.
Replace the switch cover plate and tighten the screws. Turn the power back on at the circuit breaker. Test the switch by turning the light on and off. The new switch should work smoothly and safely.
Troubleshooting Tips
Troubleshooting a light switch can save time and effort. It helps find the problem quickly. You can fix many issues with simple checks. Knowing what to look for is important. Follow these tips to test and solve common switch problems safely.
Common Issues
Sometimes a light switch feels loose or won’t click. This might mean the switch is worn out. Check if the switch is warm. Warmth can show electrical problems. Flickering lights often mean a loose wire. A switch that does not work might have a broken connection inside. Dirt and dust can block the switch from working well. Clean the switch carefully to see if it helps.
When To Call A Professional
Electricity can be dangerous. Stop and ask for help if you see sparks. If the switch smells burnt or makes noise, turn off power. Call an electrician right away. Do not try to fix complex wiring. Professionals have the right tools and knowledge. They keep you safe and fix the problem fast. Calling a professional avoids bigger damage and risk.
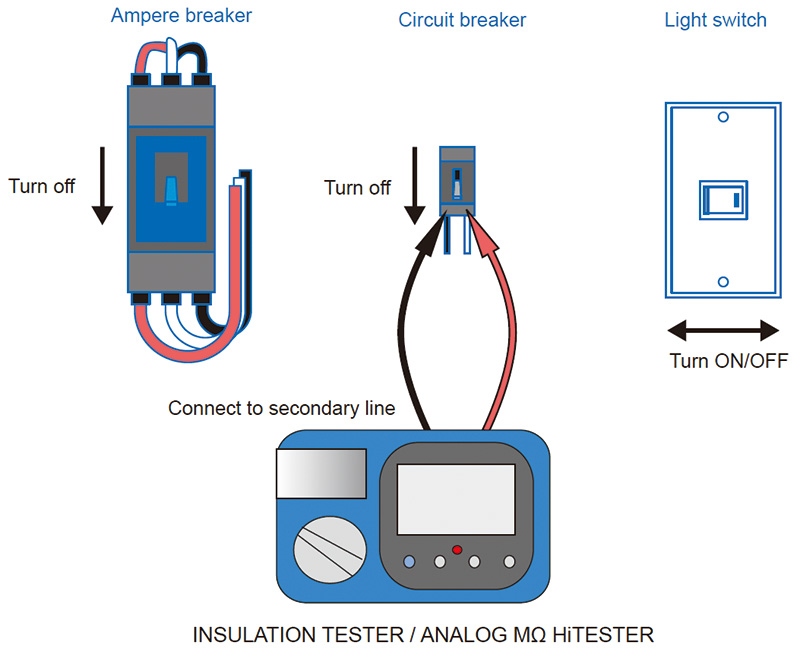
Credit: www.hioki.com
Frequently Asked Questions
How Can I Safely Test A Light Switch?
Turn off the power at the circuit breaker first. Use a voltage tester to check for live wires. Then, toggle the switch and observe if the light responds. Always wear insulated gloves and follow safety precautions.
What Tools Do I Need To Test A Light Switch?
You need a voltage tester, a screwdriver, and a multimeter. These tools help check electrical connections and switch functionality safely. Having these ensures accurate testing and prevents electrical hazards during inspection.
How Do I Know If A Light Switch Is Faulty?
If the light flickers, doesn’t turn on, or feels warm, the switch might be faulty. Testing with a multimeter shows no continuity when toggled. Faulty switches need replacement to ensure electrical safety and proper lighting.
Can I Test A Light Switch Without Removing It?
Yes, using a non-contact voltage tester, you can test without removal. It detects live current near the switch terminals. However, for thorough testing, removing the switch for multimeter checks is recommended.
Conclusion
Testing a light switch is simple and safe with the right steps. Always turn off power before starting any test. Use a tester or multimeter to check if the switch works. A good switch will show power flowing when on and none when off.
If the switch fails, replacing it is often the best choice. Regular checks keep your home safe and lights working well. Practice these steps to handle light switches confidently and avoid common mistakes. Safety first, and don’t rush the process.
You can fix switches with ease and care.