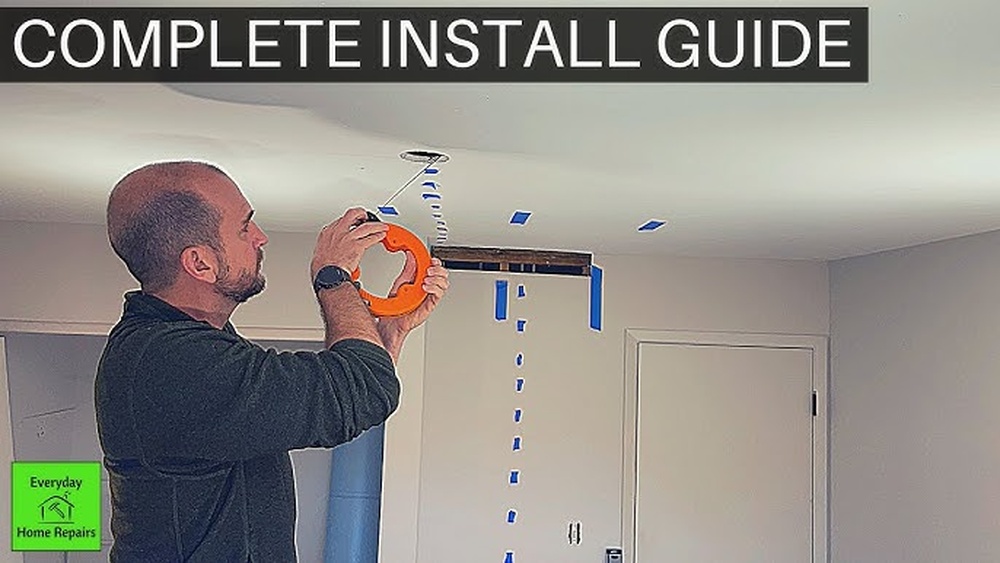
Are you tired of struggling with old, faulty light switches or simply want to upgrade the look of your room? Changing a light switch might seem tricky, but it’s easier than you think—and you don’t need to be an expert electrician.
Imagine flipping a switch that works smoothly every time and gives your space a fresh feel. In this guide, you’ll learn simple, step-by-step instructions to replace your light switches safely and quickly. Keep reading, and you’ll have the confidence to make this easy home improvement yourself.
Tools And Materials Needed
Changing a light switch needs some tools and materials. Having the right items makes the job easier and safer. Prepare everything before starting the work. This saves time and avoids mistakes.
Basic Tools
You need a screwdriver set, usually flathead and Phillips. A voltage tester helps check if the power is off. Wire strippers remove insulation from wires. Needle-nose pliers bend and twist wires. A flashlight is useful if the area is dark.
Safety Gear
Wear insulated gloves to protect from electric shocks. Safety glasses keep dust and debris out of your eyes. Use rubber-soled shoes to reduce electric risk. Make sure your work area is dry and clear. Safety is the top priority in any electrical task.
Choosing The Right Switch
Pick a switch that fits your wall box size. Match the switch type to your needs: single-pole or three-way. Check the switch’s voltage and current rating. Use switches with clear labeling for easy installation. Choose a switch with a durable finish for long use.
Credit: www.youtube.com
Preparing For The Switch Replacement
Preparing for a light switch replacement is a crucial step. It ensures your safety and makes the process smooth. Taking time to prepare helps avoid mistakes and accidents. Follow these simple steps to get ready.
Turn Off Power
Start by turning off the power to the switch. Use your home’s circuit breaker to do this. Switching off power stops any electricity flow to the switch. This step is vital to prevent electric shocks.
Test For Electricity
After turning off the power, check if the switch still has electricity. Use a voltage tester or a simple tester tool. Touch the tester to the switch wires or terminals. If the tester shows no power, it is safe to proceed.
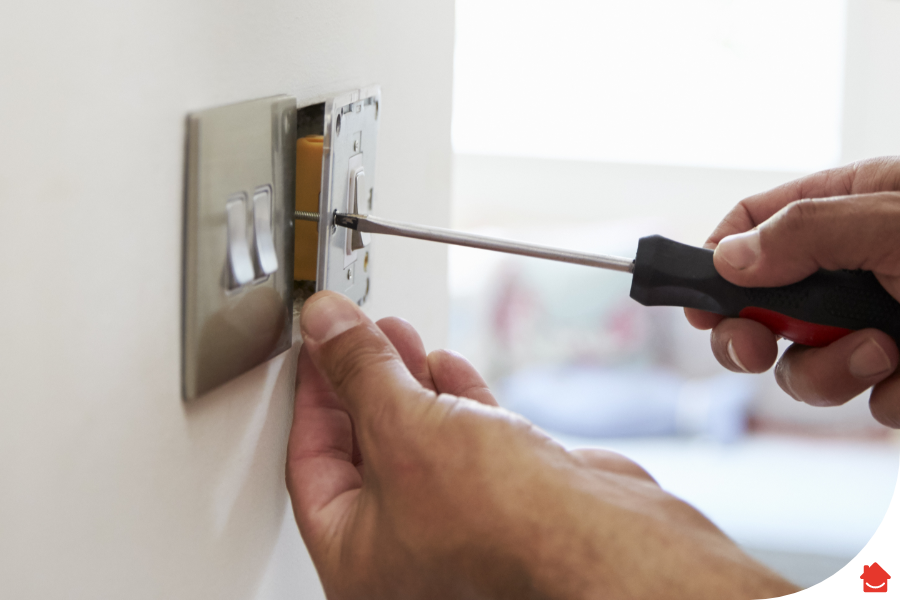
Remove Old Switch Cover
Next, remove the cover plate of the old switch. Use a screwdriver to take out the screws holding the cover. Carefully pull the cover away from the wall. This exposes the switch and wiring for replacement.
Removing The Old Light Switch
Removing the old light switch is the first step to install a new one. This task needs care to avoid any electrical hazard. Always turn off the power at the circuit breaker before starting. Use a voltage tester to check that no electricity flows to the switch. Once safe, you can begin removing the old switch.
Unscrew The Switch
Start by unscrewing the cover plate of the switch. Use a screwdriver that fits the screws well. Keep the screws in a safe place. Next, unscrew the mounting screws holding the switch to the electrical box. Gently pull the switch out from the wall. This gives you access to the wires behind it.
Disconnect Wires
Look at how the wires connect to the switch. Take a photo for reference if needed. Loosen the screws or release the push-in connectors holding the wires. Carefully disconnect each wire from the switch. Avoid pulling the wires too hard to prevent damage. Keep the wires separated and clear.
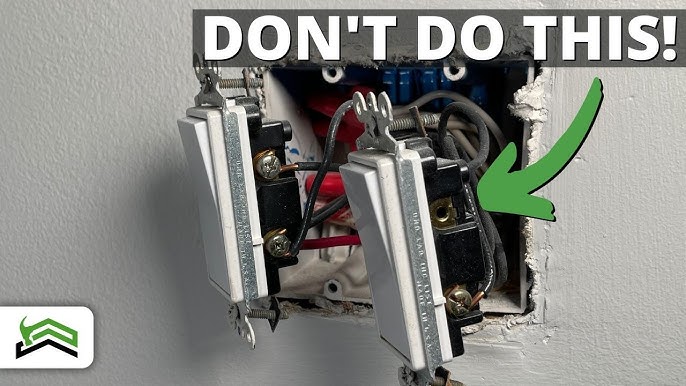
Inspect Wiring
Check the wires for any signs of damage or wear. Look for frayed or exposed copper wires. If any wire looks unsafe, consider calling an electrician. Clean any dirt or rust on the wire ends. Make sure the wires are straight and ready for the new switch. Proper wiring ensures a safe and working light switch.
Installing The New Light Switch
Installing the new light switch is the final step in your project. It requires careful attention to ensure safety and proper function. This part involves connecting wires, securing the switch, and attaching the cover plate. Follow each step closely to complete the installation smoothly.
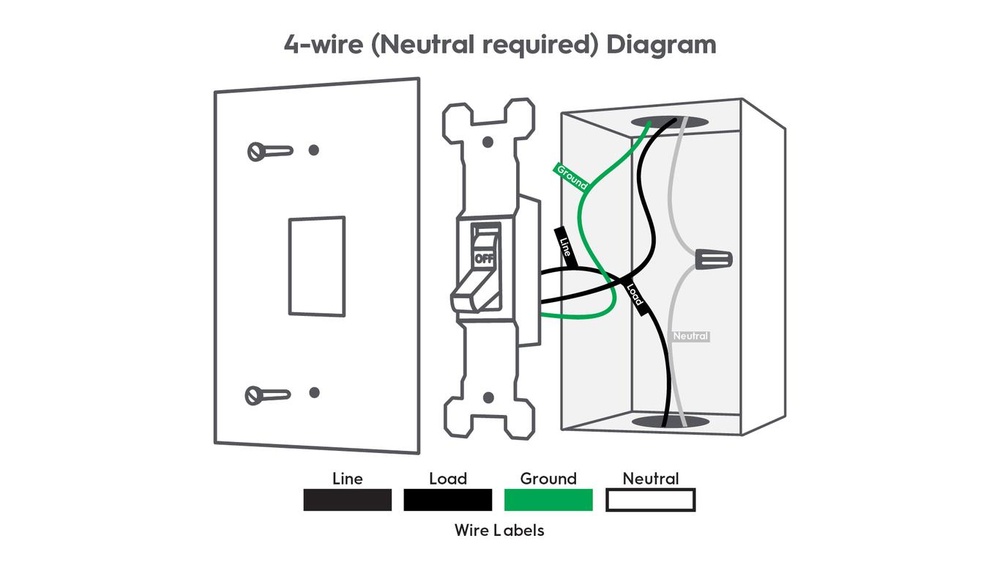
Connect Wires Correctly
Start by matching the wires to the new switch terminals. Black or red wires connect to the brass screws. White wires usually connect to the silver screws. Ground wires attach to the green screw or grounding terminal. Tighten all screws firmly to avoid loose connections. Double-check each wire to ensure it is secure and in the right place.
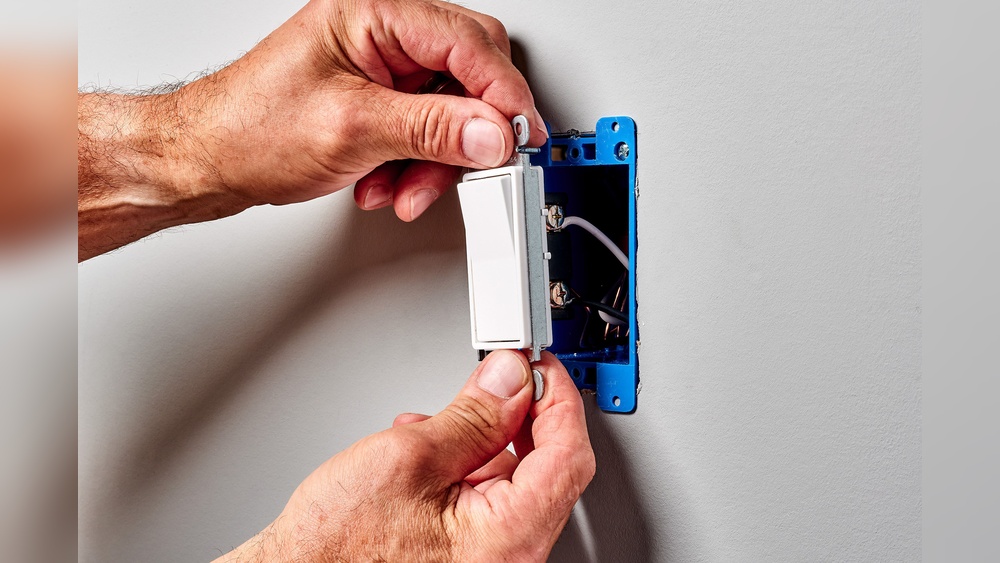
Secure The Switch
Push the wires gently back into the electrical box. Align the switch with the mounting holes. Use screws to fasten the switch to the box. Tighten screws evenly to keep the switch straight. Avoid over-tightening to prevent damage. The switch should sit flush with the wall for a clean look.
Attach The Cover Plate
Place the cover plate over the switch. Line up the screw holes with the switch frame. Insert screws and tighten them carefully. The cover should fit snugly without gaps. Wipe away any dust or fingerprints for a neat finish. Your new light switch is now ready to use.
Testing The New Switch
After installing a new light switch, testing it is important. This step ensures the switch works properly and safely. Follow these simple actions to check your new switch.
Restore Power
Turn the circuit breaker back on to restore power. Make sure the power is back in the room. Never test the switch with the power off.
Check Functionality
Flip the new switch on and off a few times. Watch if the light turns on and off correctly. Test all switch positions if it is a multi-way switch.
Troubleshooting Tips
If the light does not work, turn off the power again. Double-check the wiring connections on the switch. Tighten any loose wires and ensure no wires touch each other.
Try testing the switch with a different light bulb. If problems persist, consider calling a professional electrician.

Credit: www.youtube.com
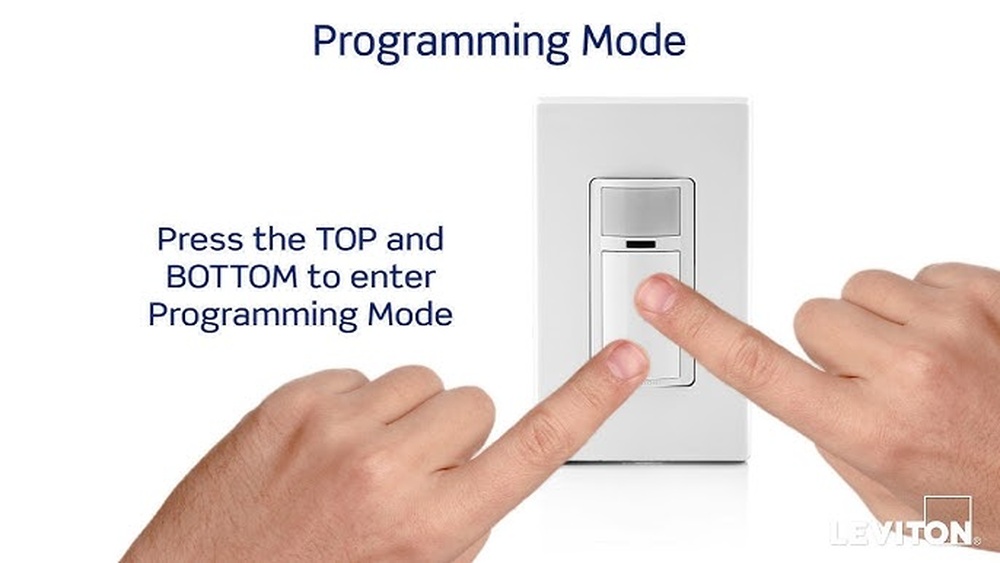
Upgrading To Smart Switches
Upgrading to smart switches transforms your home’s lighting control. These switches connect to your Wi-Fi. Control lights from your phone or voice assistant. Smart switches add convenience and modern style. They save energy and improve home security. Here is what you need to know.
Benefits Of Smart Switches
Smart switches offer easy remote control. Turn lights on or off from anywhere. Schedule lights to operate automatically. Save electricity by avoiding wasted lighting. Control multiple lights with one app. Some models work with voice commands. Enhance home safety with timed lighting. They fit standard switch sizes for easy use.
Installation Tips
Turn off power before starting installation. Use a voltage tester to confirm power is off. Remove the old switch carefully. Connect wires to the new smart switch terminals. Follow the manufacturer’s wiring instructions. Use wire nuts to secure connections. Attach the switch to the wall box. Restore power and test the switch. Download the app for setup and control. Update the switch firmware if needed.
Compatibility Considerations
Check if your home wiring includes a neutral wire. Most smart switches need a neutral wire to work. Confirm your Wi-Fi network is stable and strong. Ensure the switch supports your voice assistant. Verify the switch voltage matches your home system. Some switches work only with specific bulbs. Read product details before buying. Choose switches compatible with your lighting fixtures.
Safety Tips And Precautions
Changing a light switch can be simple but requires care. Safety is the top priority. Small mistakes can cause serious injury or damage. Follow these safety tips and precautions to protect yourself and your home.
Avoiding Electrical Hazards
Always turn off the power at the circuit breaker. Test the switch with a voltage tester to ensure no electricity flows. Never touch wires with wet hands or while standing on a wet surface. Use insulated tools to avoid shocks. Keep your work area dry and well-lit. Remove any metal jewelry before starting. Work slowly and carefully to avoid mistakes.
When To Call A Professional
Call a licensed electrician if you feel unsure or uncomfortable. Complex wiring or damaged wires need expert handling. If the switch box is old or has signs of burning, get professional help. Electrical codes and safety rules change often. Professionals know these rules and keep work safe. Don’t risk injury or fire by doing too much yourself.
Credit: www.homeserve.co.uk
Frequently Asked Questions
How Do You Safely Turn Off Power Before Changing Switches?
Always switch off the circuit breaker for the switch’s power. Use a voltage tester to confirm no electricity flows. This prevents electric shocks and ensures safety during the switch replacement.
What Tools Are Needed To Change A Light Switch?
You need a screwdriver, voltage tester, wire stripper, and new switch. These tools allow safe removal and installation of the switch. Having the right tools makes the process smooth and efficient.
Can I Replace A Single-pole Switch With A Dimmer?
Yes, you can replace single-pole switches with compatible dimmers. Ensure the dimmer matches your bulb type. This upgrade allows you to control light brightness easily.
How Do You Connect Wires To A New Light Switch?
Attach wires to the switch terminals matching their original positions. Tighten screws firmly to ensure a secure connection. Proper wiring is essential for switch functionality and safety.
Conclusion
Changing light switches can be simple and safe with the right steps. Always turn off power before starting any work. Use basic tools and follow instructions carefully. Double-check connections to avoid problems later. Taking your time helps you do the job right.
Now you can update switches without extra help. Enjoy a brighter, safer home with new switches.