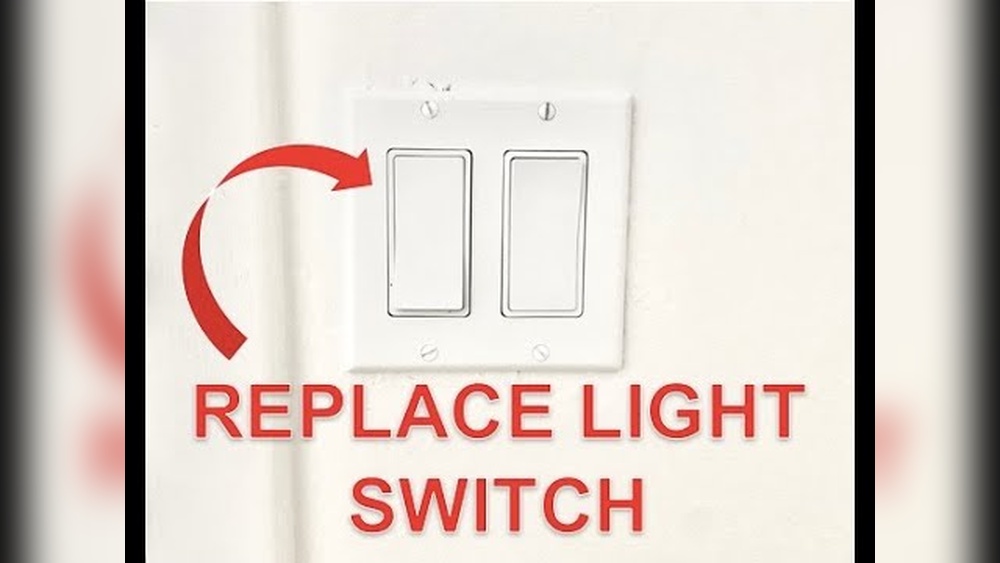
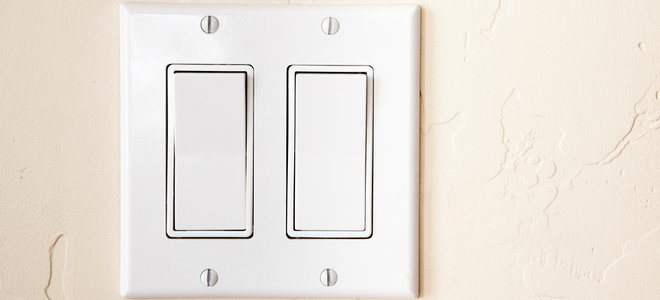
Have you ever wanted to replace a double light switch but felt unsure where to start? Maybe your switch is old, flickering, or just not working right.
Replacing it yourself can save you time and money, and it’s easier than you think. In this guide, you’ll learn simple, step-by-step instructions that anyone can follow—even if you’re not a pro. By the end, you’ll have the confidence to handle your double light switch like a pro and make your home lighting work perfectly again.
Keep reading to find out exactly how to do it safely and quickly.

Credit: www.youtube.com
Tools And Materials Needed
Safety is the first step when replacing a double light switch. Electricity can be dangerous. Taking the right precautions protects you from shocks and injuries. Follow these simple safety rules to work with confidence and care.
Turn Off The Power
Locate the circuit breaker panel. Switch off the breaker controlling the light switch. Test the switch with a voltage tester to confirm no power flows. Never skip this step. It keeps you safe from electric shocks.
Use Proper Tools
Choose insulated tools designed for electrical work. Regular tools may not protect you from electricity. Using the right tools reduces the risk of accidents. Keep your workspace clear and organized for safety.
Wear Safety Gear
Wear rubber-soled shoes to avoid electric shock. Safety glasses protect your eyes from sparks or debris. Use gloves made for electrical work. These simple items add a strong layer of protection.
Work In Good Lighting
Ensure the area is well-lit before starting. Poor visibility can cause mistakes and injuries. Use a flashlight or portable lamp if needed. Good light helps you see wires and screws clearly.
Know Your Limits
Do not attempt complex wiring without knowledge. If unsure, call a licensed electrician. Mistakes can cause fires or damage. Safety means knowing when to ask for help.
Safety Precautions
Turning off the power is the first and most important step when replacing a double light switch. It keeps you safe from electric shocks. Never try to touch wires or switches without cutting the power first.
Always double-check that the power is off before starting any work. This step protects both you and the electrical system in your home.
Locate The Circuit Breaker
Find the main electrical panel in your home. It is usually in the basement, garage, or a closet. Open the panel door to see the breakers. Each breaker controls power to a different part of your home.
Turn Off The Correct Breaker
Look for the breaker labeled for the room with the double switch. Flip the breaker to the “off” position. This stops electricity flow to the switch. If the breakers are not labeled, turn off the main breaker to be safe.
Test The Power Is Off
Use a voltage tester or a simple light bulb tester. Touch the tester to the switch wires or terminals. If no light or beep shows, the power is off. Do not proceed until you confirm the power is off.
Turning Off The Power
Removing the old double light switch is the first step in replacement. It needs care and attention to avoid damage or injury. Follow these simple steps to make the process smooth and safe.
Unscrewing The Cover Plate
Start by turning off power at the breaker. This stops any electric shock risk. Use a screwdriver to remove the screws holding the cover plate. Place the screws somewhere safe. Gently pull the cover plate off the wall. Check for any stuck paint or dirt. Clean if needed to expose the switch fully.
Detaching The Switch From The Wall
Next, unscrew the screws that fix the switch to the electrical box. Keep the screws for the new switch. Carefully pull the switch out. Do not force it to avoid wire damage. Hold the switch steady as you pull to see the wires behind.
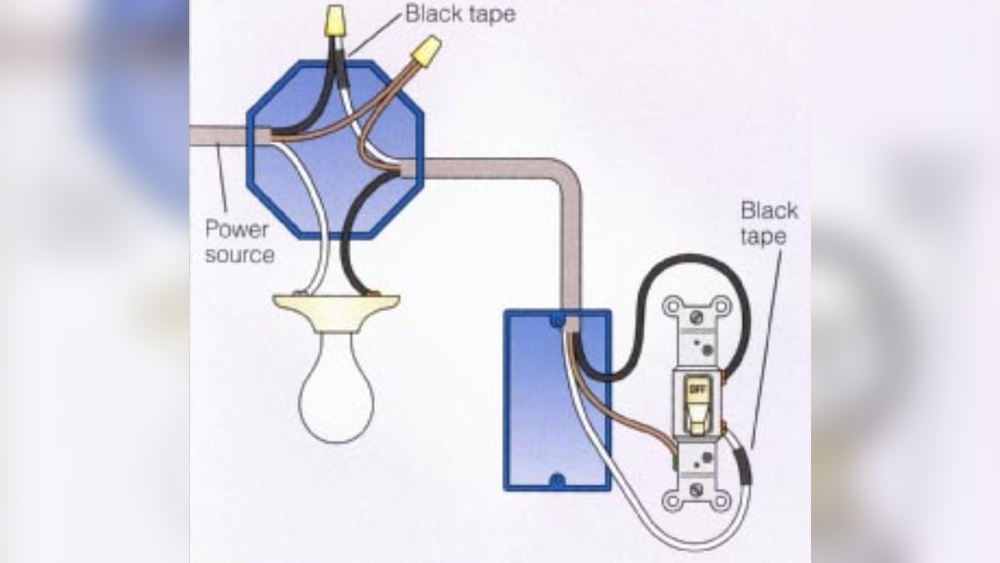
Labeling The Wires
Look at the wires connected to the switch. Use small pieces of tape to label each wire. Write simple names like “top” or “bottom” or “left” and “right.” This helps during installation of the new switch. Take a photo for extra safety. Avoid mixing wires or pulling them hard.
Credit: www.electricaltechnology.org
Removing The Old Switch
Inspecting the wiring is a crucial step before replacing a double light switch. It helps ensure safety and proper function. Faulty or damaged wires can cause electrical shocks or short circuits. Take your time to examine every wire carefully.
Start by turning off the power at the circuit breaker. Double-check that the switch is not live using a voltage tester. Never skip this step. Safety first.
Identify Wire Types And Colors
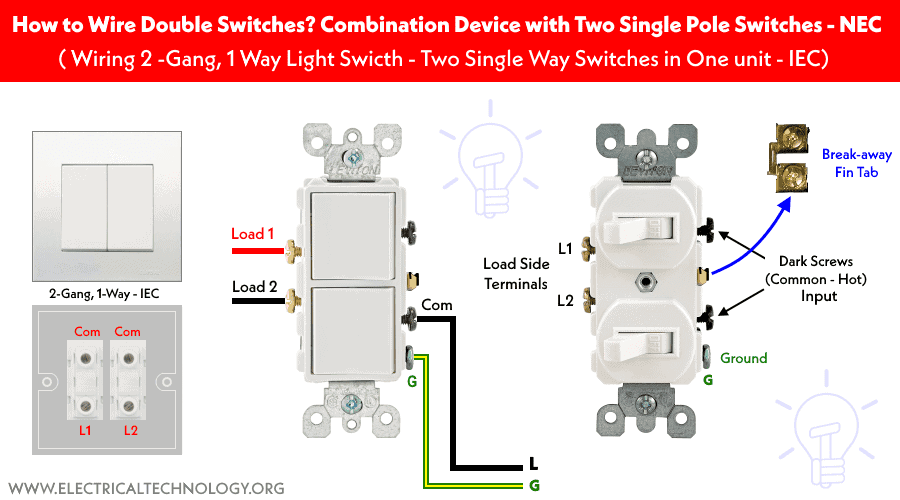
Look at the wires connected to the switch. Most homes use color codes for wires. Black or red wires are usually hot wires carrying current. White wires are neutral. Green or bare wires are ground wires. Knowing wire colors helps connect the switch correctly.
Check For Wire Damage
Inspect the wires for cuts, frays, or burns. Damaged wires can cause problems later. If you see any damage, replace the wires before continuing. Good wiring ensures a safe and lasting switch replacement.
Confirm Wire Connections
Note how wires connect to the switch terminals. Double switches have separate terminals for each light. Make a simple sketch or take a photo. This helps during reassembly. Proper connections avoid switch malfunction.
Inspecting The Wiring
Connecting the new double light switch requires careful attention. Proper wiring ensures the switch works safely and correctly. Follow the steps below to connect the wires and secure the connections.
Matching The Wires
First, identify the wires from the wall. Usually, there are two sets of wires: one from the power source and one going to the lights. Match the wires by color or function. Black or red wires are typically the “hot” wires. White wires are neutral, and green or bare wires are ground. Connect the hot wires to the switch terminals marked “common” or “line.” The other wires connect to the remaining terminals. Use the new switch’s instructions to confirm.
Securing The Connections
Twist the wire ends tightly before attaching them to the switch. Use a screwdriver to tighten the terminal screws firmly. Loose connections cause flickering or failure. For added safety, wrap electrical tape around the terminals. This prevents accidental contact. Once all wires are connected and secure, gently push the switch back into the box. Attach the faceplate to finish the job.
Connecting The New Switch
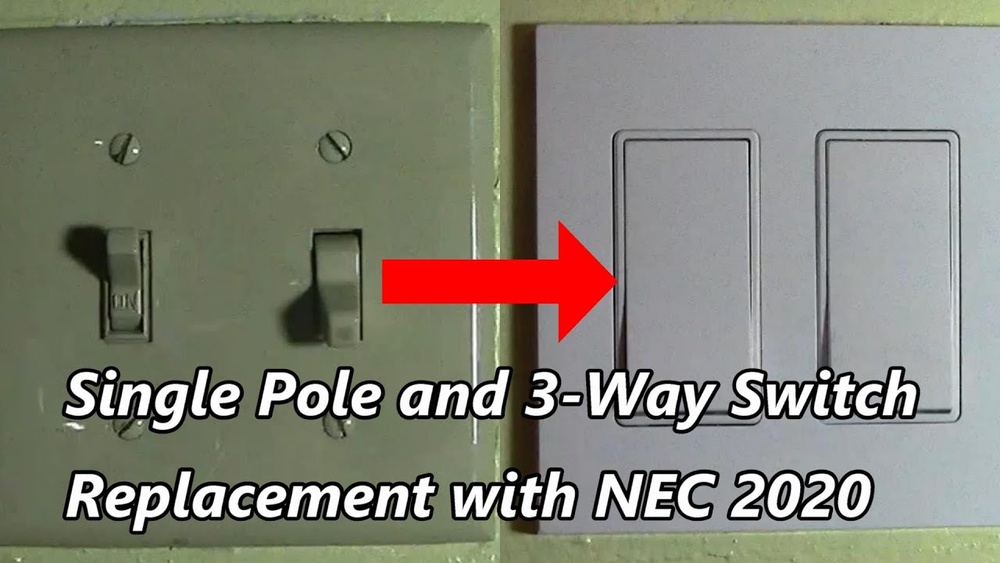
Installing the new double light switch is a key step. It brings your work together and restores power control. Follow these steps carefully to ensure a safe and proper fit. Make sure the wires are secure and the switch fits well into the box.
Mounting The Switch
First, place the new switch into the electrical box. Align the mounting holes with the box screws. Use a screwdriver to tighten the screws. Tighten them just enough. Do not over-tighten. The switch should fit snugly without moving.
Check that the switch is level. Adjust if needed before fully tightening. A crooked switch can affect the cover plate fit.
Attaching The Cover Plate
Next, position the cover plate over the switch. The screw holes should line up easily. Insert the screws and tighten by hand. Use a screwdriver for a secure fit. Avoid overtightening to prevent cracking the plate.
Make sure the cover plate sits flush against the wall. A neat fit improves the overall look and safety. Your double switch is now ready for use.
Installing The New Switch
Testing the switch is a crucial step before installing a new double light switch. It helps ensure the switch works properly and avoids electrical problems later. Safety is the top priority during this process. Double-checking the switch prevents costly mistakes and keeps your home safe.
Turn Off Power Supply
Start by turning off the power at the circuit breaker. This stops electricity from flowing to the switch. Use a circuit tester to confirm power is off. Never work on live wires to avoid electric shock.
Use A Voltage Tester
Test the existing switch with a voltage tester. Touch the tester to the switch terminals. No voltage reading means it is safe to proceed. If the tester shows voltage, turn off the power again.
Check Switch Continuity
Use a multimeter to check switch continuity. Set the multimeter to the continuity setting. Press the switch and watch the meter. A beep or reading shows the switch works well.
Inspect For Damage
Look at the switch for cracks or burn marks. Damage means the switch should be replaced. Do not use a switch with visible defects. Safety comes first.
Credit: www.doityourself.com
Frequently Asked Questions
How Do I Safely Turn Off Power Before Replacing A Switch?
Always switch off the circuit breaker for the light switch. Use a voltage tester to confirm no power is present. This prevents electrical shock and ensures a safe replacement process.
What Tools Are Needed To Replace A Double Light Switch?
You’ll need a screwdriver, voltage tester, wire stripper, and electrical tape. These tools help you remove the old switch and install the new one safely and accurately.
How Do I Identify The Wires On A Double Switch?
Typically, black or red wires are hot, white is neutral, and green or bare is ground. Use a wiring diagram and label wires before disconnecting for correct reinstallation.
Can I Replace A Double Light Switch Myself?
Yes, if you follow safety guidelines and understand basic wiring. Turn off power, use proper tools, and carefully follow instructions to replace the switch successfully.
Conclusion
Replacing a double light switch is simpler than it seems. Turn off power first for safety. Take your time to connect wires correctly. Use a screwdriver to secure the switch in place. Test the switch before closing the wall plate.
Small steps make the job easier and safer. Now, your lights should work perfectly again. This task saves money and adds confidence. Try it yourself and see how it feels. Simple fixes can improve your home quickly.