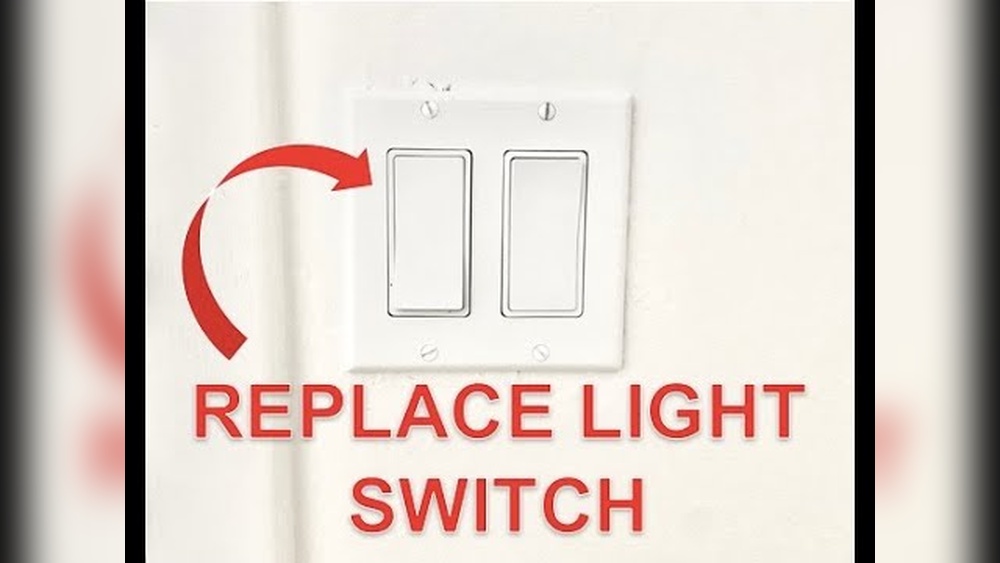
Are you tired of your old, hard-to-use light switch? Changing your regular switch to a sleek rocker switch can make a big difference in both style and ease.
Imagine flipping your lights on and off with a simple press instead of a tricky toggle. If you’ve ever wondered how to do this yourself, you’re in the right place. In this guide, you’ll discover clear, step-by-step instructions to switch to a rocker light switch safely and quickly.
Keep reading, and by the end, you’ll have a modern upgrade that makes your daily routine smoother and your space look better.
Credit: maiamidwifery.com
Why Choose A Rocker Switch
Choosing a rocker switch instead of a traditional toggle switch can improve your home’s look and function. Rocker switches are easy to use and offer a fresh style. They work well in many rooms and fit modern design trends. Let’s explore why a rocker switch is a smart choice.
Benefits Over Traditional Switches
Rocker switches are easier to operate. You just press the large flat surface to turn lights on or off. This design reduces finger strain and works well for kids and elderly. They also last longer because the mechanism is more durable. This means fewer replacements and less hassle.
Modern Aesthetic Appeal
Rocker switches have a clean and sleek look. They blend well with modern home decor styles. Their flat, wide design looks neat on walls. They come in many colors and finishes to match any room. This helps create a stylish and coordinated space.
Improved Functionality
These switches offer better control. The large surface is easy to find in the dark. Some models have built-in lights to show switch position. They also reduce accidental toggling. This makes them safer and more convenient for daily use.

Credit: www.amazon.com
Tools And Materials Needed
Changing a standard light switch to a rocker switch is a simple task. Having the right tools and materials makes the job easier and safer. Preparation helps avoid mistakes and saves time.
Essential Tools
You need a few basic tools to start the switch change. A flathead screwdriver helps remove the switch cover. A Phillips screwdriver is needed to unscrew the old switch. Wire strippers prepare the wires for connection. A voltage tester ensures the power is off. Pliers help bend and hold wires.
Safety Gear
Safety is important when working with electricity. Use insulated gloves to protect your hands. Wear safety glasses to shield your eyes from sparks or debris. Make sure your shoes have rubber soles to avoid electric shock. Keep a flashlight handy in case the power stays off longer than expected.
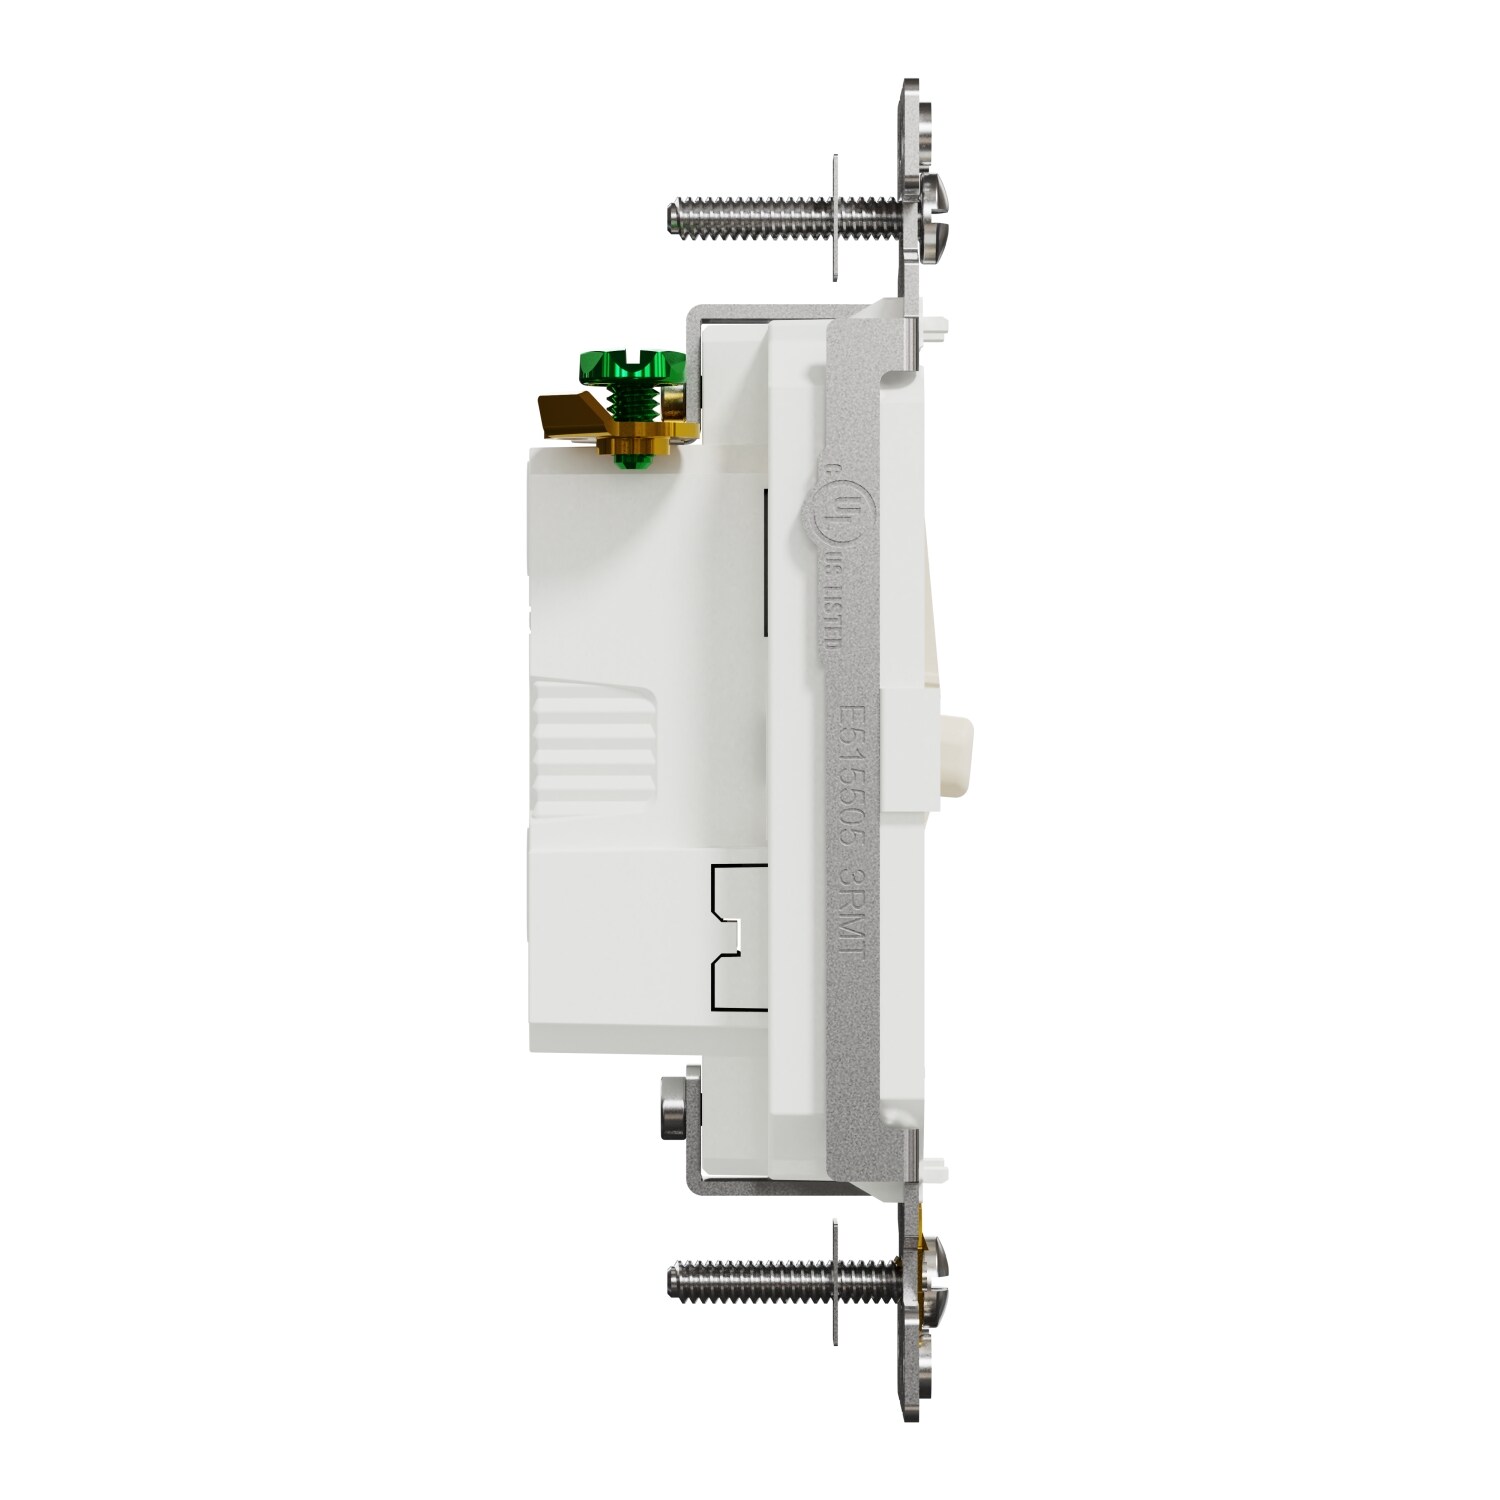
Choosing The Right Rocker Switch
Pick a rocker switch that fits your wall box size. Check the switch’s voltage and amperage rating. Match the switch style with your room’s decor. Some rocker switches come with a light indicator. Choose one if you want to see the switch in the dark.
Preparing For The Switch Replacement
Preparing to change a light switch to a rocker switch needs care. Safety is the top priority. Knowing the right steps helps avoid accidents. Gather tools and follow instructions closely. This section guides you through the first important steps.
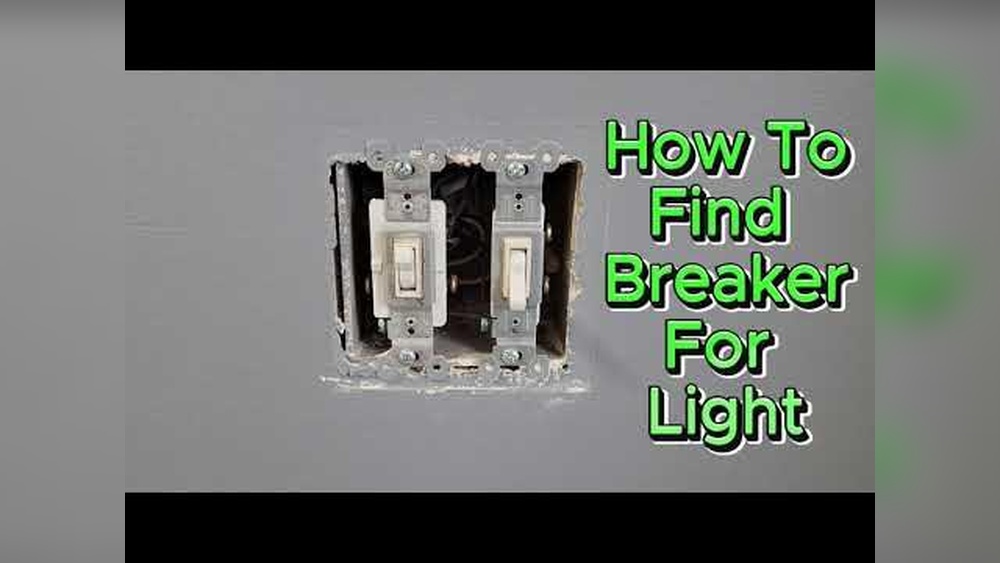
Turning Off Power Safely
Find your home’s main electrical panel. Turn off the circuit breaker for the switch. Double-check the switch to see if the light turns off. This step prevents electric shocks. Never work on a switch with power on.
Testing For Live Wires
Use a voltage tester to check wires at the switch. Touch the tester to each wire. No light or sound means no electricity. If the tester shows power, do not touch the wires. Confirm power is off before proceeding.
Removing The Old Switch
Unscrew the faceplate covering the switch. Use a screwdriver to remove mounting screws. Gently pull the switch from the wall box. Note wire connections or take a photo. This helps when connecting the new switch.
Step-by-step Replacement Process
Changing a traditional light switch to a rocker switch is simple. Follow clear steps to complete the replacement safely and quickly. This guide breaks down the process into three main parts for easy understanding.
Disconnecting Wires
Turn off the power at the circuit breaker to avoid shocks. Use a voltage tester to check the switch wires. Remove the switch cover plate with a screwdriver. Unscrew the old switch from the electrical box. Gently pull the switch out to expose the wires. Note how the wires are connected before removing them. Disconnect the wires carefully from the old switch terminals.
Connecting The New Rocker Switch
Match the wires to the new rocker switch terminals. Most switches have clear labels like “line” and “load.” Attach the wires to the correct terminals securely. Tighten screws to hold wires firmly in place. Check the connections to avoid loose wires. Ensure no copper wire is exposed outside the terminals.
Securing The Switch In Place
Push the rocker switch back into the electrical box gently. Align the screw holes with the box openings. Use screws to fasten the switch tightly to the box. Attach the switch cover plate over the rocker switch. Restore power at the circuit breaker. Test the switch to confirm it works correctly.
Testing The New Switch
Testing the new rocker switch is a key step after installation. It ensures the switch works safely and correctly. This step helps catch wiring errors before use.
Restoring Power
Turn the circuit breaker back on to restore power. Check the main panel carefully for the correct switch. Never force the breaker; it should move easily. After power returns, be cautious around the switch.
Checking Switch Operation
Press the rocker switch up and down gently. The light should turn on and off smoothly. Listen for any unusual sounds like buzzing or clicking. Confirm the light stays on without flickering.
Troubleshooting Common Issues
If the light does not turn on, double-check wiring connections. Tighten any loose wires with a screwdriver. If the switch feels warm, switch off power immediately. Replace the switch if problems continue after fixing wiring.
Maintenance Tips For Rocker Switches
Rocker switches add style and ease to any room. Keeping them in good shape helps them last longer. Proper care prevents problems and keeps switches working smoothly. Follow simple tips to maintain your rocker switches.
Cleaning And Care
Dust and dirt can build up on the switch surface. Clean gently using a soft, dry cloth. Avoid water or liquid cleaners that may damage the switch. For stubborn dirt, use a slightly damp cloth. Make sure the switch is off before cleaning. Keep the area around the switch free of grime and grease.
When To Replace
Signs of damage include cracks or loose parts. If the switch feels sticky or does not click properly, it may need replacement. Flickering lights or electrical sparks are warning signs. Replace the switch promptly to avoid electrical hazards. Regular checks help spot problems early.
Enhancing Longevity
Use the switch gently to avoid wear and tear. Avoid pressing too hard or bending the switch. Keep the switch dry and away from moisture. Check the wiring occasionally for any loose connections. Proper installation also extends the switch’s life. Small actions make a big difference.
Safety Precautions
Changing a light switch to a rocker style can improve your home’s look. Safety is the top priority during this task. Electrical work can be risky without the right steps. Follow these safety precautions to avoid accidents and damage.
Avoiding Electrical Hazards
Always turn off the power at the circuit breaker. Test the switch with a voltage tester to confirm no electricity flows. Avoid touching wires or terminals while power is on. Use insulated tools to reduce shock risk. Keep the work area dry to prevent electrical shocks.
When To Call A Professional
Call an electrician if you feel unsure or unsafe. Complex wiring or old circuits need expert handling. Avoid guessing or forcing connections. Professionals ensure the job meets safety codes. It saves time and prevents costly mistakes.
Using Proper Tools
Use the right screwdriver, wire stripper, and voltage tester. Proper tools make the job easier and safer. Avoid makeshift tools that can slip or break. Keep tools in good condition to work effectively. Prepare all tools before starting the switch change.

Credit: www.youtube.com
Frequently Asked Questions
What Tools Are Needed To Change A Light Switch To Rocker?
You need a screwdriver, voltage tester, wire stripper, and a new rocker switch. Turn off power before starting. These tools ensure safety and a smooth switch replacement.
How Do I Safely Turn Off Power To Change The Switch?
Locate your home’s circuit breaker and turn off the switch controlling the light. Use a voltage tester to confirm no power flows. Safety first to avoid electric shock.
Can I Replace A Standard Switch With Any Rocker Switch?
Not all rocker switches fit every box. Check the size and wiring compatibility. Purchase a rocker switch designed for your existing wiring setup to ensure proper function.
How Do I Connect Wires To The New Rocker Switch?
Attach wires to the rocker switch terminals matching the original setup. Usually, black is hot, white is neutral, and green or bare is ground. Tighten screws securely for safety.
Conclusion
Changing your light switch to a rocker style is simple and quick. You only need a few tools and careful steps. Always turn off the power before starting to stay safe. This upgrade can make your home look modern and feel easier to use.
Take your time and follow the instructions closely. Soon, you will enjoy the smooth and stylish feel of a rocker switch. A small change can make a big difference in your daily comfort. Give it a try and see the improvement yourself.