Are you looking to make your home smarter and save on energy bills? Programming your Honeywell light switch timer is easier than you might think.
With just a few simple steps, you can control when your lights turn on and off, giving you more comfort and security. In this guide, you’ll learn exactly how to set up your Honeywell timer quickly and without any hassle.
Keep reading, and by the end, you’ll have full control over your lighting schedule—no confusing manuals needed!
Choosing The Right Honeywell Timer
Choosing the right Honeywell timer is key for easy programming. Not all timers work the same way or fit every light switch. Pick a timer that matches your needs and your home’s setup. This makes programming simpler and keeps your lights working well.
Consider the timer’s features and if it fits your switch type. The right choice saves time and avoids problems.
Models And Features
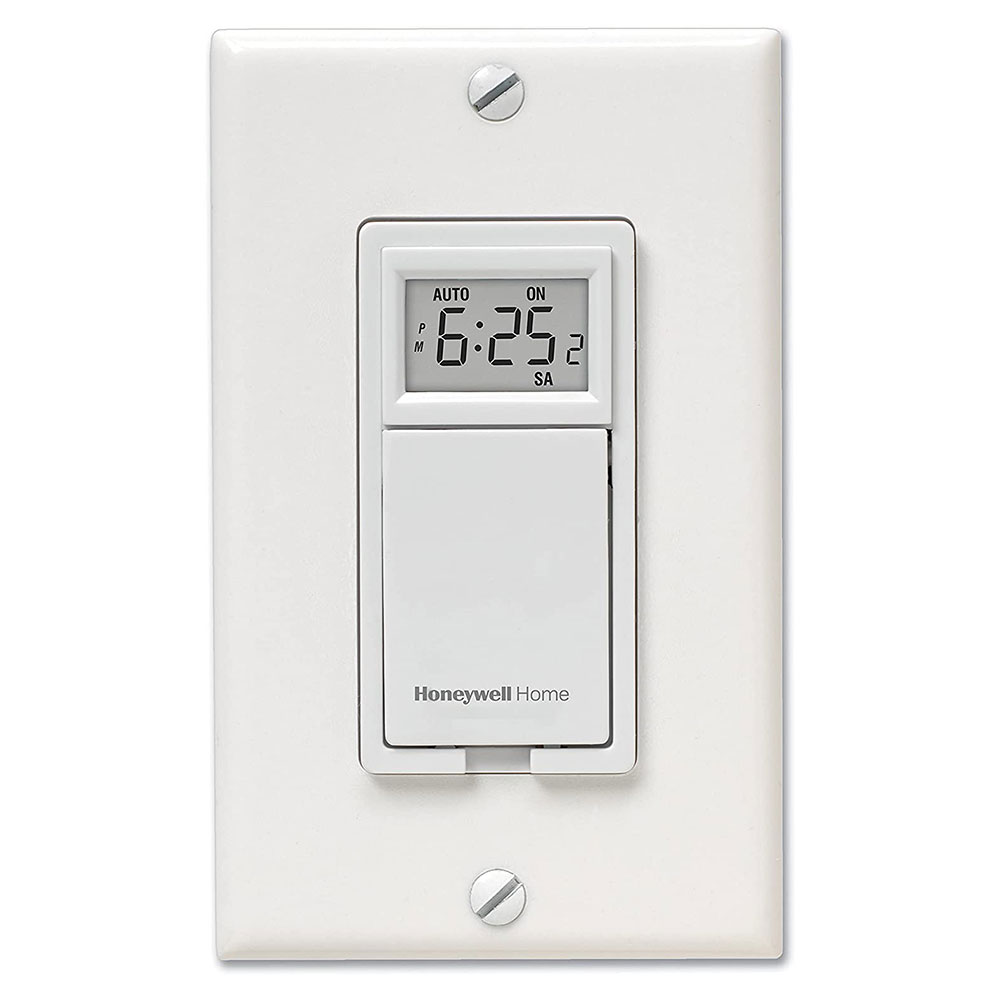
Honeywell offers many timer models. Some have digital displays. Others use dials or buttons. Look for features like multiple on/off settings or battery backup. Some timers let you set different schedules for each day. Others are simpler with one daily schedule.
Choose a model that matches how you want to control your lights. Think about ease of use and how many programs you need.
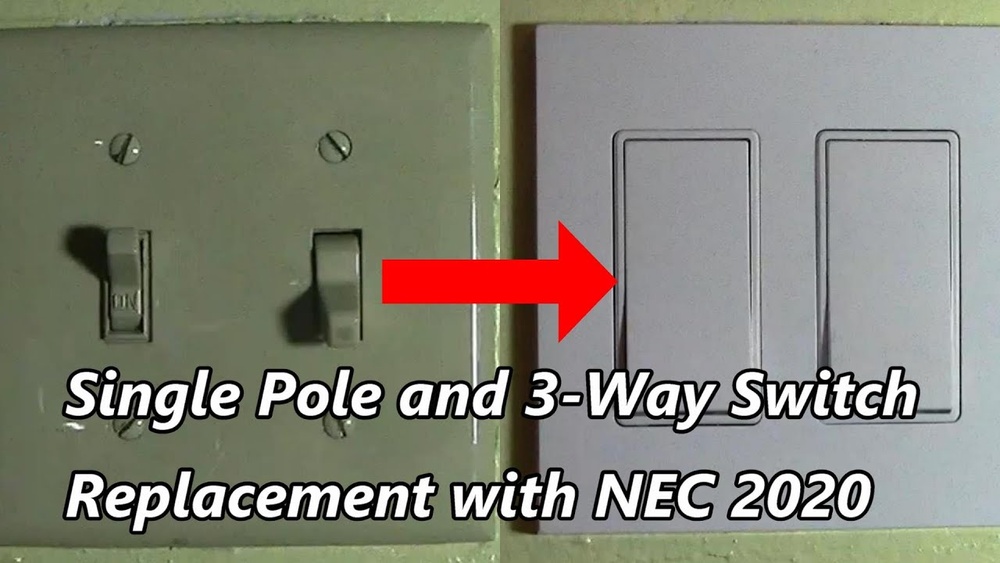
Compatibility With Light Switches
Not all Honeywell timers fit every light switch. Check if the timer works with your switch type. Some timers fit standard switches. Others fit rocker or paddle switches. Also, check if your switch is single-pole or three-way. Some timers only work with single-pole switches.
Make sure the timer can handle your light’s voltage and wattage. Using the wrong timer can cause issues or damage. Confirm these details before buying.
Preparing For Installation
Preparing for installation is the first step to program your Honeywell light switch timer. Proper preparation helps avoid mistakes and ensures a smooth process. It involves gathering the right tools and taking important safety measures.
Tools Needed
Gather all tools before starting the installation. You will need a screwdriver, wire stripper, and voltage tester. A small flashlight can help if the area is dark. Keep the instruction manual nearby for reference. Having everything ready saves time and effort.
Safety Precautions
Safety is key when working with electrical devices. Turn off the power at the circuit breaker to prevent shocks. Use a voltage tester to confirm the power is off. Wear insulated gloves to protect your hands. Avoid working in wet or damp places. Follow these steps carefully to stay safe.
Wiring The Timer
Wiring the Honeywell light switch timer is a key step. It ensures your timer works safely and correctly. This section breaks down the wiring process into simple parts. Follow the steps carefully for a proper setup.
Turning Off Power
Start by turning off the power at the circuit breaker. This stops any electric current from flowing. Use a voltage tester to check the wires. Make sure no electricity is present before you touch anything. Safety first to avoid shocks or injury.
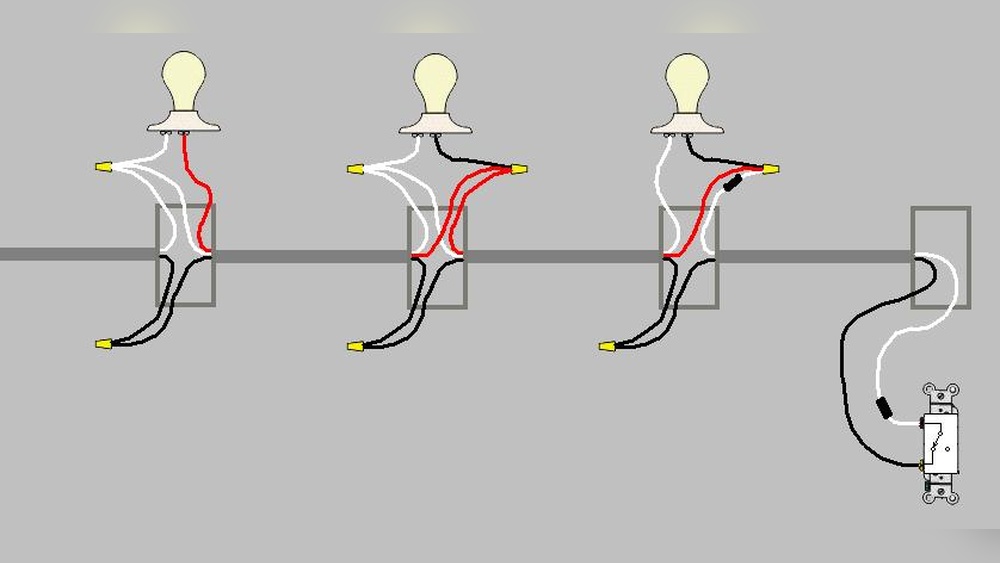
Connecting Wires Correctly
Identify the timer wires and the house wires. Usually, you will see line, load, neutral, and ground wires. Match the timer wires with the correct house wires. Use wire nuts to connect them tightly. Secure the ground wire to the metal box if needed. Double-check all connections before finishing. Proper wiring prevents shorts and keeps the timer working well.
Setting The Current Time
Setting the current time on your Honeywell light switch timer is important. The timer uses this time to turn lights on and off at the right moments. Without the correct time, the schedule will not work properly.
This section explains how to set the current time quickly. You will learn to access the clock settings and adjust the time step-by-step. Follow each step carefully to ensure accurate timing.
Accessing The Clock Settings
Start by locating the timer’s main control panel. Look for the button labeled “Clock” or “Time.” Press this button once. The display will show the current time or blinking numbers.
If your timer has a menu, use the arrow buttons to find “Clock Settings.” Select this option. The clock setup screen will appear. You are now ready to change the time.
Adjusting The Time
Use the arrow or plus/minus buttons to change the hour first. Set the correct hour according to AM or PM. Press the “Clock” button again to move to minutes. Adjust the minutes in the same way.
Some models require you to press “Set” or “Enter” to save the new time. Check your display to confirm the updated time shows correctly. Your Honeywell timer is now set to the correct current time.
Programming On And Off Times
Programming the on and off times of your Honeywell light switch timer allows you to control your lights automatically. This feature helps save energy and adds convenience to your daily routine. You can set specific times for your lights to turn on and off without manual effort.
Understanding how to set these times correctly ensures your lights work as you want. The process is simple and flexible, letting you customize your schedule easily. Follow the steps below to program your timer effectively.
Setting Multiple Time Periods
Your Honeywell timer lets you set several on and off times in one day. This means you can have lights turn on in the morning and off during the day. Then, you can set them to turn on again in the evening and off at night.
To do this, enter the programming mode on your timer. Choose the first on time by pressing the buttons as shown in your manual. Set the corresponding off time next. Repeat this process for each additional time period you want.
This feature is useful for homes with different activity times. It keeps your lights running only when needed. This saves electricity and keeps your home safe and well-lit.
Using Manual Override
Manual override lets you control the light outside the programmed times. You can turn the light on or off instantly without changing the set schedule. This is helpful if you want light for a short time unexpectedly.
To use manual override, press the override button on your timer. The light will switch on or off immediately. The timer will return to its normal schedule after the override period ends.
Manual override gives you flexibility. It lets you adjust lighting quickly without reprogramming the timer. This makes your Honeywell light switch timer easy to use and adaptable.
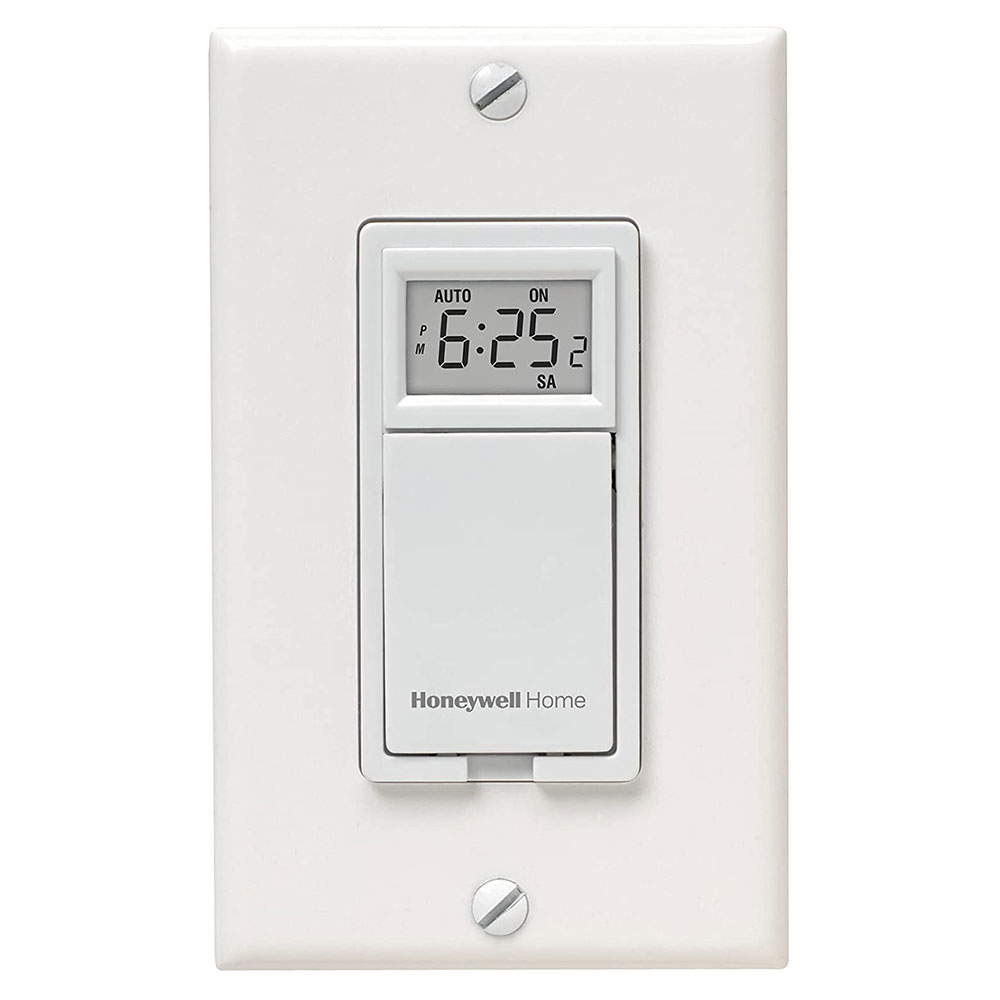
Credit: www.honeywellstore.com
Testing The Timer
Testing the Honeywell light switch timer is important after programming it. This step ensures the timer works as planned. You can catch mistakes early and fix them fast. Follow simple steps to check if the timer turns on and off at set times. This saves energy and avoids frustration later.
Verifying Program Accuracy
First, check the timer settings on the display. Confirm the current time matches your local time. Next, look at the programmed on and off times. Make sure these times are correct for your schedule.
Watch the switch at the programmed on time. It should turn the light on without delay. Do the same for the off time. The light must turn off exactly when set. Repeat this test for all programmed events.
Troubleshooting Common Issues
If the timer does not follow the schedule, check the power supply. A loose connection may cause problems. Reset the timer by turning it off and on again. Then, re-enter your program carefully.
Sometimes the timer clock may drift. Adjust the time to the correct hour and minute. Clear any conflicting programs that may overlap. Consult the user manual for error codes shown on the screen.
Maintaining Your Honeywell Timer
Maintaining your Honeywell light switch timer helps keep it working well. Regular care can prevent problems and extend the device’s life. Simple steps like changing batteries and checking settings make a big difference. These tasks take little time but ensure your timer stays accurate and reliable.
Battery Replacement
Change the battery every year or when the display dims. Use the correct battery type as stated in the manual. Open the battery compartment carefully to avoid damage. Insert the new battery with correct polarity. Close the compartment tightly to protect against dust and moisture. Reset the time and programs after replacing the battery.
Regular Checks For Proper Function
Check the timer’s display and buttons regularly. Make sure the screen shows the correct time and settings. Test the on/off schedule by observing the connected light. Adjust the program if the timer does not turn off or on correctly. Clean the switch gently with a dry cloth to remove dust. Avoid using water or harsh chemicals on the timer.

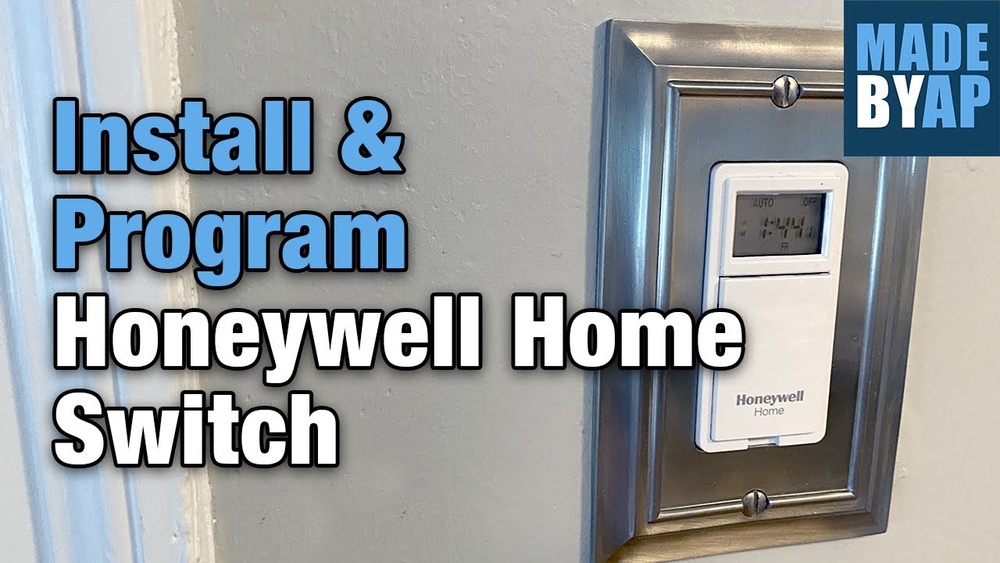
Credit: www.youtube.com
Credit: www.honeywellstore.com
Frequently Asked Questions
How Do I Set The Current Time On A Honeywell Timer?
Press the “Clock” button and use the arrow keys to set the current hour and minutes. Confirm by pressing “Clock” again. This ensures your timer operates accurately according to the real time.
Can I Program Multiple On/off Times On The Timer?
Yes, Honeywell timers allow programming several on/off cycles per day. Use the “Program” button to set different start and stop times. This helps customize lighting schedules efficiently.
How Do I Override The Timer Manually?
Press the “Override” or “Manual” button to switch the light on or off instantly. This bypasses the programmed schedule without deleting it, offering convenient control when needed.
What Should I Do If The Timer Display Is Blank?
Check the power supply and replace the backup battery if needed. A blank display usually indicates power issues or a drained battery, which affects timer functionality.
Conclusion
Programming a Honeywell light switch timer is simple and useful. You control when your lights turn on and off. This helps save energy and adds convenience. Follow each step carefully for the best results. Adjust settings anytime to fit your daily routine.
Enjoy the ease of automated lighting in your home. Small changes can make a big difference. Try it today and see how easy it is.