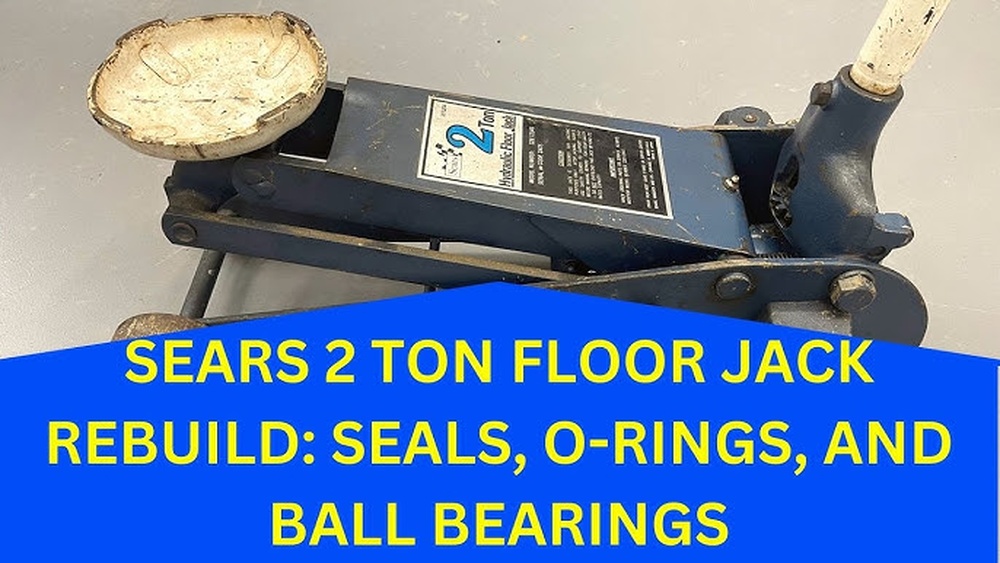
If you own a 3 ton Sears floor jack, you know how important it is to keep it working smoothly. Over time, wear and tear can slow it down or even stop it from lifting properly.
But don’t worry—you can rebuild your floor jack yourself. This guide will walk you through simple, step-by-step instructions to bring your jack back to life. By the end, you’ll save money, avoid frustration, and get your jack lifting like new.
Ready to take control and fix your floor jack with confidence? Let’s get started.
Tools And Materials Needed
Rebuilding a 3 ton Sears floor jack requires the right tools and materials. Having these ready makes the process smooth and safe. Below is a list of what you will need before starting the rebuild.
Basic Hand Tools
You need standard hand tools like wrenches, pliers, and screwdrivers. These help in taking apart and reassembling the jack. A socket set with different sizes is useful for bolts and nuts.
Replacement Parts
Order the correct seals, O-rings, and springs for your jack model. These parts wear out and cause leaks or loss of pressure. Using original parts ensures proper function.
Hydraulic Fluid
Choose the right hydraulic oil to refill the jack. The fluid must match the manufacturer’s specifications. Clean oil helps the jack lift smoothly and prevents damage.
Cleaning Supplies
Have rags, brake cleaner, or degreaser ready. These remove old oil and dirt from parts. Clean parts make the rebuild easier and extend the jack’s life.
Safety Gear
Wear gloves and safety glasses to protect your hands and eyes. Handling hydraulic fluid and small parts can be risky. Safety gear keeps you safe during the job.
Safety Precautions
Safety is the top priority when rebuilding a 3 ton Sears floor jack. This tool lifts heavy weights. Careless handling can cause serious injury. Follow safety steps carefully to avoid accidents.
Use safety gear and work in a clear area. Check the jack before starting. Make sure it is stable and clean. Safe work habits protect both you and your equipment.
Wear Proper Safety Gear
Always wear safety glasses to protect your eyes. Use gloves to keep hands safe from sharp edges. Wear closed-toe shoes to protect feet from falling parts. Safety gear reduces risk of injury during repair.
Work On A Flat, Stable Surface
Place the floor jack on a solid, level ground. Avoid working on sloped or uneven floors. A stable surface stops the jack from tipping over. This keeps you and the jack safe during rebuilding.
Release Pressure Before Starting
Make sure all pressure is released from the jack. Open the release valve slowly to let out any hydraulic pressure. Do not try to disassemble the jack under pressure. This prevents sudden movements and injury.
Keep Tools Organized And Within Reach
Use the right tools for the job. Keep them near your workspace to avoid distractions. Organized tools save time and reduce accidents. Avoid rushing, and take your time with each step.
Test The Jack After Rebuilding
Test the floor jack without a load first. Check for leaks or strange noises. Make sure it lifts smoothly and holds weight safely. Testing ensures your work is successful and safe to use.
Disassembling The Floor Jack
Disassembling the floor jack is the first key step in rebuilding your 3 ton Sears floor jack. It allows you to access the parts that need cleaning or replacement. Handle this part carefully to avoid damage or loss of small pieces.
Start by working in a clean area. Lay down a cloth or paper to catch any drops of oil or dirt. Keep a container ready to hold screws and small parts safely. This preparation helps keep the process smooth and organized.
Removing The Handle
Begin by removing the handle from the jack. Locate the pin or bolt that holds the handle in place. Use the correct tools, like a wrench or pliers, to loosen and pull out the pin.
Once the pin is out, carefully slide the handle from the jack body. Set the handle aside in a safe place. This step allows you to work on the pump and hydraulic system more easily.
Draining Hydraulic Fluid
Next, drain the hydraulic fluid from the jack. Open the release valve by turning it counterclockwise. Place a container under the pump to catch the old fluid.
Slowly pump the handle to push out the fluid. Keep pumping until no more fluid comes out. Proper fluid removal helps prevent mess and prepares the jack for rebuilding.
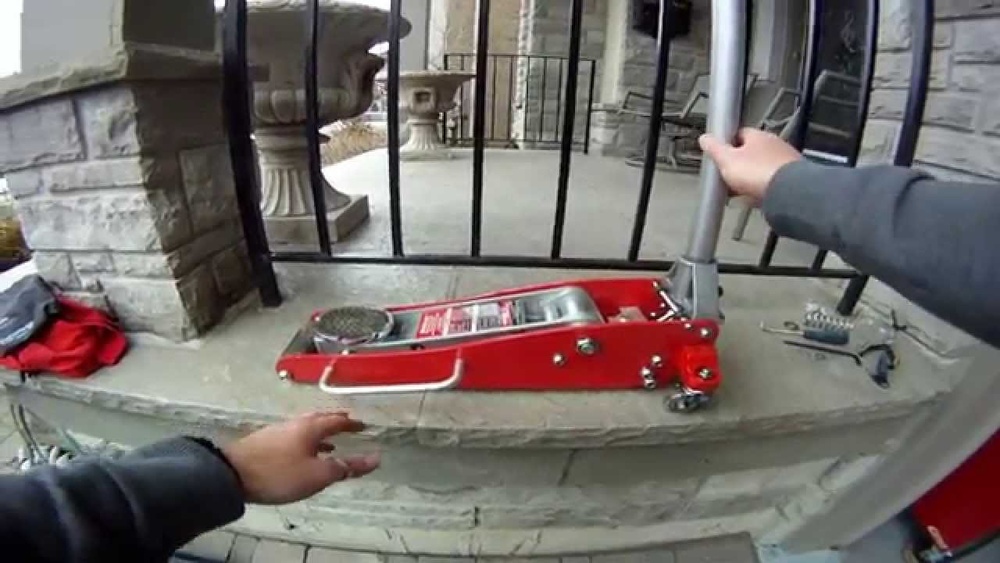
Taking Apart The Pump Assembly
Now, take apart the pump assembly carefully. Remove the bolts or screws holding the pump cover. Lift the cover off to expose the internal parts.
Gently pull out the pump piston and seals. Check for wear or damage on each part. Keep the pieces organized for easy reassembly later. This step is crucial to ensure the jack works well after rebuilding.

Credit: www.ebay.com
Inspecting Components
Inspecting the components of your 3 ton Sears floor jack is a crucial step in the rebuild process. This step helps identify worn or damaged parts that need replacement. Proper inspection ensures the jack works safely and smoothly.
Take your time to check each component carefully. Use good lighting and clean the parts before inspection. Look for cracks, leaks, or signs of wear. Addressing these issues early prevents bigger problems later.
Checking Seals And O-rings
Seals and O-rings keep the hydraulic fluid inside the jack. Check these parts for cracks, dryness, or breaks. Old seals lose their tightness and cause fluid leaks. Replace any damaged seals to maintain proper pressure.
Use a soft cloth to clean the seals before checking. Avoid stretching or twisting the O-rings during removal. Installing new seals correctly stops leaks and improves jack performance.
Assessing Hydraulic Cylinder
The hydraulic cylinder powers the lifting action. Inspect the cylinder for rust, dents, or scratches. Even small damage can cause fluid leaks or poor lifting strength. Clean the cylinder surface and check the piston for smooth movement.
Look inside the cylinder for corrosion or dirt buildup. These blockages reduce efficiency and can cause seal damage. Repair or replace the cylinder if it shows signs of wear.
Examining Springs And Valves
Springs and valves control fluid flow and pressure inside the jack. Check the springs for cracks or loss of tension. Weak springs affect the jack’s ability to hold weight. Test the valves for smooth opening and closing.
Remove dirt and rust from valves to ensure proper operation. Replace any faulty springs or valves to restore jack function. Well-maintained springs and valves keep the jack safe and reliable.
Cleaning And Preparing Parts
Cleaning and preparing parts is the first step in rebuilding a 3 ton Sears floor jack. Dirt, rust, and old grease can stop the jack from working well. Clean parts help the jack move smoothly and safely. This part of the process needs care and attention to detail.
Use the right tools and cleaners to avoid damage. Take your time to make sure every piece is clean and ready for reassembly.
Cleaning Metal Parts
Start by removing grease and dirt from metal parts. Use a degreaser or dish soap with warm water. Scrub with a brush to reach all areas. Rinse parts well and dry with a clean cloth. For rust, use a wire brush or sandpaper carefully. Clean metal parts prevent wear and tear during use.
Inspecting Seals And O-rings
Check seals and O-rings for cracks or damage. These small parts keep oil inside the jack. Replace any that look worn or broken. Clean seals with a soft cloth to remove dirt. Good seals stop leaks and keep the jack working properly.
Organizing Parts For Assembly
Lay out all parts in order of assembly. Group small pieces like bolts and washers together. This helps avoid losing anything during rebuilding. Use trays or containers to keep parts safe. Organized parts save time and reduce mistakes.

Credit: www.youtube.com
Replacing Worn Or Damaged Parts
Replacing worn or damaged parts is a key step in rebuilding a 3 ton Sears floor jack. Over time, parts wear out or break from heavy use. Changing these parts restores the jack’s strength and safety.
Focus on parts that show rust, cracks, or leaks. Using new parts helps your jack work smoothly. It also keeps it safe for lifting heavy loads.
Identifying Parts That Need Replacement
Check the jack carefully for damage. Look for leaks in the hydraulic system. Rust on the metal parts can weaken them. Worn seals cause oil to drip. Broken springs affect the jack’s movement. List all parts that look faulty before starting.
Ordering The Right Replacement Parts
Use the model number of your Sears floor jack. Buy parts made for that exact model. Avoid generic parts that may not fit or work well. Look for seals, springs, pistons, and valves. Choose parts from trusted suppliers for quality.
Removing Old, Damaged Parts Safely
Release all pressure from the jack first. Clean the jack to avoid dirt in new parts. Use proper tools to remove old seals and springs. Take care not to damage other parts. Keep small parts in a safe place for reassembly.
Installing New Parts Correctly
Follow the repair manual for your model. Place new seals and springs where the old ones were. Lubricate moving parts lightly to help them work. Tighten bolts and screws firmly but gently. Test the jack after assembly for leaks or issues.
Reassembling The Floor Jack
Reassembling the floor jack is a key step after cleaning and inspecting its parts. It restores the jack’s function and safety. Take your time to fit everything correctly. Follow each step carefully to ensure proper operation. A well-assembled jack works smoothly and lifts with ease.
Reinstalling The Pump Assembly
Start by placing the pump assembly back into the jack frame. Align it carefully with the mounting holes. Secure it using the original bolts or screws. Tighten them evenly to avoid leaks. Check the pump’s movement to confirm it is seated properly. A loose pump assembly can cause hydraulic failure.
Refilling Hydraulic Fluid
Remove the fill plug on the jack body. Use clean hydraulic fluid specific for floor jacks. Pour slowly to avoid air bubbles inside the system. Fill until the fluid reaches the recommended level. Replace the fill plug securely. Test the jack by pumping the handle a few times to circulate the fluid.
Reattaching The Handle
Insert the handle into its socket on the jack. Connect the release valve lever to the handle. Tighten any retaining clips or screws that hold the handle in place. Make sure the handle moves freely up and down. A properly attached handle controls lifting and lowering smoothly.

Credit: www.garagejournal.com
Testing The Rebuilt Jack
Testing the rebuilt 3 ton Sears floor jack is a vital step. It ensures your work is safe and effective. A thorough test checks for leaks and lifting strength. This process confirms the jack works as it should.
Checking For Leaks
Start by inspecting the jack for oil leaks. Place the jack on a clean surface. Pump the handle several times to build pressure. Look closely around seals and connections. Any wet spots or drips mean a leak. Tighten fittings or replace seals if needed. No leaks ensure the hydraulic system is sealed well.
Verifying Lifting Performance
Next, test the jack’s lifting ability with a safe load. Use a vehicle or heavy object under the weight limit. Pump the handle to raise the jack smoothly. It should lift without strange noises or hesitation. Hold the load up for a few minutes. The jack must not lower or lose pressure. If it holds firm, the rebuild is successful.
Maintenance Tips For Longevity
Maintaining your 3 ton Sears floor jack ensures it works well for years. Simple care steps keep the jack safe and reliable. Regular checks and cleaning prevent damage and wear.
Follow easy maintenance tips to protect your investment. These habits help avoid costly repairs and keep the jack ready for any job.
Keep The Jack Clean
Dirt and grime can block moving parts. Wipe the jack after each use with a clean cloth. Remove grease and debris from wheels and the lifting arm. Clean jacks lift smoothly and last longer.
Check And Change The Hydraulic Fluid
Hydraulic fluid powers the jack’s lifting action. Low or dirty fluid makes the jack weak. Check fluid levels often. Replace old fluid with fresh hydraulic oil. Use the right type for your Sears floor jack.
Inspect For Leaks
Leaks lower hydraulic pressure and can cause failure. Look under the jack for oil spots. Examine seals and connections closely. Fix leaks quickly to avoid bigger problems.
Lubricate Moving Parts
Grease the wheels, hinges, and pivot points regularly. Lubrication reduces friction and wear. Use light machine oil or grease. Smooth parts mean easier lifting and longer life.
Tighten Bolts And Nuts
Vibrations loosen bolts and nuts over time. Check all fasteners monthly. Tighten anything loose but do not overtighten. Secure parts keep the jack stable and safe.
Store The Jack Properly
Keep the jack in a dry, clean place. Avoid wet or dusty areas. Store it lowered to protect seals and parts. Proper storage prevents rust and damage.
Frequently Asked Questions
How Do I Start Rebuilding A 3 Ton Sears Floor Jack?
Begin by safely lowering the jack and releasing pressure. Gather necessary tools and parts. Clean all components to inspect for damage before reassembly.
What Common Parts Need Replacement In Floor Jack Rebuild?
Typically, seals, O-rings, and hydraulic fluid require replacement. Check for worn or damaged parts to ensure smooth operation and safety.
How Long Does It Take To Rebuild A 3 Ton Floor Jack?
Rebuilding usually takes 1 to 3 hours, depending on experience. Careful disassembly, cleaning, and reassembly are key to success.
Can I Rebuild My Floor Jack Without Special Tools?
Basic hand tools often suffice, but a seal kit and hydraulic fluid are essential. Some tasks may require a wrench set and pliers.
Conclusion
Rebuilding a 3 ton Sears floor jack takes patience and care. Follow each step slowly and check parts often. Use the right tools for safety and best results. A well-fixed jack works like new and lasts longer. Keep it clean and oil it regularly to avoid problems.
Taking time now saves money on repairs later. You can handle this project with focus and simple instructions. Keep your jack ready for lifting jobs anytime.