Is your Sears floor jack not working like it used to? You rely on it to lift heavy loads safely, so when it breaks down, it can be frustrating and stressful.
But don’t worry—repairing your floor jack might be easier than you think. In this guide, you’ll discover simple steps to fix common problems quickly and get your jack back to perfect working order. Keep reading to save time, avoid costly replacements, and make sure your equipment stays safe and reliable every time you use it.

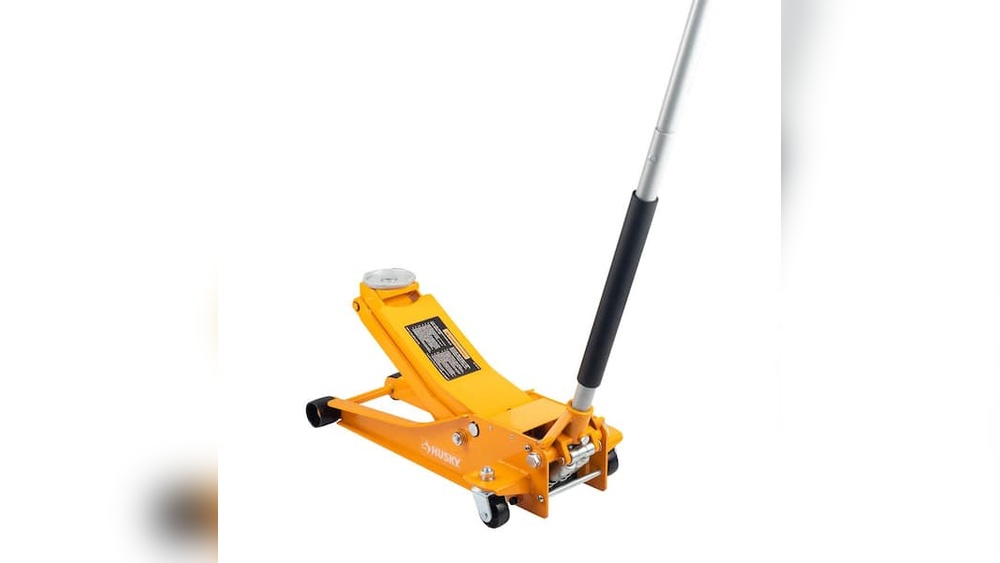
Credit: www.amazon.com
Identifying Common Issues
Before fixing your Sears floor jack, knowing common issues helps. These problems often cause the jack to stop working properly. Recognizing them saves time and effort. It also guides you in choosing the right repair steps.
Leaks And Hydraulic Problems
Hydraulic leaks are common in floor jacks. Look for oil spots under the jack. Leaks reduce lifting power. Check seals and hoses for cracks or damage. Replacing worn seals often stops leaks. Clean the jack regularly to avoid dirt buildup.
Pump Not Lifting
If the pump does not lift, air might be inside. Air blocks hydraulic fluid flow. Bleed the system to remove trapped air. Low hydraulic fluid also causes lifting failure. Fill the fluid to the recommended level. Ensure all parts move smoothly without resistance.
Handle Difficulties
Hard-to-move handles make lifting hard. Rust or dirt can block handle movement. Clean and lubricate handle joints. Check for bent or broken parts. Replace damaged handles to restore smooth motion. Test the handle after repairs for proper function.
Slow Or No Release
Slow release means the jack lowers too slowly. No release means it won’t lower at all. This often happens due to clogged valves. Clean or replace the release valve. Check the release mechanism for wear. Proper release is important for safety and control.
Credit: www.youtube.com
Gathering Essential Tools
Repairing a Sears floor jack starts with gathering the right tools. Having the proper tools makes the job easier and safer. It helps you fix the jack correctly without extra trouble. Preparing all items before you begin saves time and avoids frustration.
Basic Hand Tools
Start with simple hand tools like wrenches and screwdrivers. A set of socket wrenches is useful for bolts and nuts. Pliers help to grip and pull parts. An adjustable wrench fits different sizes. A hammer may be needed for light tapping. These tools cover most tasks in the repair process.
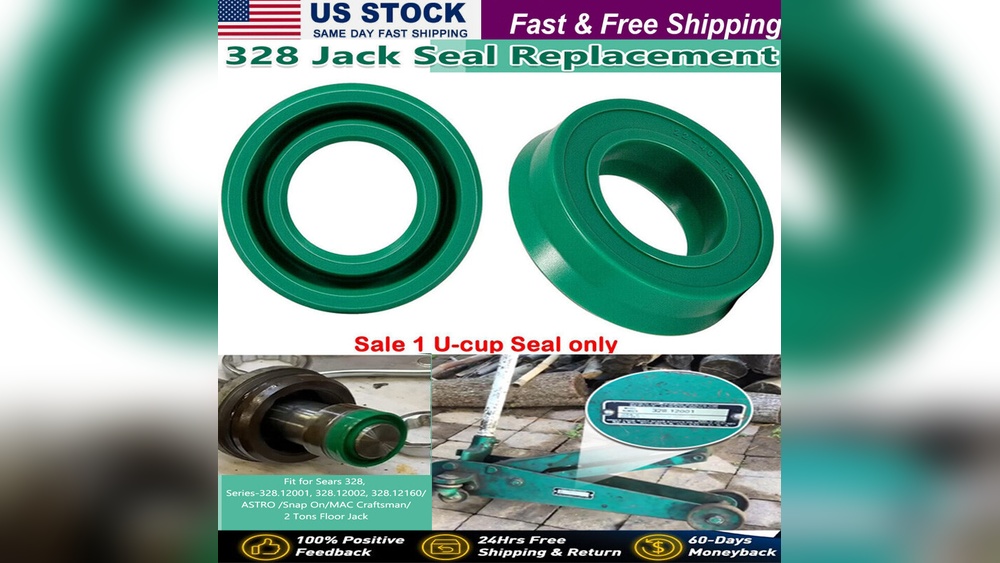
Hydraulic Fluid And Seal Kits
The hydraulic system needs fresh fluid to work well. Use the correct hydraulic fluid recommended for Sears jacks. Seal kits include rubber rings that stop leaks. Replacing old seals prevents fluid loss and keeps pressure steady. Both fluid and seals are key to restore lifting power.
Cleaning Supplies
Cleaning the jack is important before repair. Use rags to wipe dirt and grease. A brush helps to remove stubborn grime. Cleaning solvents dissolve oil and old fluid. Clean parts ensure better inspection and smooth reassembly. Keeping the jack clean improves its lifespan.
Preparing The Jack For Repair
Preparing your Sears floor jack for repair is the first step to ensure a safe and effective fix. Taking time to clean and inspect the jack helps spot problems early. It also makes the repair process smoother. Safety is key before starting any work on the jack.
Cleaning And Inspection
Start by wiping off dirt and grease from the jack’s surface. Use a clean cloth and a mild cleaner. Remove debris from moving parts. Check for cracks, rust, or worn parts carefully. Look at the hydraulic system for leaks or damage. Tighten any loose bolts or screws. This step helps find issues that need fixing.
Safety Precautions
Wear gloves and safety glasses before working on the jack. Keep your work area clean and well-lit. Place the jack on a flat, stable surface to avoid accidents. Release all pressure from the jack before disassembly. Avoid working under a load supported only by the jack. Use jack stands if necessary to support heavy objects. Follow these steps to protect yourself during repair.
Fixing Hydraulic Leaks
Hydraulic leaks are common issues in Sears floor jacks. Leaks cause loss of pressure and reduce lifting power. Fixing these leaks restores the jack’s strength and safety. Start by finding where the fluid escapes. Usually, seals and O-rings wear out or break. Replacing these parts stops leaks and keeps the jack working well.
Replacing Seals And O-rings
First, drain all hydraulic fluid from the jack. Remove the cover to access the pump and cylinder. Check seals and O-rings for cracks or damage. Use the right size replacements from a hardware store. Clean the area before installing new seals. Put the seals and O-rings carefully in place. Tighten all parts firmly but do not over-tighten. This prevents damage and future leaks.
Refilling Hydraulic Fluid
Once seals are replaced, refill the hydraulic fluid. Use the type recommended in the jack’s manual. Open the fill plug and pour fluid slowly. Avoid overfilling to prevent pressure problems. After filling, pump the handle several times. This removes air and helps fluid flow. Check for leaks again to ensure the repair worked. Proper fluid levels keep the jack lifting smoothly and safely.
Repairing The Pump Mechanism
Repairing the pump mechanism is key to restoring your Sears floor jack’s lifting power. The pump moves hydraulic fluid, creating the pressure needed to lift heavy objects. Over time, parts inside the pump wear out or get damaged. Fixing these parts brings back smooth, reliable operation. Follow these steps carefully to repair the pump mechanism safely and effectively.
Disassembling The Pump
Start by lowering the floor jack completely. Remove the cover or housing around the pump. Use the correct tools to avoid damage. Take pictures or notes of each part’s position. This helps during reassembly. Carefully detach the pump assembly from the jack frame. Keep small parts in a safe container. Check for obvious damage or wear once disassembled.
Replacing Worn Parts
Inspect all pump components closely. Look for cracks, rust, or worn seals. Replace any damaged seals or O-rings with new ones. Use parts made for your Sears floor jack model. Pumps often fail due to worn seals or pistons. Clean all parts before installing replacements. Proper lubrication helps the pump work smoothly.
Reassembling The Pump
Follow your notes or photos to put the pump back. Fit seals and pistons carefully to avoid damage. Tighten screws and bolts evenly. Check that the pump moves freely without sticking. Reinstall the pump assembly into the floor jack. Test the jack by pumping the handle. The lifting action should feel firm and smooth.

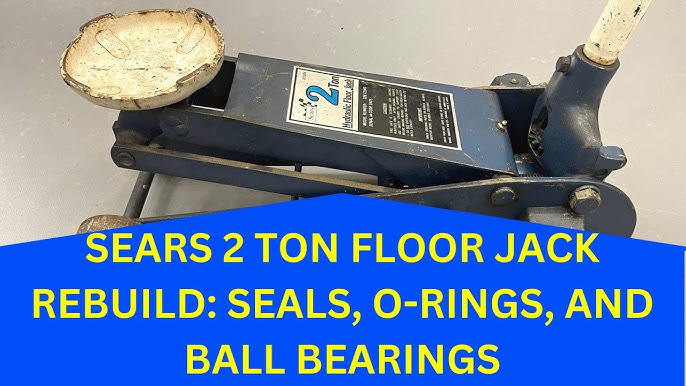
Credit: www.youtube.com
Addressing Handle And Release Issues
Handle and release problems are common in Sears floor jacks. These issues stop the jack from lifting or lowering properly. Fixing them keeps the jack safe and working well. Focus on the handle and release parts to solve these problems quickly.
Lubricating Moving Parts
Dry parts cause stiff handles and slow release. Use a light machine oil on all moving parts. Apply oil to the handle joints and release valve. Move the handle up and down to spread the oil. This frees stuck parts and smooths the motion. Regular lubrication prevents rust and wear.
Adjusting Release Valve
The release valve controls how the jack lowers. If it is too tight, the jack won’t lower easily. If too loose, it may drop suddenly. Turn the release valve knob slowly to adjust. Turn clockwise to tighten and counterclockwise to loosen. Test the jack after each turn. Stop when the jack lowers smoothly and safely.
Testing The Jack Post-repair
Testing the Sears floor jack after repair is essential. It confirms the jack works properly and safely. This step helps catch any issues before real use. Proper testing protects you and your vehicle from accidents.
Checking Lift Functionality
Begin by placing the jack on a flat surface. Pump the handle slowly to lift the arm. Watch for smooth movement without jerks or delays. The jack should lift steadily to its full height. Check for any unusual noises during lifting. Lower the arm gently and observe smooth descent. If the jack fails to lift or lowers suddenly, it needs more repair.
Ensuring Safety And Stability
Test the jack under load using a safe, stable object. Avoid lifting anything too heavy at first. Ensure the jack holds the load firmly without slipping. Check the base for stability and no wobbling. Inspect all locking mechanisms to secure the lift position. Never use a jack that shows signs of weakness. Safety depends on the jack’s strength and stability.
Maintenance Tips To Prevent Future Problems
Maintaining your Sears floor jack is key to avoiding future issues. Small care steps keep the jack working smoothly. These tips help you catch problems early and extend the jack’s life.
Regular Inspection
Check the floor jack before each use. Look for cracks, leaks, or rust. Test the lifting and lowering functions. Catching issues early prevents bigger repairs later. Replace worn parts quickly to keep the jack safe.
Proper Storage
Store the jack in a dry, clean place. Avoid damp areas to stop rust. Keep it on a flat surface. Lower the jack fully before storing. This reduces pressure on seals and parts. Cover the jack to keep dust away.
Routine Lubrication
Lubricate moving parts regularly. Use the right oil or grease. Focus on joints, wheels, and the lifting arm. Lubrication reduces friction and wear. It keeps the jack moving smoothly. Clean old grease before applying new lubricant.
Frequently Asked Questions
How Do I Fix A Leaking Sears Floor Jack?
Check the hydraulic fluid level first. Replace or top up fluid if low. Inspect seals for damage and replace if needed. Bleed air from the system to restore proper pressure.
Why Won’t My Sears Floor Jack Lift Properly?
Low hydraulic fluid or air in the system often causes lifting issues. Check for leaks and refill fluid. Bleed the system to remove trapped air. Inspect the release valve for proper function.
How Can I Troubleshoot A Stuck Sears Floor Jack?
A stuck jack may have a faulty release valve or damaged seals. Try loosening the release valve gently. Inspect seals and replace if worn. Lubricate moving parts to restore smooth operation.
What Maintenance Keeps A Sears Floor Jack Working Longer?
Regularly check hydraulic fluid levels and refill as needed. Keep all moving parts clean and lubricated. Inspect seals and replace worn ones. Store the jack in a dry place to prevent rust.
Conclusion
Repairing a Sears floor jack can save time and money. Follow each step carefully for best results. Regular maintenance helps keep the jack working well. Check parts often to avoid bigger problems later. A well-fixed jack ensures safety during use.
Keep tools handy and work patiently. Now, you can handle simple repairs yourself. Stay safe and confident while using your jack.