Is your floor jack leaking and leaving you worried about safety and performance? A leaking floor jack can cause frustration and even put your projects at risk.
But don’t worry—you can fix it yourself with a few simple steps. In this guide, you’ll learn exactly how to identify the leak, what tools you need, and how to get your floor jack working like new again. Keep reading to save time, money, and avoid calling for expensive repairs.
Your safety and peace of mind are just a few steps away.
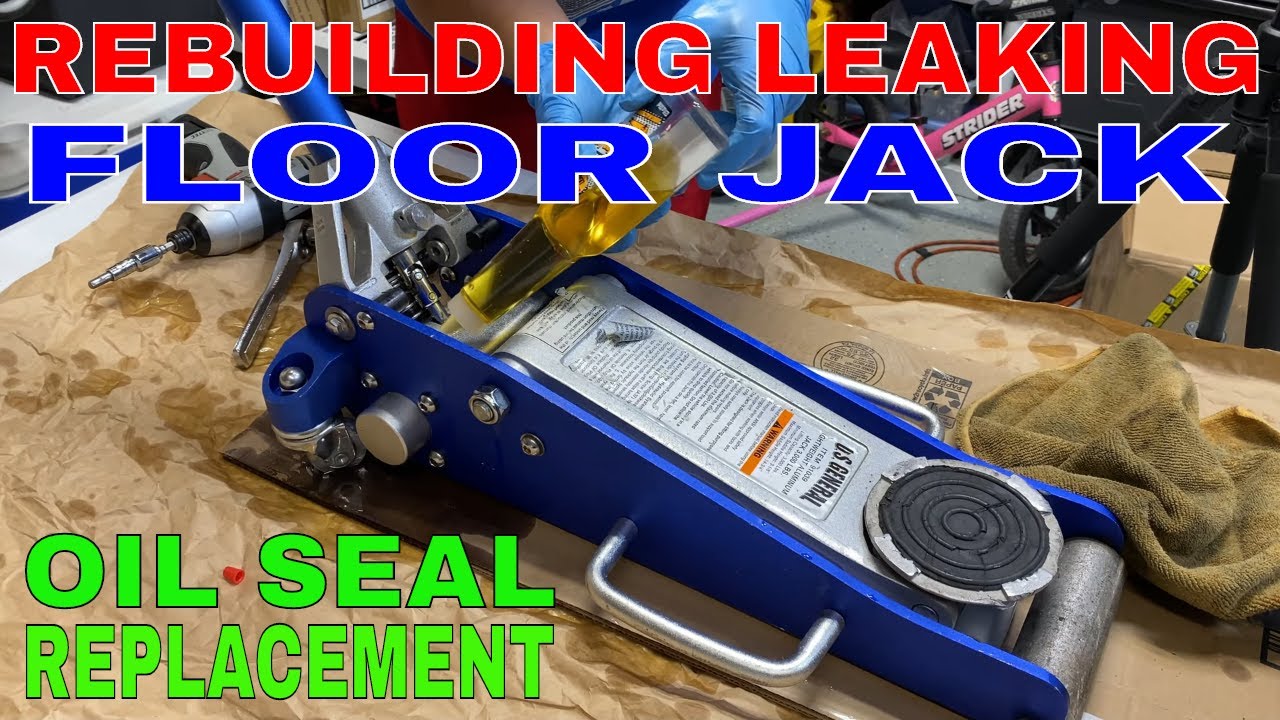
Credit: www.youtube.com
Identify The Leak Source
Finding the source of a leak in your floor jack is the first step to fixing it. Without knowing where the leak starts, repairs may not work well. This section guides you through simple checks to identify the leak’s origin. Follow these steps carefully to spot the problem quickly.
Check Hydraulic Fluid Levels
Start by checking the hydraulic fluid level. Low fluid can cause poor jack performance and leaks. Remove the fill plug and see if the fluid is below the recommended level. Add fluid if needed, but be careful not to overfill. This check helps find if the leak has drained the fluid.
Inspect Seals And Hoses
Seals and hoses keep the fluid inside the jack. Look closely at these parts for cracks, tears, or wear. Damaged seals or hoses often cause leaks. Use a clean cloth to wipe them and check for wet spots. Replace any worn or broken seals and hoses to stop leaks.
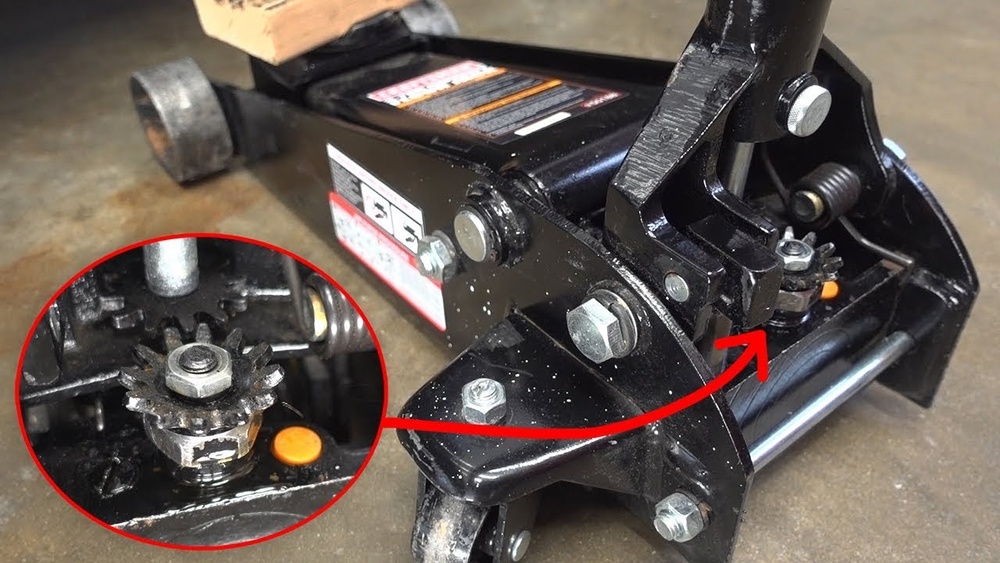
Look For Visible Damage
Examine the entire floor jack for visible damage. Check the body, lifting arm, and connections. Look for dents, rust, or holes that may let fluid escape. Damage can weaken the jack and lead to leaks. Fix or replace damaged parts to ensure safe use.

Credit: www.reddit.com
Prepare For Repair
Before fixing a leaking floor jack, preparation is key. This step helps make the repair smooth and safe. Proper preparation saves time and avoids mistakes. Follow these simple steps to get ready for repair.
Gather Necessary Tools
Collect all tools before starting the repair. You need a wrench set, screwdrivers, and pliers. Have a replacement seal or O-ring ready. Keep a clean cloth for wiping spills. A container to catch hydraulic fluid is helpful.
Ensure Safety Precautions
Work in a well-ventilated area. Wear gloves to protect your hands. Use safety glasses to shield your eyes. Make sure the jack is fully lowered and stable. Avoid loose clothing that can get caught in parts.
Drain Hydraulic Fluid
Place the container under the jack’s fluid reservoir. Open the drain plug carefully to release fluid. Let the fluid drain completely to avoid mess. Dispose of old fluid safely according to local rules. Clean the area around the reservoir before reassembling.
Fix Common Leak Issues
Fixing common leak issues in a floor jack helps keep it safe and working well. Leaks often come from worn parts or loose fittings. Fixing these stops fluid loss and keeps the jack strong. Follow these steps to fix usual leak problems fast and easy.
Replace Damaged Seals
Seals stop hydraulic fluid from leaking out. Over time, seals wear out or crack. Remove the old seals carefully. Clean the area before putting new seals in place. Use the right size seals for your floor jack. This prevents leaks and keeps pressure steady.
Tighten Loose Connections
Loose connections cause many leaks. Check all nuts, bolts, and fittings. Use a wrench to tighten any loose parts. Do not overtighten; this can cause damage. Tight connections keep the hydraulic fluid inside. This helps the jack lift smoothly without losing power.
Repair Or Replace Hoses
Hoses carry fluid between parts. Cracks or holes in hoses cause leaks. Inspect hoses for damage or wear. Small holes can be patched temporarily. Replace badly damaged hoses with new ones. Use hoses made for hydraulic systems. Proper hoses stop leaks and keep the jack working safely.
Test The Floor Jack
Testing the floor jack after a repair is important. It shows if the leak is fixed and the jack works well. This step helps you avoid future problems and keeps you safe while using the jack. Follow these simple checks to make sure your floor jack is ready.
Refill Hydraulic Fluid
Check the fluid level inside the jack. Use the right hydraulic oil for your model. Add oil slowly to avoid overfilling. A full tank helps the jack lift smoothly and hold weight correctly. Wipe away any spilled fluid to keep the area clean.
Check For Remaining Leaks
Look around the jack for any wet spots or drips. Pay close attention to seals and joints. Use a clean cloth to detect small leaks. Move the jack up and down while watching. No leaks means the repair worked well.
Verify Jack Performance
Test the jack by lifting a light load first. Watch for steady lifting without sinking. Listen for unusual sounds or jerks. The jack should hold the load without dropping. If it works fine, your floor jack is ready to use.
Prevent Future Leaks
Preventing future leaks in your floor jack is key to keeping it safe and working well. Small leaks can turn into bigger problems. Taking simple steps can stop leaks before they start. These actions save time and money over the long run.
Regular Maintenance Tips
Check the jack often for signs of wear or damage. Look for oil spots or cracks around seals. Clean dirt and grime from all parts regularly. Replace worn seals and gaskets quickly. Use the right oil and keep the fluid at the right level. Tighten bolts and nuts to avoid loose parts. Regular care helps catch leaks early and keeps the jack strong.
Proper Storage Practices
Store the floor jack in a dry place away from dust. Keep it on a flat surface to avoid stress on parts. Avoid leaving the jack in extreme heat or cold. Cover the jack with a cloth or plastic sheet to protect from moisture. Proper storage stops rust and seal damage that cause leaks. Good storage habits extend the life of your jack.
When To Seek Professional Help
Some leaks need expert repair to fix safely. If you see heavy oil loss or damage, call a pro. Don’t try to fix major cracks or broken parts yourself. Professionals have tools and knowledge to repair and test your jack. They ensure the jack is safe before you use it again. Timely help prevents accidents and costly damage.

Credit: www.jalopyjournal.com
Frequently Asked Questions
How Do I Identify A Leaking Floor Jack?
Check for oil puddles under the jack or damp spots on its body. Inspect seals and hydraulic lines for visible damage or cracks. If the jack loses pressure quickly, it likely has a leak.
What Causes Floor Jacks To Leak Oil?
Leaks often result from worn seals, cracked hydraulic cylinders, or damaged hoses. Regular wear and tear or accidental impacts can also cause these parts to fail, leading to oil leakage.
Can I Repair A Leaking Floor Jack Myself?
Yes, if you have basic tools and mechanical skills. Replace worn seals and damaged parts carefully. Always follow the manufacturer’s repair guide for safety and proper function.
How Much Does It Cost To Fix A Leaking Floor Jack?
Repair costs vary between $20 to $100 depending on parts needed. DIY repairs cost less but professional service ensures thorough inspection and safety.
Conclusion
Fixing a leaking floor jack can save you time and money. Check the seals and oil levels carefully. Replace any damaged parts quickly to stop leaks. Regular maintenance keeps your jack working well. Simple steps help avoid bigger problems later.
Take your time and follow safety rules. A well-kept floor jack lasts longer and works better. Keep it ready for your next job.


