Are you ready to hang shelves, pictures, or fixtures on your concrete walls but unsure how to make them stay secure? Installing plastic wall anchors in concrete might sound tricky, but with the right steps, you can do it yourself quickly and safely.
Imagine having the confidence to fix anything to your walls without worrying about it falling down. This guide will walk you through every step, making the process clear and easy to follow. Keep reading, and by the end, you’ll have the skills to handle your concrete wall projects like a pro.
Choosing The Right Wall Anchors
Choosing the right wall anchors is key to a strong and safe hold in concrete walls. Different projects need different types of anchors. Picking the wrong one can cause damage or fail to hold weight. This section helps you understand the options and tools needed for plastic anchors.
Types Of Plastic Anchors
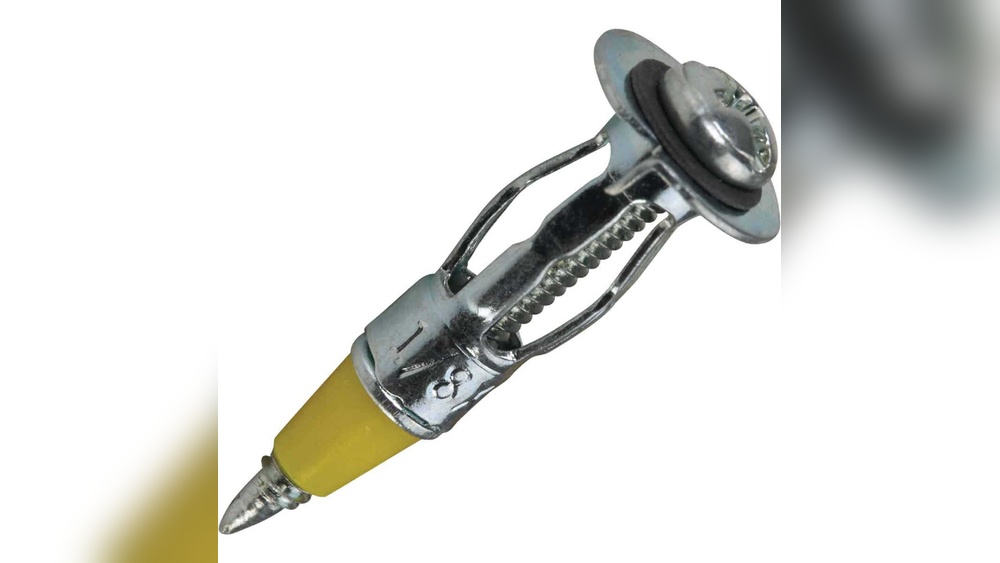
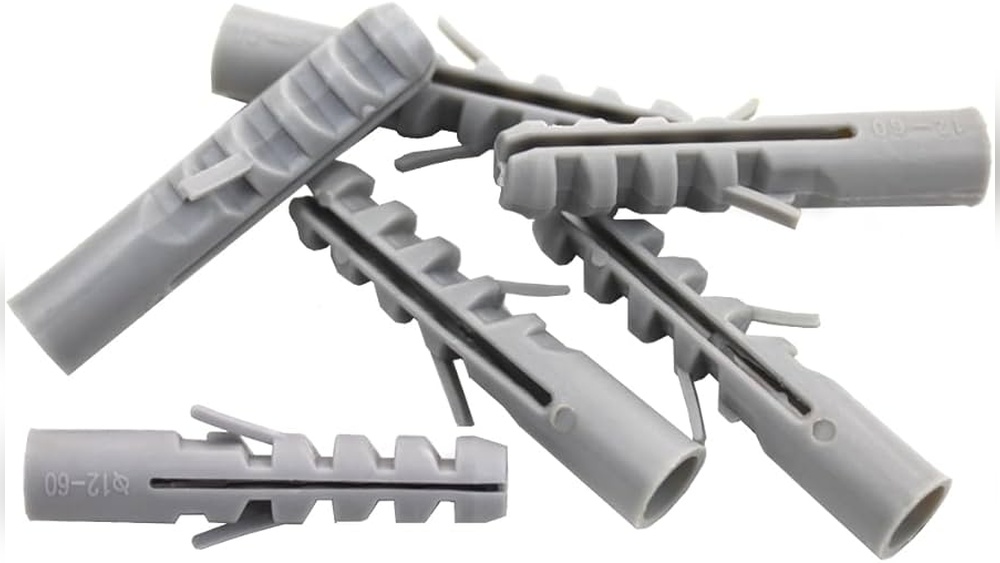
Plastic anchors come in many shapes and sizes. Some common types include expansion anchors, sleeve anchors, and toggle anchors. Expansion anchors widen inside the hole to grip the concrete. Sleeve anchors have an outer sleeve that expands. Toggle anchors use a spring mechanism to lock behind the wall. Each type suits different weights and wall thicknesses.
Anchor Size And Weight Capacity
Anchor size matters for holding power. Larger anchors support heavier loads. Check the package for weight limits. Choose anchors that hold more than your item’s weight. Also, match anchor length to wall thickness. Too short won’t hold well. Too long may break or not fit. Measure carefully before buying.
Tools Needed For Installation
Proper tools make installation easier and safer. Use a hammer drill with a masonry bit to drill holes in concrete. The drill bit size must match the anchor size. A hammer helps tap the anchor into place. A screwdriver or drill driver tightens screws. Wear safety glasses and gloves for protection.
Preparing The Concrete Surface
Preparing the concrete surface is an important step before installing plastic wall anchors. It helps the anchors hold firmly and prevents damage. Taking time to prepare the surface ensures a strong and lasting fix.
Cleaning The Area
Start by cleaning the concrete surface where you will install the anchors. Remove dirt, dust, and loose particles. Use a wire brush or broom to sweep the area well. A clean surface helps the anchor grip better. Wipe away any remaining dust with a dry cloth or compressed air.
Marking Drill Points
Next, mark the exact spots to drill holes for the anchors. Use a pencil or marker for clear marks. Measure carefully to keep the marks straight and evenly spaced. Accurate marking prevents mistakes and saves time. Double-check your marks before drilling to ensure proper anchor placement.
Drilling Holes In Concrete
Drilling holes in concrete is the first step to install plastic wall anchors properly. It requires the right tools and careful technique. Concrete is hard and dense, so drilling needs patience and the correct drill bit. A clean, precise hole ensures the anchor fits tightly and holds well.
Selecting The Drill Bit
Use a masonry drill bit for concrete. These bits have a special tip to cut through hard material. Choose a bit size that matches the plastic anchor diameter. Too big or too small can cause loose or weak fitting. Check the anchor package for the recommended drill bit size.
Drilling Techniques
Mark the spot where you want the hole. Hold the drill steady and straight. Start drilling slowly to avoid slipping. Use a hammer drill if available for faster progress. Drill in short bursts to clear dust from the hole. Stop when the hole reaches the anchor’s length. Clean out the dust with a brush or air blower.
Safety Precautions
Wear safety goggles to protect your eyes from dust and debris. Use ear protection as drilling concrete can be loud. Wear a dust mask to avoid breathing concrete particles. Keep your hands and fingers clear of the drill bit. Work in a well-ventilated area to reduce dust build-up.

Credit: www.ebay.com
Inserting Plastic Wall Anchors
Inserting plastic wall anchors into concrete is a key step for a strong hold. It ensures screws stay secure and objects stay mounted. This process needs care and the right technique.
Proper insertion helps avoid damage to the anchor and wall. It also prevents the anchor from slipping out later. Follow these simple steps to place anchors correctly.
Proper Insertion Method
Start by drilling a hole in the concrete. The hole size must match the anchor size exactly. Clean out dust and debris from the hole. Use a hammer to gently tap the anchor in. Push it until the anchor is fully inside the hole. Do not force it hard to avoid cracks or breaks.
Ensuring Anchor Flushness
Check that the anchor sits flush with the wall surface. It should not stick out or sit too deep. Use your fingers or a flat tool to press it gently. A flush anchor allows screws to grip tightly. This keeps mounted items stable and safe.
Securing Screws Into Anchors
Securing screws into plastic wall anchors in concrete ensures a strong hold. Proper screw choice and careful installation prevent damage and keep fixtures stable. This step is crucial for lasting results.
Choosing The Right Screws
Select screws that fit the anchor size. Too long or thick screws can crack the anchor or concrete. Use screws made of corrosion-resistant material for durability. Wood screws often work well with plastic anchors. Match the screw length to the anchor depth inside the concrete.
Screw Installation Tips
Start screwing slowly to avoid stripping the anchor. Use a screwdriver or drill with low speed settings. Stop tightening once the screw feels firm and the fixture is secure. Avoid over-tightening to prevent anchor breakage. Keep the screw straight to maintain grip and prevent wall damage.

Credit: www.amazon.com
Testing Anchor Strength
Testing the strength of plastic wall anchors in concrete is important. It ensures the anchors hold firmly under weight. Weak anchors can cause damage or accidents. This section explains how to check anchor strength safely and effectively.
Load Testing Methods
Load testing checks how much weight an anchor can hold. Use a spring scale or a pull tester. Attach the tool to the anchor and pull slowly. Note the force when the anchor moves or pulls out. This shows the anchor’s maximum load capacity. Repeat the test a few times for accuracy. Always wear safety gear during testing.
Troubleshooting Loose Anchors
Loose anchors can happen for several reasons. The hole might be too big or dirty. The anchor may not expand properly in the concrete. To fix this, remove the anchor and clean the hole. Use a new anchor of the correct size. Tap it in firmly and test again. If loose anchors persist, try using a different type of anchor better suited for the surface.

Credit: www.picturehangsolutions.com
Frequently Asked Questions
What Tools Are Needed To Install Plastic Wall Anchors?
You need a drill, masonry bit, hammer, and screwdriver. A vacuum helps clean dust from the hole. These tools ensure proper anchor installation in concrete walls.
How Do I Choose The Right Plastic Wall Anchor Size?
Match the anchor size to your screw diameter. Check the anchor packaging for weight limits. Correct sizing ensures strong, secure mounting on concrete surfaces.
Can I Install Plastic Anchors Without Drilling In Concrete?
No, drilling is essential. It creates a hole for the anchor. Without drilling, the anchor won’t grip the concrete properly, risking failure.
How Deep Should I Drill For Plastic Wall Anchors?
Drill a hole slightly deeper than the anchor length. This allows full anchor insertion and dust removal. Proper depth ensures maximum holding strength.
Conclusion
Plastic wall anchors hold items firmly in concrete walls. Drill the right hole size and insert the anchor carefully. Tighten the screw to secure your object well. Take your time to avoid cracking the concrete. With these steps, your installation will stay strong and safe.
Practice makes the process easier over time. Now, you can hang shelves, pictures, or other items with confidence. Simple tools and clear steps lead to great results.