Are you looking to boost your home’s security quickly and easily? Installing a one-sided deadbolt might be exactly what you need.
It’s a simple upgrade that can make a big difference in keeping your space safe. In this guide, you’ll discover step-by-step instructions that anyone can follow—even if you’ve never handled tools before. By the end, you’ll have the confidence and know-how to protect your home with a reliable lock.
Ready to take control of your security? Let’s get started.
Tools And Materials Needed
Installing a one-sided deadbolt requires a few simple tools and materials. Having them ready makes the process easier and faster. This section lists everything needed to complete the job smoothly.
Deadbolt Lock Set
Choose a one-sided deadbolt lock designed for your door type. The lock set includes the bolt, thumb turn, and strike plate.
Measuring Tape
Measure the door and lock placement precisely. Accurate measurements prevent mistakes during installation.
Drill And Drill Bits
Use a drill to make holes for the deadbolt. Different drill bits help create holes of the right size.
Screwdriver
A screwdriver is essential to secure screws. Both flathead and Phillips types might be necessary.
Chisel
Chisels help create space for the lock and strike plate. This tool shapes wood for a snug fit.
Pencil
Mark measurements and drill points clearly. A pencil ensures precise cutting and drilling locations.
Safety Glasses
Protect your eyes from dust and debris. Always wear safety glasses during drilling and chiseling.
Wood Filler (optional)
Use wood filler to fix any mistakes or gaps. It helps maintain the door’s appearance after installation.
Choosing The Right Deadbolt
Choosing the right deadbolt is important for your home’s security. A good deadbolt keeps your door strong and hard to open from outside. It also fits well and works smoothly every day.
Consider the type of door and the level of security you need. Some deadbolts are simple, while others have extra features for better protection. Pick one that matches your door style and your safety needs.
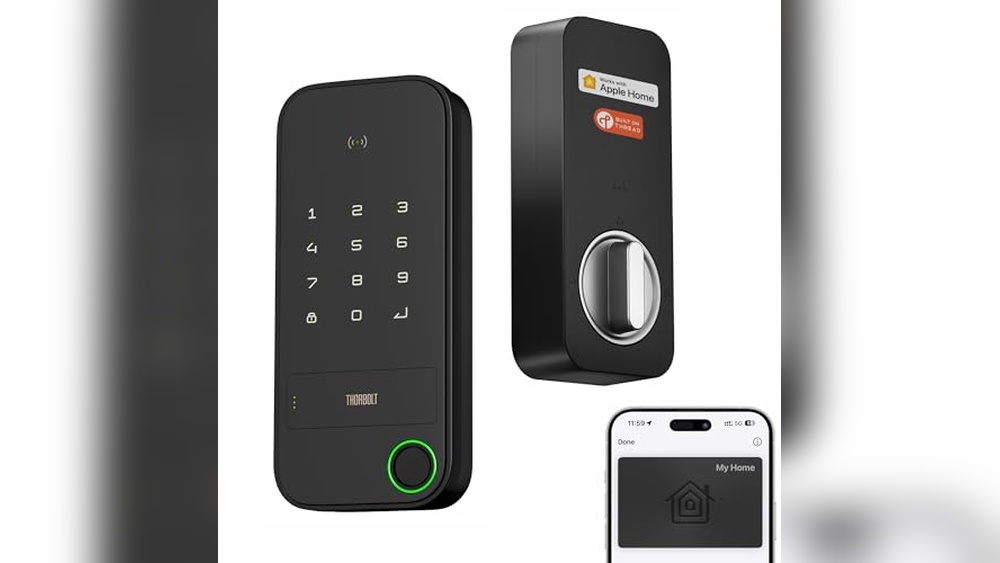
Types Of One Sided Deadbolts
One sided deadbolts have a key or thumb turn on only one side. They are good for doors that open to safe areas inside the house. Some models use a key outside and a knob inside. Others lock only from the inside for privacy.
Material And Build Quality
Choose deadbolts made of strong metal like brass or steel. These materials resist force and wear well. Check the lock’s finish to avoid rust and damage. A solid build means better security and longer use.
Ease Of Installation
Pick deadbolts that fit your door’s thickness and hole size. Some come with clear instructions and all parts included. A simple install saves time and effort. Avoid complicated locks if you want to install quickly.
Security Ratings And Standards
Look for deadbolts rated by trusted security groups. Higher ratings mean better protection against break-ins. Check if the lock meets local building codes. A certified deadbolt gives peace of mind.
Preparing The Door
Preparing the door is the first important step to install a one sided deadbolt. This step ensures the lock fits well and works smoothly. It involves finding the right spots to drill and making sure the door is ready for the lock parts.
Careful preparation saves time and prevents mistakes during installation. Follow the steps below to mark and drill the door correctly for a secure fit.
Marking The Drill Points
Start by holding the lock template against the door edge. Align it at the right height for easy access. Use a pencil to mark the center points for the lock and bolt holes. Double check these marks to avoid errors.
Mark both the face of the door and the edge. These marks guide your drill and keep holes straight. Accurate marking is key to a neat, strong installation.
Drilling Holes
Use a drill with the correct sized bit for the lock holes. Drill slowly and straight through the door at the marked spots. Start with the face hole, then drill the edge hole for the bolt.
Keep the drill steady to avoid splintering the wood. Clear away any debris inside the holes. Smooth edges help the lock fit better and last longer.
Installing The Deadbolt Mechanism
Installing the deadbolt mechanism is a key step in securing your door. It requires careful fitting and proper alignment. This ensures the lock works smoothly and provides strong protection.
Take your time with each part. Small mistakes can cause the lock to jam or fail. Follow the steps below for a solid and reliable installation.
Fitting The Bolt Into The Door
Start by sliding the bolt into the hole on the door edge. Make sure the bolt moves freely without sticking. The bolt should fit flush with the door surface.
Check the orientation of the bolt. The flat side should face the door frame. Push the bolt all the way in before securing it.
Use screws to hold the bolt in place. Tighten them evenly to avoid misalignment. Avoid over-tightening, which can bend the bolt.
Securing The Faceplate
Place the faceplate over the bolt on the door edge. Align it carefully with the bolt and door surface. The faceplate keeps the bolt stable and protects the door edge.
Insert screws through the faceplate holes. Use a screwdriver to tighten the screws firmly. The faceplate should sit flat and not wiggle.
Check the bolt again by sliding it in and out. It must move smoothly without resistance. Adjust the faceplate screws if needed for better fit.
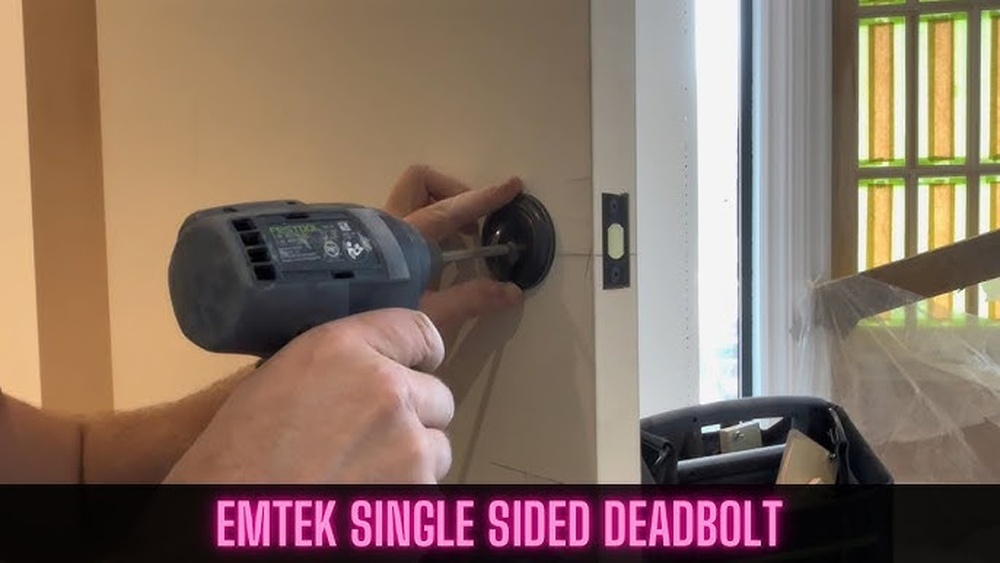
Attaching The Exterior Side
Attaching the exterior side of a one-sided deadbolt is a key step. This part holds the lock mechanism you use outside your door. It needs to fit tightly and align with the holes on the door. Proper attachment ensures your deadbolt works smoothly and keeps your home secure.
Align The Exterior Plate
Place the exterior plate over the hole on the door. Make sure the keyhole or thumb turn is facing the correct way. Check the plate edges sit flush against the door surface. This prevents gaps that can weaken the lock’s hold.
Insert The Deadbolt Cylinder
Slide the deadbolt cylinder through the plate into the door hole. Push gently until it stops. The cylinder should fit snugly without forcing it. Proper fit keeps the lock stable and prevents damage.
Secure With Screws
Use the screws that came with your deadbolt. Insert them into the holes on the exterior plate. Tighten the screws evenly with a screwdriver. Avoid over-tightening to prevent cracking the door or plate.

Credit: www.youtube.com
Mounting The Interior Thumb Turn
Mounting the interior thumb turn is a key step in installing a one-sided deadbolt. This part lets you lock and unlock the door from inside quickly. Proper installation ensures smooth operation and security. Follow these simple steps for a perfect fit.
Prepare The Door Surface
Start by cleaning the door area where the thumb turn will go. Remove any dust or debris. This helps the parts fit tightly and work well. Check the holes on the door to match the deadbolt size.
Align The Thumb Turn Mechanism
Place the thumb turn on the inside of the door. Make sure the spindle fits through the hole in the lock body. The turn should sit flat against the door surface. Align it so the handle moves freely.
Secure The Thumb Turn With Screws
Insert the screws through the thumb turn plate. Use a screwdriver to tighten them carefully. Do not overtighten, or you might damage the door or the lock. The thumb turn should feel firm but easy to rotate.
Test The Thumb Turn Function
Turn the thumb turn several times to check the lock’s action. It should lock and unlock smoothly without sticking. If it feels tight or loose, adjust the screws or alignment. Proper function is important for security and ease of use.
Testing The Lock
Testing the lock is a crucial step after installing your one sided deadbolt. It ensures the lock works correctly and keeps your door secure. Take your time to test every part of the mechanism. This will help avoid problems later.
Checking Bolt Movement
Start by sliding the bolt in and out. It should move smoothly without sticking. Push the bolt fully into the door frame. Pull it back to the locked position. If the bolt feels tight or jammed, adjust the strike plate or the bolt itself. Proper bolt movement means better security.
Ensuring Smooth Operation
Turn the thumb turn or key several times. The lock should operate without resistance. Listen for any unusual sounds like grinding or clicking. These noises could mean parts are misaligned. Make small adjustments to the lock parts if needed. Smooth operation helps the lock last longer and work better.

Credit: support.shopyalehome.com
Tips For Maintenance And Security
Maintaining your one sided deadbolt is important for long-lasting security. Proper care keeps the lock working smoothly and prevents damage. Regular checks help spot problems before they become serious.
Simple actions can improve your home’s safety. Clean the lock, test its function, and keep the area clear. These small steps protect your door and give peace of mind.
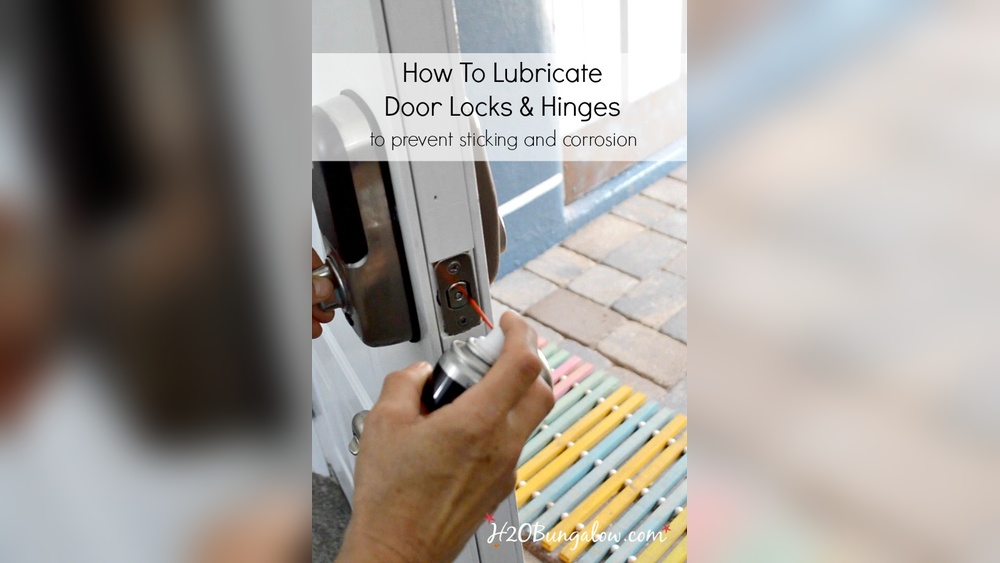
Cleaning And Lubricating The Deadbolt
Use a soft cloth to clean dust and dirt. Avoid harsh chemicals that can damage the lock. Apply a small amount of graphite or silicone spray inside the keyhole. This helps the lock move easily and stops it from sticking.
Checking For Wear And Tear
Look at the deadbolt regularly for signs of rust or damage. Test the bolt by locking and unlocking several times. If it feels stiff or rough, the lock may need repair or replacement. Fixing issues early saves money and keeps your door secure.
Securing The Door Frame
Ensure the door frame is strong and fits tightly around the lock. Reinforce weak spots with metal plates or longer screws. A solid frame helps the deadbolt resist force and break-ins. Check the strike plate often for loose screws.
Using The Deadbolt Correctly
Always lock the deadbolt fully to ensure maximum security. Do not force the key or bolt if it is hard to turn. Teach family members how to use the lock properly. Proper use prevents damage and keeps your home safe.
Credit: www.homedepot.com
Frequently Asked Questions
What Tools Do I Need To Install A One Sided Deadbolt?
You need a drill, screwdriver, measuring tape, pencil, and the deadbolt kit. These tools ensure accurate installation and secure fitting.
How Do I Measure For A One Sided Deadbolt?
Measure the door thickness and backset. Mark the correct positions for drilling holes. Accurate measurements prevent misalignment.
Can I Install A One Sided Deadbolt Myself?
Yes, with basic tools and following instructions carefully, DIY installation is possible. It saves money and offers security customization.
How Long Does Installing A One Sided Deadbolt Take?
Installation usually takes 30 to 60 minutes, depending on skill level. Careful work ensures proper locking and durability.
Conclusion
Installing a one sided deadbolt adds extra security to your door. The process is simple if you follow each step carefully. Measure and mark the spots before drilling holes. Use the right tools to make the job easier. Tighten all screws firmly to keep the lock stable.
Test the deadbolt to ensure it works smoothly. This small effort can help protect your home better. You can do it yourself without hiring a professional. Stay safe and enjoy peace of mind with your new lock.