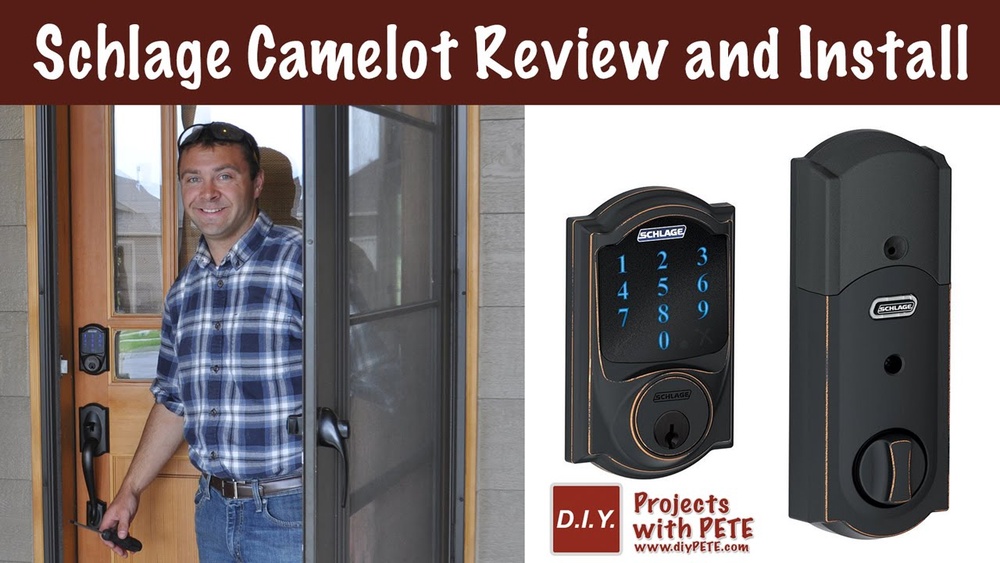
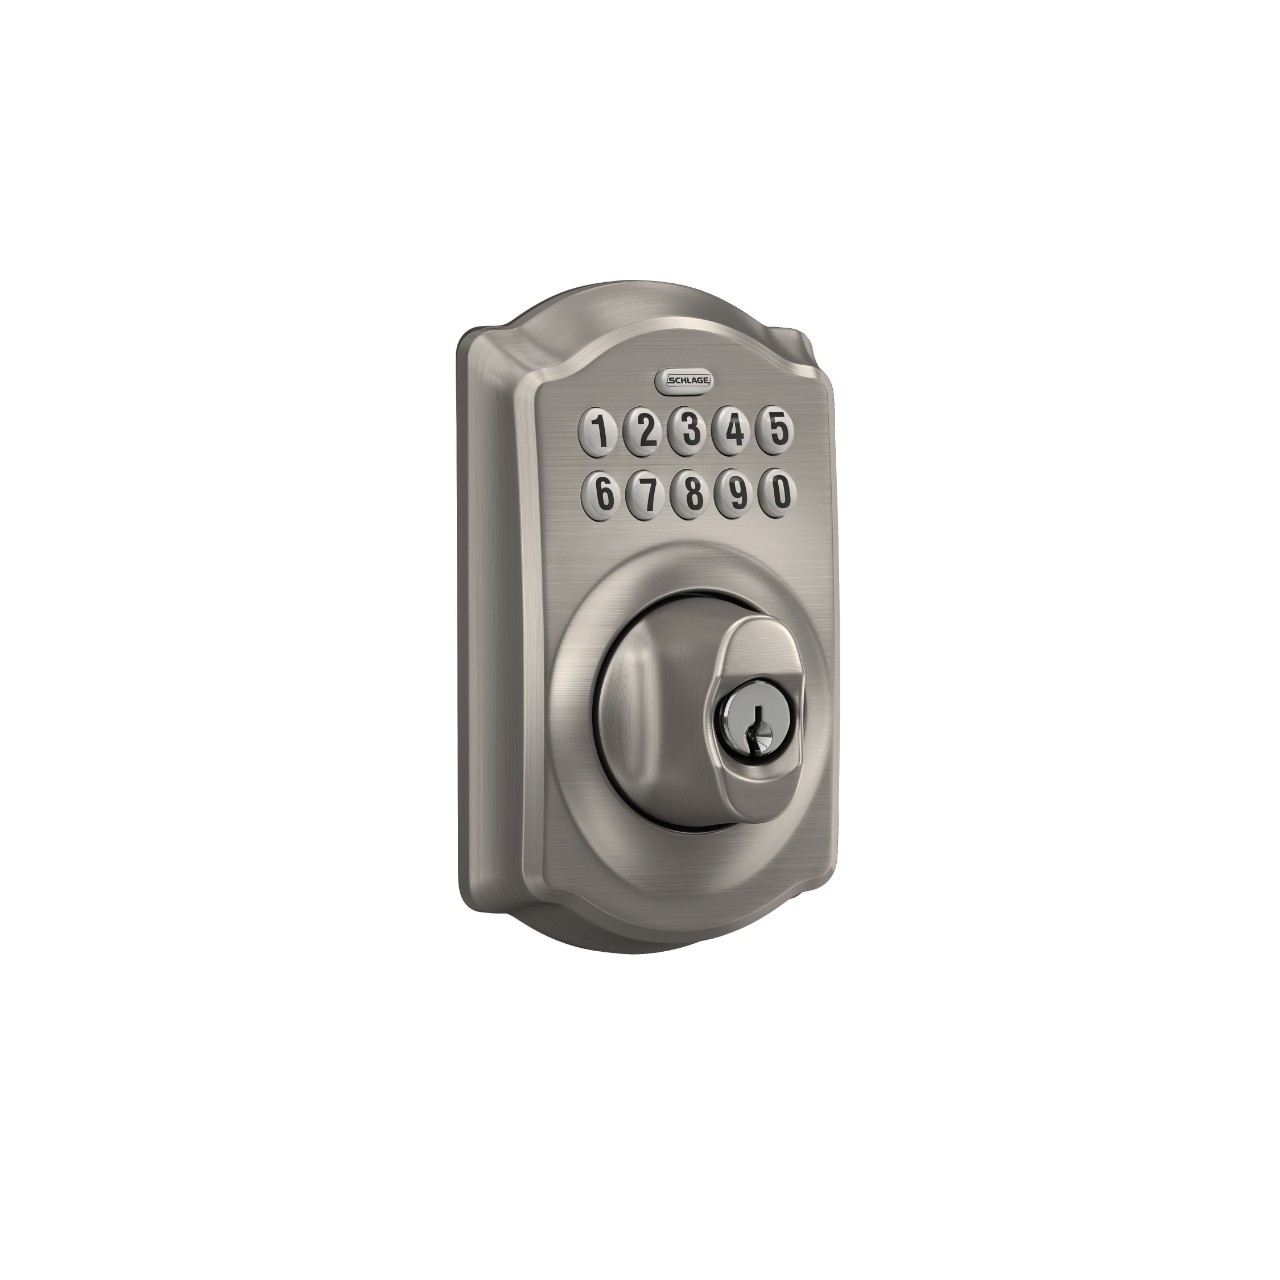
Are you ready to upgrade your home security with a smart and easy-to-use lock? Installing the Schlage Camelot Keypad Deadbolt is a great choice for anyone who wants convenience and peace of mind.
Imagine never fumbling for your keys again or worrying about lost copies. In this guide, you’ll find simple, step-by-step instructions to get your new deadbolt up and running quickly. By the end, you’ll feel confident securing your door like a pro.
Let’s dive in and make your home safer today!

Credit: www.youtube.com
Tools And Materials Needed
Installing a Schlage Camelot Keypad Deadbolt requires some basic tools and materials. Having everything ready makes the process faster and easier. This section lists all the essential items needed for a smooth installation.
Tools Required
First, gather the tools. A Phillips screwdriver is necessary to tighten screws. A flathead screwdriver helps with prying parts gently. A drill with drill bits may be needed if new holes are required. A tape measure ensures proper alignment of the deadbolt. A pencil helps mark drilling spots. Finally, a level keeps the lock straight.
Materials Needed
The package should include the Schlage Camelot keypad lock and mounting hardware. Batteries are needed to power the keypad, usually included. Use the screws that come with the lock for best fit. If the door is old, you may need wood filler or sandpaper to smooth the surface before installation.
Optional Accessories
Optional tools can make installation easier. A power screwdriver speeds up screwing. A chisel can adjust the door frame if needed. A flashlight helps see small parts in dark areas. Having these on hand can save time and effort.
Prepare The Door
Preparing the door is the first step to install the Schlage Camelot Keypad Deadbolt. This step ensures the door is ready for the new lock. Proper preparation makes the installation smoother and faster.
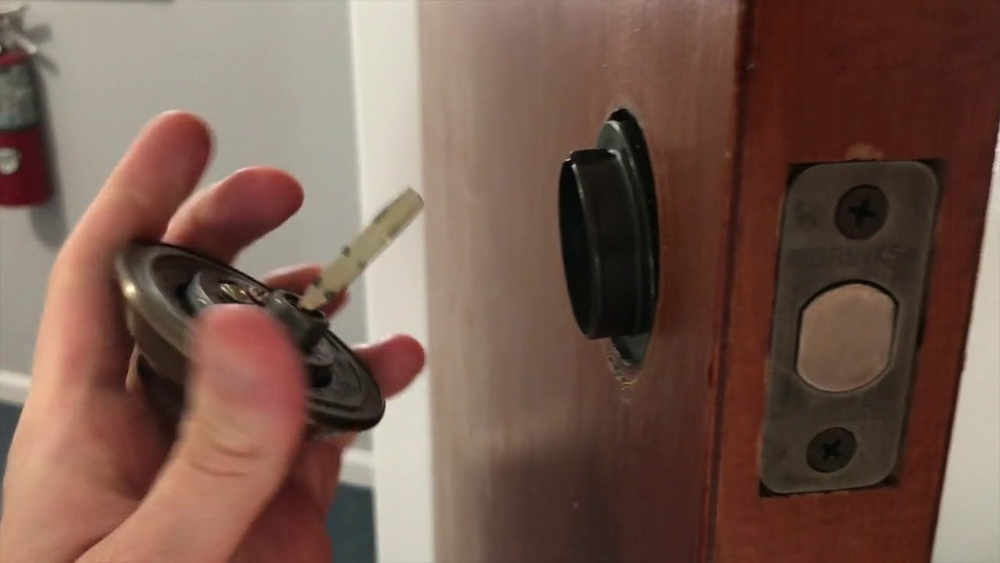
Remove Existing Lock
Start by removing the old lock from your door. Use a screwdriver to take out screws on the interior side. Carefully pull out the lock parts from both sides of the door. Keep the screws and parts aside in case you need them later. Make sure the door surface is clean and flat before installing the new lock.
Check Door Compatibility
Check if your door fits the Schlage Camelot Keypad Deadbolt. The door should be 1-3/8 to 1-3/4 inches thick. The hole for the lock must be 2-1/8 inches in diameter. The backset, or distance from the edge of the door to the center of the hole, should be either 2-3/8 or 2-3/4 inches. Make sure the door edge is flat and has a 1-inch bore hole for the latch. Adjust the door if needed before moving on.
Install The Deadbolt
Installing the Schlage Camelot Keypad Deadbolt is simple and quick. This step ensures the lock works securely on your door. Follow the steps carefully to attach the deadbolt and secure the keypad. Each part must fit well for smooth operation.
Attach The Deadbolt Latch
Start by sliding the deadbolt latch into the door edge. Make sure the latch’s angled side faces the door jamb. Align the latch so it sits flush with the door. Use screws to fasten the latch tightly. Do not over-tighten; the latch should move smoothly.
Secure The Exterior Keypad
Place the keypad on the outside of the door. Align the tailpiece through the latch mechanism. Hold the keypad steady and check the fit. Attach the mounting plate on the inside of the door. Use screws to secure the keypad firmly. Confirm the keypad sits flush and does not wiggle.
Mount The Interior Assembly
Mounting the interior assembly of the Schlage Camelot Keypad Deadbolt is a key step. This part connects the keypad outside to your door’s locking mechanism. Proper mounting ensures smooth locking and unlocking. Follow these simple steps for a secure fit.
Connect The Tailpiece
Start by sliding the tailpiece through the latch mechanism. The tailpiece is the long metal piece that turns the lock. Make sure it fits snugly into the latch. Align it carefully with the slot inside the latch. This connection allows the interior assembly to control the lock.
Fasten The Interior Plate And Cover
Place the interior mounting plate over the tailpiece on the door’s inside. Use the screws provided to fasten the plate tightly. Check that the plate sits flat against the door. Next, snap the interior cover onto the mounting plate. This cover hides screws and gives a clean look. Tighten any visible screws to finish securely.
Insert Batteries And Test
After installing the Schlage Camelot keypad deadbolt, the next important step is to insert the batteries and test the lock. This process powers the keypad and ensures all features work properly. Without batteries, the lock cannot function. Testing confirms the keypad responds and the deadbolt operates smoothly.
Install Batteries
Open the battery compartment on the inside part of the lock. Insert four AA alkaline batteries. Make sure to match the battery terminals with the positive and negative signs inside the compartment. Close the battery cover securely to protect the batteries and maintain power connection.
Test Lock Functionality
Press any button on the keypad to check if it lights up. Enter your user code to see if the deadbolt unlocks. Turn the thumb turn to lock and unlock the door manually. Make sure the lock sounds and moves without sticking. Replace batteries if the keypad does not respond or the lock is slow.
Credit: www.schlage.com
Program User Codes
Programming user codes on your Schlage Camelot Keypad Deadbolt is easy. You control who can enter your home by setting up these codes. Each user code lets a person unlock the door with a unique number. This way, you can give access to family, friends, or workers. Managing these codes is simple and quick.
Set Master Code
The master code lets you manage all other user codes. Start by pressing the Schlage button. Enter the factory default code, then press the Schlage button again. Now, enter your new master code. Make sure it has 6 to 8 digits. Confirm the new code by entering it again. This code controls the lock’s settings. Keep it safe and do not share it.
Add And Delete User Codes
To add a user code, press the Schlage button. Enter the master code, then press the Schlage button again. Choose “Add User Code” from the menu. Enter a new user code with 4 to 8 digits. Confirm the code by entering it again. The lock will beep to confirm the code is added.
To delete a user code, press the Schlage button. Enter the master code and press the Schlage button again. Select “Delete User Code” from the options. Enter the code you want to remove. Confirm by entering the code again. The lock will beep to confirm the code is deleted.
Troubleshooting Tips
Troubleshooting your Schlage Camelot Keypad Deadbolt can save time and frustration. Small issues often have simple fixes. Understanding common problems helps you solve them quickly. This guide covers easy tips to get your lock working smoothly again.
Checking Battery Life And Replacement
Deadbolt keypad problems often start with low batteries. Replace batteries every six months for best results. Use fresh alkaline batteries only. Avoid mixing old and new batteries. A weak battery can cause the lock to fail or behave oddly.
Resetting The Keypad
The keypad may stop responding due to software glitches. Try resetting the lock by removing batteries. Wait 30 seconds before reinserting them. This resets the lock’s system and clears minor errors. Follow instructions in the manual carefully for a full reset.
Ensuring Proper Installation Alignment
Misalignment causes the deadbolt to jam or not lock properly. Check that all parts fit flush against the door. Tighten screws evenly without over-tightening. Adjust the strike plate on the door frame if needed. Proper alignment ensures smooth locking and unlocking.
Verifying Code Programming
Incorrect codes cause keypad access failure. Re-enter your user codes slowly and carefully. Avoid pressing multiple buttons at once. Use the programming guide to confirm correct steps. Reset user codes if you suspect errors or forgetfulness.
Cleaning And Maintenance Tips
Dirt and debris can block the lock mechanism. Clean the keypad and deadbolt with a soft cloth. Use mild soap and water, avoiding harsh chemicals. Lubricate the bolt with graphite or silicone spray. Regular maintenance keeps the lock functioning well.
Credit: www.schlage.com
Frequently Asked Questions
How Do I Install A Schlage Camelot Keypad Deadbolt?
Start by removing the old lock and aligning the new deadbolt. Attach the keypad and secure with screws. Insert batteries, program your code, and test the lock for proper function.
What Tools Are Needed For Schlage Camelot Installation?
You will need a Phillips screwdriver, a tape measure, a pencil, and a drill. These tools help with removing old hardware and securing the new deadbolt accurately.
Can I Install Schlage Camelot Without Professional Help?
Yes, the installation is straightforward and designed for DIY. Follow the step-by-step instructions, and ensure proper alignment for smooth operation.
How Do I Program The Schlage Camelot Keypad After Installation?
Enter the programming code, then add user codes via the keypad. Follow the manual for exact steps to customize access quickly and securely.
Conclusion
Installing the Schlage Camelot Keypad Deadbolt is simple and quick. Follow each step carefully to ensure proper setup. Double-check your work to avoid any mistakes. This lock adds security and convenience to your home. Enjoy keyless entry and easy access every day.
Regular battery checks keep the keypad working well. Feel confident knowing your door is safe and secure. Take your time and you will succeed. A secure home starts with a good lock.