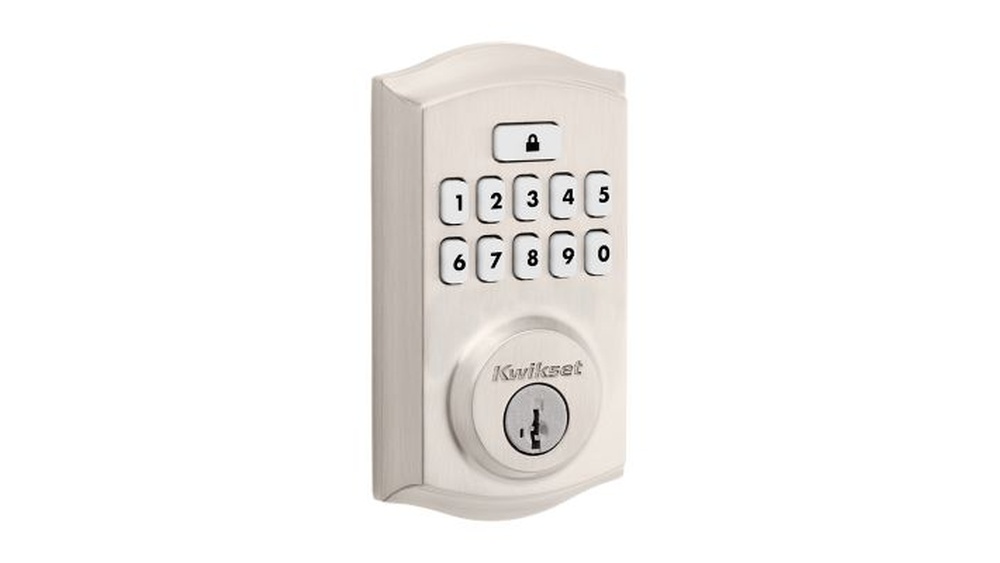
Looking to upgrade your home security with a Hyper Tough Digital Deadbolt? You’re in the right place.
Installing this smart lock might seem tricky at first, but with the right steps, you can do it quickly and easily. In this guide, you’ll find simple instructions that anyone can follow, even if you’re not a tech expert. By the end, you’ll have your new deadbolt ready to protect your home and give you peace of mind.
Keep reading to learn how to install your Hyper Tough Digital Deadbolt hassle-free.

Credit: www.walmart.com
Tools Needed
Installing the Hyper Tough Digital Deadbolt requires a few basic tools. These tools help make the process smooth and fast. Having them ready before you start saves time. Each tool has a specific role in the installation.
Screwdriver
A screwdriver is essential for tightening and loosening screws. Use a Phillips head screwdriver for most parts. It fits the screws on the deadbolt perfectly.
Drill
A drill speeds up making holes for screws. It also helps adjust the door if needed. Use a drill with a small drill bit to avoid damage.
Measuring Tape
Measuring tape ensures precise placement of the deadbolt. Accurate measurements prevent misalignment. Mark the door carefully before drilling.
Pencil
A pencil marks spots for screws and holes. It helps avoid mistakes during drilling. Use a sharp pencil for clear marks.
Level
A level keeps the deadbolt straight on the door. It ensures smooth locking and unlocking. Check the level before fixing screws tightly.

Credit: www.walmart.com
Prepare The Door
Preparing the door is the first step to install the Hyper Tough digital deadbolt. This step ensures the lock fits perfectly. It also makes the installation easier and the lock secure.
Check the door carefully. Look for any damage or warping. The door should be solid and fit well in the frame. A weak door can cause problems later.
Measure The Door Thickness
Use a tape measure to check the door thickness. The Hyper Tough deadbolt fits doors between 1 3/8 inches and 2 inches thick. Measure from one edge to the other. This ensures the lock will fit without issues.
Mark The Position For The Deadbolt
Find the right height for the deadbolt on the door edge. The standard height is about 6 to 8 inches above the door handle. Use a pencil to mark the spot. This helps in drilling holes accurately.
Check The Door Edge For Existing Holes
Look at the door edge to see if holes are already drilled. Old holes might not fit the new lock. If holes are too big or in the wrong place, you may need to fill or adjust them. A clean door edge is important for a tight fit.
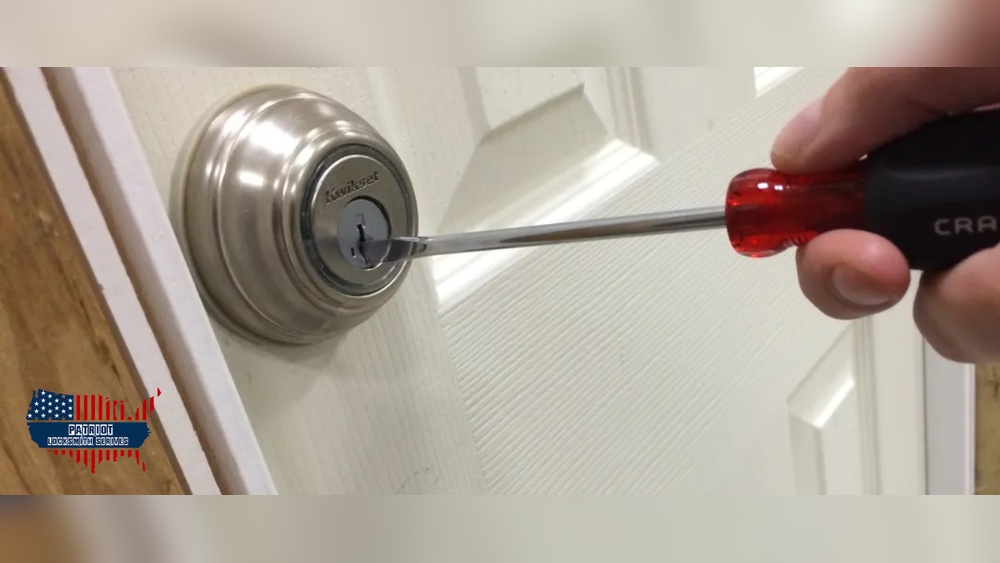
Remove Old Lock
Removing the old lock is the first step in installing your Hyper Tough Digital Deadbolt. This step clears the door for the new lock. It ensures a smooth fit and proper function. Take your time and work carefully. This helps avoid damage to your door and the new lock.
Gather Necessary Tools
Start by collecting tools. You will need a screwdriver, usually a Phillips head. A flathead screwdriver may help. Keep a small container nearby for screws. This prevents losing any small parts during removal.
Remove Screws From The Interior Side
Look at the inside of your door. Find the screws holding the lock in place. Use your screwdriver to remove these screws. Keep the screws safe for later use or disposal. The lock should become loose after all screws are out.
Detach The Interior Lock Assembly
Carefully pull off the interior lock part. It may need a gentle wiggle to come free. Avoid forcing it to prevent damage. Set the removed part aside on a soft surface to avoid scratches.
Remove The Exterior Lock Assembly
Turn to the outside of the door. Hold the exterior part of the lock firmly. Pull it straight out from the door. If stuck, gently wiggle it until it loosens. This part should come off easily after the interior part is removed.
Take Out The Latch Mechanism
Open the edge of the door. Find the latch mechanism. It is the part that slides into the door frame. Remove the screws holding the latch in place. Pull the latch out carefully. This clears the door edge for the new lock installation.
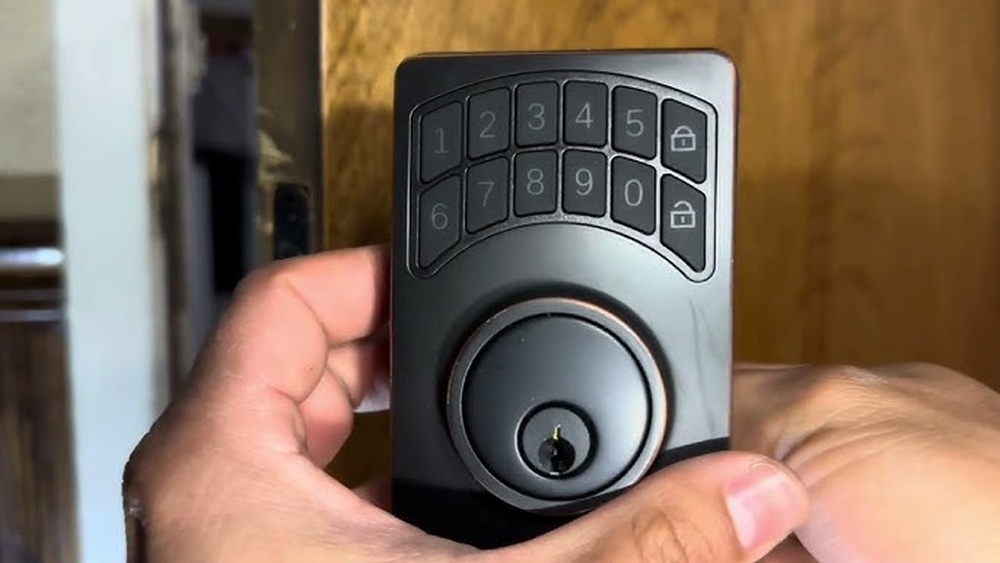
Install Deadbolt Components
Installing the deadbolt components is the key step in setting up your Hyper Tough Digital Deadbolt. This process involves attaching the latch, mounting the exterior keypad, and securing the interior assembly. Each part must fit perfectly for the lock to work well and keep your home safe.
Follow the steps carefully. Take your time to align each component correctly. This will help the deadbolt operate smoothly and last longer.
Attach Latch
Start by sliding the latch into the door edge. Make sure the beveled side faces the door jamb. Use the screws provided to fix it in place tightly. Check the latch moves freely by pushing the bolt in and out.
Mount Exterior Keypad
Place the exterior keypad on the outside of the door. Align the keypad spindle with the latch mechanism. Hold it steady and secure it with screws through the mounting holes. Avoid overtightening to prevent damage.
Secure Interior Assembly
On the inside of the door, align the interior assembly with the spindle. Connect any wiring carefully to avoid pinching. Use the screws to fasten the interior piece firmly. Test the thumb turn to ensure smooth locking and unlocking.
Connect Batteries
Connecting the batteries is a key step to power your Hyper Tough Digital Deadbolt. Without proper battery installation, the lock will not function. This section guides you through the simple process of connecting the batteries safely and correctly.
Take your time to ensure the batteries fit perfectly. Proper connection guarantees smooth operation and extends battery life.
Open The Battery Compartment
Locate the battery cover on the inside of the deadbolt. Use your fingers or a small screwdriver to remove the cover. Set it aside carefully to avoid losing screws or parts.
Insert Batteries Correctly
Check the battery type needed, usually AA alkaline batteries. Insert each battery following the polarity marks inside the compartment. Positive and negative ends must match the symbols.
Secure The Battery Cover
After placing batteries, align the cover back onto the compartment. Press firmly until it clicks or screw it back in place. This keeps the batteries secure and prevents movement.
Test The Battery Connection
Press any button on the keypad to see if the lock powers up. A light or sound indicates a successful connection. If no response, recheck battery placement and contacts.
Set Up Access Codes
Setting up access codes is key to using the Hyper Tough Digital Deadbolt. It lets you control who enters your home. You can set a main code for yourself and other codes for family or friends.
Start by programming the main code. This code controls all other settings. Then, add user codes for others who need access. Each code is easy to set and change.
Program Master Code
First, press the programming button inside the lock. Enter the default master code found in the manual.
Choose a new master code with 4 to 8 digits. Enter it twice to confirm. This code will control your lock settings.
Remember this code well. It lets you add or delete other codes later.
Add User Codes
Press the programming button again to start adding user codes. Enter the master code to unlock this feature.
Choose a user code with 4 to 8 digits. Enter the code twice to save it. Repeat for each person needing access.
You can add up to 19 different user codes. Each code works independently for easy control.
Test The Deadbolt
Testing the Hyper Tough digital deadbolt is a crucial step after installation. It ensures the lock works smoothly and keeps your home safe. Spend time checking every function carefully. This way, you avoid problems later.
Check The Lock And Unlock Functions
Start by locking and unlocking the deadbolt several times. Use the keypad and the key if available. Make sure the bolt moves fully each time. If it sticks or feels hard, adjust the lock.
Test The Battery And Power Indicators
Verify the battery is working well. The lock should show power indicators when you press buttons. Low battery signs need immediate attention. Replace batteries to avoid lock failure.
Verify The Door Alignment
Close the door fully and test the deadbolt. The bolt should slide smoothly into the strike plate. Misalignment causes the bolt to jam. Fix the door or strike plate if needed.
Try The Backup Key
Use the backup key to unlock the door. This is important in case the battery dies. The key should turn easily without force. Keep the key handy for emergencies.

Credit: www.youtube.com
Troubleshooting Tips
Troubleshooting the Hyper Tough Digital Deadbolt can solve many common problems. This section helps you fix issues quickly and easily. Follow these tips to keep your lock working smoothly.
Check The Battery Installation
Incorrect battery placement causes most lock problems. Open the battery compartment and make sure the batteries are inserted with the right polarity. Use fresh batteries for best results. Clean the battery contacts if they are dirty or corroded.
Reset The Lock
Resetting the deadbolt clears errors and glitches. Locate the reset button inside the lock. Press and hold it for 10 seconds. The lock will beep or flash to confirm the reset. After that, reprogram your access codes.
Ensure Proper Alignment
Misaligned deadbolt parts prevent smooth locking and unlocking. Check the door and strike plate alignment. Adjust the strike plate if the bolt doesn’t fit well. Tighten loose screws on the lock and door frame.
Reprogram Access Codes
Wrong or forgotten codes stop the lock from working. Follow the manual to delete old codes. Add new, easy-to-remember codes. Test the codes several times to confirm they work correctly.
Inspect The Lock For Damage
Physical damage can affect lock performance. Look for cracks, dents, or worn parts. Replace damaged components if needed. Use only parts recommended by the manufacturer.
Frequently Asked Questions
How Do I Install A Hyper Tough Digital Deadbolt?
To install, first remove the old lock and clean the door surface. Align the deadbolt, drill holes if needed, attach the mounting plate, secure the lock, and program the keypad following the manual.
What Tools Are Needed For Hyper Tough Deadbolt Installation?
You’ll need a screwdriver, drill with drill bits, tape measure, pencil, and a level. These tools help ensure proper alignment and secure installation of the deadbolt.
How To Program The Hyper Tough Digital Deadbolt Keypad?
After installation, follow the user manual to enter the programming mode. Set your master code and user codes by pressing the keypad buttons as directed.
Can I Install The Digital Deadbolt On Any Door?
The deadbolt fits standard door thicknesses of 1 3/8 to 1 3/4 inches. Ensure your door meets this requirement for proper installation and operation.
Conclusion
Installing the Hyper Tough digital deadbolt is simple and quick. Follow each step carefully for a secure fit. Double-check the battery and keypad function before finalizing. This lock adds safety and convenience to your home. Enjoy peace of mind with easy access control.
Keep the manual handy for future reference. Now, your door is both strong and smart.