Have you ever needed to remove a deadbolt lock from the inside but didn’t know where to start? Whether you’re upgrading your security or fixing a jammed lock, taking out a deadbolt doesn’t have to be confusing or stressful.
In this guide, you’ll discover simple, step-by-step instructions that anyone can follow. By the end, you’ll feel confident handling your lock like a pro—and save time and money by doing it yourself. Ready to unlock the secret? Let’s get started.

Credit: diy.stackexchange.com
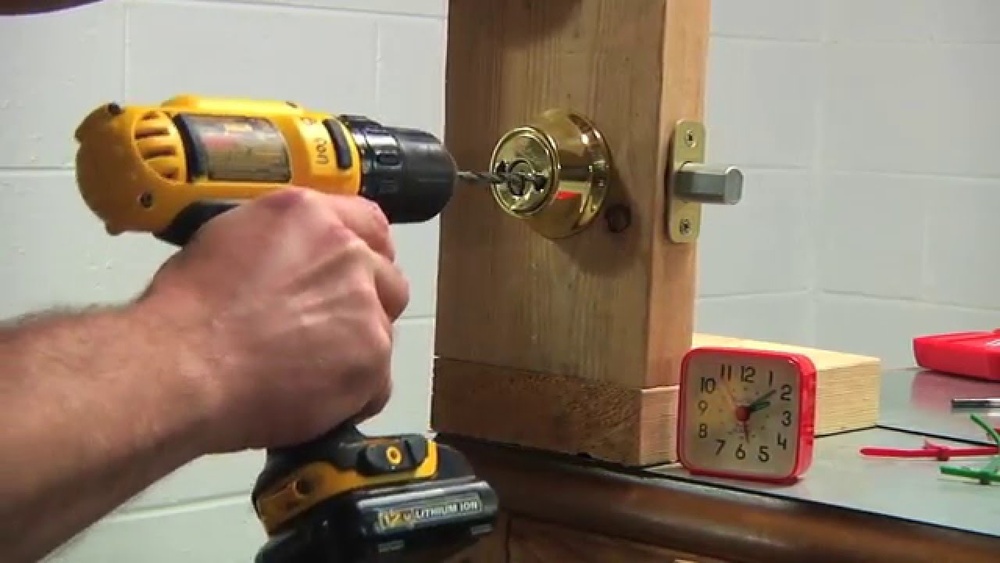
Tools Needed
Removing a deadbolt lock from the inside requires a few basic tools. Having the right tools makes the job easier and faster. These tools are common and easy to find at any hardware store. Prepare them before starting to avoid interruptions.
Phillips Screwdriver
This tool is essential for removing screws that hold the deadbolt in place. Most deadbolts use Phillips screws. A medium-sized screwdriver works best for most locks.
Flathead Screwdriver
A flathead screwdriver helps to pry off parts gently. Use it to separate the lock cover without damaging the door. It can also assist in loosening stubborn screws.
Allen Wrench (hex Key)
Some deadbolts have small hex screws. An Allen wrench fits these screws perfectly. Keep different sizes ready to match your lock.
Pliers
Pliers help grip and turn screws or bolts. They are useful if screws are tight or stripped. Use them carefully to avoid damage.
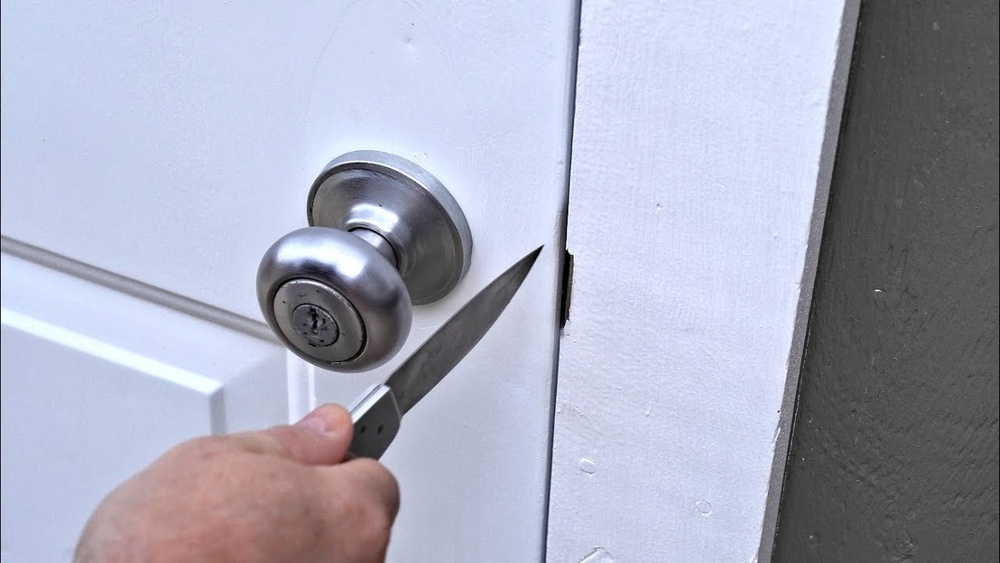
Utility Knife
A utility knife can cut through paint or caulk around the lock. This step helps to loosen the lock parts. Use it safely to prevent injury.

Credit: www.youtube.com
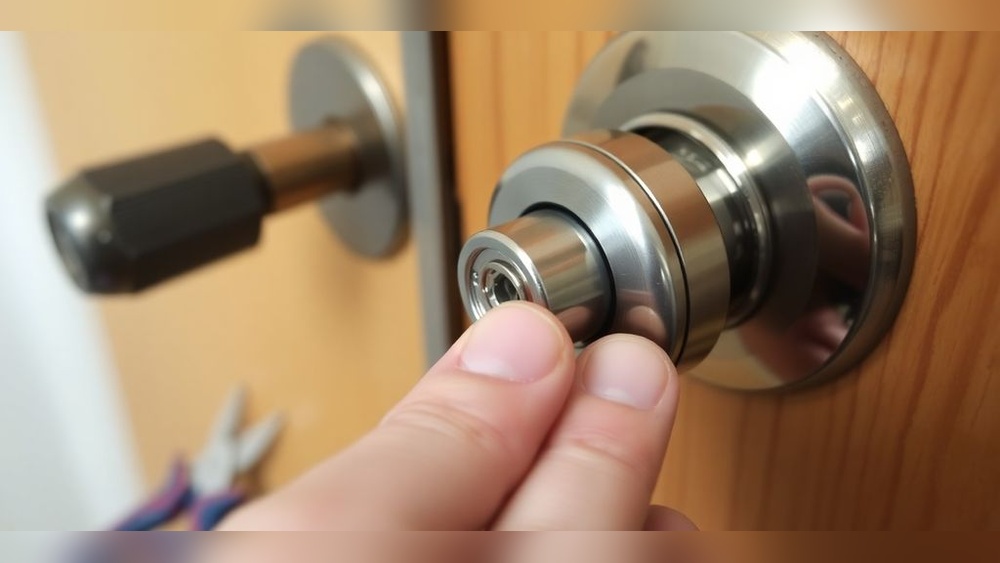
Locate Interior Components
Before removing a deadbolt lock from the inside, start by locating all the interior parts. Knowing where each piece sits helps you work faster and avoid mistakes.
The deadbolt lock has several main components on the inside door panel. These parts work together to keep the door secure. Finding them is the first step to take the lock apart safely.
Identify The Interior Thumb Turn
The thumb turn is the small knob you twist to lock or unlock the door. It is usually located in the center of the lock on the inside. This part controls the bolt that moves in and out of the door frame.
Find The Mounting Screws
Look for screws holding the lock to the door. These screws often sit behind the thumb turn or on the lock’s faceplate. Removing them will allow you to take off the lock assembly.
Locate The Interior Plate
The interior plate covers the mechanical parts of the lock. It lies flush against the door’s surface around the thumb turn. This plate must come off before you can access the screws and other parts.
Remove Interior Screws
Removing the interior screws is the first step to take off a deadbolt lock. These screws hold the inside part of the lock firmly in place. Without removing them, you cannot separate the lock from the door.
Using the right tools makes this task easier and safer. Most deadbolt screws require a screwdriver, usually a Phillips head. Make sure to keep the screws safe after removal. You might need them to install a new lock later.
Locate The Interior Screws
Find the two screws on the inside faceplate of the deadbolt. They are usually on the round or square plate around the thumb turn. These screws keep the lock’s interior mechanism attached to the door.
Choose The Correct Screwdriver
Select a screwdriver that fits the screws well. A Phillips head screwdriver works for most deadbolt screws. A poorly fitting tool can strip the screw head and cause damage.
Unscrew The Interior Screws
Turn the screwdriver counterclockwise to remove the screws. Apply steady pressure to avoid slipping. Remove the screws completely and place them somewhere safe.
Remove The Interior Lock Assembly
After unscrewing, gently pull the interior lock off the door. Some locks might need a slight wiggle to come free. Do not force it to avoid damage to the door or lock.
Detach The Interior Thumbturn
Detaching the interior thumbturn is a key step in removing a deadbolt lock from the inside. The thumbturn allows you to lock and unlock the door without a key. Removing it clears the way to access the lock mechanism behind the door panel.
This process is simple and requires only a few tools. A screwdriver is usually enough to remove the screws holding the thumbturn in place. The thumbturn itself is small but important, so handle it gently.
Locate The Thumbturn Screws
Start by finding the screws that hold the thumbturn on the inside of the door. These screws are often visible on the thumbturn plate. Use a flashlight if the area is dark. Knowing the screw positions helps in quick removal.
Unscrew The Thumbturn
Use a screwdriver to turn the screws counterclockwise. Keep the screws safe after removal. Sometimes screws are tight, so apply steady pressure. Avoid stripping the screws by using the correct screwdriver size.
Remove The Thumbturn From The Door
After unscrewing, gently pull the thumbturn away from the door. It should come off easily without force. If it feels stuck, check for hidden screws or clips. Set the thumbturn aside carefully to avoid damage.
Extract The Deadbolt Mechanism
Removing the deadbolt mechanism is a key step in taking out the lock. This part controls the bolt that slides into the door frame. Taking it out lets you replace or fix the lock easily.
Work carefully to avoid damaging the door or the lock parts. Follow these simple steps to remove the deadbolt mechanism from the inside of your door.
Locate The Mounting Screws
Start by finding the screws holding the deadbolt in place. They are usually on the edge of the door. Use a flashlight if needed to see clearly.
These screws keep the lock mechanism attached to the door. Removing them frees the deadbolt for extraction.
Remove The Screws
Use a screwdriver that fits the screw heads well. Turn each screw counterclockwise to loosen and remove them.
Keep the screws safe for reinstallation or replacement later. Take your time to avoid stripping the screws.
Pull Out The Deadbolt Mechanism
After removing the screws, gently pull the deadbolt mechanism from the edge of the door. It should slide out smoothly.
If it feels stuck, wiggle it slightly while pulling. Avoid forcing it to prevent damage.
Once removed, inspect the mechanism for wear or damage. This helps decide if you need a repair or new lock.
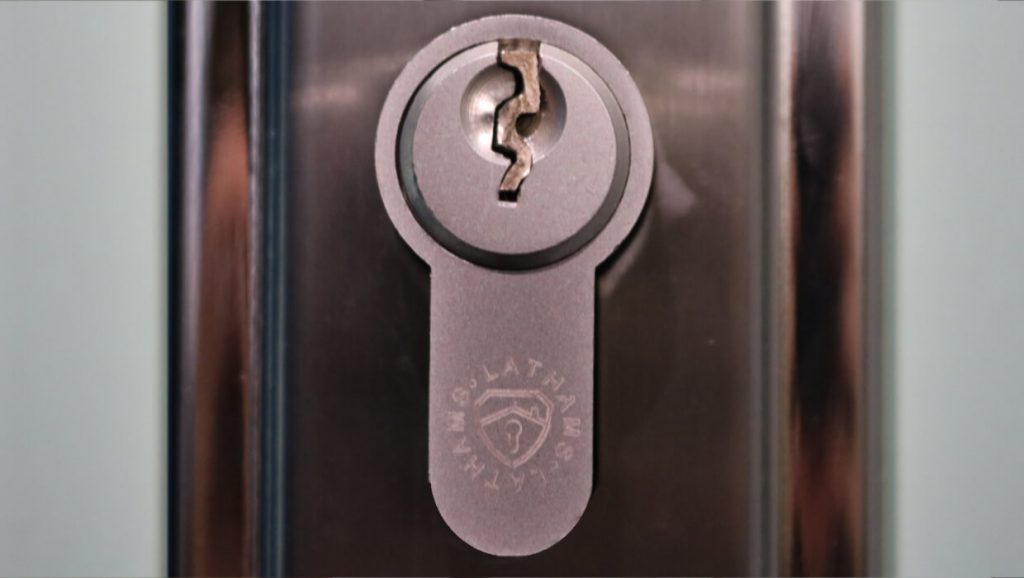
Credit: www.lathamshardware.co.uk
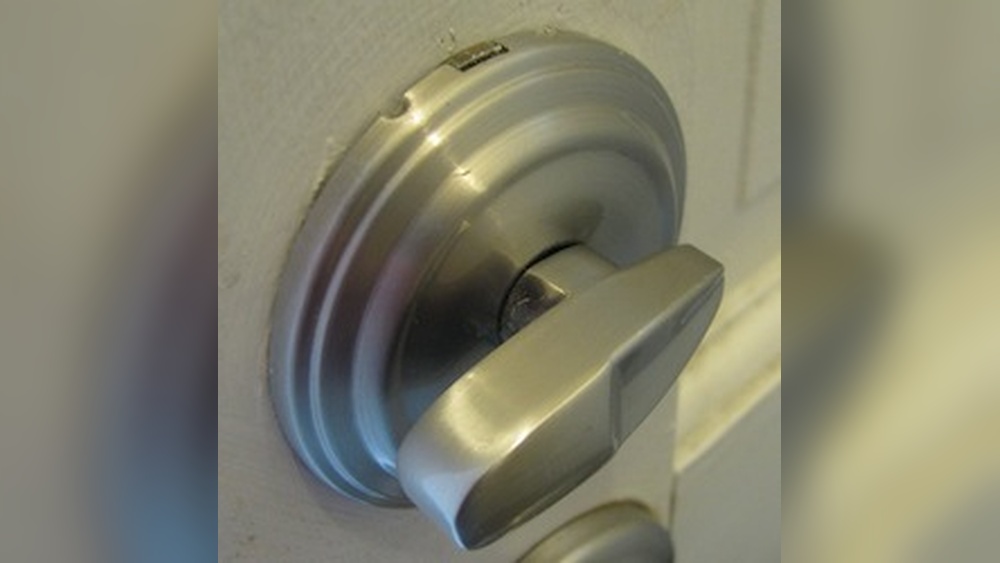
Remove Exterior Hardware
Removing the exterior hardware of a deadbolt lock is the first step to take. This step lets you access the inside parts easily. It also helps prevent damage to the door during removal.
Focus on careful handling. Exterior pieces can be tricky to remove without the right approach.
Locate The Screws On The Exterior Plate
Start by finding the screws that hold the exterior plate. These are usually on the face of the lock. Use a flashlight if needed to see clearly.
Use The Correct Screwdriver
Match your screwdriver to the screw heads. Most deadbolt screws use a Phillips head. Using the wrong tool can strip the screws.
Unscrew The Exterior Plate Carefully
Turn screws counterclockwise to loosen. Do this slowly to avoid falling screws. Keep screws safe for later use or replacement.
Remove The Exterior Lock Cylinder
After screws come out, gently pull the exterior lock cylinder away from the door. If it sticks, wiggle it slightly. Avoid using force that can damage the door.
Inspect The Door For Damage
Before removing a deadbolt lock from the inside, check the door for any damage. This step helps ensure safe removal and avoids further harm. A damaged door can affect the lock’s fit and function.
Carefully inspect the door surface around the lock area. Look for cracks, dents, or warping. These issues can make it harder to remove or reinstall the lock properly.
Check For Cracks And Splits
Examine the wood or metal around the deadbolt. Cracks or splits weaken the door structure. They may cause the lock to loosen or fall out during removal.
Look For Warping Or Bending
Check if the door is warped or bent near the lock. Warping can misalign the deadbolt and strike plate. This makes removing the lock tricky and may need door repair first.
Inspect The Lock Hole
Look closely at the hole where the deadbolt fits. Make sure it is clean and not enlarged or damaged. A damaged hole can cause the lock to stick or jam.
Assess The Strike Plate Area
Check the strike plate on the door frame. If it is loose or damaged, the lock may not work well. Tighten screws or replace the plate before removing the lock.
Tips For Reinstalling Or Replacing
Reinstalling or replacing a deadbolt lock needs care. Doing it right keeps your door secure and working well. Small mistakes can cause trouble later. Follow easy tips to avoid common problems and save time.
Use the right tools and check parts before starting. Keep track of screws and pieces to make the process smooth. Take your time and work step by step for the best results.
Check The Lock Size And Type
Measure the old lock’s size before buying a new one. Different locks fit different door thicknesses. Choose a lock that matches your door and security needs. This avoids extra drilling or fixing later.
Keep Parts Organized
Put screws and small parts in a container. This stops loss and confusion during work. Label parts if needed. It helps when reinstalling or fixing the lock fast.
Use Proper Tools
Use screwdrivers that fit screws well. Avoid using wrong tools that can damage screws or lock. A drill with correct bits helps for fast and clean work. Be gentle to avoid damaging the door.
Test The Lock Before Final Tightening
Before tightening screws fully, test the lock’s function. Turn the key and thumb turn several times. Make sure the bolt moves smoothly. Adjust if the lock sticks or jams.
Follow The Manufacturer’s Instructions
Read instructions that come with the lock carefully. Follow steps in the right order. Manufacturers include tips specific to their locks. This ensures proper installation and long lock life.
Frequently Asked Questions
How Do I Remove A Deadbolt Lock From Inside?
To remove a deadbolt lock from inside, first unscrew the interior mounting screws. Then, gently pull off the interior lock assembly. Finally, remove the exterior lock and latch mechanism by unscrewing and sliding them out.
What Tools Are Needed To Remove A Deadbolt Lock?
You need a Phillips screwdriver, flathead screwdriver, and possibly an Allen wrench. These tools help unscrew mounting plates and remove the lock components safely and easily.
Can I Remove A Deadbolt Without Damaging The Door?
Yes, by carefully unscrewing all fasteners and gently removing parts, you can avoid damage. Use appropriate tools and avoid forcing components to keep the door intact.
How Long Does It Take To Remove A Deadbolt Lock Inside?
Removing a deadbolt lock usually takes 10 to 20 minutes. Time depends on your experience and the lock’s complexity.
Conclusion
Removing a deadbolt lock from the inside can be simple and quick. Follow the steps carefully to avoid damage. Use the right tools and stay patient throughout the process. Take your time to understand each part of the lock. This helps ensure the removal goes smoothly.
Now, you can replace or repair your deadbolt with ease. Keep safety in mind during the whole task. With practice, this job becomes easier every time.