Are you struggling with a jammed deadbolt lock or need to replace your lock cylinder quickly? Knowing how to remove the lock cylinder from your deadbolt can save you time, money, and frustration.
In this guide, you’ll discover simple, step-by-step instructions that anyone can follow—even if you’ve never done it before. Keep reading, and you’ll gain the confidence to fix your lock like a pro, without calling a locksmith. Ready to take control of your home security?
Let’s get started!

Credit: support.shopyalehome.com
Tools Needed
Removing a lock cylinder from a deadbolt needs specific tools. Having the right tools makes the job easier and faster. It also protects the lock and door from damage.
Here are the main tools you will need. Each tool has a clear role in the process.
Phillips Screwdriver
This screwdriver helps remove screws holding the lock parts. Most deadbolts use Phillips screws. A good grip screwdriver works best.
Flathead Screwdriver
A flathead screwdriver helps pry off covers or trim pieces. It also works to press small tabs inside the lock. Choose a slim blade for tight spaces.
Allen Wrench
Some deadbolts have set screws tightened with Allen wrenches. This tool fits into hex-shaped screw heads. Keep different sizes ready.
Needle-nose Pliers
Pliers help pull out small parts or hold pieces steady. They are useful for removing clips or springs inside the lock. Use a pair with a firm grip.
Lubricant Spray
A spray lubricant loosens stuck parts inside the lock. It makes turning and pulling easier. Use a dry lubricant to avoid dirt build-up.
Prepare The Door
Preparing the door is the first step in removing a lock cylinder from a deadbolt. Proper preparation makes the process easier and safer. It helps avoid damage to the door or lock parts. Follow these simple steps to get ready.
Clear The Area Around The Door
Remove any objects near the door. This gives you space to work freely. Clear rugs or mats that might slip. Good lighting also helps you see small parts clearly.
Gather Necessary Tools
Collect tools like screwdrivers and pliers before starting. Use the right screwdriver for the screws on your lock. Keep tools within reach to save time.
Check The Door’s Condition
Inspect the door for cracks or damage. Weak spots can break during the process. Fix any issues or consider a professional if the door is fragile.
Unlock And Open The Door
Make sure the door is unlocked. Open it fully for easier access to the lock. This prevents the door from moving while you work.
Locate The Retaining Screw
Locating the retaining screw is the first step to remove the lock cylinder from a deadbolt. This small screw holds the cylinder in place. Without removing it, the cylinder will not come out.
Finding the screw is usually easy. It sits on the side of the lock cylinder, visible when the door is open. Knowing its exact spot helps speed up the removal process.
Check The Edge Of The Door
Open the door and look at its edge. The retaining screw is often near the middle of the lock. It is a small, flat-head or Phillips screw. Use a flashlight if needed to see it clearly.
Remove The Strike Plate If Needed
Sometimes the strike plate covers the retaining screw. Remove the screws holding the strike plate. This gives clear access to the lock’s inner parts and the retaining screw.
Use The Correct Screwdriver
Choose a screwdriver that fits the retaining screw well. Using the wrong tool may strip the screw. A good fit makes it easier to remove without damage.
Remove The Retaining Screw
Removing the retaining screw is a key step to take out the lock cylinder from a deadbolt. This small screw holds the cylinder firmly in place. Without removing it, the cylinder cannot come out. The process is simple but needs care and the right tools.
First, locate the retaining screw on the side of the deadbolt. It is usually visible on the edge of the door. This screw keeps the cylinder attached inside the lock mechanism.
Gather The Right Tools
Use a screwdriver that fits the retaining screw head. Most screws are either Phillips or flathead. Using the wrong tool can strip the screw, making removal harder.
Access The Retaining Screw
Open the door and hold the lock cylinder steady. The screw is on the edge of the door, near the cylinder. You may need to move the thumb turn or latch slightly to see it clearly.
Remove The Retaining Screw Carefully
Turn the screwdriver counterclockwise to loosen the screw. Apply steady pressure to avoid slipping. Once loose, pull the screw out and keep it safe for reassembly.
Extract The Lock Cylinder
Extracting the lock cylinder is a key step in removing a deadbolt. This part holds the key mechanism and must come out carefully. Doing this right keeps the lock safe and ready for replacement.
Follow clear steps to remove the cylinder without damage. Keep tools ready and work slowly for best results.
Find the small screw that holds the lock cylinder in place. This screw is usually on the side of the deadbolt. Use a screwdriver to remove it. Keep the screw safe for reassembly.
Turn The Key Slightly
Insert the key into the lock cylinder. Turn the key a little to align the cylinder with the removal slot. This step frees the cylinder for easy pulling.
Pull Out The Lock Cylinder
Hold the cylinder firmly. Pull it straight out from the door. Do not twist or force it. If stuck, check if the retaining screw is fully removed.

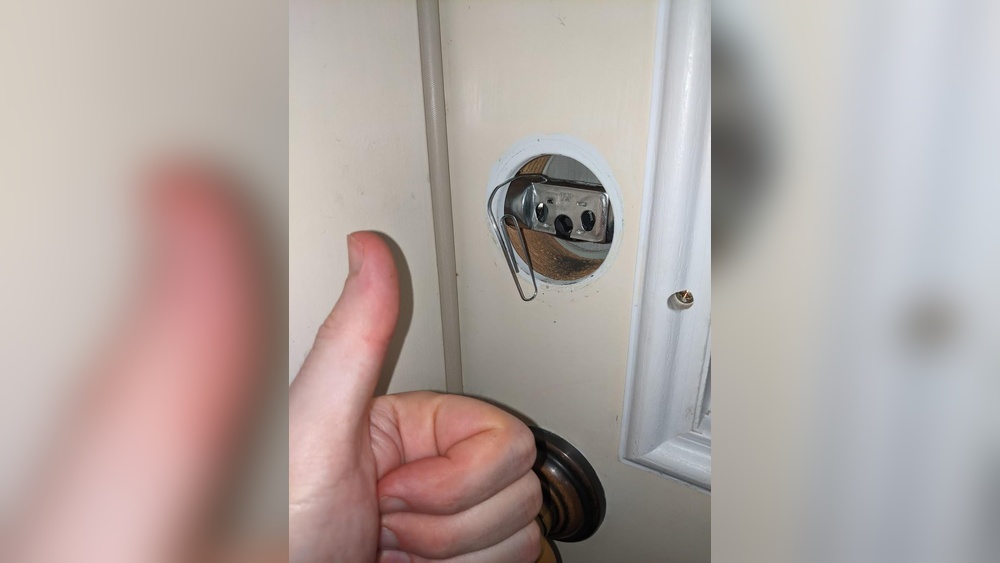
Credit: www.youtube.com
Troubleshooting Common Issues
Removing a lock cylinder from a deadbolt can sometimes be tricky. Common problems may block your progress. Knowing how to fix these issues saves time and frustration. This section covers typical troubles and ways to handle them effectively.
Stuck Cylinder
A stuck cylinder often happens due to dirt or rust inside the lock. Try spraying a small amount of lubricant into the keyhole. Let it sit for a few minutes. Gently wiggle the cylinder while pulling it out. Avoid forcing the cylinder, as it can cause damage.
If the cylinder remains stuck, check if the lock is fully unlocked. Sometimes, partial locking keeps the cylinder tight. Use the key to turn the lock completely. Then try removing the cylinder again.
Broken Or Stripped Screws
Broken or stripped screws can stop you from removing the cylinder. Grab a screwdriver that fits the screw head well. Turn slowly to avoid further damage. If the screw is stripped, use a rubber band for extra grip. Place the band between the screwdriver and the screw head.
For severely damaged screws, try a screw extractor tool. This tool grips and removes broken screws safely. Always work carefully to keep the lock and door intact.
Reinstalling Or Replacing The Cylinder
Reinstalling or replacing the lock cylinder is the final step after removing it from the deadbolt. This process ensures your door remains secure and works smoothly. Whether you are putting back the old cylinder or fitting a new one, careful attention is key. Follow simple steps to avoid damage and keep your lock functioning well.
Preparing The New Or Old Cylinder For Installation
Check the cylinder for any dirt or damage. Clean it gently with a soft cloth. Make sure the key turns smoothly in the cylinder. If using a new cylinder, confirm it matches the old one’s size and type. Proper fit is important for security and ease of use.
Aligning The Cylinder With The Deadbolt
Place the cylinder into the lock housing carefully. Align the tailpiece or cam with the slot inside the deadbolt. The cylinder should sit flush with the door surface. Incorrect alignment causes the lock to jam or not turn properly.
Securing The Cylinder In Place
Insert the retaining screw through the side of the lock housing. Tighten the screw firmly but avoid over-tightening. Over-tightening can strip the threads or break the cylinder. Check the cylinder’s stability before testing the lock.
Testing The Lock Operation
Insert the key and turn it to check the lock mechanism. The deadbolt should move smoothly in and out. If it sticks or feels stiff, adjust the cylinder alignment or screw tightness. Test the lock several times to ensure reliable operation.
Safety Tips And Precautions
Removing a lock cylinder from a deadbolt needs care and attention. Safety is important to avoid injury or damage. Follow these tips to keep yourself and your property safe.
Use the right tools. Wrong tools can slip or break. This can cause injury or damage the lock.
Work in a well-lit area. Good lighting helps you see small parts clearly. It also reduces mistakes and accidents.
Wear safety glasses. Small metal pieces can fly out during removal. Protect your eyes from harm.
Keep your hands dry and clean. Slippery hands can cause tools to slip. This leads to cuts or damage.
Do not force parts. If something won’t move, check for screws or pins you missed. Forcing can break the lock or tools.
Keep children and pets away. Small parts can be choking hazards. Also, tools should be out of reach.
Store removed parts safely. Keep screws and small pieces in a container. This helps you avoid losing them.
Use Proper Tools For Removal
Choose tools made for lock work. Screwdrivers and pliers must fit well. This helps prevent slipping and damage.
Work In A Well-lit Area
Bright light shows all parts clearly. It helps avoid mistakes and makes work easier.
Wear Protective Gear
Safety glasses protect your eyes from flying bits. Gloves can protect your hands from sharp edges.
Avoid Forcing Parts
Gently test the lock before pulling parts. Forcing can break the lock and tools.
Keep Children And Pets Away
Small parts and tools are dangerous for kids and pets. Work in a safe space away from them.

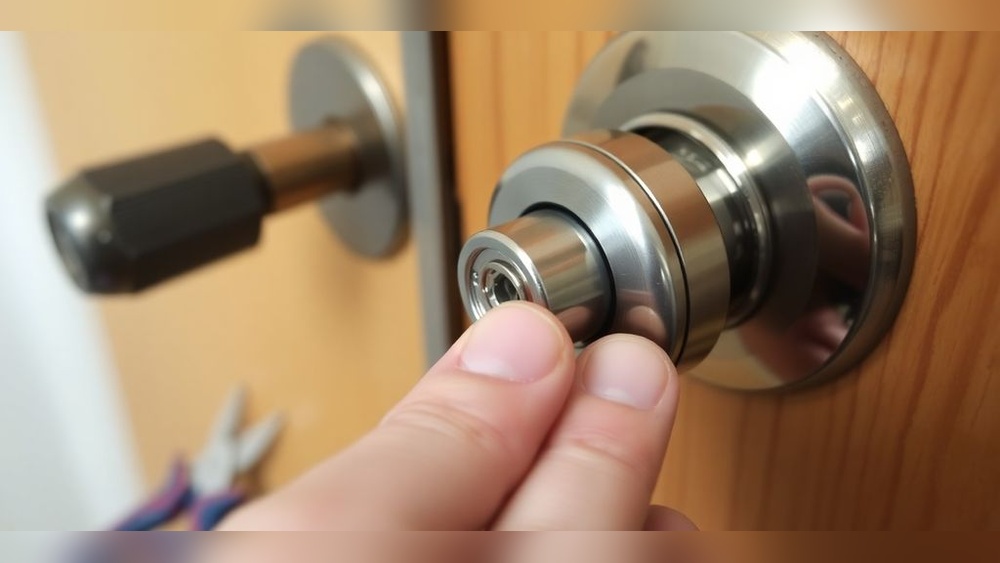
Credit: www.youtube.com
Frequently Asked Questions
How Do I Remove A Lock Cylinder From A Deadbolt?
To remove a lock cylinder, first, unscrew the deadbolt’s interior plate. Then, locate and remove the cylinder retaining screw. Finally, pull the cylinder out gently from the door’s exterior side.
What Tools Are Needed To Remove A Deadbolt Cylinder?
You typically need a screwdriver, usually a Phillips or flathead, and sometimes needle-nose pliers. Having these tools ensures smooth removal without damaging the lock or door.
Can I Remove A Lock Cylinder Without A Key?
Yes, but it is more difficult. You may need to drill the cylinder or use lock-picking tools, which require skill and caution to avoid damage.
How Long Does It Take To Remove A Deadbolt Lock Cylinder?
Removing a deadbolt cylinder usually takes 5 to 15 minutes. It depends on your experience and whether the lock is stuck or corroded.
Conclusion
Removing a lock cylinder from a deadbolt is simple with the right steps. Take your time and follow each part carefully. Use basic tools and stay patient to avoid mistakes. This task saves money and helps you fix locks yourself.
Now you can confidently handle deadbolt lock cylinders. Practice makes it easier and faster next time. Keep your home secure by knowing how to manage your locks.